
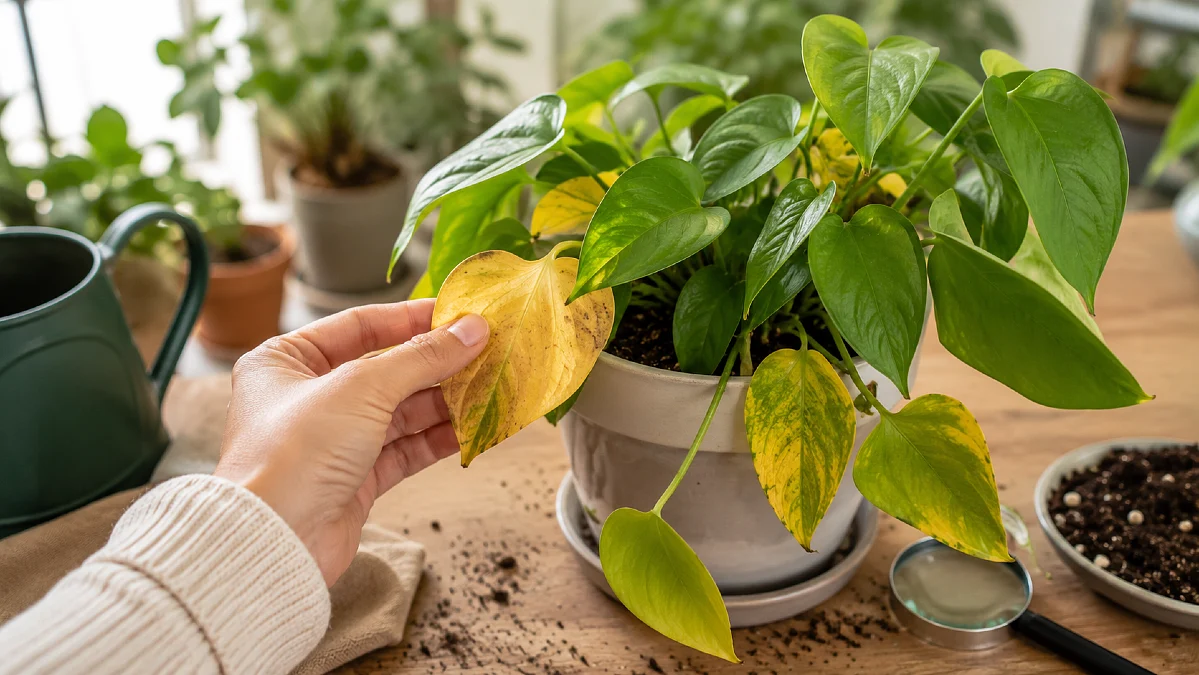
A yellow leaf can make you reach for the watering can within seconds.
That reaction feels helpful. But it can make the problem worse.
Yellow leaves on plants do not always mean the plant is thirsty. Wet roots, poor light, damaged roots, pests, and nutrient problems can all produce yellow leaves. Some plants also shed an old leaf as part of normal growth.
The leaf pattern offers clues. The soil, roots, stem, and location offer even more.
Before adding water, take two minutes to inspect the plant. Check whether the soil is wet or dry below the surface. Look at which leaves are changing. Then check for pests, soft roots, blocked drainage, and recent changes in light.
Start With This 2 Minute Check Before Watering

Do not diagnose the plant from leaf color alone.
Penn State Extension lists several possible causes when older leaves turn yellow. They include nutrient shortages, overwatering, normal aging, and crowded roots. That is why one symptom can lead to several different answers.
Use this quick check first:
- Push a finger about 1 to 2 inches into the soil.
- Lift the pot and notice whether it feels heavy or light.
- Check for open drainage holes.
- Look at the oldest leaves and the newest leaves.
- Feel the stem near the soil.
- Check both sides of the leaves.
- Note any recent move, repotting, feeding, or cold draft.
The location of the yellowing matters.
A single old leaf near the base is often less serious than several young leaves turning yellow at once. Yellow areas between green veins tell a different story from leaves that are fully pale.
Also look for extra symptoms. Soft stems may point to too much moisture. Crisp edges may suggest dryness or damaged roots. Fine spots can signal mites. Round brown spots with yellow edges may suggest a leaf disease.
Once you have these clues, work through the causes below.
1. Too Much Water Is Blocking Air From the Roots
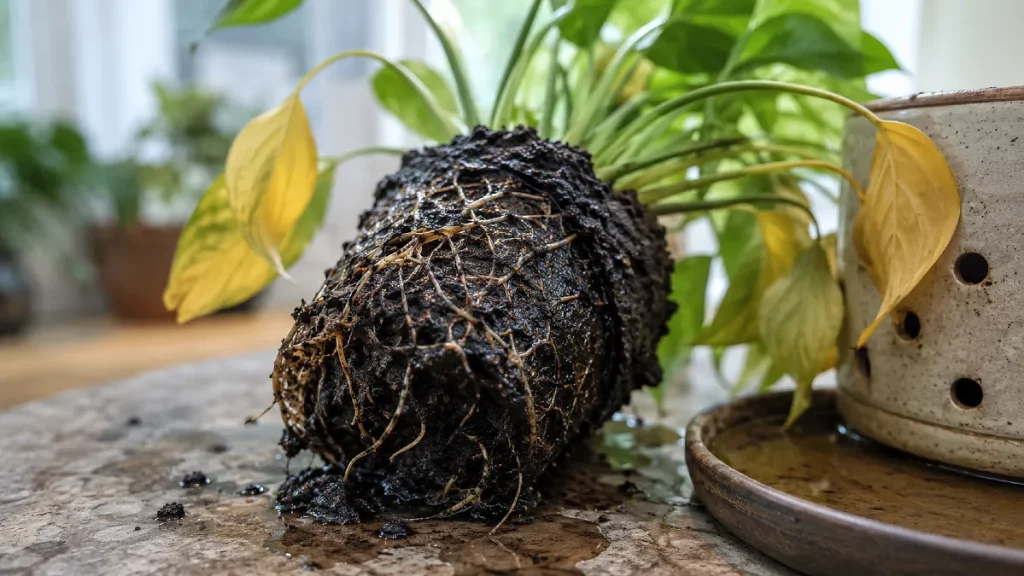
Too much water is one of the first causes to check.
Plant roots need both moisture and air. When soil stays saturated, water fills the spaces that would normally hold air. The Royal Horticultural Society explains that long periods in saturated soil reduce oxygen around the roots. This can lead to yellow leaves, root decay, and plant death.
An overwatered plant may show:
- Wet soil several days after watering
- Old and new leaves turning yellow
- Yellow leaves dropping while still soft
- A sour or stale smell from the pot
- Mold on the soil
- A soft base or stem
- Dark, mushy roots
The RHS also lists stem rot, dark roots, mold, and yellow leaf drop among the signs of repeated overwatering.
What to do
Stop watering until you know how wet the root area is.
For a small indoor plant, slide the root ball from its pot. Healthy roots are often firm. Their exact color varies by species, but they should not feel slimy or fall apart when touched.
Trim clearly rotten roots with clean scissors. Repot the plant in fresh mix if much of the old soil smells bad or remains waterlogged.
Make sure the new pot has open drainage holes. Empty the saucer after excess water drains.
Do not move a stressed plant into strong sun as a quick fix. Damaged roots cannot keep up with fast water loss. Give the plant bright light that suits its species and allow it time to recover.
Most important, stop watering by the calendar. Check the soil first.
2. The Plant Is Too Dry Even If the Surface Looks Damp
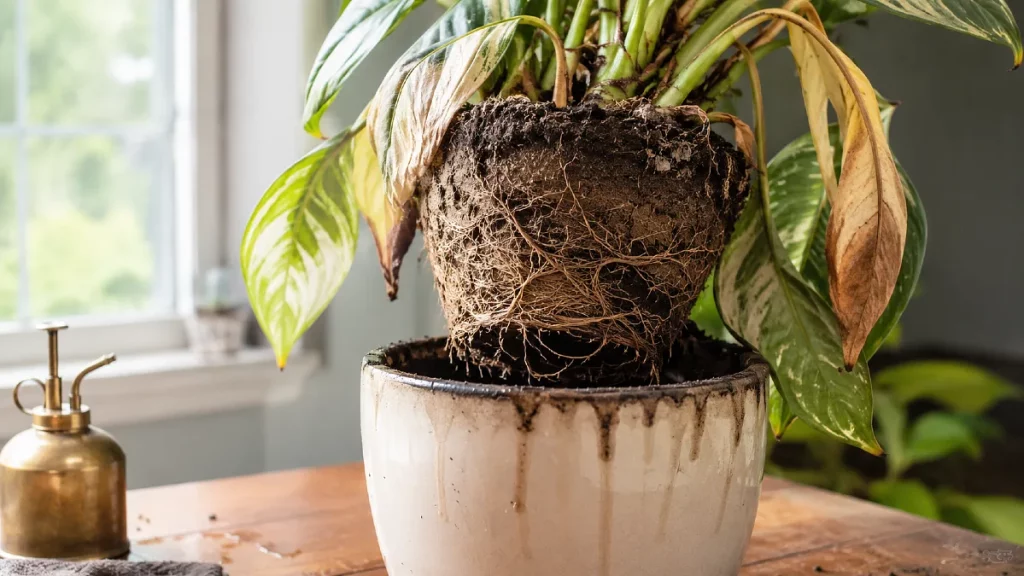
A dry plant can also develop yellow leaves.
This often happens when the root ball does not absorb water evenly. Very dry potting mix may shrink away from the sides of the pot. Water then runs down the gap and out of the drainage hole while the middle stays dry.
The top may feel damp for a short time, but the roots still receive little water.
A crowded root ball can cause the same problem. The RHS notes that a plant that dries very quickly and makes little growth may be pot bound.
Signs of a plant that is too dry include:
- A very light pot
- Dry soil deep in the container
- Soil pulling away from the pot
- Wilted or curled leaves
- Crisp brown leaf edges
- Water running out almost at once
- Roots circling tightly inside the pot
What to do
Water slowly over the full soil surface.
Pause for a minute, then water again. This gives dry mix time to absorb moisture instead of sending it straight down the sides.
For a badly dried pot, place the container in a shallow basin of water for a short soak. Remove it once the root ball feels evenly moist. Let all extra water drain.
If roots fill almost the entire pot, move the plant into a container one size larger. A much larger pot can hold more wet soil than the roots can use.
Container plants may need frequent watering during hot, dry weather. The University of Minnesota notes that the right schedule changes with container size, container material, and weather.
Use the soil as your guide, not a fixed number of days.
3. The Light Level Does Not Match the Plant
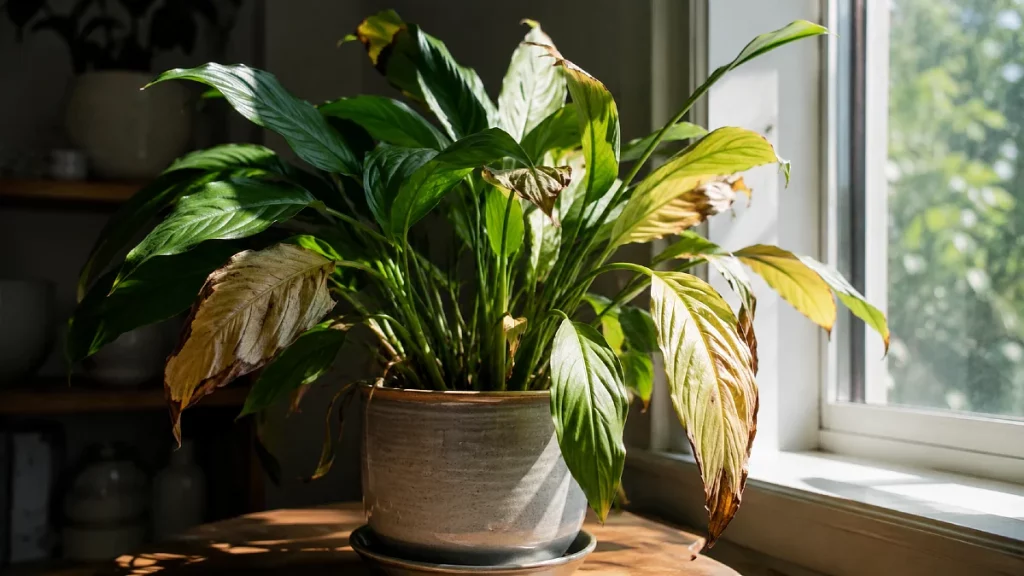
A plant in the wrong light may slowly lose its healthy color.
Low light reduces growth and slows the rate at which a plant uses water. The soil then remains wet longer. This means a light problem can turn into a watering problem.
The RHS lists pale leaves, weak growth, and poor flowering as signs that an indoor plant may not receive enough light.
Signs of too little light include:
- Pale or yellow lower leaves
- Long spaces between new leaves
- Thin stems leaning toward a window
- Slow growth
- Soil staying wet much longer than before
- Loss of color in a variegated plant
Move the plant closer to a suitable window, but make the change in stages. A plant that has lived in deep shade can scorch when placed in strong sun without time to adjust.
Too much light can also cause yellowing.
Strong sun may bleach sensitive foliage or leave pale areas that later turn brown. The RHS notes that direct summer sun can cause discoloration and scorching in many indoor plants unless the light is filtered.
Signs of excess sun include:
- Yellow or pale patches on the window side
- Dry brown areas
- Faded leaf color
- Damage that appears after a move
- Leaves that feel dry rather than soft
Use a sheer curtain or move the plant a few feet back. Check the care needs for the exact plant species. A cactus and a calathea will not be happy in the same window.
4. Roots Cannot Access the Nutrients They Need
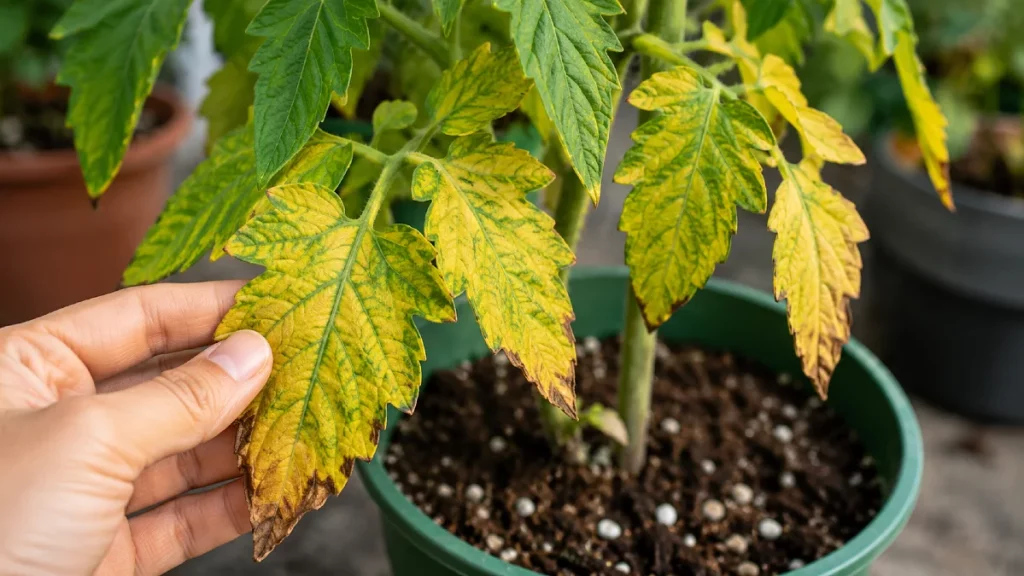
Yellow leaves may point to a nutrient issue, but adding fertilizer should not be your first move.
The problem may not be a lack of fertilizer in the soil. Roots may be too wet, damaged, crowded, or unable to access nutrients because the soil pH is unsuitable.
Illinois Extension explains that chlorosis can result from poor drainage, compacted roots, damaged roots, alkaline soil, or nutrient shortages. It also notes that nutrients may be present but unavailable to the plant.
The leaf pattern can help narrow the cause.
Older leaves turn pale first
A lack of nitrogen can cause broad yellowing that often begins on older leaves. The plant may also make weak growth. The RHS describes nitrogen deficiency as general yellowing or reddening that usually begins with older foliage.
Yellow tissue appears between green veins
This pattern is called interveinal chlorosis.
Iron problems often appear on younger leaves because iron does not move easily from old tissue to new growth. Magnesium problems often begin on older leaves.
The University of Minnesota describes magnesium deficiency as yellowing between the veins while the veins stay green, often beginning on lower leaves.
Do not treat every green vein pattern with iron. Several nutrient problems can look alike.
What to do
Check the roots, moisture, and drainage before feeding.
If the plant is growing outdoors, use a soil test before adding large amounts of fertilizer or trying to change the pH. A local extension service can help interpret the result.
For an indoor plant, review when it was last fed. Fresh potting mix often contains enough nutrition for a period of growth. Old container soil may need a balanced houseplant feed during the active season.
Follow the product label. More fertilizer is not better. Excess salts can damage roots and create more yellow or brown leaves.
Also remember that fertilizer cannot repair a leaf that has already lost its green color. Judge recovery by the health of new growth.
5. Pests or Disease Are Damaging the Leaves
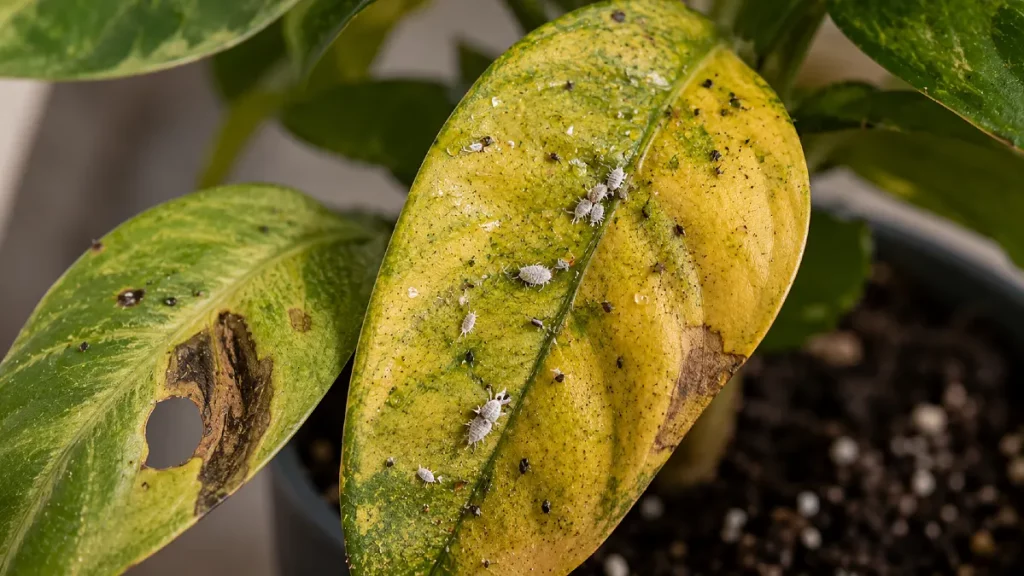
Tiny pests can remove sap or damage plant cells long before you notice them.
Do not inspect the plant from across the room. Hold it under a bright light and check the lower leaf surfaces, stems, leaf joints, and new growth.
Common warning signs include:
- Fine pale or yellow dots
- Sticky leaves
- White cottonlike patches
- Small brown bumps
- Fine webbing
- Twisted new growth
- Brown spots with yellow borders
Spider mites are easy to miss. The University of Minnesota explains that their feeding creates tiny white or yellow spots, giving leaves a speckled or mottled look. Fine webbing may appear as the population grows.
Hold a sheet of white paper under a leaf and tap the leaf gently. Tiny moving dots may be mites.
Aphids, mealybugs, scale insects, thrips, and whiteflies can also weaken indoor plants. Penn State Extension recommends checking for sticky honeydew and inspecting hidden parts of the plant. Its guidance includes rinsing leaf surfaces and using a cotton swab for pests in tight areas.
What to do
Move an affected houseplant away from other plants.
Rinse the leaves if the species tolerates it. Remove badly damaged leaves, but do not strip most of the foliage at once.
Identify the pest before choosing a treatment. Some sprays can harm sensitive plants. Test any product on a small section first and follow the label.
Disease is more likely when yellowing appears around brown or black spots. RHS guidance notes that dark spots with yellow margins may suggest a fungal leaf spot.
Remove infected fallen leaves. Avoid splashing water across the foliage. Improve air movement and keep the plant from touching its neighbors.
For a fast spreading problem, contact a local extension plant clinic. Clear photos of the full plant, both sides of the leaves, stem, roots, and soil will help with identification.
When One or Two Yellow Leaves Are Normal
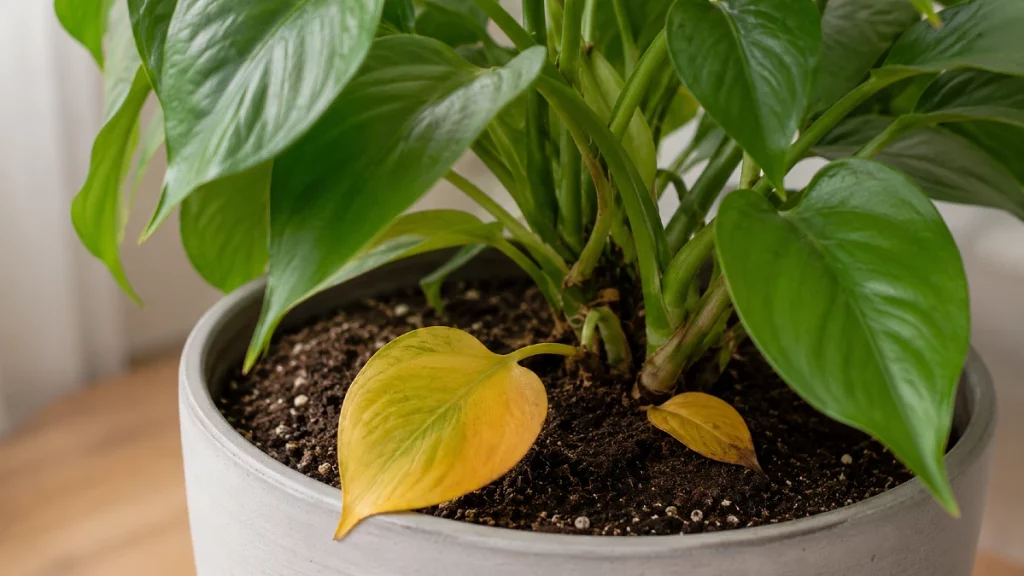
A yellow leaf is not always a plant emergency.
Plants replace older foliage as they grow. One lower leaf may fade, turn yellow, and fall while the rest of the plant remains healthy.
Normal aging is more likely when:
- Only one or two old leaves are affected
- New growth looks healthy
- The yellowing is slow
- The stem remains firm
- There are no pests, spots, or root problems
A recent move can also cause temporary leaf loss. Changes in light, temperature, humidity, and watering speed can stress a plant.
Illinois Extension notes that plants may develop yellow leaves or drop foliage while adjusting to a new indoor location. The plant may recover once conditions become stable.
Watch the speed of the change.
One old yellow leaf is usually a minor issue. Several leaves changing every week need closer attention. Yellow new growth also deserves a faster check.
Remove a fully yellow leaf with clean scissors. It will not turn green again. Then watch the plant for fresh symptoms.