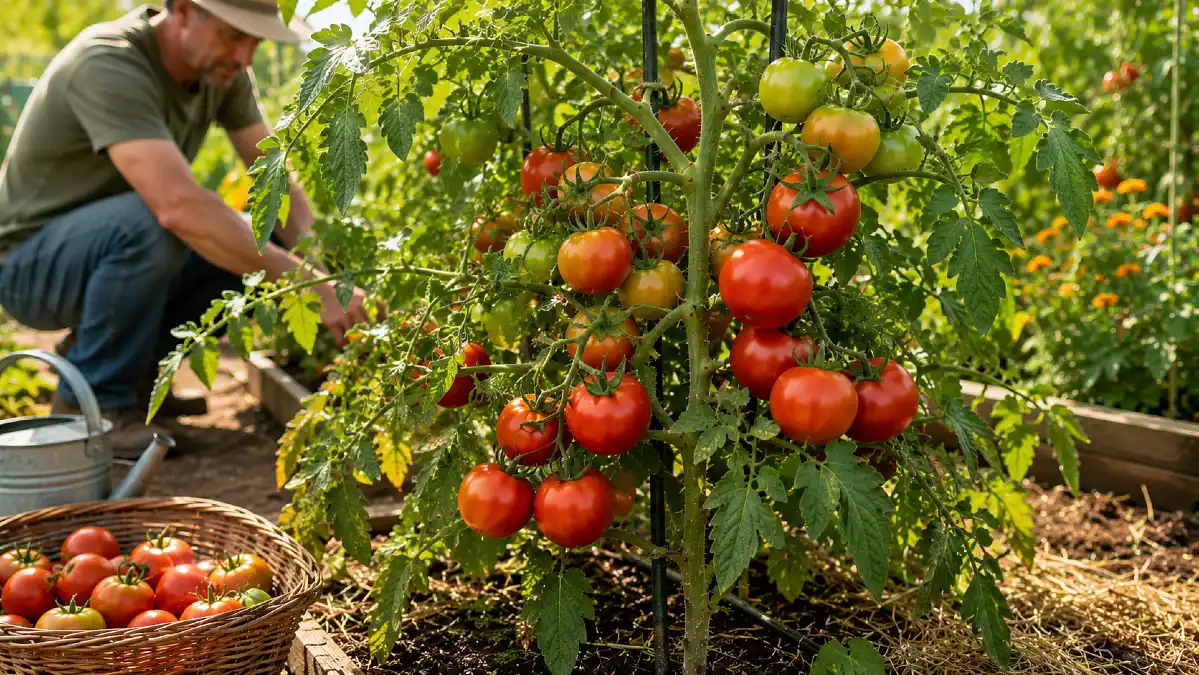
Your tomato plants have filled the bed with thick stems and green leaves. Yet when harvest time comes, you collect only a few tomatoes. It feels like a poor return for months of watering, tying, feeding, and checking for pests.
Adding more plants may seem like the answer. But that creates more work and can make crowding worse. Plants packed too closely compete for light, water, nutrients, and moving air.
Experienced gardeners take a different path. They help each plant hold more flowers, develop more fruit, and lose fewer tomatoes to disease or damage.
You can do the same. The key is to improve the conditions that control production. Better sunlight, stronger roots, steady moisture, correct feeding, useful support, and careful pruning can help you grow more tomatoes from the space you already have.
1. Start With a Tomato That Can Keep Producing
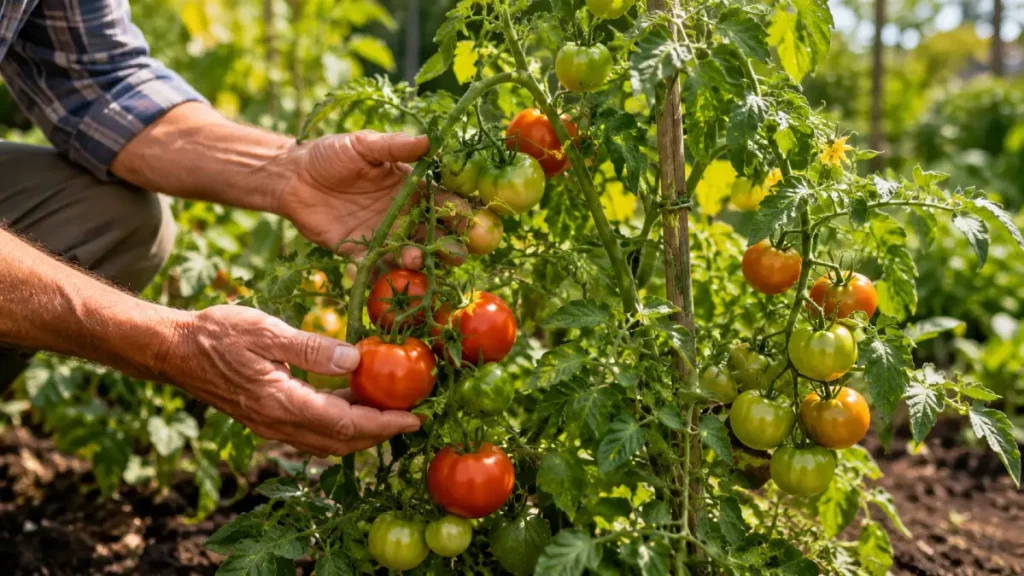
The right variety gives you a better chance of getting the harvest you want.
Tomatoes are often grouped as determinate or indeterminate. Determinate plants grow to a set size and produce much of their crop within a shorter period. Indeterminate plants keep growing and flowering until cold weather or disease stops them.
Penn State Extension notes that indeterminate tomatoes can produce fruit over a longer season. That makes them useful when you want a steady supply from a small number of plants.
Think about how you use tomatoes before choosing a variety.
- Choose indeterminate plants for a longer harvest.
- Choose determinate plants when you want many tomatoes for sauce or canning at about the same time.
- Choose cherry or small salad tomatoes when fruit count matters.
- Choose larger slicing tomatoes when size matters more than the number of fruit.
Climate matters too. A variety that performs well in a cool coastal summer may struggle in weeks of intense heat.
Check seed descriptions for disease resistance, days to maturity, growth type, and heat tolerance. A plant suited to your season often produces more than a famous variety growing under the wrong conditions.
2. Give Each Plant Enough Sun to Make More Fruit
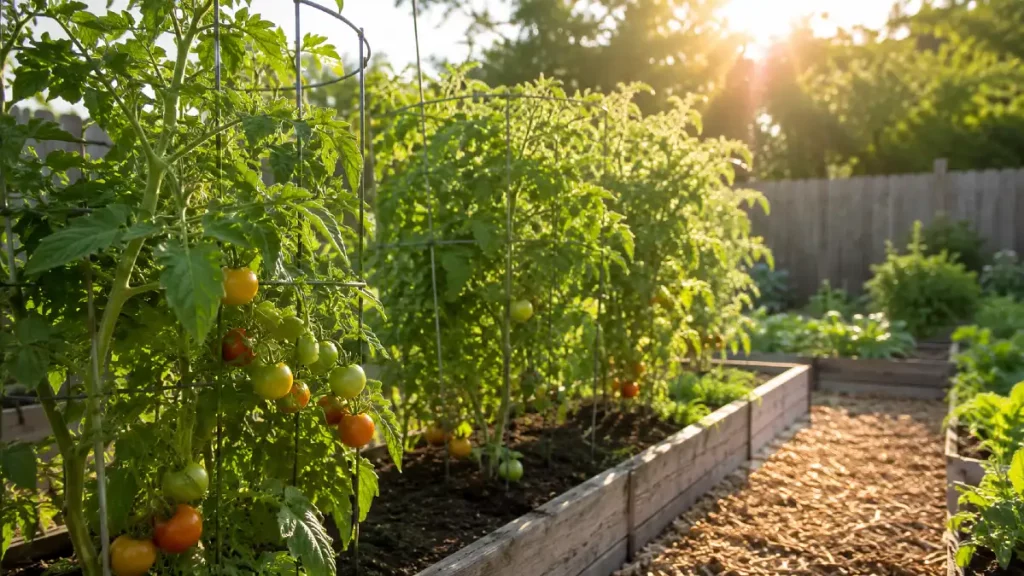
Tomato leaves use sunlight to make the energy that supports flowers and fruit.
Oregon State University Extension advises placing tomatoes where they receive at least six hours of full sun each day. In areas with mild summers, a longer period of direct sun may support stronger growth.
Watch the site across the whole day. A bed that looks sunny at noon may sit in shade during the morning or late afternoon.
Common light blockers include:
- Fences
- Sheds
- Trees
- Tall flowers
- Corn
- Pole beans
- Nearby tomato plants
Do not judge sunlight only when you plant in spring. The sun angle changes, and nearby plants become taller as summer moves forward.
Very hot climates need a different approach. Some afternoon protection may reduce heat stress when temperatures become severe. The goal is strong light without cooking the plant.
Move containers when needed. For plants in the ground, trim nearby growth that creates heavy shade. Do not cut healthy tomato leaves simply to expose the fruit. Leaves produce energy and protect tomatoes from sun injury.
3. Build a Larger Root System From the Start
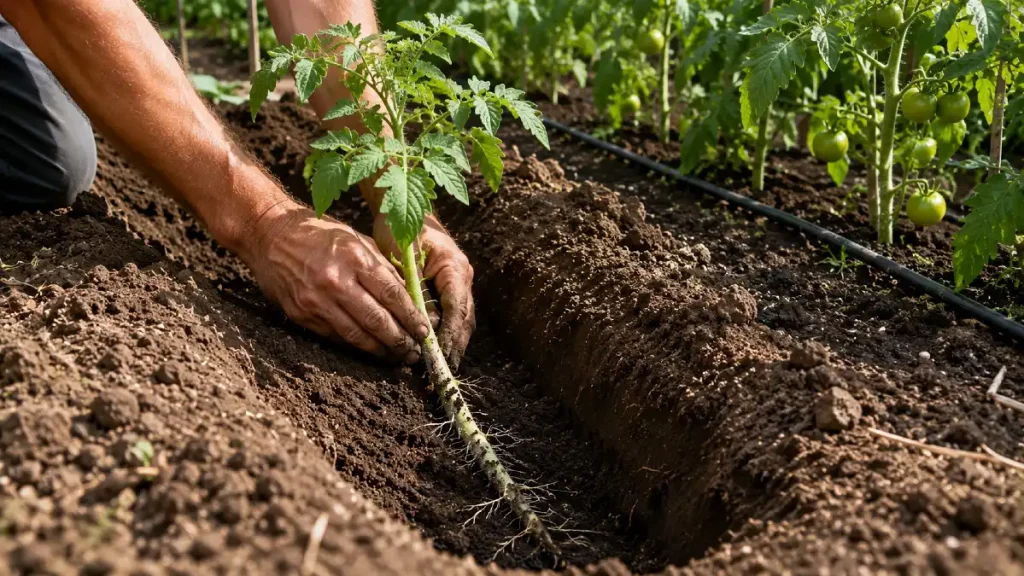
A strong harvest begins below the soil.
Tomato stems can form roots along buried sections. The University of Minnesota Extension recommends removing the lowest leaves and planting part of the stem below the soil. Gardeners can also lay a long transplant in a shallow trench and leave the upper section above ground.
More stem under the soil can create a wider root system. That gives the plant more access to water and nutrients.
Use this method carefully:
- Remove the lowest leaves.
- Dig a deep hole or a shallow trench.
- Place the bare stem under the soil.
- Keep all remaining leaves above the surface.
- Water the root area slowly.
Do not push a long stem into cold, packed, wet soil. Roots need water, but they also need air.
Oregon State University Extension recommends soil that drains well and contains compost or well rotted organic matter. Compost can improve soil structure, but it does not fix every problem.
Avoid digging through major roots once the plant is growing. Pull small weeds by hand and add mulch before weed roots become hard to remove.
4. Support the Plant Before It Falls Apart
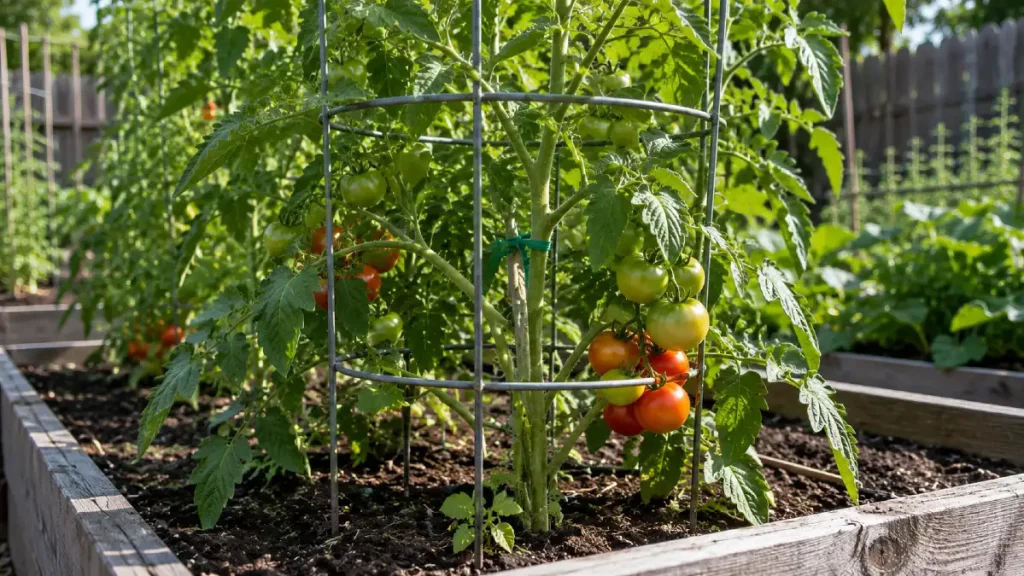
A good support system protects the crop you already grew.
Oregon State University Extension reports that sturdy support can increase usable yields by keeping leaves and fruit away from the ground. Fruit on unsupported plants is more open to rot, animal damage, and soil related disease.
Install support soon after planting. Waiting until the plant falls over often leads to snapped stems and crushed flower clusters.
You can use:
- A wide tomato cage
- One tall stake
- A vertical string system
- A strong trellis
- A woven support between posts
Choose the support based on the tomato type. A small cage may hold a short determinate plant. A large indeterminate plant may grow beyond it.
The University of Minnesota Extension notes that indeterminate plants commonly grow taller than standard cages.
Tie stems loosely with soft cloth, garden tape, or flexible plant ties. Leave room for the stem to grow thicker.
Check ties every week. A tie that was loose in June can cut into a stem by July.
5. Keep Soil Moisture Steady During Flowering and Fruiting
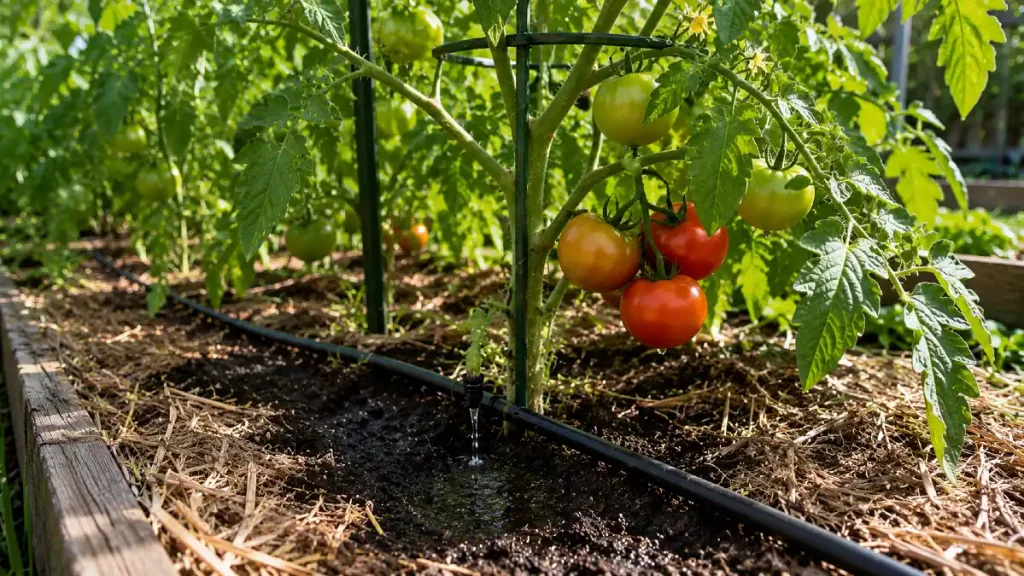
Tomatoes struggle when their roots swing from very dry soil to soaked soil.
Steady moisture supports new growth, flower health, and fruit development. It can also reduce stress linked with fruit cracking and blossom end rot.
Water deeply at the base of the plant. Then let the upper soil begin to dry before watering again. Do not follow a fixed calendar without checking the soil.
Push a finger several inches into the soil. The surface may look dry while the root area is still moist. The reverse can also happen under a light layer of mulch.
Drip irrigation and soaker hoses place water close to the roots. The University of Minnesota Extension recommends watering at the plant base and watering early enough for wet leaves to dry quickly.
A good routine looks like this:
- Check the soil below the surface.
- Water slowly enough for moisture to soak down.
- Stop before water runs away from the bed.
- Check again later to see how deeply the water reached.
- Adjust for rain, heat, wind, and soil type.
Sandy soil dries faster than clay soil. Containers may need checks every day during hot weather.
Do not keep roots constantly wet. Poor drainage can damage roots and limit their ability to take up water and nutrients. Oregon State University Extension warns that standing water can kill roots or make them inactive.
6. Use Mulch to Protect Every Drop of Water
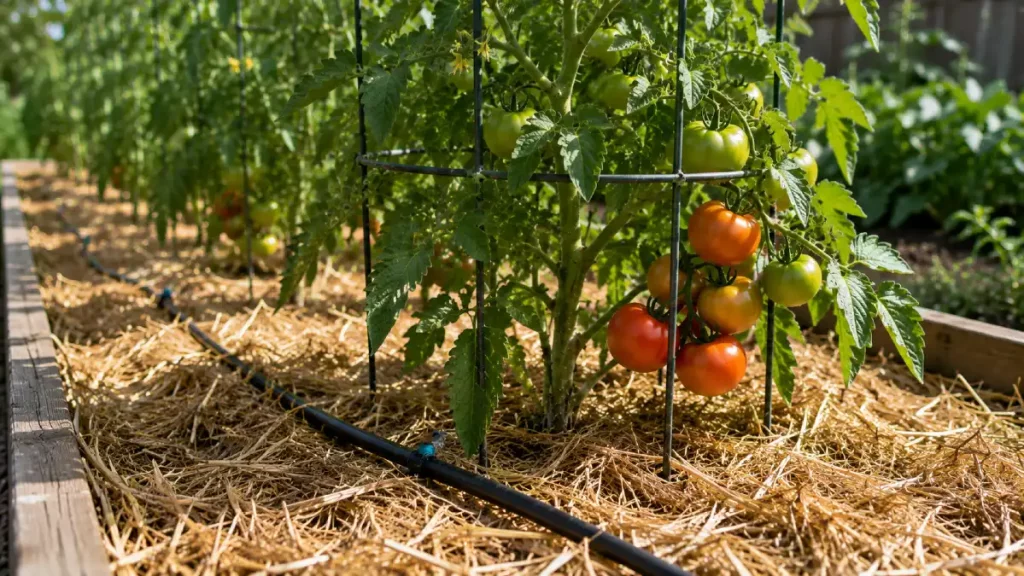
Mulch makes steady watering much easier.
The University of Georgia Extension recommends materials such as compost, clean wheat straw, and other organic mulch to reduce evaporation, cool the soil, and limit weeds.
Apply mulch after the soil has warmed. Spread it over the root area without piling it against the stem.
Useful options include:
- Clean straw
- Shredded dry leaves
- Finished compost
- Untreated grass clippings applied in thin layers
- Pine straw where it is locally suitable
Mulch also creates a barrier between the soil and the leaves. This matters because rain and overhead watering can splash soil onto the lower parts of the plant.
University of Minnesota Extension advises mulching early to reduce soil splash. It also recommends removing the lowest branches so the first section of stem stays clear.
Check beneath the mulch before adding water. Mulch can make the surface look dry while the soil below remains moist.
7. Feed Fruit Without Growing a Jungle of Leaves
More fertilizer does not always mean more tomatoes.
Too much nitrogen can produce a large plant with thick leaves and weak fruit production. The plant looks healthy, but much of its energy goes into stems and foliage.
Begin with a soil test. It tells you whether the soil is missing nutrients and whether the pH allows roots to use them.
Then look at the whole plant.
A tomato may need help when:
- Older leaves lose color
- Growth slows during active weather
- Leaves show a clear nutrient pattern
- A soil test finds a shortage
- Container plants have been watered heavily for weeks
Do not diagnose every yellow leaf as hunger. Root damage, disease, poor drainage, heat, and natural aging can cause similar signs.
Place granular fertilizer beside the root zone rather than against the main stem. Mix it lightly into the soil if the label calls for it, then water the area.
Use the product rate on the label and local soil test advice. Fertilizer formulas and soil conditions differ, so one fixed amount is not safe for every garden.
Container tomatoes need closer care. Repeated watering carries nutrients out of potting mix. The University of Minnesota Extension notes that container feeding may need to begin within two to six weeks after planting, based on the potting mix, watering rate, and plant growth.
Feed lightly and watch the response. Dark green leaves with little flowering can be a sign to stop adding nitrogen.
8. Help Flowers Set Fruit During Difficult Weather
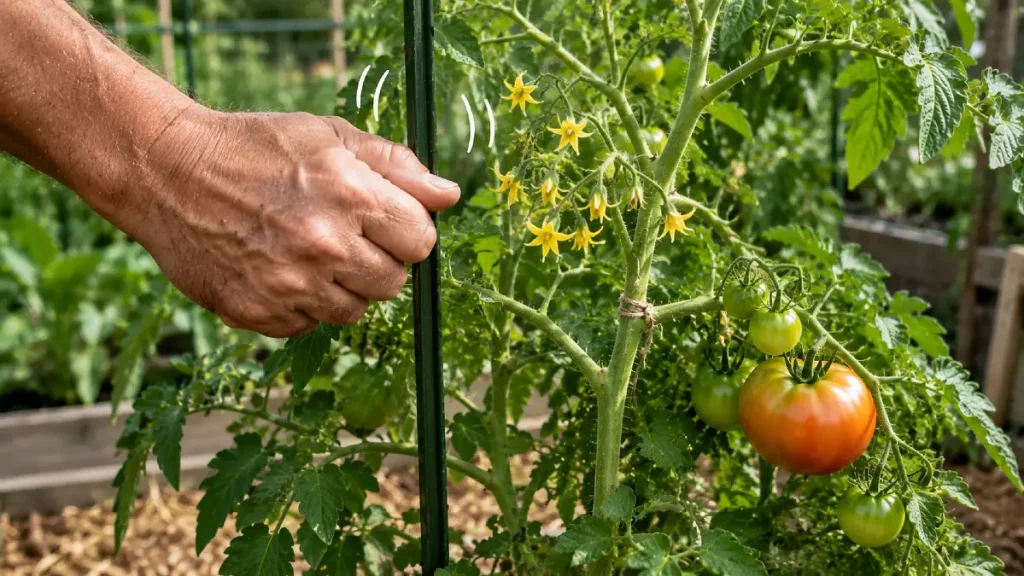
A tomato flower must release pollen before it can form a tomato.
Tomato flowers contain the parts needed for pollination. Wind, insects, and movement shake the pollen loose.
In a protected patio, greenhouse, or still corner, flowers may receive little movement. When the flowers are dry, gently tap the main support or shake a flower cluster for a second. Do this carefully so you do not snap the stem.
Weather can still block fruit set.
The University of Georgia Extension reports that tomatoes may fail to set fruit when nights stay above about 75°F. Flowers can open and then fall because high heat interferes with pollination.
During hot weather:
- Keep soil moisture steady.
- Protect roots with mulch.
- Avoid heavy pruning.
- Do not add extra fertilizer in an attempt to force fruit.
- Give containers some afternoon protection during severe heat.
- Wait for cooler weather before assuming the plant has failed.
Extreme heat can pause fruit production. University of Georgia Extension notes that tomatoes may begin setting fruit again after temperatures fall.
A temporary gap in fruit is often a weather problem, not a lack of bees or fertilizer.
9. Prune Only What Blocks Air or Drains the Plant
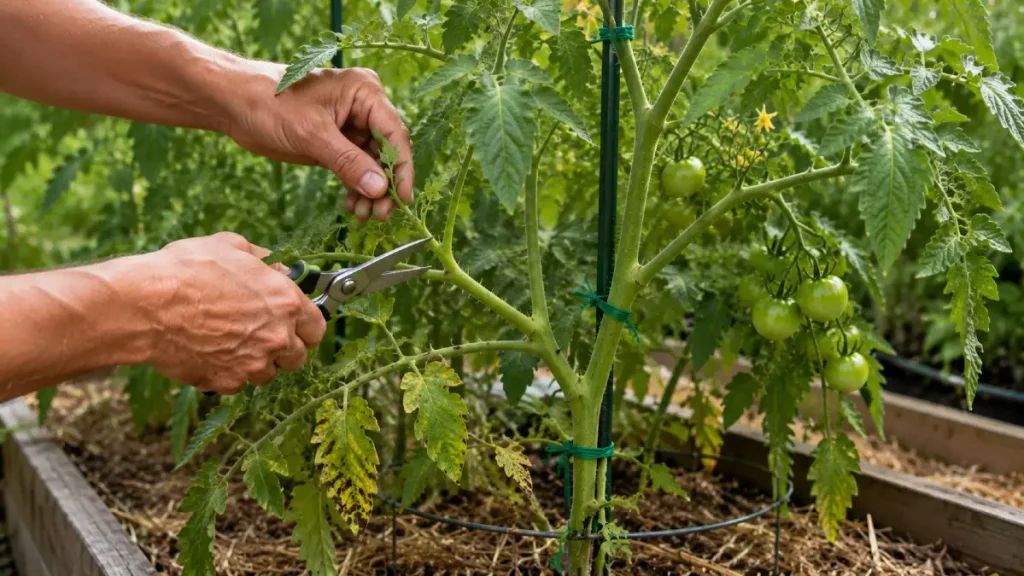
Pruning can make a crowded plant easier to manage. Too much pruning can reduce production.
A sucker is a new shoot that grows where a leaf joins the main stem. On an indeterminate tomato, some suckers can become large fruiting stems.
Removing every sucker creates a narrow plant that is easy to tie. But it also removes future flowers and leaves.
Use a balanced approach.
For indeterminate tomatoes
Remove selected suckers when the center becomes too dense. Keep one to three main growing stems, based on the strength of the support and the space available.
For determinate tomatoes
Prune very little. These plants carry much of their crop on growth that forms within a limited period. Heavy pruning can remove part of the planned harvest.
On both types, remove:
- Leaves touching the soil
- Leaves with severe disease
- Broken stems
- Growth blocking all air through the center
Keep enough healthy foliage to power fruit growth and protect tomatoes from strong sun.
Do pruning work when leaves are dry. University of Minnesota Extension warns that working among wet plants can spread bacteria on hands and tools.
Clean pruning tools before moving from a sick plant to a healthy one. Do not remove half the plant in one session. A stressed tomato needs leaves to recover.
10. Stop Disease Before It Steals the Harvest
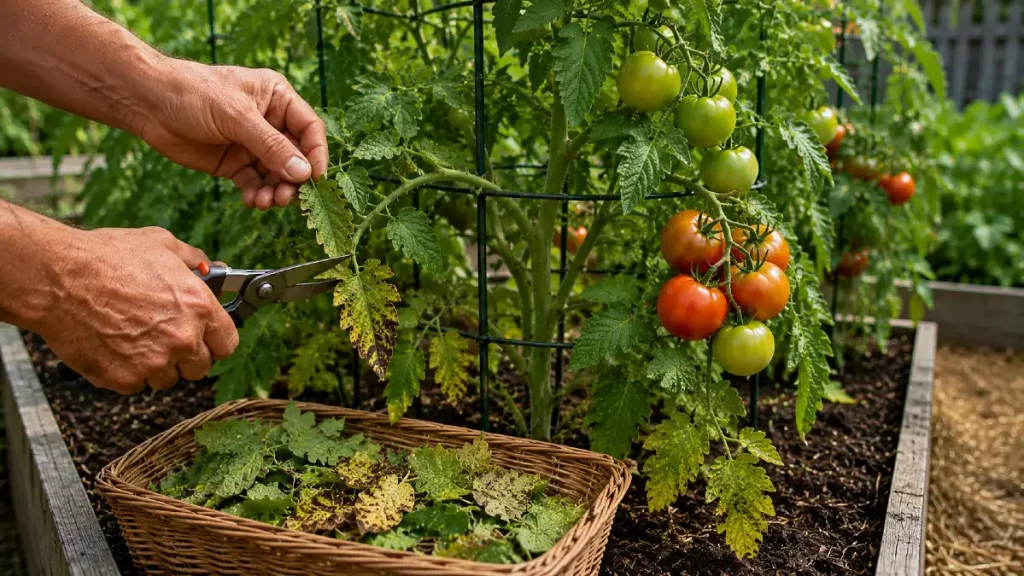
Producing flowers is only part of the job. You must keep the plant healthy long enough to ripen the fruit.
Inspect tomatoes two or three times each week. Look under leaves and near the base of the plant.
Watch for:
- Dark spots on lower leaves
- Yellowing that moves upward
- White coatings
- Chewed leaves
- Sticky residue
- Wilting during cool parts of the day
- Cracked or rotting fruit
Remove badly damaged leaves when the plant is dry. Place diseased material in the trash when local advice says it should not be composted.
Keep leaves away from wet soil. University of Minnesota Extension reports that staking and trellising improve air movement and can reduce fruit rot.
Harvest tomatoes as they begin to show mature color when pests, splitting, or storms are a threat. Many tomatoes can finish coloring indoors at normal room temperature.
Do not leave damaged fruit hanging on the plant. It can attract insects and hide developing rot.
At the end of the season, remove old vines and fallen fruit. Rotate tomatoes with crops outside the tomato family where space allows. Tomatoes, peppers, potatoes, and eggplants can share several disease problems.
A Simple Weekly Routine for More Tomatoes
Experienced gardeners do not make one large change and forget the plants. They make small checks each week.
Use this routine:
- Check soil moisture below the surface.
- Guide new stems onto the support.
- Loosen tight plant ties.
- Inspect the lower leaves for spots.
- Remove fruit that is ripe or damaged.
- Check flowers after extreme heat.
- Pull weeds before they grow large.
- Record what you watered, fed, or pruned.
A few phone photos can help. Take one photo from the same spot each week. Changes in leaf color, density, and fruit growth become easier to see.