
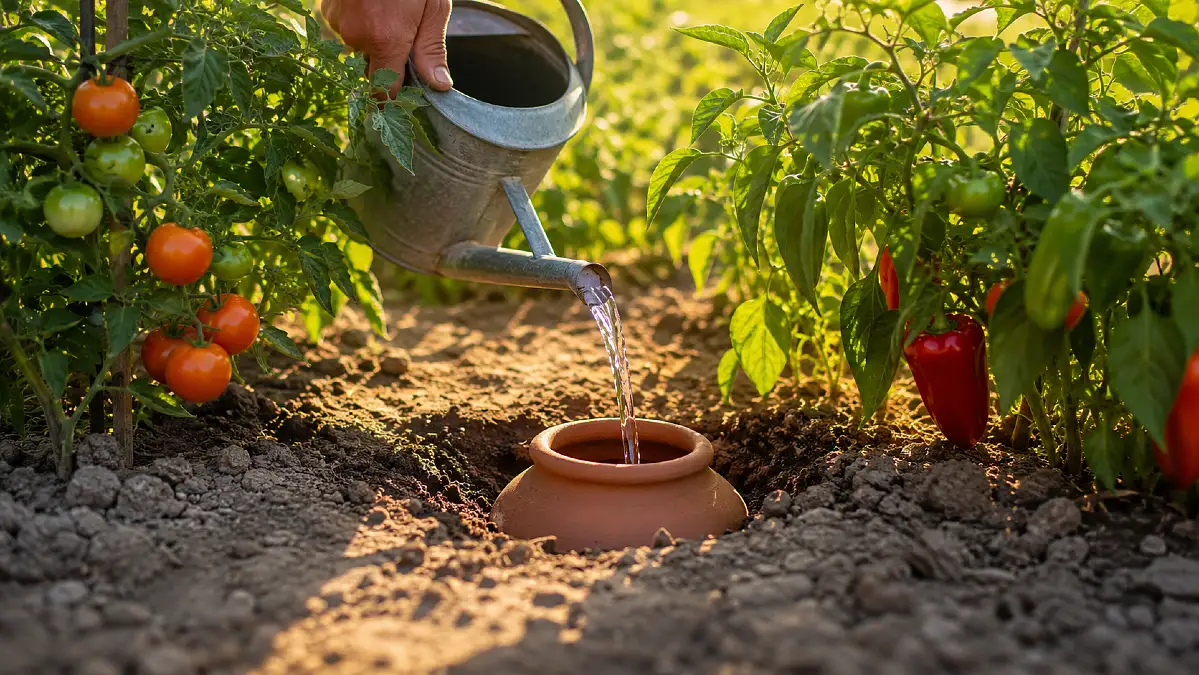
Summer heatwaves are brutal on our gardens. Hand watering with a heavy can is exhausting. Surface water evaporates too quickly in the hot sun. Municipal water restrictions make things worse.
Using a hose is legally banned during droughts. Your tomatoes and peppers often suffer in the dry soil. But municipal rules do not mean your plants must perish.
This ancient clay pot watering trick uses soil tension to deliver moisture directly to the roots. You can cut water use by up to 70 percent. You will save your plants and follow the rules perfectly.
What Is The Ancient Clay Pot Watering Trick?
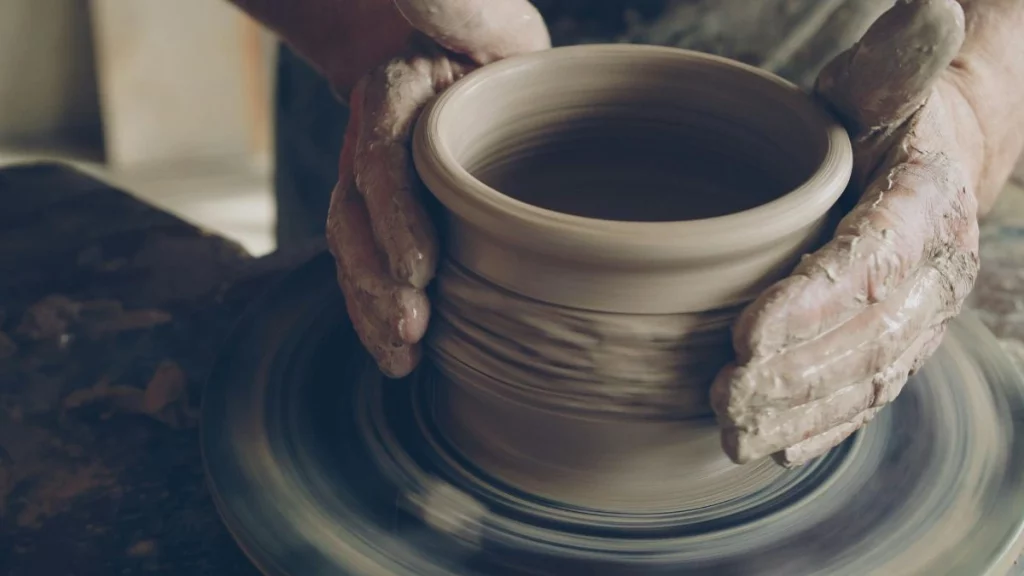
If you want to survive a summer drought, you need to know about osmotic pressure. An Olla is an unglazed terracotta vessel buried in the soil. You pronounce it oy ya. The porous clay slowly seeps water only when the surrounding soil dries out.
Ancient cultures used this exact method 4,000 years ago. The Hohokam farmers in Arizona relied on this olla irrigation system to grow crops in harsh deserts. It works just as well in your modern backyard.
Plant roots naturally grow directly to the water source. The roots wrap around the clay pot to drink exactly what they need. This completely stops wet and dry stress cycles.
When you pour water on top of the ground, plants panic. They get too much water at once. Then they dry out completely the next day. The clay pot stops this panic. Because the water stays underground, your plants build stronger root systems. Strong roots mean healthier vegetables.
| Feature | Traditional Watering | Olla Irrigation System |
| Water Delivery | Top of soil | Deep at the roots |
| Evaporation | Very high | Almost none |
| Plant Stress | High | Low |
Why Ollas Are Perfect For Hosepipe Ban Gardening
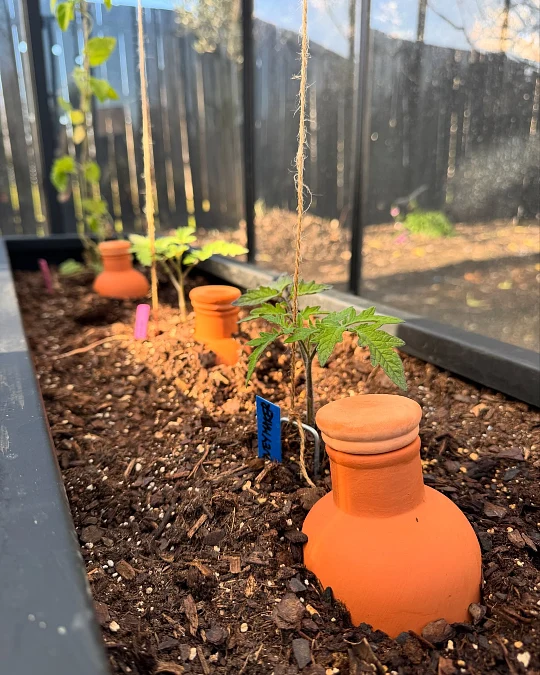
This method legally bypasses hose rules. Filling a buried pot with a watering can every few days is completely permitted for hosepipe ban gardening. Your garden stays legal and green.
It dramatically lowers evaporation since water is delivered beneath the surface. The hot summer sun never touches the moisture. This keeps the topsoil dry. Dry topsoil drastically reduces weed seed germination. You will spend much less time pulling weeds.
University of Arizona Cooperative Extension research confirms a 60% savings to 70 percent water savings compared to conventional surface watering. That is a massive reduction in your monthly bill.
Curtis Smith is a Horticulture Specialist at New Mexico State University. He states this technology is equal to or slightly superior to modern drip irrigation. Drip lines often clog with hard water minerals. Clay pots do not have this problem.
| Plant Type | Root Depth | Olla Compatibility |
| Tomatoes | Deep | Excellent |
| Peppers | Medium | Great |
| Squash | Wide | Very Good |
| Carrots | Shallow | Poor |
Deep rooted, moisture loving crops thrive with this setup. Tomatoes stop cracking when they get consistent moisture. Peppers produce heavier yields. Squash leaves stop wilting in the afternoon sun.
As a result of this slow seepage, your entire vegetable bed becomes incredibly resilient. But how do you make one yourself?
How To Build Your Own DIY Terracotta Watering Pot
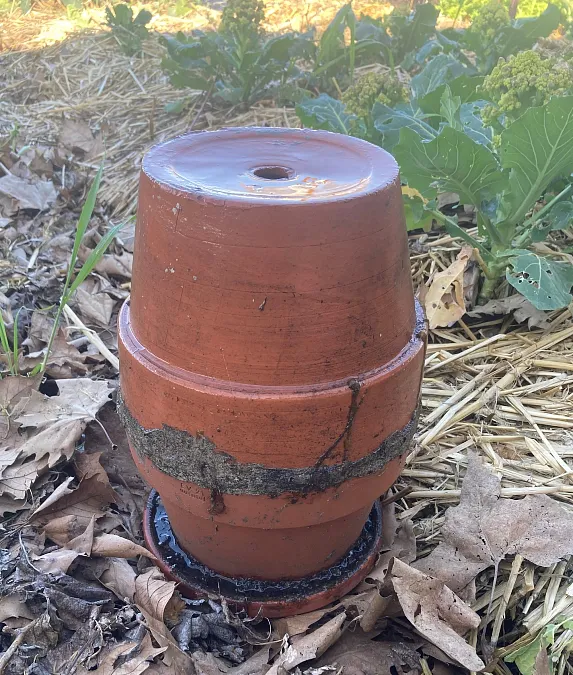
You can build this system for under 5 dollars. Commercial drip systems cost much more. You just need two identical unglazed terracotta pots and waterproof food grade silicone. You also need a small piece of tile or a rock.
You can find these cheap clay pots at any basic garden center. Make sure they do not have any shiny glaze on the outside.
- Seal the bottom drainage hole of one pot with the silicone.
- Wait for that seal to dry completely.
- Run a thick bead of silicone around the wide rim of that pot.
- Press the wide rim of the second pot directly on top.
- Glue the wide rims of the two pots together to form a capsule.
- Let the silicone cure fully for 24 hours.
Always check the pots for leaks before you bury them. Fill your new DIY terracotta watering pot with water. Leave it on your patio for an hour. If water runs out quickly, you missed a spot with the glue.
Once it holds water, bury the unit in the garden. Leave only the top drainage hole exposed above the dirt. Use a small rock or tile to cover that top hole.
This stops mosquitoes from breeding inside. Pour water from a watering can directly into that top hole every few days.
4 Common Errors To Avoid When Watering With Clay Pots
Many beginners make small errors when starting out. Using glazed pots is a bad idea. The glaze blocks the clay pores and traps the water inside. The plants will get nothing.
Never let the pot run entirely dry. You must keep it at least half full to maintain the water pressure. The weight of the water pushes the moisture out into the dry soil. If the pot is empty, the pressure stops.
Spacing plants too far away also causes problems. The water only travels a short distance through the dirt. Plant standard crops within 12 to 18 inches of the pot for maximum effectiveness. If you plant further away, the roots will not find the moisture.
Do not use this ancient clay pot watering trick for woody plants or trees. Tree roots are incredibly strong. They will wrap around the pot and can actually crack the clay over time. Keep this trick in your vegetable garden.
| Common Error | Result | What To Do Instead |
| Using glazed pots | Water cannot escape | Buy unglazed terracotta only |
| Empty pot | Water pressure drops | Refill when half empty |
| Planting too far | Roots cannot reach water | Keep plants within 18 inches |
How To Protect Your Clay Pots From Winter Freezes
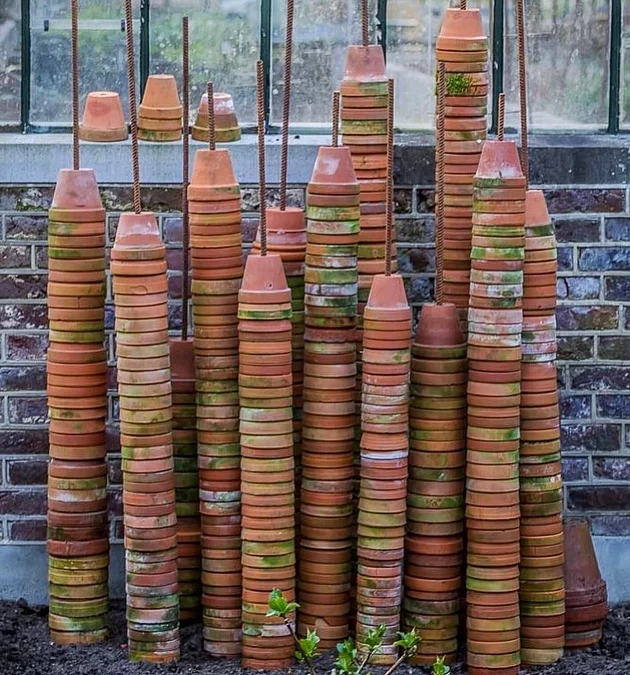
Winter brings a new problem for your clay pots. Freezing temperatures will destroy your hard work. Terracotta expands and contracts with the weather.
If water freezes inside the clay, the pot will shatter. You must prepare your system before the first hard frost hits your garden.
You have a few choices for winter care. The safest option is to dig the pots up entirely. Wash off the dirt and store them in your garage.
If you want to leave them in the ground, you must empty all the water. Use a turkey baster to suck out any leftover moisture at the bottom.
Cover the top hole with a heavy stone. You want to stop rain and snow from getting inside the empty pot. A dry pot in frozen ground usually survives just fine.
| Weather Condition | Action Required | Risk Level |
| Light Fall Frost | Leave in ground | Low |
| Heavy Winter Freeze | Empty all water | High |
| Deep Ground Freeze | Dig up and store | Very High |
3 Simple Ways To Check Your Pot Water Levels

You cannot see through the dirt to know when your pot is empty. Guessing often leads to dry soil. But checking the water level is actually very easy. You just need a few basic tools you already own.
First, you can use a simple wooden dowel or a long stick. Drop the wood straight down into the top hole. Pull it back up and look at the wet mark. This works exactly like checking the oil in your car.
Second, you can shine a small flashlight down the opening. You will easily see the water reflecting at the bottom. Third, watch your plants carefully. If the leaves start drooping in the morning, your pot is completely empty.
| Checking Method | Tool Needed | Accuracy |
| The Dipstick Check | Wooden dowel | Very accurate |
| The Visual Light Check | Small flashlight | Good |
| The Plant Leaf Test | Your eyes | Poor |