
“Laid well, a gravel surface lasts for years; laid badly, it ruts, floods, and migrates within months.” Most failed gravel areas share the same culprits: shifting stones, muddy patches that never dry, weeds breaking through, and rainwater pooling against the house. This guide shows you how to lay gravel on soil correctly—step by step—so you end up with a stable, clean edge, and a surface that drains.
You’ll learn the right layer build-up: a geotextile membrane under gravel to separate soil from stone; a compacted MOT Type 1 sub-base that provides the strength; and the surface layer, with the gravel driveway depth that actually resists rutting. We’ll cover legal basics for UK front gardens—why permeable gravel usually avoids planning permission if water drains on site—and the on-the-ground details that make the difference: falls away from the house, compaction passes, and when to add edging and stabilisation grids. (GOV.UK; Planning Portal.)
Expect specific numbers, not guesswork: typical domestic sub-base thicknesses (100–150 mm) and ≤150 mm compaction lifts are standard practice referenced by respected trade sources like Pavingexpert, with DPC and fall rules drawn from the LABC Warranty Technical Manual.
Check Drainage, Levels & Rules (before you dig)

1) Permitted development & permeability. For front gardens over 5 m², UK rules say you typically don’t need planning permission if the surface is permeable (gravel qualifies) or if runoff is directed to soft ground (lawn/border) within your property. If you intend to direct water into the street sewer or use an impermeable finish, permission may be required.
2) Falls and DPC clearance. Set your design levels so finished gravel sits at least 150 mm below the damp-proof course (DPC) and falls away from the building at a minimum 1:80 (≈12.5 mm per metre); LABC’s technical manual also permits up to 1:12 where needed. These two rules—fall + DPC—are the simplest way to stop water tracking back to the house. (LABC Warranty Technical Manual.)
3) Check site permeability early. If water lingers after rain, plan an infiltration feature (e.g., soakaway or French drain) sized from on-site tests to BRE Digest 365 (often required by local authorities). Councils like the Royal Borough of Windsor & Maidenhead explicitly call for winter-season infiltration tests to BRE 365; merchants like EcoMerchant carry readable summaries of the test method.
4) When to add drains. On steep plots or where boundary walls trap water, add a channel drain across thresholds (e.g., garage) or a French drain running to a suitable outfall/soakaway. Consumer-level guidance from Homebuilding & Renovating mirrors industry practice: combine permeable surfacing with sensible gradients (about 1–2%) and targeted linear drainage where necessary. (Homebuilding & Renovating.)
Choose the Right Build-Up & Materials
Gravel Drive Build-Up — Fast Reference & Smart Choices
Layered Recipe That Lasts
Use this order to maximise separation, stability, and drainage.
How Deep? — Practical Targets by Use & Soil
| Use | Firm soil | Softer/Clayey soil |
|---|---|---|
| Footpaths | 75–100 mm | 100–125 mm |
| Domestic drives (cars) | 100–125 mm | 125–150 mm |
| Drives w/ SUVs or vans | 125–150 mm | 150 mm+ |
| Surface gravel: typically 50–60 mm with 20 mm aggregate. | ||
Depths are indicative; verify on site for bearing capacity, drainage, and local standards.
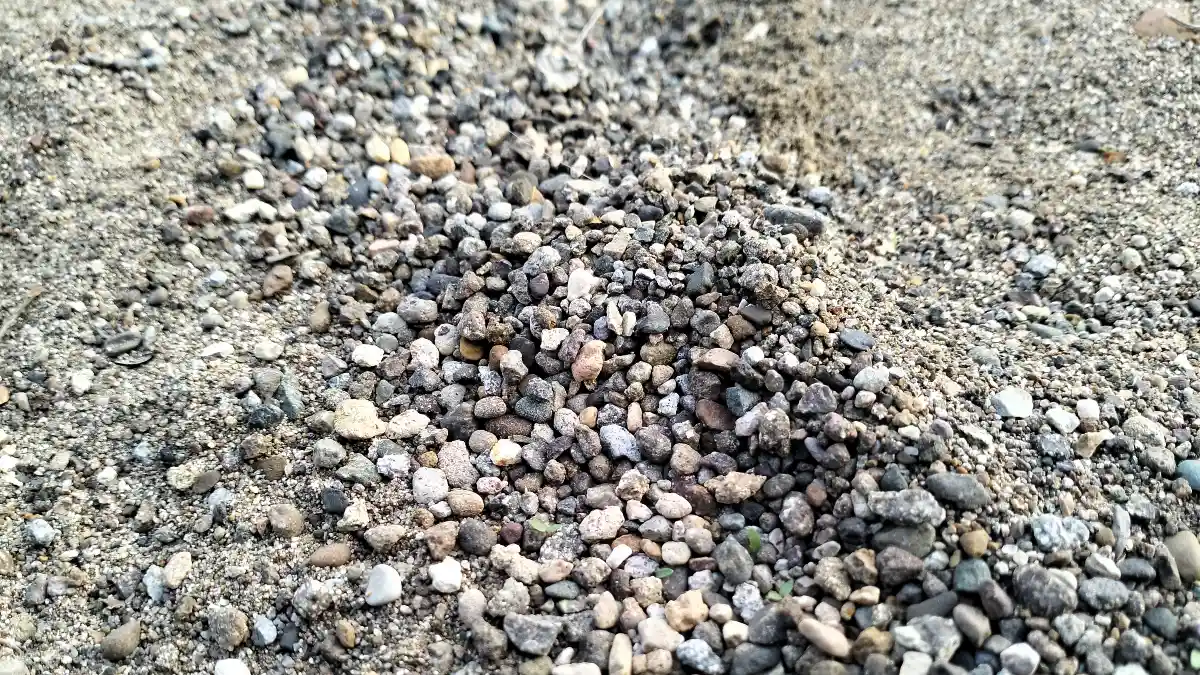
Pick the Right Aggregate Size & Shape
- 14–20 mm angular — Best for drives (interlock, low tracking)
- 10 mm angular — footpaths & light areas; can scatter under tyres
- Rounded pea shingle — Avoid for drives (rolls, tracks, ruts)
When to Add Honeycomb Grids
Benefit: reduces rutting and stone spread while staying SuDS-friendly.
Quick Quantity Example (so you don’t run short)
Sub-base volume ≈ Area × Thickness. Add ~10% for wastage/settlement.
- Example: 50 m² drive × 0.15 m = 7.5 m³
- +10% allowance → 8.25 m³
- Bulk density (MOT Type 1, loose) ≈ 2.0 t/m³ → ~16.5 t
Densities vary by quarry and moisture; check with your supplier.
Quality Checks Before the Gravel Goes Down
- Sub-base is firm, level, and crowns slightly to direct water.
- Geotextile overlaps ≥ 300 mm and is wrinkle-free.
- Compaction done in thin, even lifts across the whole area.
- Edges restrained (kerb, timber, or grid) where scatter is likely.
The proven stack. A robust build-up on soil is: nonwoven geotextile (separation/filtration) → MOT Type 1 sub-base (SHW Clause 803) → optional gravel stabilisation grids → 14–20 mm angular surface gravel. Nonwoven geotextiles (e.g., Terram Standard range) stop soil and stone intermixing while letting water through, which prolongs pavement life.
What “MOT Type 1” actually means. It’s a graded, compactable granular sub-base to Specification for Highway Works (SHW) Clause 803—commonly described as “about 40 mm to dust”—and is compacted in thin lifts. For domestic drives, expect 100–150 mm sub-base depending on soil and vehicle loading.
Depths by use (practical targets). Footpaths: around 75–100 mm sub-base. Domestic drives: 100–150 mm sub-base. Surface gravel depth: typically 50–60 mm when using 20 mm aggregate.
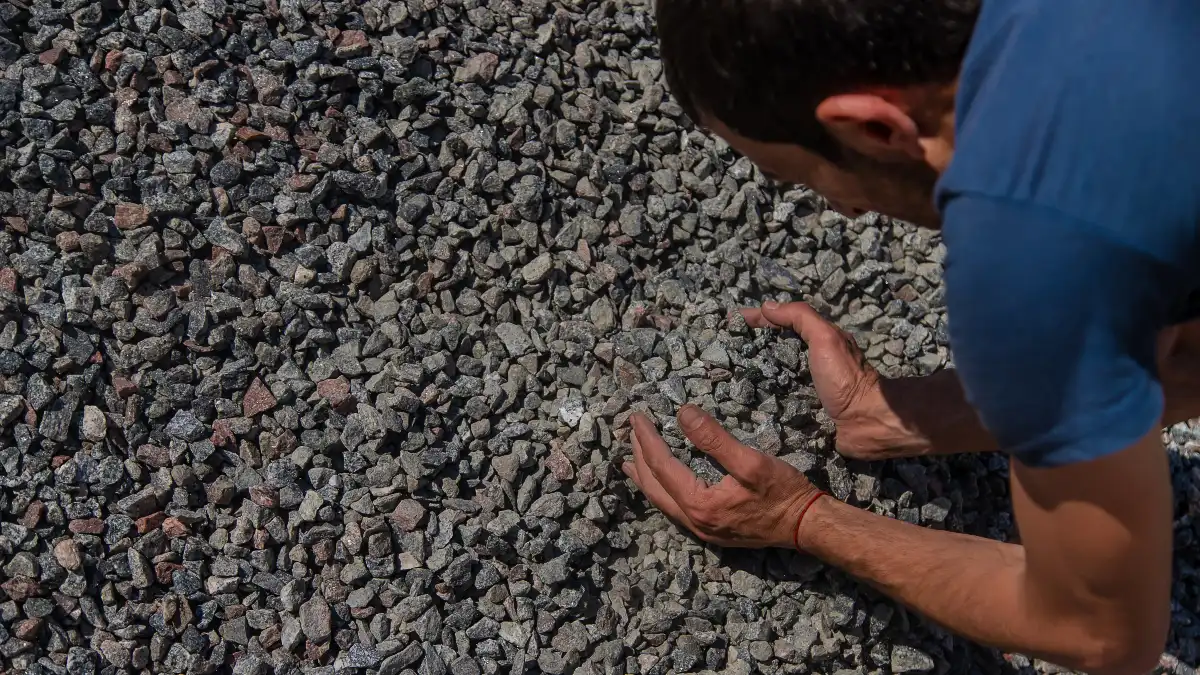
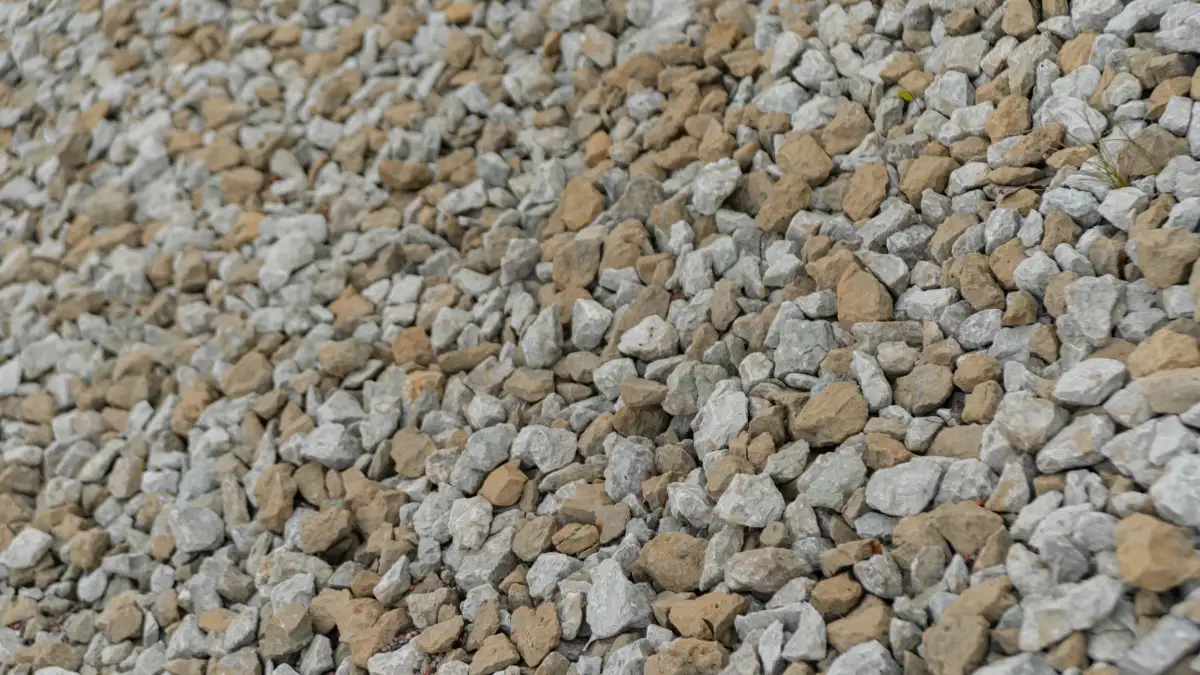
Choose the right gravel size. For driveways, 14–20 mm angular chippings interlock and resist migration; 20 mm is the safe default for vehicle traffic. Avoid rounded pea shingle for drives—it moves and tracks.
When to add grids. Honeycomb gravel grids (e.g., Nidagravel) reduce rutting and stone spread, especially on slopes or tight turning areas, while staying fully permeable for SuDS compliance. (Nidagravel UK.)
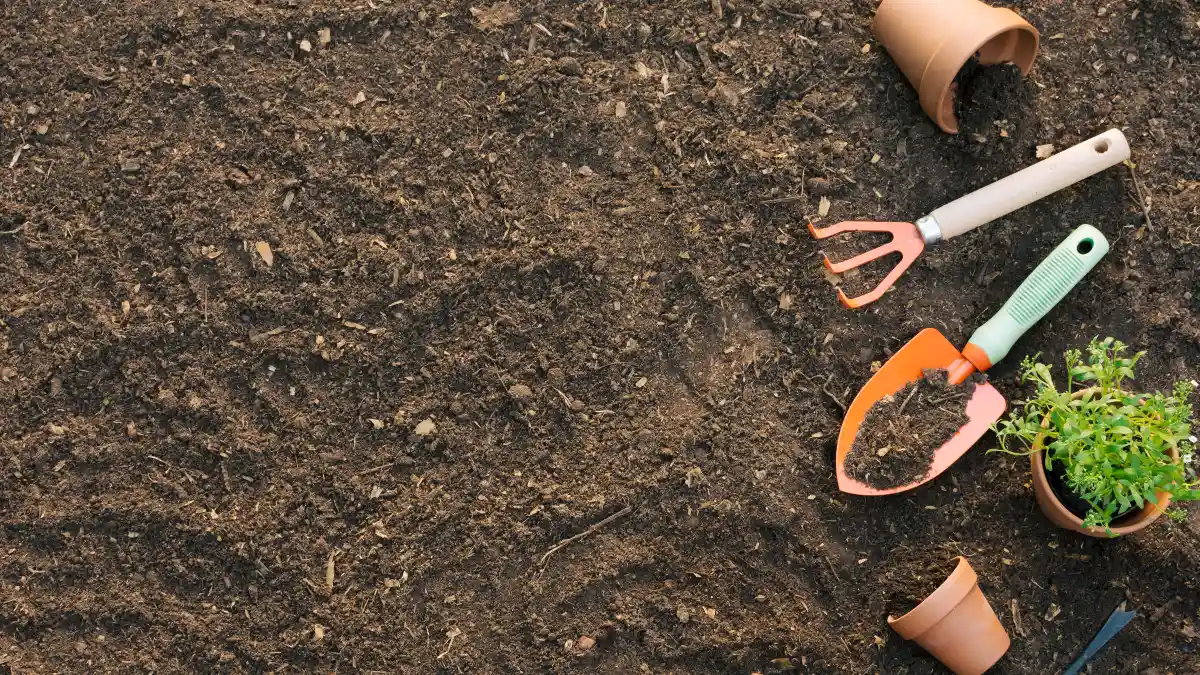
Strip Turf, Prepare the Subgrade (Soil Base)
Remove organics and expose firm formation. Strip turf/topsoil to your design depth and cut out soft spots; backfill them with well-compacted granular material. Keep your formation graded so you can achieve the final fall away from the house and maintain ≥150 mm below DPC at the end. (LABC Warranty Technical Manual.)
Compact the subgrade. Before any stone goes down, proof-roll or plate-compact the exposed soil to identify yielding areas. If you see pumping or shear, treat or replace those zones now—don’t hope the sub-base will fix them later. (Pavingexpert principles.)
Understand CBR so you pick the right thickness. CBR (California Bearing Ratio) is a simple test that expresses soil strength as a percentage—e.g., “CBR 2.5%”. Clays can be in the low single digits; well-graded crushed stone can exceed 80–100%. Low-CBR soils need thicker sub-bases or stabilisation (and sometimes geogrids). Tensar and Pavement Interactive provide accessible explanations of what CBR values mean for layer thickness. (Tensar; Pavement Interactive.)
Know when to get an engineer. LABC’s manual flags that weak ground (typically <10% CBR) warrants engineered design of the sub-base—don’t skimp here if you’re seeing soft, saturated soils.
Lay a Nonwoven Geotextile Separation Layer

A nonwoven geotextile is the thin, breathable layer that saves you money later. Its job is separation and filtration: it stops your MOT Type 1 from pumping down into the soil and keeps fines from migrating up—while still letting rainwater through. Manufacturers such as Terram describe separation as the primary function that lengthens pavement life.
How to install it right: unroll the geotextile membrane under gravel over the trimmed subgrade, smoothing out creases. Overlap joints by ~300 mm (increase if the ground is soft) and fix with pins roughly every 0.5–1 m so it stays taut until stone goes on. Trade guides (e.g., EasyMerchant and Terram jointing guidance) give that 300 mm–1 m overlap range depending on soil strength.
Do not use plastic sheets. They trap water and suffocate soil; horticultural guidance (e.g., RHS) and recent reporting (AP News) both caution that impermeable plastics can cause waterlogging and contribute microplastics—use a permeable landscape fabric/weed membrane for hardscape instead.
Install & Compact the MOT Type 1 Sub-Base
Your MOT Type 1 sub-base is the strength layer. It’s a graded, compactable aggregate (often described as “40 mm down to dust”) conforming to SHW Clause 803. Major suppliers (e.g., Tarmac) specify it for sub-bases because it compacts densely and carries vehicle loads. For domestic drives, typical compacted thickness is 100–150 mm, adjusted for soil strength and vehicle weight (light cars vs. vans).
Place and compact in lifts. Spread Type 1 in layers no thicker than about 150 mm and compact each lift before the next. That “thin lifts, compact each time” rule mirrors both trade practice (Pavingexpert) and the Specification for Highway Works, Series 800 (which sets out compaction by plant class in Table 8/4).
Moisture matters. Unbound mixtures compact best around optimum moisture content (OMC). The Notes for Guidance to the SHW (Series NG 800) explicitly call for compaction near OMC (often within about +1 / –2 % of the declared optimum), because slightly damp aggregate locks up and densifies better than dusty-dry or saturated material. Lightly mist dry Type 1 before compacting.
How many passes? In practice, compact to refusal: keep running the whacker plate/roller until the surface stops “giving”. As a rule-of-thumb, DIY hire guides suggest 2–4 passes per lift (more on weak ground), while the SHW’s Table 8/4 defines minimum passes by plant mass category for formal works.
Finish quality. When the last lift is compacted, the sub-base should be to line and level, with a surface that’s “tight” (no open, stony texture). Trade tolerances are about +10 mm/–15 mm on level; fill any open texture with fines and re-compact before you proceed. (Pavingexpert.)
Quick picker:
- 100 mm compacted Type 1 → small cars, firm subgrade.
- 150 mm compacted Type 1 → vans/heavier use, weak subgrade. (Adjust after a realistic subgrade check.)
Add Gravel Stabilisation Grids (Optional but Effective)
If you want a driveway that doesn’t rut, scatter, or track, add gravel grids. Honeycomb panels (e.g., Nidagravel) lock stones in place so loads spread through the cells instead of cutting into the surface. They’re engineered to remain fully permeable, keeping you within SuDS-friendly practice.
Basic install sequence: level your compacted Type 1, screed a thin regulating layer if required, lay the grids snug to each other, fix as recommended, then fill to the top of the cells with your chosen gravel and rake level. The surface remains free-draining and firm underfoot/tyre.
Why bother? Manufacturers and aggregate producers alike note that grids reduce stone migration and maintenance—handy on slopes, turning areas, or tight parking bays. Some grid suppliers (e.g., BaseCore) also cite reduced long-term top-ups because gravel is confined rather than pushed aside.
Tip: choose cell depth and sheet stiffness to match traffic (cars vs. vans) and make sure edging is in first so the system can’t “walk” sideways under manoeuvring.
Spread the Surface Gravel to the Right Depth
For driveways, pick angular 14–20 mm gravel; 20 mm is the safest all-round size for vehicle tyres because the stones interlock and resist shoving better than rounded pea shingle. Trade suppliers and installers emphasise angular stone for stability. (Stoneworld; Outdoor Aggregates.)
Set the depth to perform, not to look “deep.” With 20 mm gravel, target a 50–60 mm finished layer; for footpaths with 10 mm gravel, 30–40 mm is typical. This keeps the surface stable without “floating” on excessive loose stone. (TW Aggregates depth guide; Decorative Aggregates.)
If you used grids, don’t heap above the cell height—fill flush and rake; overfilling defeats the confinement. Suppliers commonly note that ~50 mm is the sweet-spot for drive surfaces: deep enough to cover and bind, shallow enough to prevent rutting and heavy tracking. (Mainland Aggregates/trade calculators.)
Finish neatly: pull the gravel just below the edging to stop spillage onto lawns and paths, then rake periodically for the first few weeks as the surface settles. A light top-up 10–15 mm in a year or two is normal where tyres turn.
Edge Restraints: Keep the Gravel Where It Belongs
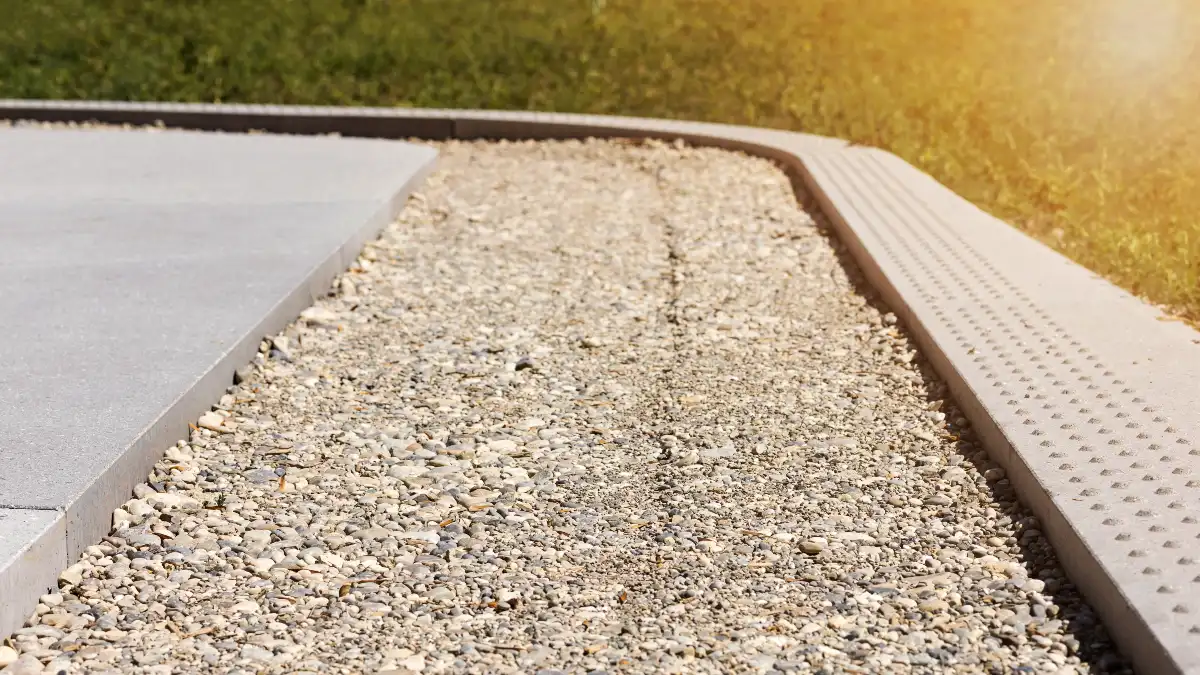
Edge restraint is non-negotiable. As Tony McCormack at Pavingexpert puts it, gravel without a positive edge will migrate into soil and lawns; fit edging before you build up the surface so the base can lock it in.
Choose the right restraint for the job. For a formal driveway, rigid kerb edging (concrete or stone) bedded on concrete with haunching is the most durable. Typical haunch widths: ~75 mm for paths and ~100 mm for driveways. Timber sleepers and steel edging are cleaner visually and quicker to install, but still need a firm base and fixings. (Pavingexpert).
Plan for movement, not mess. Where you’re using gravel grids, manufacturers such as Beauxfort advise leaving an expansion gap (≈50 mm) next to fixed kerbs or walls so the system can move without buckling—stopping the tell-tale “expansion gap spill.”
Trade consensus for 2025: merchants like Howarth Timber call gravel driveway edging essential to stop spread and give a crisp finish; common materials are timber, steel, stone blocks, or concrete strips—pick to match the house and loads.
Maintenance: Weeds, Top-Ups & Drainage Fixes
Weed control. Expect the odd seedling; hand-pull before roots anchor. For hardscape only (paths, drives), a permeable membrane under the gravel helps; avoid impermeable plastic sheets—recent horticulture reporting (AP News) highlights waterlogging, heat stress, and microplastics. Their guidance: fabric is useful under gravel/stone paths, not in planting beds.
Top-ups. Traffic and wind gradually thin the surface. Every couple of years, rake level and add a thin top-up—typically around a centimetre is enough to refresh the finish without making the surface “float.” UK suppliers emphasise periodic raking and topping up as normal upkeep.
Drainage fixes. If you see standing water, first check your fall and clear leaf build-up along edges and gullies. On steeper plots or where walls trap runoff, retrofit a channel drain across thresholds or a French drain to an appropriate soakaway; Homebuilding & Renovating’s experts still recommend 1–2% gradients and permeable surfaces for reliable driveway drainage.
Conclusion
Getting gravel right is about sequence and detail. Prepare the soil, then lay a geotextile membrane under gravel to keep layers separate. Place the MOT Type 1 sub-base in ≤150 mm lifts, compacting each to refusal, and shape it to your fall away from the house. Add stabilisation grids where ruts or slopes demand it. Spread 14–20 mm angular gravel to 50–60 mm, fit edging so the stones stay put, and maintain with occasional raking and a thin top-up.
Now, measure your site, check you’ve got DPC clearance and fall, and choose the build-up that matches your soil and traffic. If permeability or ground strength is questionable, check local rules and speak to a pro about soakaway design (BRE 365) or deeper bases. You’ll lay a driveway that drains, stays tidy, and lasts.
