
You love gardening. You want a bright, beautiful space for your favorite plants. But it’s frustrating to spend $20, $30, or even $50 on boring terracotta pots. They all look the same!
Why buy a pot when you could spend that money on new plants or soil? Garden lovers want creative, personalized displays without having to spend all their cash. You deserve a space that is as unique as your green thumb.
We put together 15 unique DIY flower pot ideas using things you already own. You’ll learn simple, budget-friendly steps to transform everyday items into beautiful, homemade plant pots.
We will cover practical things, too. You’ll get proper drainage tips for these unconventional containers. We also include cost estimates.
Most of these projects will cost you under $5. Stop buying boring pots. Learn creative ways to display your favorite plants right now
🌱 Essential Care for Homemade Plant Pots
Keep your creative planter ideas thriving with these simple tips
Check Moisture Often
Non-porous containers (metal, plastic) hold water longer. Stick your finger 1-2 inches into soil before watering.
Layer for Drainage
Add 1-2 inches of rocks at the bottom, then charcoal. This prevents root rot in containers without drainage holes.
Watch the Heat
Metal containers heat up fast in sun. Move them to shade during peak afternoon hours or double-pot with insulation.
Feed More Often
Small DIY containers need fertilizer every 2-3 weeks during growing season. Use half the recommended strength.
Match Depth to Roots
Shallow containers (4″ deep) suit succulents. Deep rooters like tomatoes need 12″+ depth to grow properly.
Repot When Needed
Roots poking through drainage holes? Time to move up. Repot in spring before active growth starts.
Quick Material-Specific Tips
- Terra Cotta: Dries out fast. Water 2x more often than plastic pots.
- Metal Containers: Insulate with newspaper between pot and metal in hot weather.
- Glass Jars: Can’t drain well. Use only for water-loving plants or add extra rocks.
- Wood Planters: Rot-resistant varieties last 3-5 years outdoors with proper sealing.
- Concrete Pots: Leach lime into soil. Let cure 2+ weeks before planting acid-loving plants.
Why Make Your Own Flower Pots?
Your wallet will thank you. The average ceramic pot costs $15-30 at stores. Homemade plant pots use just $2-5 in materials. That’s 60-80% less money for the same result.
But here’s what really matters: you get exactly what you want. Need a specific color to match your living room? Done. Want a tiny pot for that succulent or a huge one for your fiddle leaf fig? You pick the size. Creative planter ideas let you make something that’s truly yours.
And you’re helping the planet. Americans throw away 292.4 million tons of waste every year, according to the EPA. When you make upcycled flower pots from old containers, you’re keeping that junk out of landfills. Old tin cans become planters. Coffee mugs get a second life. It feels good.
There’s also the $50 billion houseplant industry to consider. Everyone’s buying plants these days. Why not stand out with containers nobody else has?
Making your own pots gives you something store-bought versions can’t: a story. When guests ask about that quirky planter on your porch, you can say “I made it.” That sense of accomplishment matters. Creating something with your hands beats clicking “add to cart” any day.
Plus, it’s just fun. You get to be creative without taking an art class or spending a fortune on supplies. Start with what you already have at home.
Essential Tools and Materials for DIY Planters
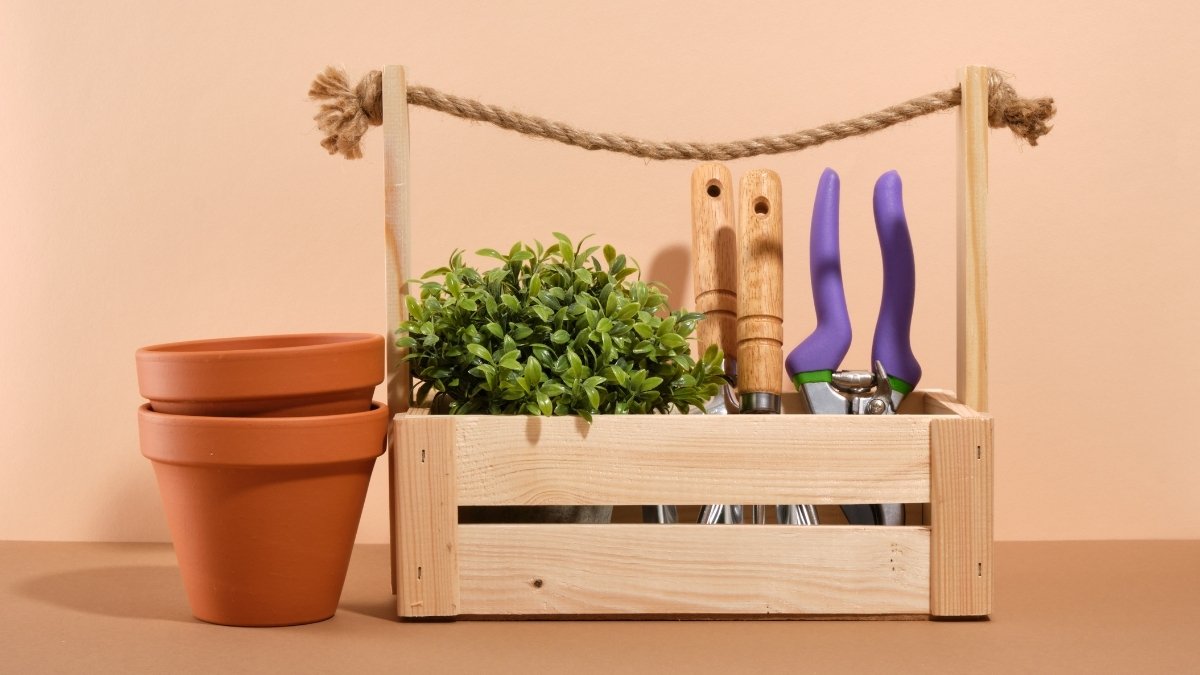
You don’t need a fancy workshop. Most materials you probably have at home already. Here’s what you’ll actually use.
Basic Tools
You need three main things. A drill with a masonry bit (1/4″ to 3/8″ works best for drainage holes). A hot glue gun for attaching decorations. Paintbrushes in different sizes.
That’s it for tools.
Drainage Supplies
Water needs somewhere to go. Small rocks or pebbles go at the bottom of your pot. Add a layer of activated charcoal if you want. It keeps the soil fresh and prevents mold.
Both items cost about $3 at dollar stores.
Sealing Materials
Here’s what protects your DIY flower pot ideas from water damage. Mod Podge works great for paper or fabric designs. Clear spray sealant handles everything else.
Growing herbs or vegetables? Get a food-safe sealer. Regular sealers can leak chemicals into edible plants.
Paint and Decoration
Acrylic paint dries fast and comes in every color. Spray paint covers big areas quickly. Stencils make patterns easy, even if you can’t draw.
Dollar stores carry all of these for $1-3 each.
Safety Gear
Wear safety glasses when drilling. Seriously. Ceramic and glass can chip and fly up. Gloves protect your hands from hot glue burns and paint stains.
Where to Find Cheap Materials
Dollar stores have rocks, paint, and glue. Thrift shops sell containers for under $2. Your recycling bin has free options like tin cans and glass jars.
You can start your first project for under $10. Grab what you need and test out one container before buying more supplies.
15 Creative DIY Flower Pot Ideas
Your kitchen has free planters hiding in plain sight. These upcycled flower pots cost almost nothing to make.
1. Teacup and Saucer Planters
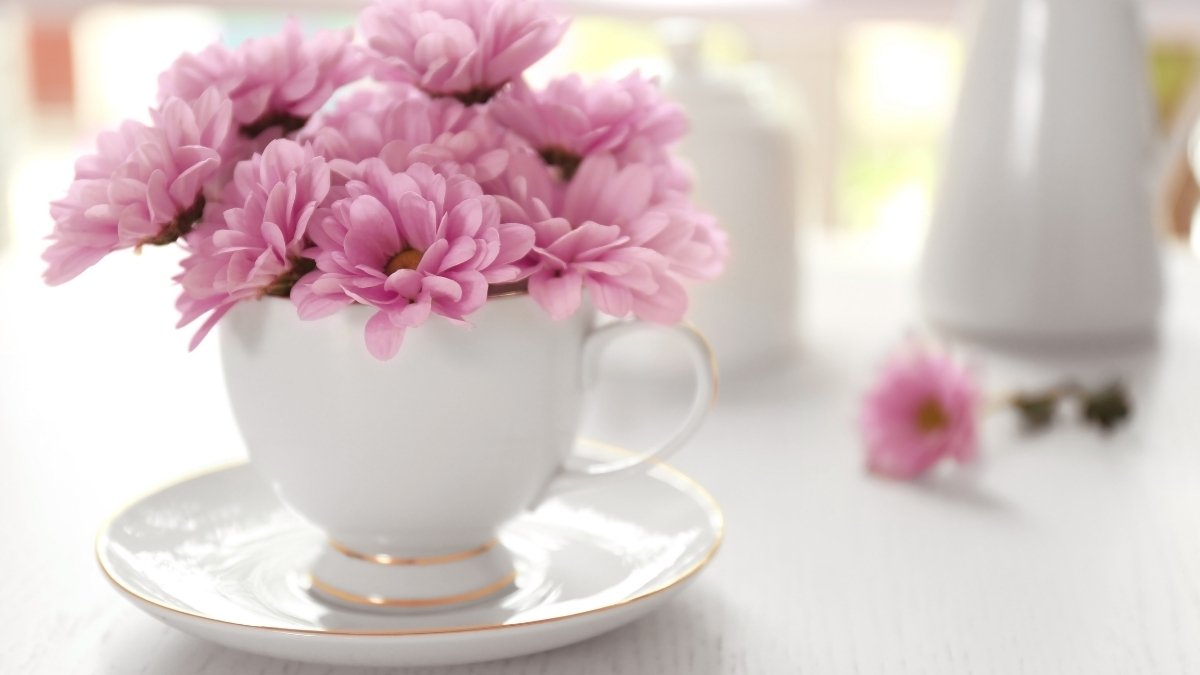
Thrift store teacups make perfect tiny pots. Drill a drainage hole in the bottom with a masonry bit. Fill with soil and add a small succulent.
Materials: Vintage teacup, drill bit, small rocks
Time: 15 minutes
Difficulty: Easy
Best plants: Succulents, small cacti, air plants
Pro tip: Skip drilling if you layer rocks at the bottom for drainage. Change the rocks every few months.
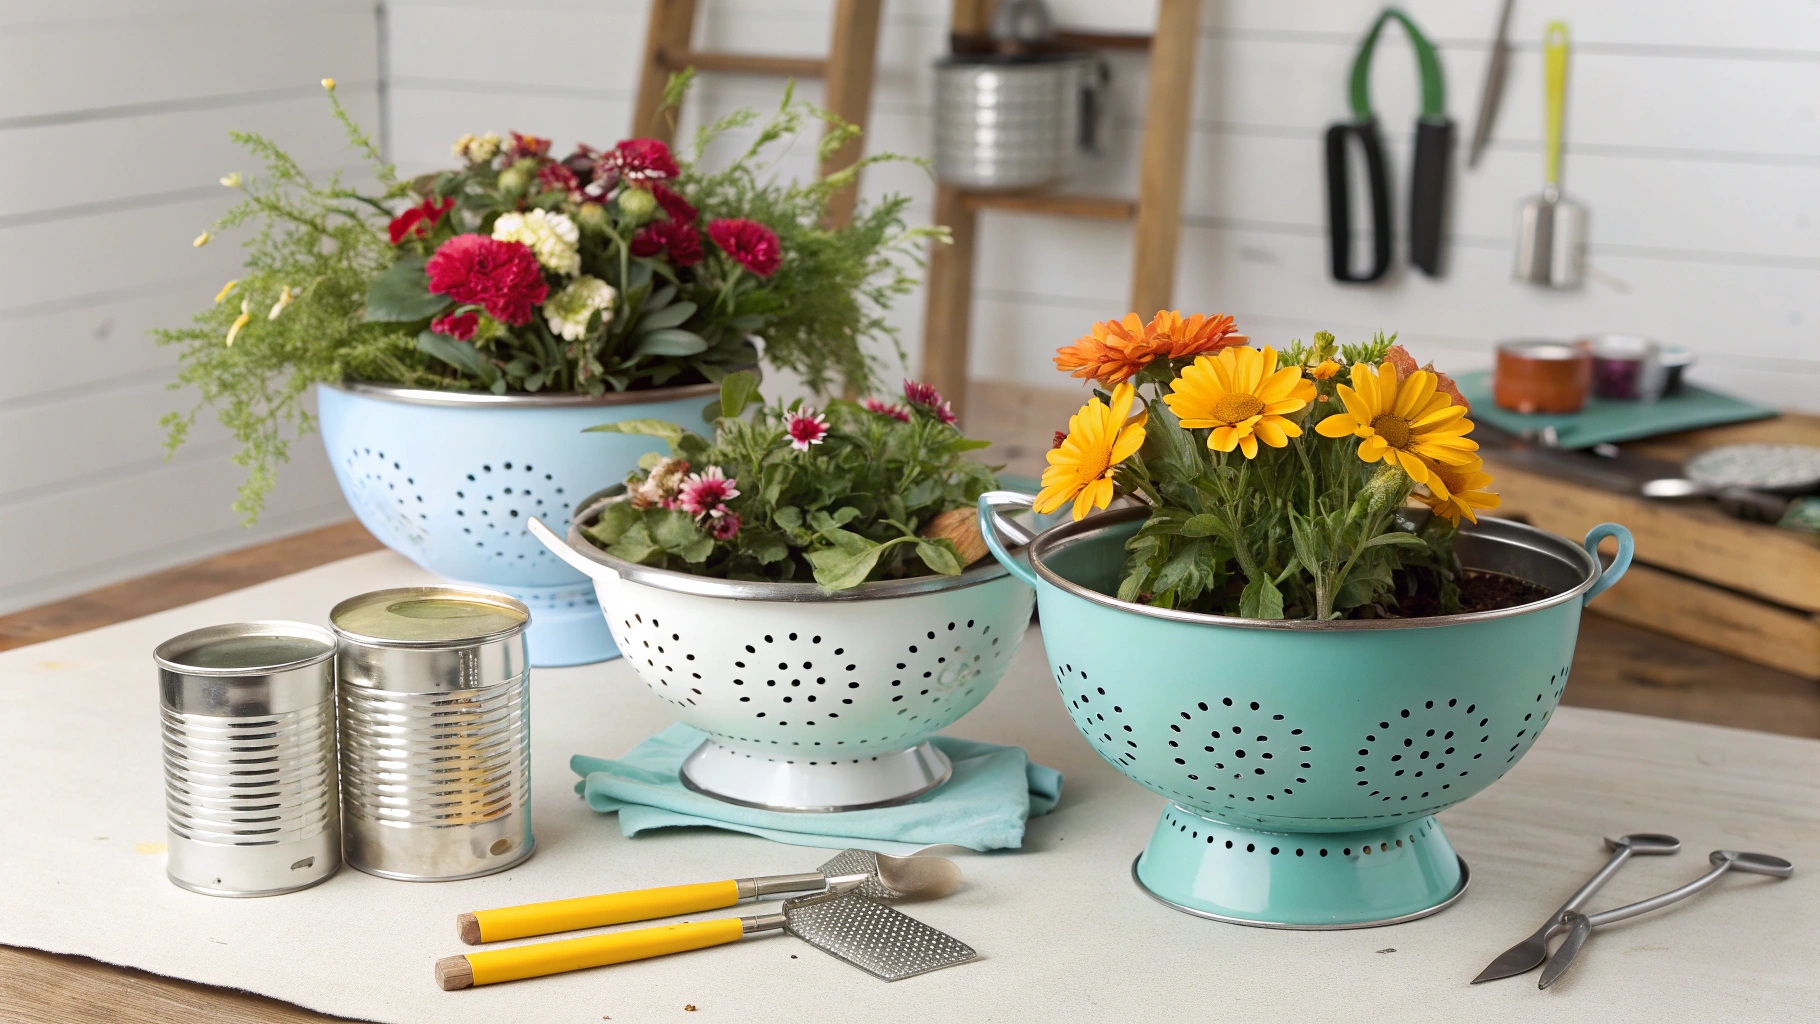
2. Colander Planters

The holes are already there. Line your colander with landscape fabric to keep soil from falling out. Plant herbs that like good drainage.
Materials: Metal colander, landscape fabric, potting soil
Time: 10 minutes
Difficulty: Easy
Best plants: Herbs like basil, oregano, thyme
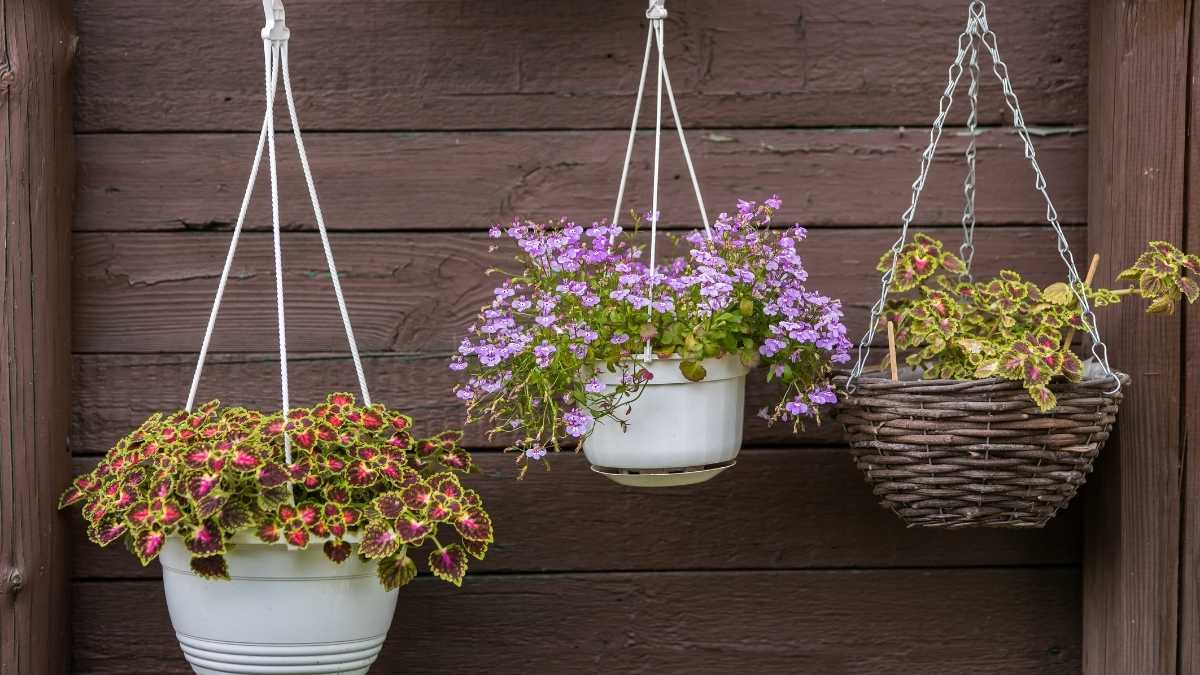
Pro tip: Hang it from your porch ceiling for a space-saving herb garden.
3. Mason Jar Hanging Planters
Wrap mason jars in macramé plant hangers. You can buy pre-made hangers or watch a 5-minute YouTube tutorial to make your own.
Materials: Mason jar, macramé hanger, rocks for drainage
Time: 20 minutes (if using pre-made hanger)
Difficulty: Easy
Best plants: Pothos, philodendron, string of pearls
Pro tip: Paint the jar lids to match your room colors before assembling.
4. Muffin Tin Succulent Garden
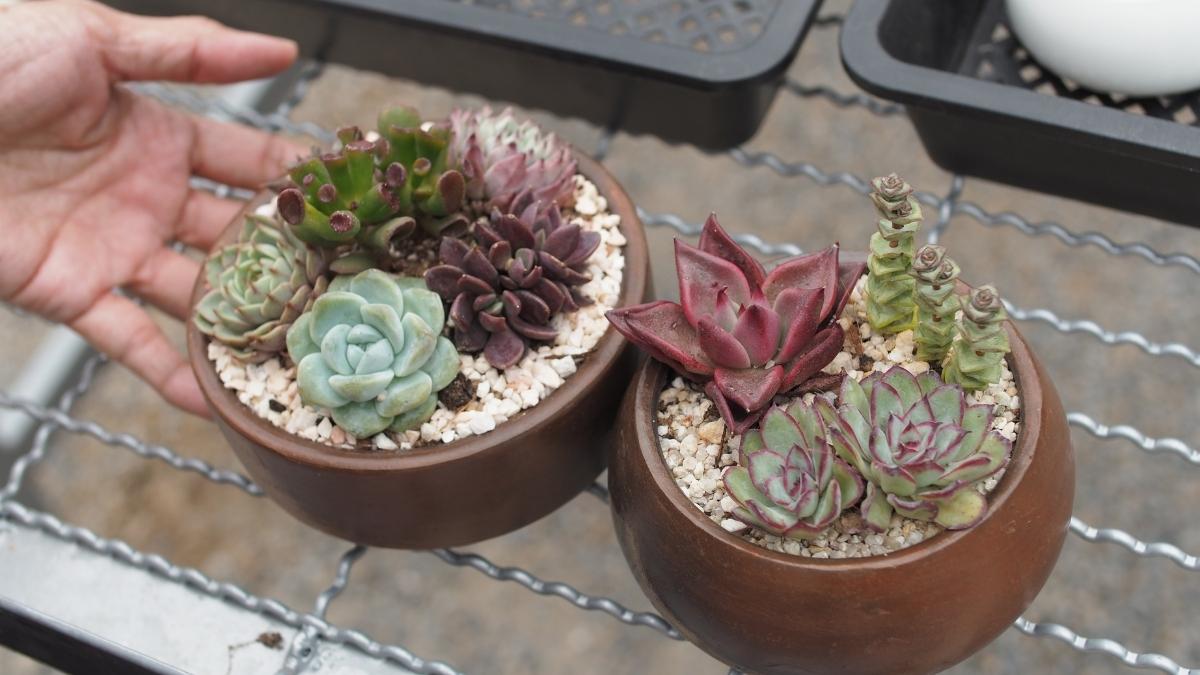
Old muffin tins create instant creative planter ideas. Each cup holds one small plant. Drill drainage holes or use the tin for water-sensitive succulents only.
Materials: Muffin tin, drill, succulent soil
Time: 25 minutes
Difficulty: Medium (drilling metal takes patience)
Best plants: Small succulents, sedums, hens and chicks
Pro tip: Use different succulent varieties in each cup for a living color palette.
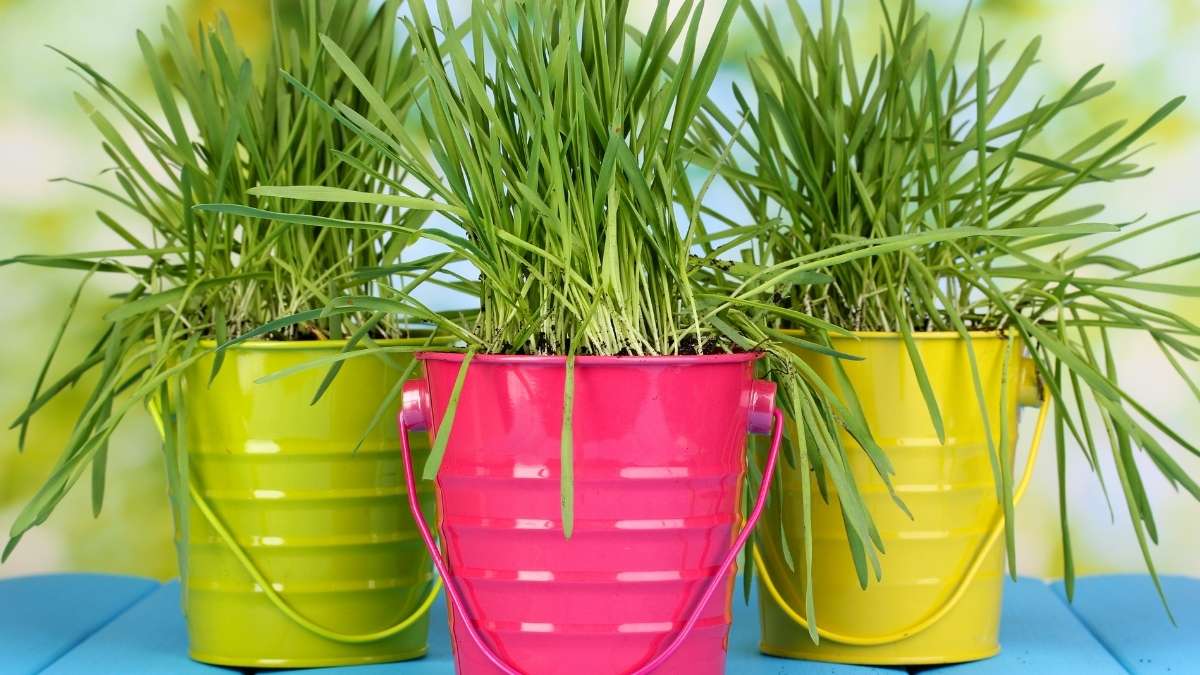
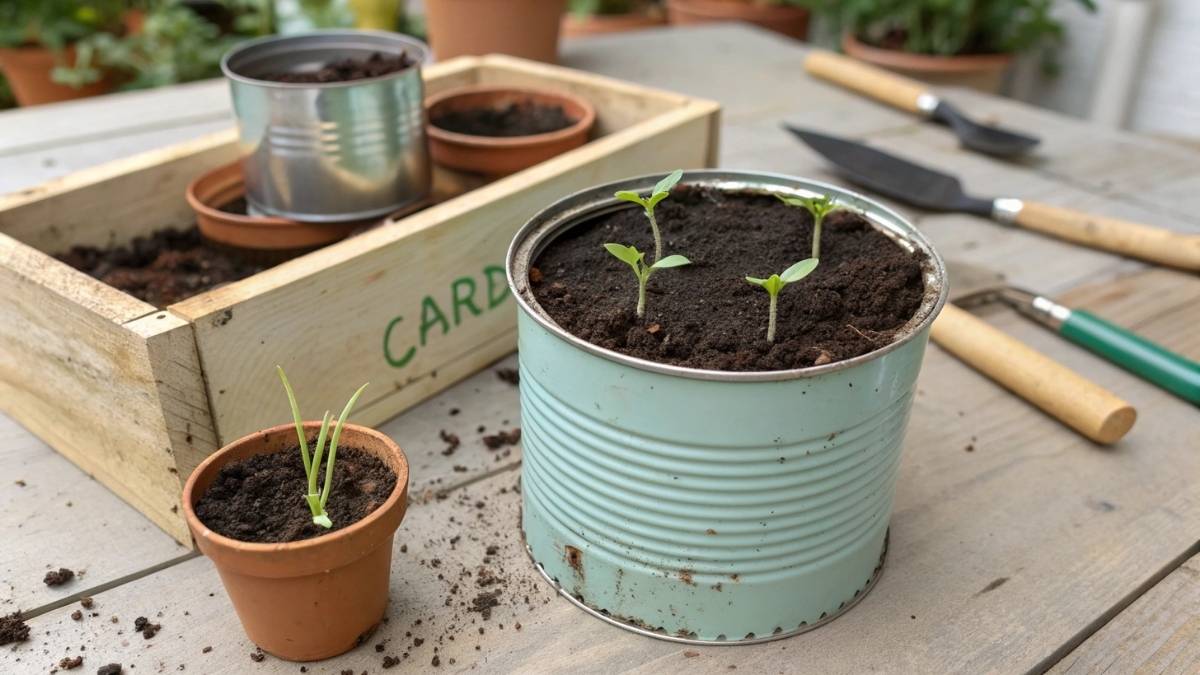
5. Coffee Can Planters
Clean empty coffee cans work great. Wrap them in burlap and tie with twine for a farmhouse look. Or spray paint them any color you want.
Materials: Coffee can, burlap or spray paint, hot glue
Time: 20 minutes (plus drying time for paint)
Difficulty: Easy
Best plants: Herbs, small flowers, spider plants
Pro tip: Leave the plastic lid on and poke holes in it for a built-in drainage tray.
6. Wine Cork Magnets
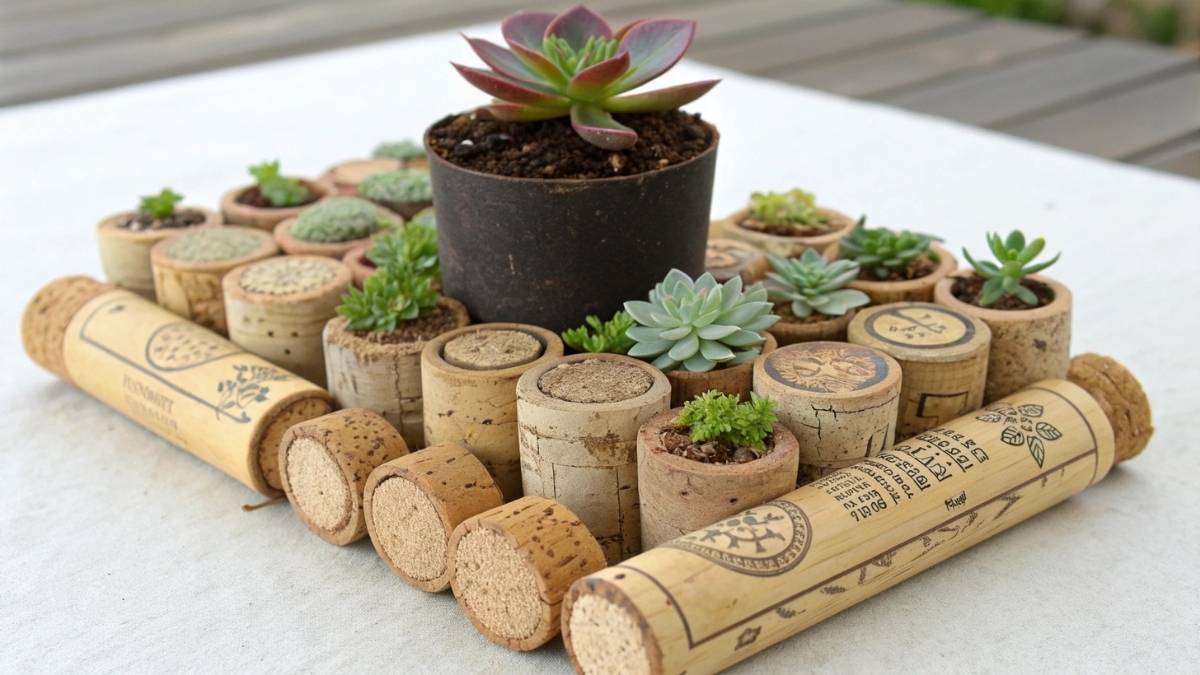
Cut a small divot in the top of a wine cork. Add a magnet to the back with hot glue. Press a tiny air plant into the divot.
Materials: Wine cork, small magnet, hot glue gun
Time: 10 minutes
Difficulty: Easy
Best plants: Air plants only
Pro tip: Stick these on your fridge and mist the air plants twice a week.
7. Wooden Crate Planters
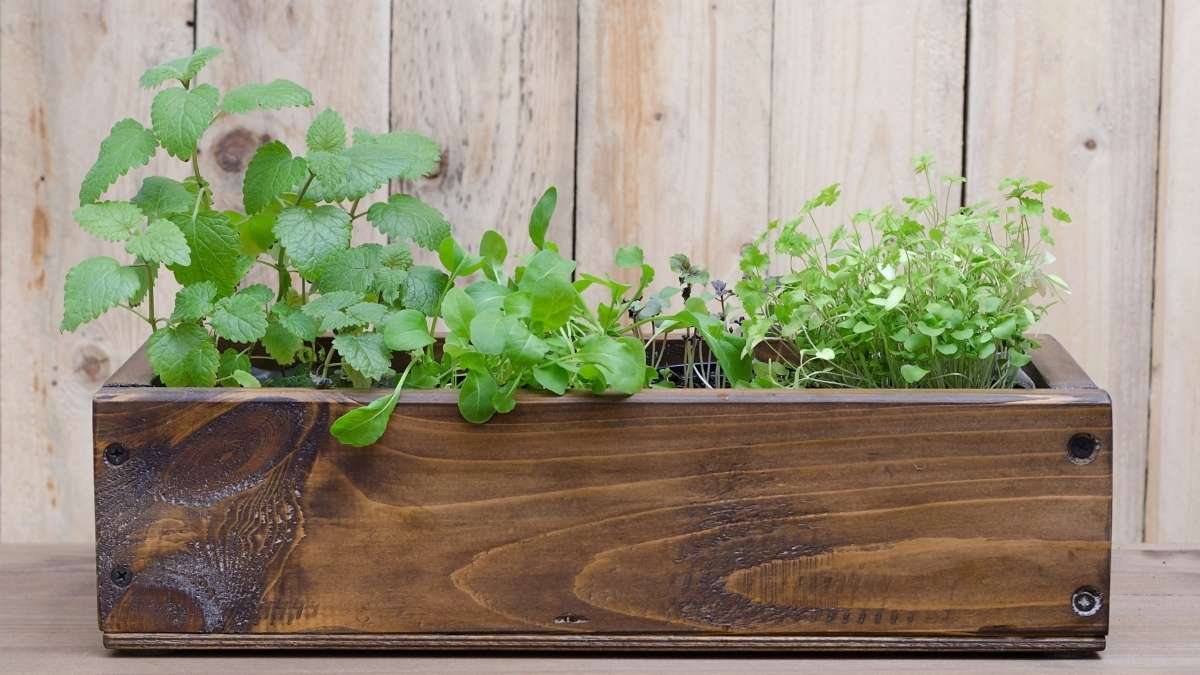
Old wooden crates from craft stores or flea markets make rustic herb boxes. Line the inside with plastic sheeting to protect the wood from water damage.
Materials: Wooden crate, plastic liner, waterproof wood sealant
Time: 30 minutes (plus drying time)
Difficulty: Easy
Best plants: Herbs, lettuce, strawberries
Pro tip: Brush waterproof sealant on all wood surfaces before adding soil. This makes your crate last years instead of months.
8. Tin Can Tiered Garden
Stack painted tin cans at different heights using strong glue or zip ties. Drill drainage holes with a hammer and nail (easier than using a drill on metal).
Materials: Clean tin cans, spray paint, hammer and nail
Time: 25 minutes
Difficulty: Easy
Best plants: Succulents, small flowers, herbs
Pro tip: Try sage green and cream white together for a modern farmhouse look. Or go bold with coral and navy blue.
9. Old Boots and Shoes
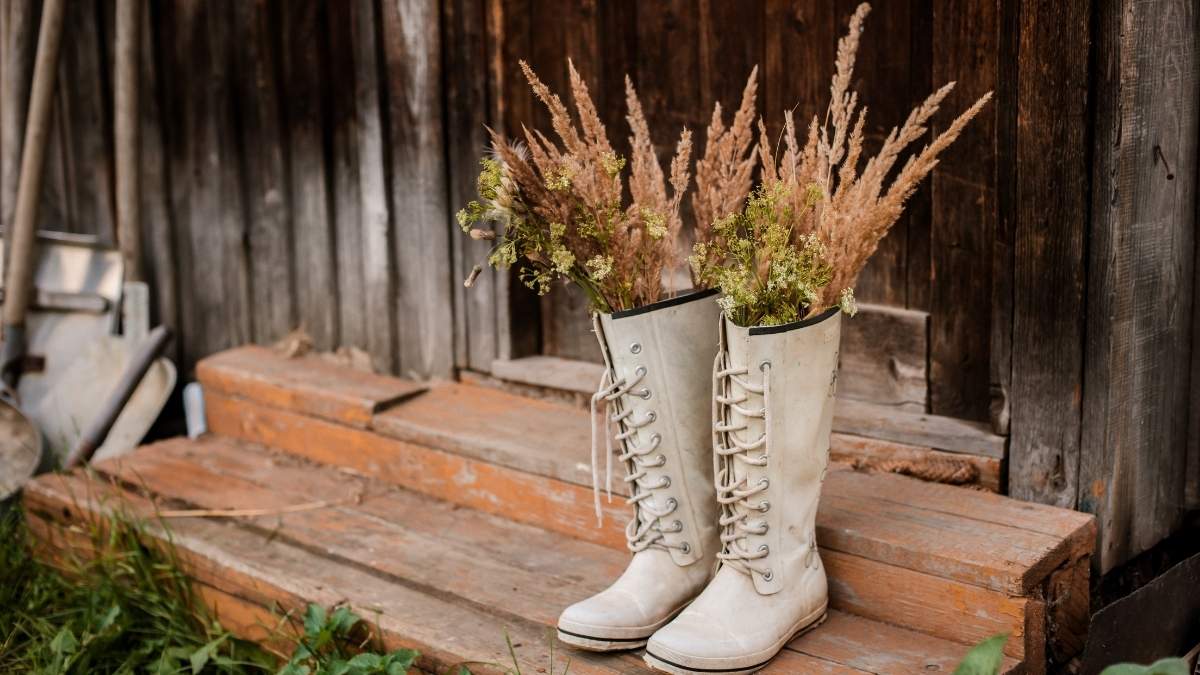
That worn-out rain boot? It’s a planter now. Make sure water can drain out the bottom. These work best as outdoor accents because they look quirky.
Materials: Old boots, drill for drainage holes
Time: 10 minutes
Difficulty: Easy
Best plants: Trailing flowers like petunias, pansies
Pro tip: Kids’ tiny shoes make adorable homemade plant pots for windowsills.
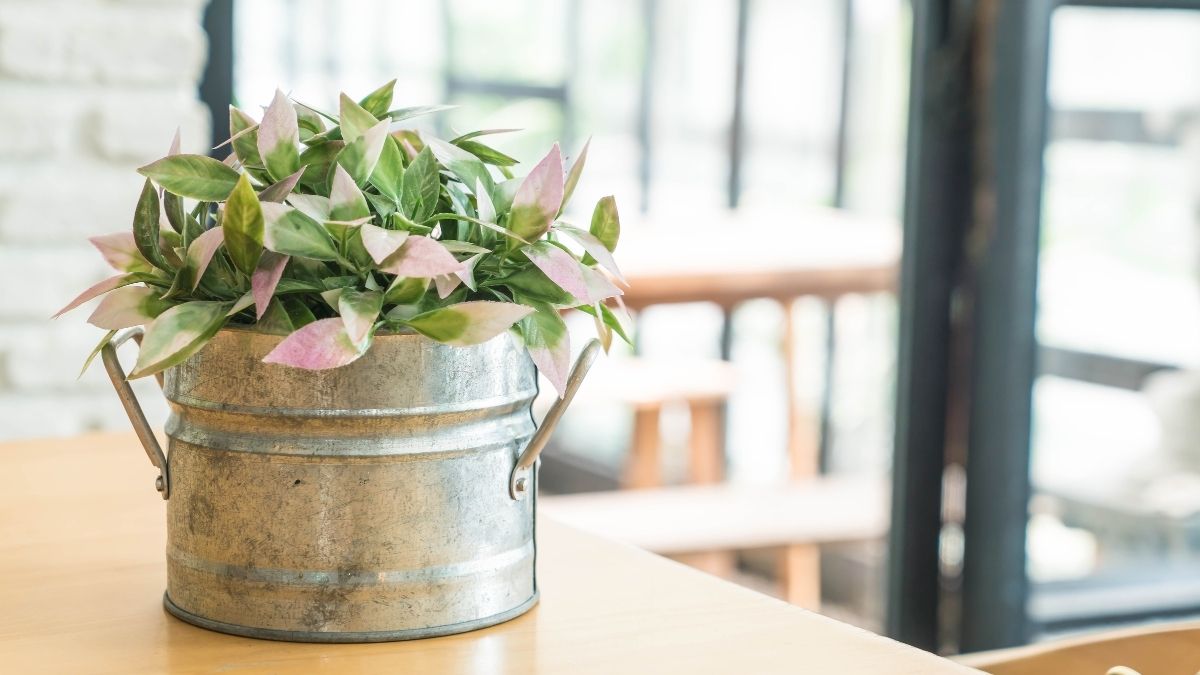
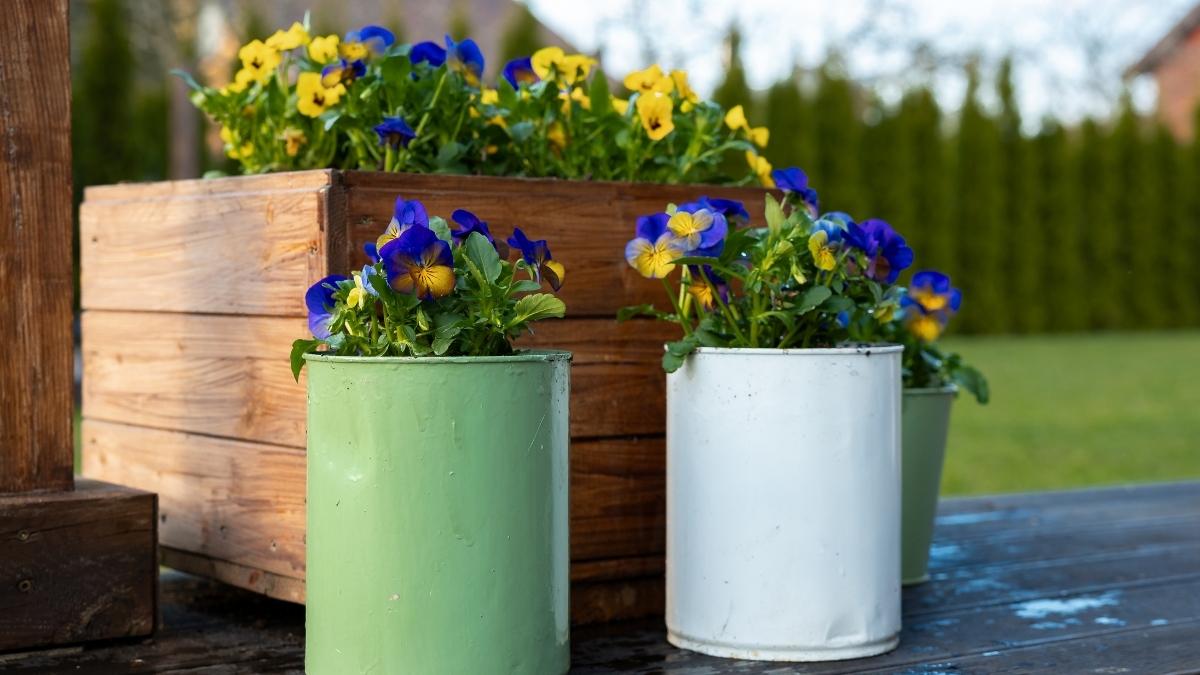
10. Paint Can Planters
Empty paint cans have a clean, industrial look. The metal handle makes them easy to move around. Drill three drainage holes in the bottom.
Materials: Empty paint can (cleaned), drill, metal drill bit
Time: 20 minutes
Difficulty: Medium
Best plants: Geraniums, marigolds, ornamental grasses
Pro tip: When drilling metal, go slow and use a lubricant like WD-40. This keeps your bit from overheating and breaking.
11. Plastic Bottle Vertical Garden
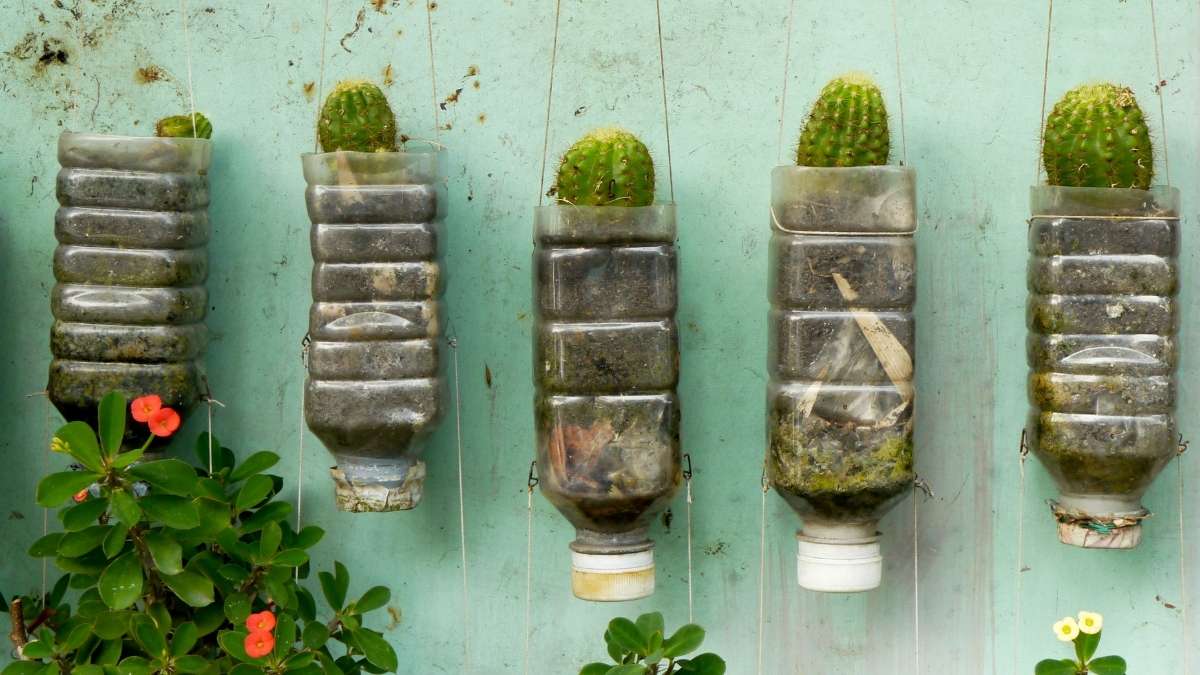
Cut 2-liter bottles in half. Drill holes in the bottom. Hang them on a wall or fence with wire. You can fit 10 plants in the space of one traditional pot.
Materials: Plastic bottles, wire, drill
Time: 15 minutes per bottle
Difficulty: Easy
Best plants: Lettuce, spinach, small herbs
Pro tip: Angle the bottles slightly when hanging so water drains properly.
12. Drawer Planter Boxes

Old dresser drawers from thrift stores become instant planter boxes. Line them with heavy-duty plastic to protect the wood. Add drainage holes in the plastic only.
Materials: Old drawer, plastic liner, wood sealant
Time: 30 minutes
Difficulty: Easy
Best plants: Flowers, vegetables, herb gardens
Pro tip: Keep the drawer pulls attached. They make great handles for moving your planter around the patio.
13. Concrete Geometric Planters
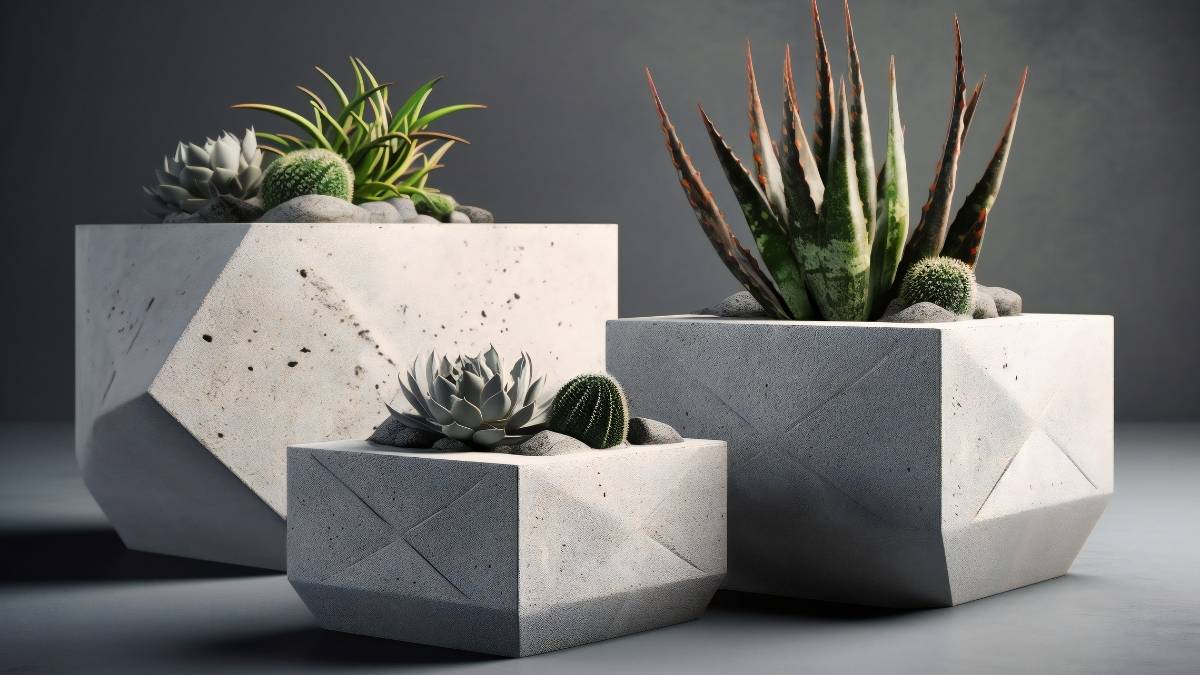
Pour concrete into cardboard molds to create cube or pyramid shapes. Mix 3 parts concrete to 1 part water. Place a smaller container inside before the concrete sets to form the planting space.
Materials: Quick-set concrete mix, cardboard boxes, cooking spray
Time: 30 minutes work, 48 hours curing
Difficulty: Medium
Best plants: Succulents, cacti, air plants
Pro tip: Spray your molds with cooking oil first. The concrete will pop right out when dry.
14. Cement-Dipped Towel Pots
Soak an old towel in cement mixture. Drape it over an upside-down bucket. The towel hardens into a pot with natural folds and texture.
Materials: Old towel, cement mix, bucket for mold
Time: 20 minutes work, 24 hours drying
Difficulty: Easy
Best plants: Flowers, ferns, medium-sized plants
Pro tip: Wear thick rubber gloves. Wet cement burns skin if you touch it too long.
15. Hypertufa Planters
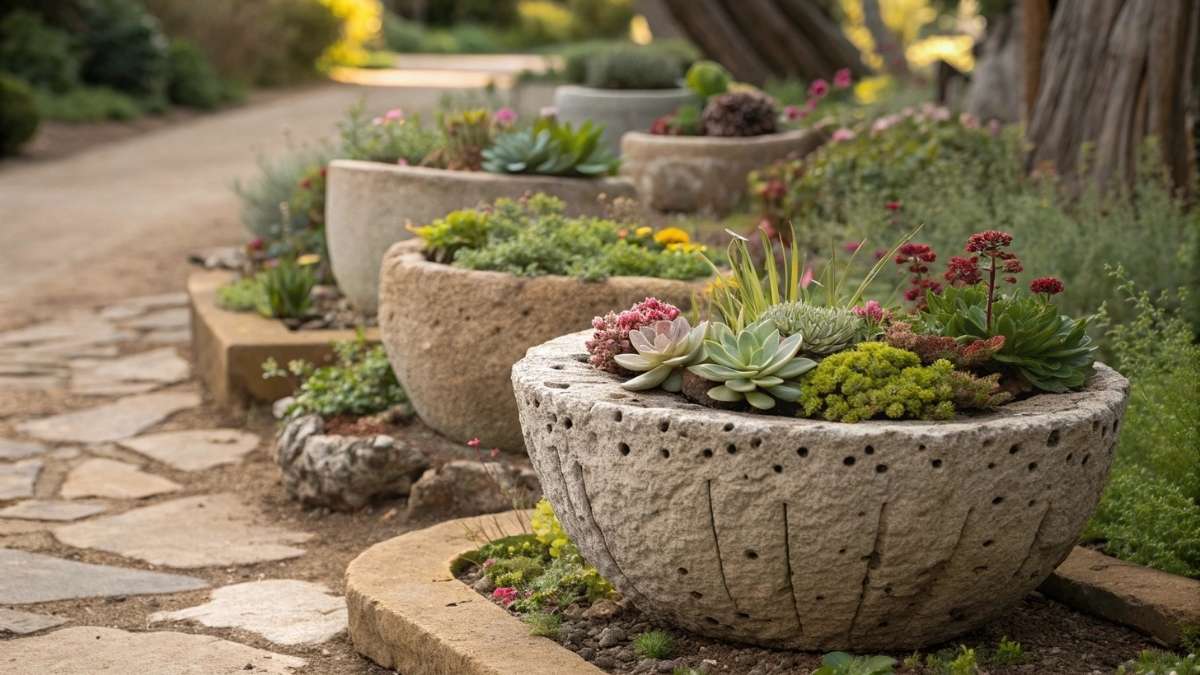
Mix equal parts peat moss, perlite, and Portland cement. This creates a lightweight fake stone that looks ancient. Shape it by hand or pack it into molds.
Materials: Peat moss, perlite, Portland cement, rubber gloves
Time: 45 minutes work, 48 hours curing
Difficulty: Medium
Best plants: Alpine plants, succulents, rock garden flowers
Pro tip: Brush the outside with a wire brush after 24 hours for a weathered stone look.
Important Mixing Notes
Most concrete projects use a 3:1 ratio (3 parts concrete to 1 part water). Add water slowly. The mix should be thick like peanut butter, not soupy. Too much water makes weak planters that crack.
Wait the full curing time. Concrete feels dry after 12 hours but isn’t actually strong yet. Rush it and your DIY flower pot ideas will crumble.
Step-by-Step: Creating Your First DIY Planter
Never made homemade plant pots before? Start with a painted terra cotta pot. It’s cheap, easy, and hard to mess up.
What You Need
One plain terra cotta pot ($2-4), acrylic paint in two colors, painter’s tape, one paintbrush, and clear spray sealant.
Total cost: under $10. Total time: 1 hour plus drying.
Phase 1: Prep Your Space (5 minutes)
Lay down newspaper or an old sheet. Open windows if you’re using spray sealant. Grab everything you need before you start.
Check your pot for cracks. Run your finger around the rim and sides.
Phase 2: Create Your Design (10 minutes)
Use painter’s tape to mark off stripes, geometric shapes, or whatever pattern you want. Press the tape down firmly so paint doesn’t bleed under it.
Phase 3: Paint (20 minutes)
Apply your base color first. Let it dry completely (about 15 minutes). Add a second coat if the coverage looks thin.
Peel off the tape while the paint is slightly damp. Waiting until it’s bone dry can pull off chunks of paint.
Phase 4: Add Details (15 minutes)
Paint your accent color in the taped-off sections. Two thin coats work better than one thick coat.
Phase 5: Seal It (5 minutes work, 24 hours drying)
Spray the whole pot with clear sealant outdoors. Hold the can 6-8 inches away. Use sweeping motions instead of spraying one spot.
Let it dry completely before touching.
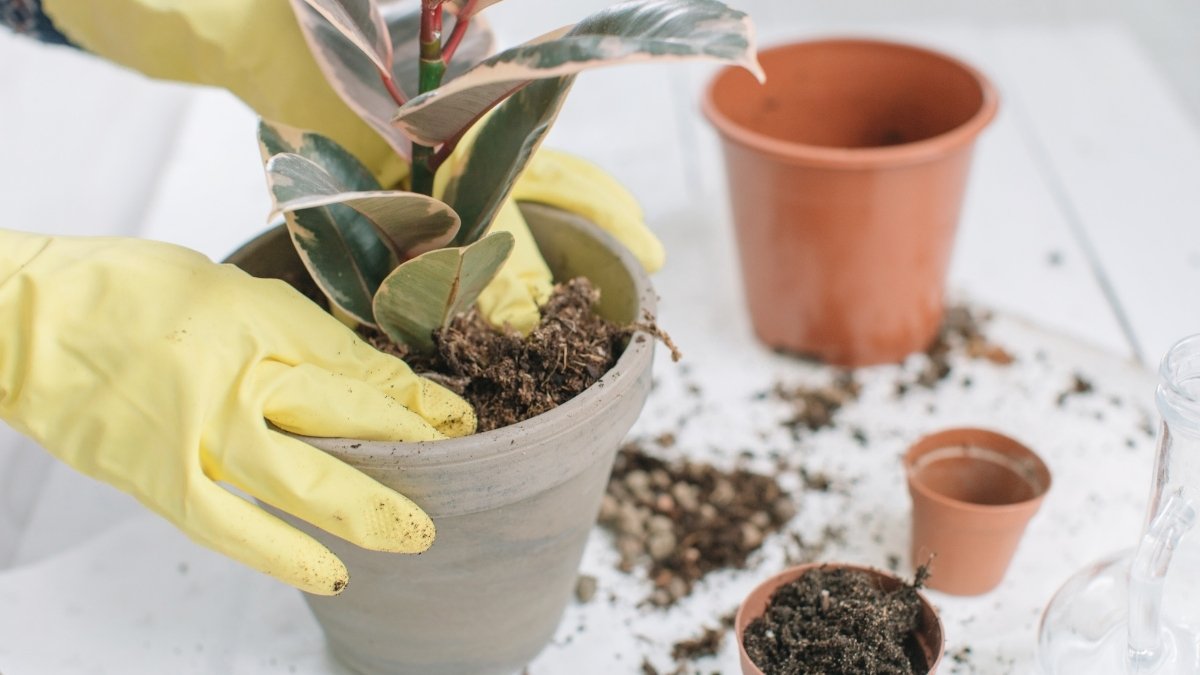
Phase 6: Plant It (10 minutes)
Add small rocks at the bottom for drainage. Fill with potting soil. Add your plant and water lightly.
Common Mistakes to Avoid
Paint bleeding under tape? You didn’t press it down hard enough. Fix it with a small brush after the paint dries.
Streaky coverage? You’re brushing too fast. Slow down and use more paint on your brush.
Pot feels sticky after sealing? You sprayed too close. It’ll dry eventually, but it takes longer.
These DIY flower pot ideas get easier each time you try one.
Conclusion
You just learned 15 ways to save money and help the planet at the same time. DIY flower pot ideas cost 60-80% less than store-bought versions. Plus, you’re keeping old containers out of landfills.
The best part? These projects work for everyone. Never touched a drill before? Start with the coffee can planter. Want something fancier? Try concrete dipping.
Your home deserves plants in containers that actually match your style. Transform your space with homemade plant pots that nobody else has.
Pick one project for this weekend. Grab that painted terra cotta pot or a mason jar from your cabinet. Set aside an hour. See what you can make.
Take a photo when you’re done. You’ll want to remember your first one.
Which DIY flower pot idea will you try first? The tin can garden? The teacup succulent? Stop reading and go make something. Your plants are waiting.
