

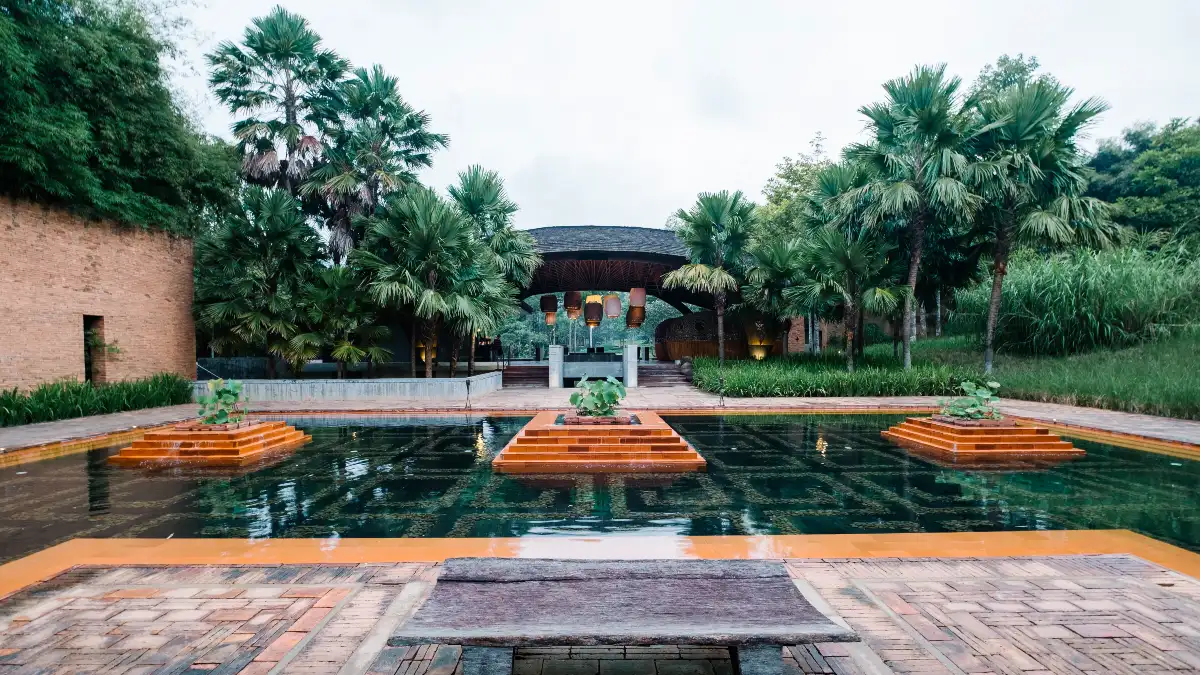
Slopes don’t have to be unusable—smart tiers add flat, plantable space, slow and stop erosion, and can even harvest rain. With the right plan, a sloped backyard landscaping project becomes a practical showcase of terraced garden beds that grow food, feed pollinators, and look great year-round. A one-inch storm on a typical 1,000-sq-ft roof yields about 623 gallons you can redirect or store—enough to irrigate newly built tiers without waste. (U.S. Geological Survey.) USGS
The headache is real: bare slopes shed soil and water; poorly built tiers bulge, lean, or fail when drainage is wrong or walls are undersized. Codes matter too—many jurisdictions require engineered plans once a retaining wall passes specific thresholds.
In this guide to tiered garden ideas, you’ll learn how to measure your slope, pick the right layout, and place paths and steps you can push a wheelbarrow on. You’ll get drainage details from SRW (segmental retaining wall) manuals, options for materials (block, timber, stone, recycled plastic), climate-ready plant lists, water-smart irrigation tips, and safety/code basics. Expect real numbers—like base depths, rock backfill thickness, path widths, and rain-garden sizing—plus expert resources from universities and industry groups. We’ll keep terraced garden planning practical so you can build once and enjoy it.
Assess Your Slope & Pick a Tier Layout (tiered garden ideas for sloped yards)
Slope-Smart Planning Cheatsheet Responsive Terraced Garden
Quick math, tier-type chooser, and the key triggers inspectors and accessibility standards look for.
Slope Math You Can Do in 60 Seconds
Tip: Confirm hotspots with a smartphone clinometer app before buying materials.
From Grade to Tiers: Working Bands
| Slope Band | Good First Moves | Notes |
|---|---|---|
| ≤ 5% gentle | Shallow cut-and-fill, stepped raised beds | Easy access; keep paths on contour for comfort. |
| 5–10% moderate | Stepped beds + spot terracing; consider SRW for key areas | Plan drainage breaks every tier; decide wheelbarrow route now. |
| 10–20% steep | Engineered SRW tiers or timber/recycled-plastic with anchors | Check permit triggers; stage materials downhill to reduce hauling. |
| > 20% very steep | Professional design/engineering strongly advised | Soils, loads, and drainage dominate success here. |
Tier Type at a Glance
| Type | DIY | Longevity | Why Pick It |
|---|---|---|---|
| SRW Blocks | Moderate | High | Predictable specs (drains, wall rock, geogrid); expandable; clean look. |
| Timber / Recycled Plastic | High | Medium–High | Fast build; lighter equipment; plan anchors and drainage. |
| Dry-stack Stone | Advanced | High | Classic aesthetic; needs proper base, batter, and drainage. |
| Stepped Raised Beds | High | Medium | Great for edibles; easy to reconfigure; control overflow between beds. |
| Cut-and-Fill | Moderate | Medium | Soft edges using soil; pair with deep-rooted natives + erosion blankets. |
When to Call the Building Dept.
- Walls ≤ 4 ft? Often exempt—but verify footing measurement method.
- > 4 ft or surcharge (driveways, structures, additional slope) → permit/engineering likely (IRC/IBC).
- Paths & comfort: clear width ≥ 36 in; running slope ≤ 1:20; cross-slope ≤ 1:48 (ADA/U.S. Access Board).
- 811 before you dig: request utility locates a few business days ahead (CGA/811).
Before You Order Materials
- Walk the site after rain; flag flow lines and puddles.
- Stake **36 in** path corridors on contour; test barrow turns.
- Clinometer spot-checks where the slope changes.
- Rough-in “rooms”: veg (top), pollinators (mid), rain-friendly plants (bottom).
- Decide one service route for hauling soil/rock; keep it stable.
Design Moves That Pay Off
Small choices that prevent big rebuilds.
Good design is about water control and safe movement—everything else is styling.
Before you sketch, measure the slope: stretch a tape along the ground (run), set a level on a straight board, and measure the vertical rise at the uphill end. Slope (%) = rise ÷ run × 100. Note where water currently flows and puddles; after storms, walk the site and mark these paths with flags. Then rough in “rooms” you want on each terrace—edibles up top (sunny, well-drained), a pollinator strip mid-slope, and seating or a rain-garden basin low.
Layout options, from lightest to most structural:
- Cut-and-fill terraces shaped with soil, edged by deep-rooted plants and erosion blankets on steeper faces.
- Stepped raised beds pinned into the slope—good for veg; still need controlled overflows.
- Modular SRW block tiers with base rock, wall rock and drains; predictable and expandable later.
- Timber or recycled-plastic tiers for speed; lighter equipment; plan extra for drainage and anchoring.
- Dry-stack stone with compacted bases—classic look but treat like a wall: batter, drainage, and careful lifts.
Code & permits you can’t skip: In many U.S. jurisdictions, retaining walls over ~4 ft in height (measured from the bottom of footing to the top) or any wall supporting a surcharge (slopes, driveways, structures) require permits and often engineering. Don’t guess—call your building department and use the IRC/IBC language they’ve adopted.
Access & comfort: Plan paths at least 36 in clear width so you can move tools and a wheelbarrow. Keep running slope ≤ 1:20 (5%) and cross-slope ≤ 1:48 (~2%) for sure-footed walking—these are straight from the ADA Standards and the U.S. Access Board.
Make it concrete (literally):
- Do a quick phone sketch: outline property lines, mark sun path, then draw tiers as rectangles with arrows for drainage.
- Use a smartphone clinometer/inclinometer app to confirm slope spots before you buy materials.
- Call 811 a few business days before digging to locate buried utilities—free and required in most states.
Drainage & Erosion: Build Tiers That Last (retaining wall drainage & erosion control)

Behind every SRW block wall, build a drainage zone: compact base, then fill block cores and at least 12 inches (300 mm) behind the wall with clean, free-draining “wall rock”. Set a 4-inch perforated drain pipe at the low point and compact soil and rock in lifts ≤ 8 inches. Where applicable, tee-outlets every ~30–50 ft discharge water to daylight.
Reinforcement matters: For engineered walls, geogrid length commonly starts near ≈60% of wall height for lower layers (and longer near the top in some designs). Final lengths, elevations, and strengths come from the wall system’s design charts or your engineer—and they vary with soil, loads, and setback.
Control surface erosion between tiers: After planting, maintain 2–4 inches of mulch (coarser chips on slopes). On steeper faces or freshly disturbed soils, add biodegradable jute or coir erosion-control blankets (RECPs) until roots knit the surface—look for short-term jute on gentle slopes and longer-lasting coir where exposure is harsher.
Add a rain-garden “safety valve” at the bottom tier:
- Site ≥10 ft from foundations and away from wells/septic.
- Target 4–8 in basin depth and size roughly 5–10% of the impermeable area draining to it.
- Choose soils or mixes that drain within ~24 hours (do a simple percolation test and amend if needed).
- Orient the long axis perpendicular to flow, and provide a stabilized overflow.
Useful sizing math: A storm that drops 1 inch on 1,000 sq ft = ~623 gallons—handy for sizing pipes, outlets, and barrel/cistern overflow.
Materials & Layouts: Blocks, Timber, Steel, or Stone (tiered garden beds & terraces)
SRW concrete blocks (most predictable): Modern block systems come with tested details—12 in wall-rock drainage, compacted ≤ 8-in lifts, base prep, and engineered geogrid schedules where needed. You can select block “setback” (batter), commonly ~6° or ~12°, to lean the face into the slope for added stability.
Timber or recycled-plastic tiers (fast, budget-friendly): Treated timbers build quickly with minimal equipment, but plan for drainage, deadmen/anchors, and eventual replacement. Recycled-plastic lumber resists rot and insects and tolerates ground contact with very low maintenance—helpful on small tiered garden beds or edgers where longevity matters more than a masonry look.
Dry-stack stone (timeless, but technical): A true wall still needs a compacted base, batter, drainage, and careful interlock. Typical SRW and stone systems use a few to a dozen degrees of batter; more batter = more stability (and more setback space).
Safety at “seating-height” terraces: If you create a patio/landing near an edge where the drop exceeds 30 inches within 36 inches of the edge, most jurisdictions (IRC) require a guard at least 36 inches high. Plan benches, planters, or railings accordingly.
Pro tip—plan for setback space: A 12° setback face uses a bit more horizontal room than 6° but can reduce reinforcement needs on modest walls and reads visually “softer” in garden settings.
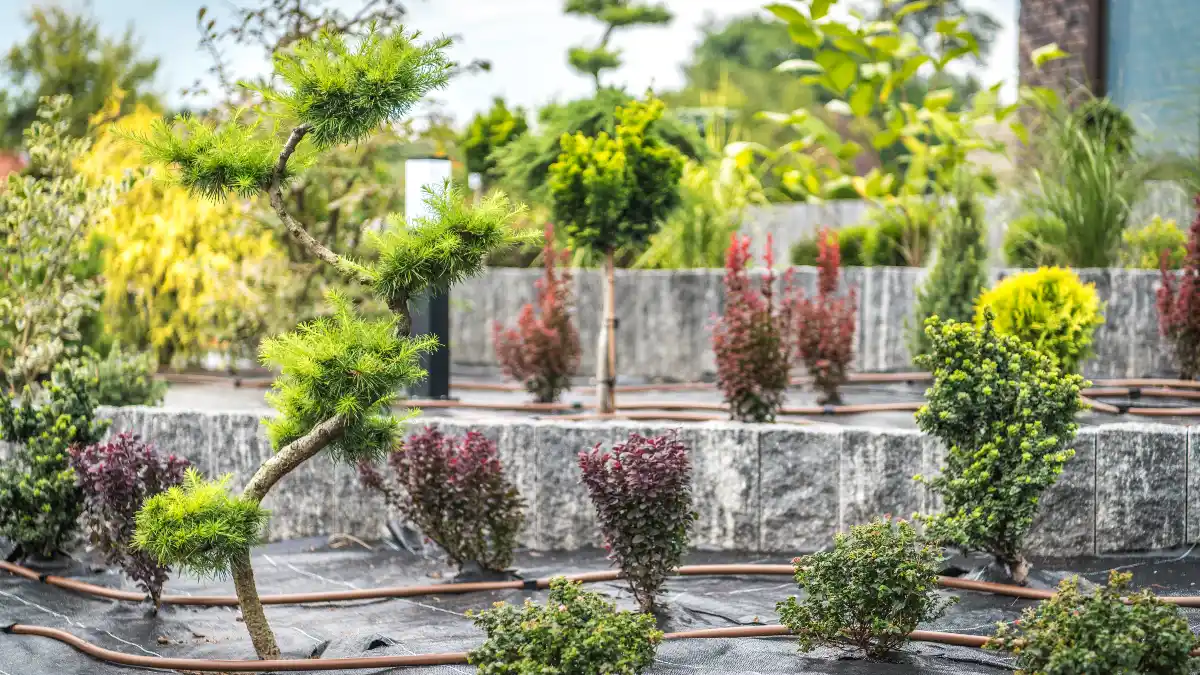
Planting by Climate: Edibles, Natives & Pollinators
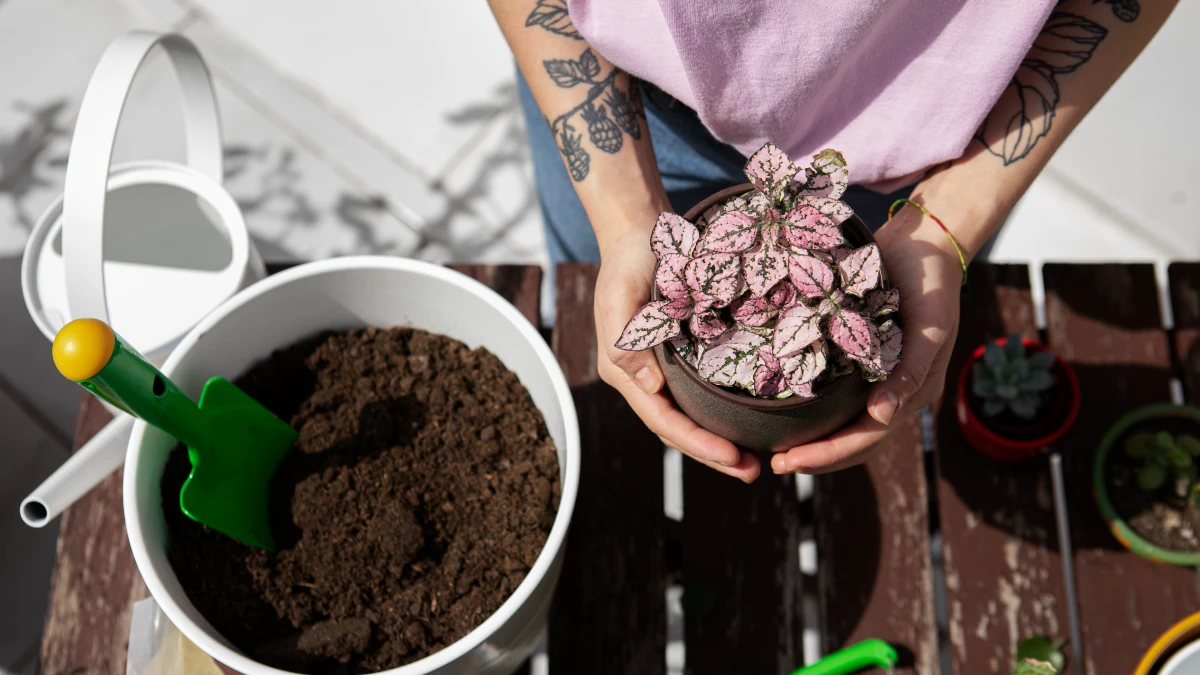
Start with climate, not plant tags. Use the 2023 USDA Plant Hardiness Zone Map (updated Nov 2023) and punch in your ZIP on the interactive map to confirm your zone and frost window before you buy anything. That one step will keep borderline plants (and your budget) alive.
Next, anchor each tier with region-appropriate native plants to stabilize soil and feed birds/beneficial insects. Two gold-standard lookups: Xerces Society regional lists (pollinator-tested natives) and Audubon’s Native Plant Finder by ZIP (plants that support your local birds). Use these to build a short list, then shop by botanical name.
Match soil depth to roots. In tiered beds, most vegetables are happy with 10–12 inches of friable soil (deeper is better for roots if you can manage it); shallow crops (lettuce, scallions, radish) do fine with 6–8 inches, while carrots and other deep tap-roots grow best with 10–12 inches of medium. If you use bottomless raised beds, till or loosen the native soil below so roots can punch down.
Plant woody plants correctly the first time: set trees/shrubs no deeper than the root flare, and dig the hole about 2× as wide as the root ball to speed establishment. Avoid burying the flare—planting even an inch too deep stresses and can kill trees.
A simple 3-tier recipe you can copy:
- Upper (sunniest, well-drained, 12–18 in soil): herbs (thyme, rosemary), peppers, bush tomatoes; interplant drought-tough native perennials from your Xerces/Audubon lists. Keywords: planting a terraced garden.
- Middle (mixed sun): pollinator perennials (milkweeds, coneflowers, penstemon) and subshrubs; stagger bloom times to cover spring–fall. Keywords: native plants by zone.
- Lower (moister): native grasses/sedges (e.g., Sporobolus, Carex) and rain-tolerant edibles like rhubarb; this tier can also transition into a small rain garden (see next section).
Work zone-first, then layer plants by root depth and water needs. That’s how a planting a terraced garden plan stays lush and low-maintenance—true, climate-fit tiered garden ideas made practical for 2025.
Water-Smart Irrigation for Tiers (drip, controllers & rain capture)
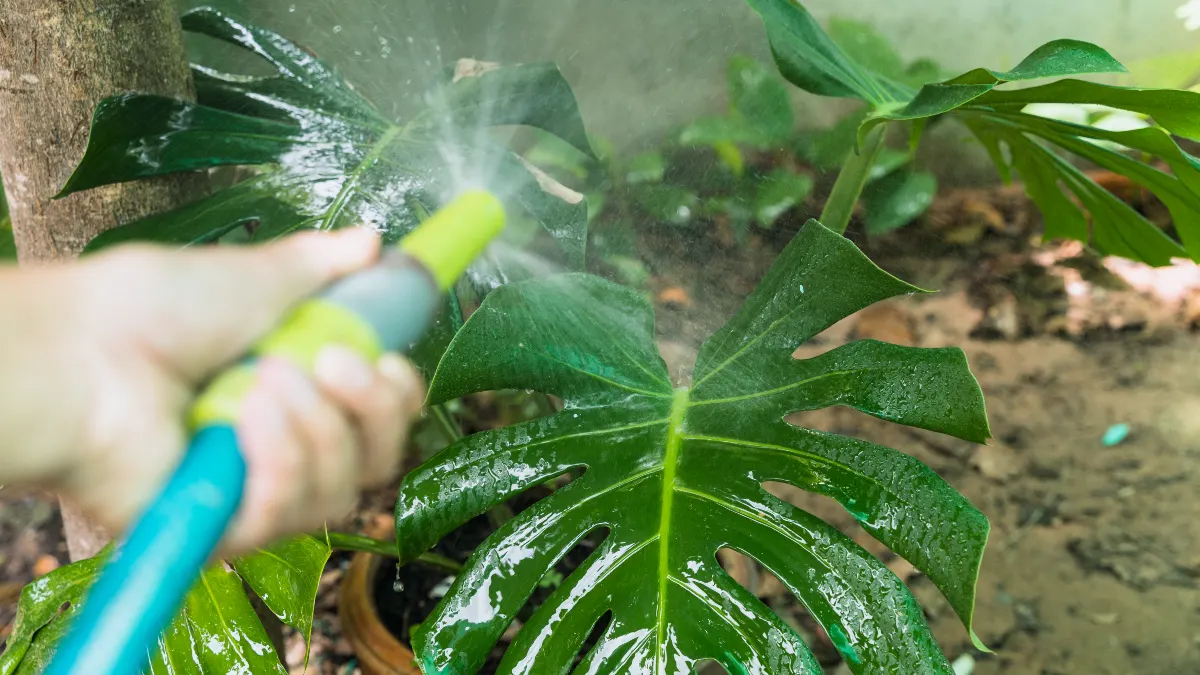
For tiered garden beds, drip/micro-irrigation is your friend: correctly installed systems routinely achieve >90% efficiency, delivering water to roots with minimal evaporation and overspray—ideal on slopes. Use pressure-regulated emitters and keep lines on contour to avoid uneven flows between tiers.
Add a smart controller. U.S. homes use nearly 8–9 billion gallons/day outdoors, much of it wasted. EPA WaterSense-labeled controllers adjust run times to weather and can save up to ~15,000 gallons per home per year when replacing basic clock timers. Even on small landscapes, that’s real money and healthier plants.
Bullet-proof your drip zone (quick spec):
- Filter: 120–200-mesh screen (150-mesh is common) to keep emitters from clogging.
- Pressure regulation: ~25 psi for most residential drip components.
- Flush points: at line ends; open each season and after any soil work.
These are standard best practices across land-grant extensions and manufacturer guides.
Rain harvesting that actually helps tiers: One inch of rain on 1,000 sq ft yields ~623 gallons. A pair of 65-gal barrels won’t hold a big storm, but they’ll gravity-feed a soaker line on the upper tier nicely, reducing hose time. Keep overflows directed to a swale or rain garden (10+ ft from foundations).
Starter layout (copy/paste): put a filter + 25-psi regulator at the hose bib → polyethylene mainline up the slope → 1/4-in distribution to emitters (2 L/hr to 4 L/hr) in rings around shrubs and grid for veg rows. Label each tier valve so you can water sun-baked upper beds more often than lower, cooler tiers. Keywords: drip irrigation for tiered gardens, smart irrigation controller.
Safety, Access & Finishing Touches (paths, steps, lighting)
Design paths you can actually use. Keep clear width ≥ 36 in so a wheelbarrow or cart fits; keep running slope ≤ 1:20 (5%) so a path isn’t a “ramp,” and cross-slope ≤ 1:48 (~2%) so feet (and wheels) don’t slide sideways. Those numbers come from the U.S. Access Board’s ADA standards for walking surfaces and work great in gardens.
Mind the edges. If you create a patio/landing with a drop > 30 in within 36 in of the edge, add a guard ~≥ 36 in high (typical under the International Residential Code; local amendments vary). It’s cheap insurance and often required.
For steps between tiers: keep risers consistent, add handholds (rail or well-placed posts), and include low-voltage LED path lighting for night safety. Light the treads, not eyes; shield fixtures to prevent glare. Where space is tight, a short run of stone slab treads with compacted gravel landings feels natural and drains well.
Surface picks: decomposed granite (stabilized), compacted gravel, or pavers on a compacted base. Keep joints tight, add a 2–3% crown or cross-slope for shedding water, and integrate drip lines under seat walls and steps so finish plantings thrive without overspray on hardscape.
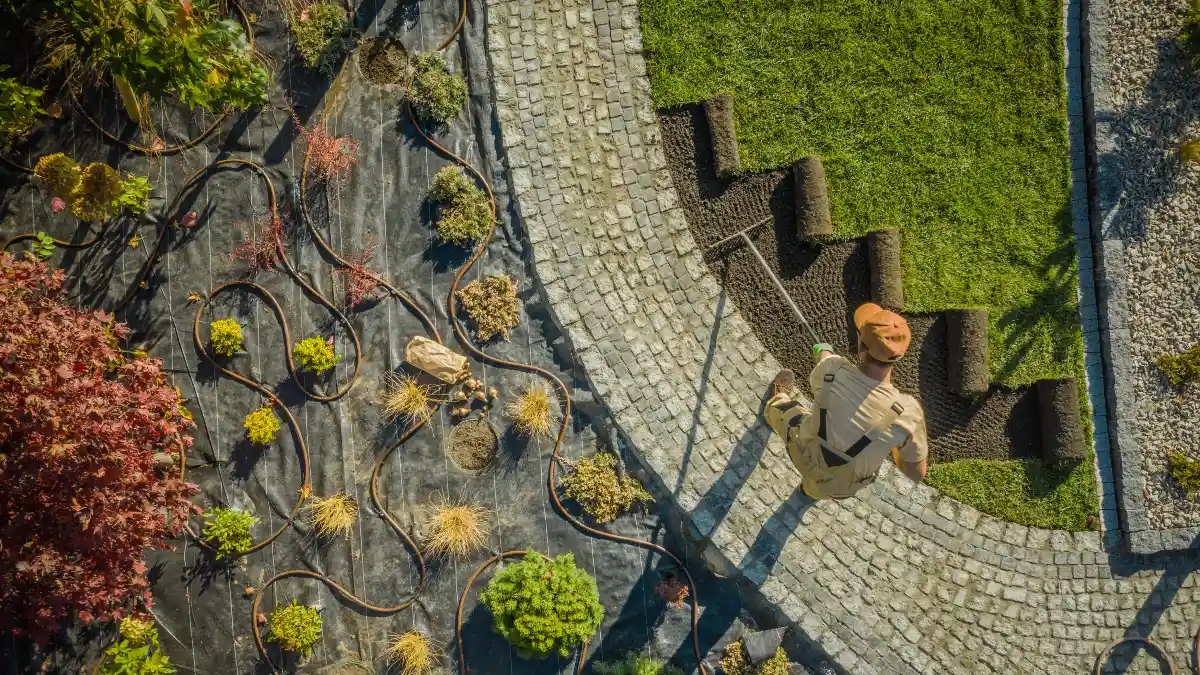
Step-By-Step: Build One Stable Tier (DIY workflow)
1) Layout & trench. Paint the wall line on the lowest tier location, excavate to undisturbed native soil, and dig a base trench wide enough for the block plus side clearance. Compact the subgrade. Pro-tip: Call your utility-locating service before you dig.
2) Base. Place ~6 in compacted base rock (well-graded), level front-to-back and end-to-end. A solid, level first course is 80% of the job.
3) First course. Set the first row of segmental retaining wall (SRW) blocks dead-level. Backfill the block cores and ~12 in behind the wall with clean “wall rock” and compact in ≤ 8 in lifts; place a 4-in perforated drain at the lowest point behind the base course and vent to daylight ~every 50 ft where possible.
4) Build up. Stack subsequent courses in running bond, check batter and level frequently, and keep compacting the wall rock and infill each lift. Where the design calls for reinforcement, install geogrid sheets at the specified courses, extending back as designed (typical engineered designs use geogrid lengths on the order of ~60% of wall height, but always follow your engineered plan or the manufacturer’s tables).
5) Cap & finish. Glue caps, transition to planting soil above the last course (keeps surface water out of the wall), lay fabric only where you need to separate soil from rock, and add 2–4 in mulch (keep it off crowns/stems). Tie in irrigation and plant.
Conclusion
With the right layout, drainage, and climate-fit plants, a slope becomes productive, safe, and low-maintenance. Start small: build one stable tier with proper base, drain rock, and geogrid where required; verify your USDA zone and pull native/perennial lists from Xerces and Audubon; then run drip with a smart controller and capture a little rain to top it up.
From there, repeat the pattern upslope. Ready to go? Download the checklist, price materials, check your zone and plant list, and start with one tier this weekend.
