

Want a greenhouse without the $1,000+ price tag? You can build one that actually lasts—and grows—by choosing the right structure for your climate and buying the correct materials the first time. Many kits are expensive, and DIY advice is scattered. Worse, the wrong plastic (or poor ventilation) can shred, fog, or invite disease.
This guide pulls together affordable DIY greenhouse ideas you can complete in a weekend: PVC hoop house plans, a cattle panel greenhouse, a reclaimed-window structure, and low tunnels for raised beds.
You’ll see realistic cost ranges, how to match designs to your USDA hardiness zone, which cheap greenhouse plastic (6 mil) is worth your money (and which to avoid), simple airflow rules that prevent mildew, and heat-holding upgrades that pay back quickly.
By the end, you’ll know exactly what to buy, what to skip, and how to build a setup that stretches your season without draining your budget.
Choose the Right Greenhouse for Your Climate
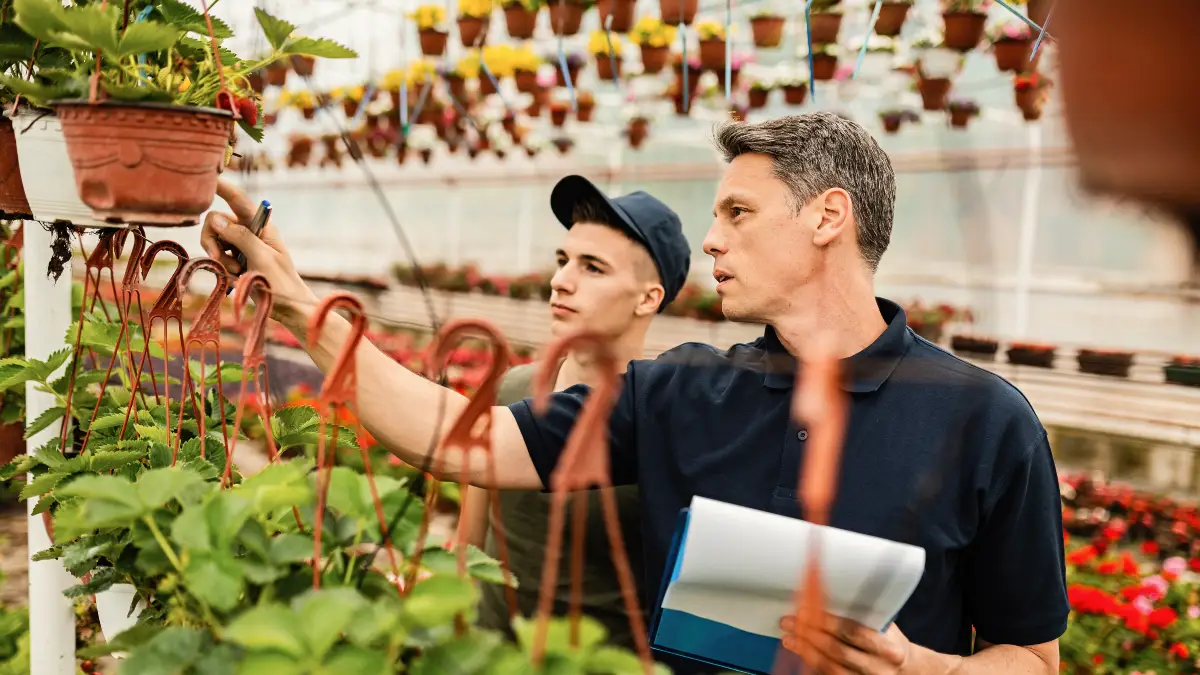
Zone-First Greenhouse Picker
Find your USDA zone by ZIP code. Zones reflect average extreme winter lows (USDA/ARS).
Match structure to risk: frequent winds or snow? Choose sturdier arches (steel/cattle panel) or rigid end walls.
Select the cover: 6-mil, 4-yr UV film for most sites; step up to polycarbonate on end walls in harsh weather.
Research insight: “Design for the worst weather you expect, not the average,” a long-standing guideline echoed by greenhouse engineering educators such as John W. Bartok, Jr.
| Site signal | Frame | Cover |
|---|---|---|
| Windy | Steel hoops / cattle panels + ridge/hip boards | UV film; polycarbonate end walls for doors |
| Snow load | Arched profiles with tight hoop spacing | Double layer film or PC roof/end walls |
| Mild | PVC/EMT hoops | Single 6-mil UV film + inner row cover on frosts |
Tip: When in doubt between size and strength, scale down the footprint and upgrade the frame/fastening.
Start here: Look up your USDA Plant Hardiness Zone with your ZIP code, then pick structure and covering accordingly. Zones reflect your average extreme winter lows; that one fact drives frame strength, film choice, and how much season extension you can expect.
What “season extension” actually means. In practice, low/caterpillar tunnels add ~2+ weeks on each end of the season—more with careful crop choice and covers—while full hoop houses can push harvests even further and improve produce quality.
Match design to weather risks (wind/snow):
- Windy or snowy sites: Favor sturdier frames (steel hoops or cattle-panel arches) and consider polycarbonate end walls/roof panels for impact resistance and long warranties on light transmission; leading manufacturers warrant minimal light-loss over 10 years.
- Mild, low-snow climates: A single-layer 6-mil UV film over hoops usually suffices; add interior row cover for frosts.
Quick design chooser (budget + durability):
- Low tunnel (cheapest per sq ft): Wire/PVC hoops + row cover/plastic; fast setup for beds.
- PVC hoop house: Lowest upfront cost on a freestanding footprint; requires bracing in wind.
- Cattle panel greenhouse: Mid-budget, very sturdy arch; great for snow shedding.
- Reclaimed-window greenhouse: Almost free materials if you can source them; heavier framing and a good foundation matter.
Takeaway: Check your USDA zone, then choose the simplest structure that survives your site’s worst wind/snow while delivering the season extension you need.
The 4 Most Affordable DIY Designs
PVC Hoop House (10×20 bed or freestanding)
- Cost & plans: A classic budget build; the Mother Earth News plan shows a full materials list (Schedule 40 PVC, baseboards, 6-mil greenhouse film) and an ~32-ft length using ~11 hoops (typical DIY spacing ends up around 3–4 ft between hoops for small houses). Expect costs to vary with lumber and film width.
- Pros: Cheapest, quick to build, easy to cover and recover.
- Cons: Weakest structural strength vs metal hoops; add ridge purlin, hip boards, and diagonal bracing in windy areas (Bootstrap Farmer guidance).
- Hardware to know: Lock channel + spring wire (aka wiggle wire) simplify film tension and re-covering; readily available from greenhouse suppliers.
- Use case: Mild climates, shoulder-season growing, seed starting under cover.
- Keywords: PVC hoop house plans, cheap greenhouse plastic (6 mil)
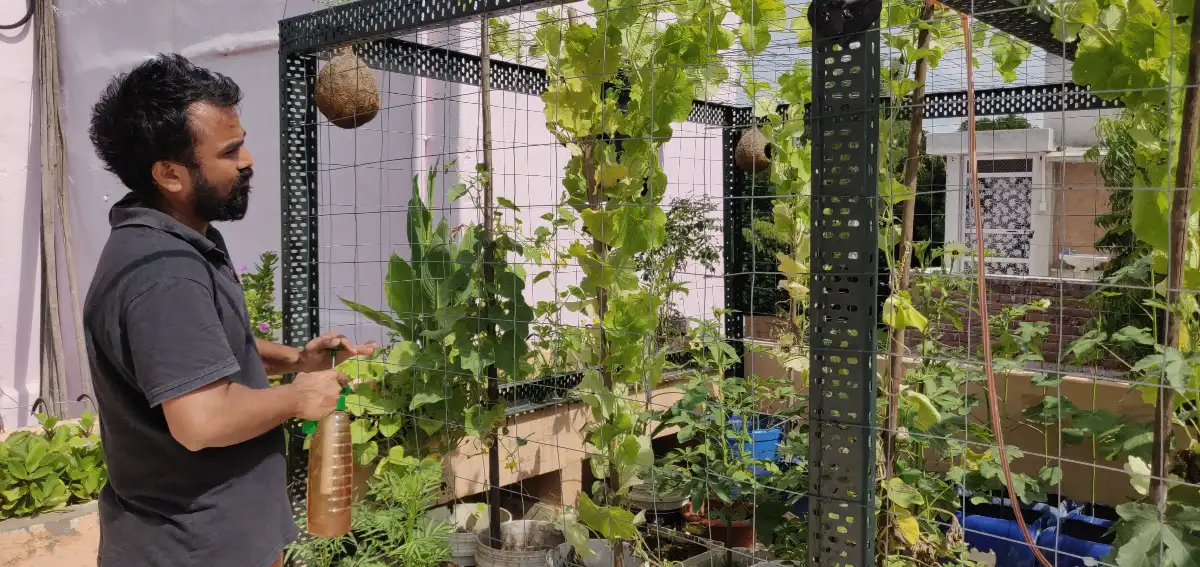
Cattle Panel Greenhouse
- Cost reality: Many DIY builds report ~$400–$1,000 depending on size and finish. (Spider Farmer overview; several homestead builds report “under $500” at smaller sizes and basic finishes.)
- Materials checklist: 16-ft cattle panels (3–5 depending on length), rebar stakes, a 2×4 or 2×6 ground frame, screws/straps, 6-mil UV greenhouse film, door frame, and fasteners (spring wire/channel or clamps/lathe).
- Pros: Stiffer than PVC, sheds snow well, tidy arch with minimal tooling.
- Cons: Interior headroom narrows at the sides; film needs edge protection on panel contact points.
- Pro tip: Pipe insulation or foam along panel edges prevents film abrasion.
- Keywords: cattle panel greenhouse, cheap greenhouse plastic (6 mil)
Reclaimed-Window Greenhouse
- Where it shines: When salvaged windows/doors are easy to source (demolitions, reuse centers), you can build near-zero-cost walls and add a simple timber roof with vents.
- Build notes: Prioritize a solid floor or footing, tie walls into posts, and slope the roof to shed water; expect more maintenance (drafts/leaks) than film houses—but great character and free glazing.
- Pros: Low material cost, beautiful aesthetic, real glass light quality.
- Cons: Heavier build, framing skills required; retrofit vents and shading.
- Keywords: affordable DIY greenhouse ideas
Low Tunnel / Caterpillar Tunnel
- Why it’s the cheapest per sq ft: Light hoops + row cover, then add plastic only for cold snaps; perfect over in-ground or raised beds.
- Cost & components: 9-gauge wire or conduit hoops, ground staples, spun-bond row cover, optional 1–1.5-mil perforated film; anchor well in wind.
- Performance: Expect at least two weeks of added season on each end in most climates, more with layered covers and sunny sites.
Buy Plastic That Lasts
- Buy once, cry once: Choose 6-mil greenhouse film with a 4-year UV warranty from reputable horticultural suppliers (e.g., Grower’s Solution, Farm Plastic Supply, Jiggly Greenhouse). These films typically advertise ≈90–91% light transmission and UV stabilization; warranties cover UV degradation, not tears from sharp edges.
- IR/anti-drip matters: Films with IR (infrared) + anti-drip coatings reduce radiant heat loss at night and keep condensation from dripping on leaves—worth it in cool seasons and seedling houses.
- Critical warning—PVC contact: Do not let poly film touch bare PVC; plasticizer migration breaks down the film and can void warranties. Use wood battens, primer/tape, or metal lock channel as a buffer anywhere the film meets PVC. (Grower’s Solution warranty note; Tunnel Vision Hoops.)
- When to step up to polycarbonate: If you face hail, high winds, or heavy snow, polycarbonate panels (e.g., Palram SUNLITE/Dynaglas) offer long service life with ~90% light transmission options and multi-year light-loss warranties; many DIYers use film for the roof and polycarbonate for rigid end walls and doors.
Bottom line: For most affordable DIY greenhouse ideas, a clear 6-mil, 4-year UV film with IR/anti-drip gives the best cost-to-performance; just keep it off PVC and tension it well. (Grower’s Solution; Farm Plastic Supply; Jiggly Greenhouse; Tunnel Vision Hoops.)
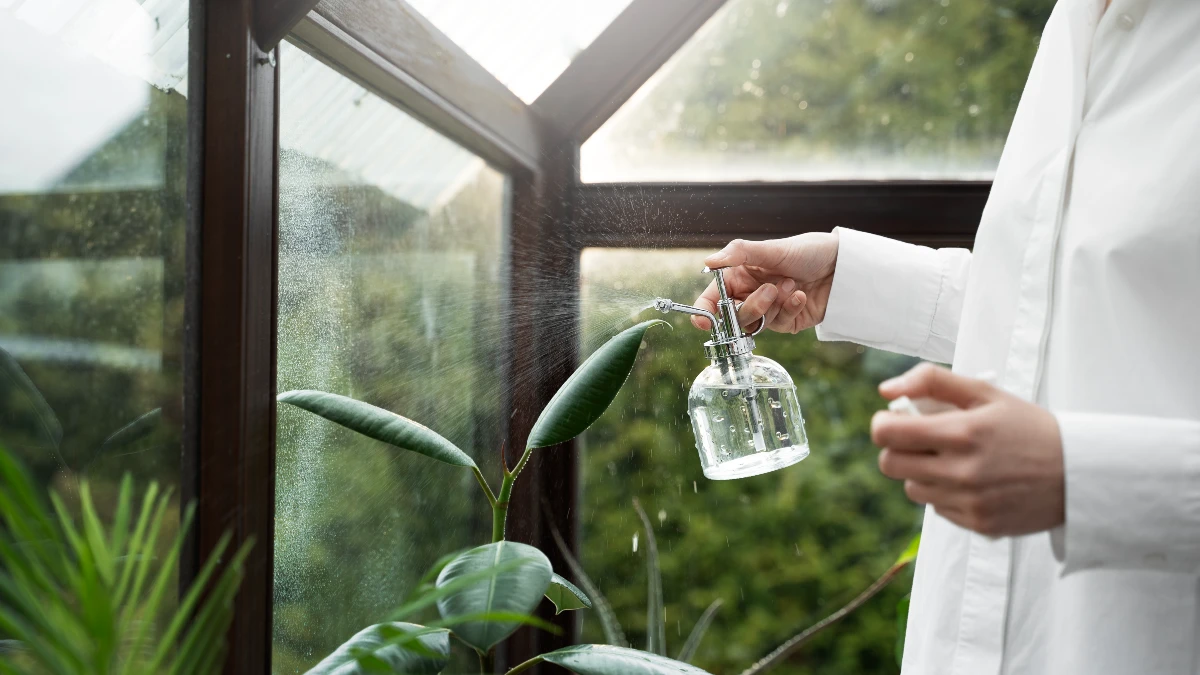
Ventilation & Moisture: Simple Rules That Prevent Disease
Design by rule, then tweak for your site. Start with HAF (horizontal air flow) mixing at ~2 CFM per square foot of floor area—it’s the most widely taught baseline for keeping humidity even and foliage dry. That means a 10×20 (200 sq ft) house needs ~400 CFM total fan capacity dedicated to mixing.
Target at least 2 air changes per hour in cool seasons. In winter or cool, cloudy periods, plan on ≥2 ACH to purge moisture and reduce Botrytis risk; you can go higher in shoulder seasons.
No-electric or low-power setups: Use cross-vented doors and end-wall vents as your default. In heat waves, crack both ends and add shade cloth or even an inner row cover to blunt solar gain while maintaining airflow paths.
Layout fans in a “racetrack.” Place small fans so air loops the length of the house and back along the other side, avoiding dead zones behind benches and tall crops. Box fans can work in a pinch—follow the 2 CFM/sq ft capacity rule rather than fixating on brands.
Heat Retention That Pays Back
Double poly is the biggest win. A properly inflated double-layer poly cover can cut heat loss by ~35–40% versus a single layer—while adding only a small reduction in light transmission. Use an inflation blower and, where feasible, pull outside air for drier inflation that reduces condensation between layers.
Expect a measurable R-value bump. Typical published values: single poly ≈ R-0.85, double inflated ≈ R-1.25—about a 50% gain in insulating value.
Use IR/anti-drip film on the inside layer. IR-treated films reduce nighttime radiant losses (often 10–20% energy savings in heated houses) and anti-condensate coatings reduce leaf wetness and drip on seedlings.
Layer fabric under plastic on frost nights. In unheated tunnels, add a floating row cover under the plastic for a few extra degrees of crop protection; remove or vent in sunny weather to avoid overheating.
3 Mini-Build Guides With Weekend Timelines

7×12 Cattle Panel Greenhouse (1 day)
Steps (in order):
- Base frame: Build a 7×12 pressure-treated 2×4 or 2×6 rectangle; square it; stake corners.
- Rebar pins: Drive ½″ rebar pins inside the frame every 2 ft where panel ends will land.
- Bend panels: Set 16-ft cattle panels onto pins and arch across; overlap or tie panels as needed.
- Ridge purlin: Screw a 2×4 along the crown to stiffen the arch and simplify film handling.
- Skin it: Add foam pipe insulation on panel contact points to protect the film; cover with 6-mil, 4-year UV film; secure with wiggle wire/lock channel or lathe strips.
- Door & end walls: Frame a lightweight door; brace end walls.
Budget reality: Many DIYers have completed similar builds around $400–$500 with basic finishes; bigger sizes or rigid end walls push costs upward.
Pro tip: Wherever the film touches metal edges, pipe insulation or felt tape greatly reduces abrasion and extends film life.
10×20 PVC Hoop House Over a Bed
Steps (in order):
- Set anchors: Drive rebar stubs along bed edges.
- Hoops: Bend ½″–1″ PVC into arches over the bed.
- Purlin: Lash a ridge purlin to stiffen.
- Cover: Pull 6-mil UV film and secure with snap clamps, battens, or lock channel.
- Ends: Make simple flap doors or framed ends.
Plans: The Mother Earth News PVC plan offers a clear materials list and measurements with a printable PDF; it’s a classic starting point for small-scale builds.
Note on strength: PVC frames are the least structural—add diagonal bracing, hip boards, and tighter hoop spacing in windy sites (industry guidance from Bootstrap Farmer).
Rule of thumb on spacing: For small PVC builds, ~1 hoop every 4 ft keeps covers taut and reduces flap/wear.
Low Tunnel (2–3 hours per bed)
Steps (in order):
- Hoops: Use 9-gauge wire, ½″ PVC, or thin EMT; space every 3–4 ft along the bed.
- Anchors: Ground staples or buried ends; the cover must be drum-tight to survive wind.
- Covers: Use spun-bond row cover for everyday use; add thin perforated film only during freezes; vent on sunny days.
- Edge management: Bury edges or use sandbags to seal.
Costs & components: OSU Extension provides a current bill of materials, cost ranges, and step-by-step diagrams you can adapt to any bed length.
Budget, Tools, and “Where to Save / Where to Spend”
Spend on the cover and fastening. Your best ROI is UV-stabilized 6-mil film (or polycarbonate for end walls), plus proper lock channel + wiggle wire so the cover stays tight and repairable.
Save with smart scrounging. Reuse framing lumber, doors, and windows when possible; buy brand-new only for structural fasteners, rebar, and lock channel where reliability matters.
Line items to price out (make a simple spreadsheet):
- Cover: 6-mil, 4-year UV film (note width/length)
- Fastening: wiggle wire + lock channel, snap clamps, lathe
- Frame: cattle panels or PVC/EMT/steel; ridge purlin; hip boards
- Anchors: rebar pins, ground stakes
- End walls/door: lumber, hinges, latch
- Extras: pipe insulation/felt tape, repair tape, shade cloth, HAF fans (if powered)
(Farm Plastic Supply; The Everyday Greenhouse materials tracker.)
Maintenance & Upgrades
Keep the bubble healthy. For double-poly, check the inflation blower and seals at least seasonally; small leaks collapse the air gap and spike fuel use.
Protect and repair the film. Keep covers taut, add felt/pipe insulation anywhere film touches framing, and stock UV-stable repair tape for quick patches inside and out.
Toughen the ends. If wind or door traffic is rough, polycarbonate end walls (multiwall or corrugated) add stiffness and long warranties on light transmission—ideal spots to upgrade first.
Conclusion
If you match a simple structure to your USDA zone and follow a few proven rules, you’ll get big gains for small money. Start with a design that fits your site—cattle panel, PVC hoop, reclaimed windows, or low tunnels—then invest in 6-mil, 4-year UV film and solid fastening. Size ventilation by rule (~2 CFM per sq ft for HAF mixing; ≥2 ACH in cool seasons) and lock in warmth with double-poly inflation plus IR film or a nighttime row cover.
Those upgrades routinely deliver ~35–40% lower heat loss when installed correctly—savings you’ll feel in plant vigor and your utility bill.
