
That rusty metal milk jug sitting in your garage could become your home’s next shows topping decor piece. You’re not alone if you look at that old container and see nothing but junk. Most people inherit these vintage pieces or find them at garage sales and then stick them in storage because they don’t fit modern home styles.
Here’s the thing: those metal jugs are actually perfect for today’s DIY metal milk jug ideas. They’re sturdy, have character, and cost way less than buying new decor. While store-bought planters run $30-50, you can create something better for under $5 in supplies.
You don’t need to be crafty to make this work. The projects in this guide use basic tools you probably already own. Some take 15 minutes, others might fill a weekend, but all of them solve real problems in your home.
🥛 Metal Milk Jug Prep Guide
Transform vintage metal into stunning DIY decor
🔧 Essential Tools Needed
📋 5-Step Prep Process
Assess & Inspect
Check for structural damage, deep rust, or holes. Look for dents that affect functionality and test handle stability.
Initial Cleaning
Remove dirt, grime, and loose debris with warm soapy water. Scrub with stiff brush to expose true metal condition.
Rust Removal
Use wire brushes, steel wool, or rust remover products. Work in well-ventilated area and follow product instructions carefully.
Surface Preparation
Sand with 120-grit, then 220-grit sandpaper. Clean with tack cloth to remove all dust and particles.
Prime & Protect
Apply metal primer in thin, even coats. Allow proper drying time between coats for best adhesion and longevity.
- Always wear safety goggles and work gloves
- Work in well-ventilated areas when using chemicals
- Check for lead paint on very old jugs (pre-1970s)
- Use dust masks when sanding to avoid inhaling particles
- Keep first aid kit nearby for cuts from sharp edges
✅ Jug Condition Assessment Guide
Stunning Garden and Outdoor Metal Milk Jug Ideas
Your old milk jugs are piling up in the recycling bin. But what if those “trash” containers could transform your garden into something amazing? These upcycled milk jug projects will save you money and give your outdoor space a fresh new look.
Turn Milk Jugs Into Perfect Hanging Planters
Hanging planters cost $20 or more at the store. You can make better ones for free.
Here’s how to do it step-by-step:
Cut a large opening in the side of your milk jug, leaving about 2 inches at the bottom. Poke 4-5 small drainage holes in the bottom with a nail. Thread strong rope through holes near the handle. Fill with potting soil and your favorite flowers.
The best part? These planters are lighter than ceramic ones. They won’t break if they fall. And you can make as many as you want.
Create Magical Fairy Garden Containers
Kids love fairy gardens. Parents love projects that don’t cost much.
Cut the top third off a milk jug. Sand the edges smooth so no one gets hurt. Paint the outside with outdoor paint in soft colors like mint green or cream. Add small rocks, tiny plants, and miniature decorations.
These fairy gardens work great on patios or decks. They’re easy to move when you need to mow or clean.
Make Your Own Outdoor Lighting Fixtures
Store-bought solar lights break after one season. Your homemade version will last longer.
Cut decorative patterns in the sides of clean milk jugs. You can make stars, circles, or simple geometric shapes. Drop a solar light (the kind that fits in the ground) into the jug. The light will shine through your patterns and create beautiful shadows.
For extra style, wrap colored wire around the handle. Hang these lights from tree branches or shepherd’s hooks.
Build Bird Feeders and Watering Stations
Birds need food and water. You need an easy project that actually works.
For feeders, cut large holes on opposite sides of the jug. Leave 2 inches at the bottom for seed storage. Poke small holes just above the big openings and push wooden dowels through. Birds will perch on these while they eat.
For water stations, cut the jug in half horizontally. Use the bottom part as a shallow dish. Fill it with clean water and set it on a sturdy surface.
Smart Garden Tool Storage Solutions
Garden tools left outside get rusty and dull. A simple storage system fixes this problem.
Cut the top off several milk jugs at different heights. Attach them to your shed wall or fence with screws through the handle area. Store hand tools, seed packets, and small supplies in each container.
Label each jug so you remember what goes where. These containers keep everything dry and organized.
Weatherproofing Techniques That Actually Work
Outdoor projects need to survive rain, sun, and cold weather.
Start with a light sanding to help paint stick better. Use outdoor paint designed for plastic. Apply thin coats rather than one thick layer. Let each coat dry completely before adding the next one.
For extra protection, spray finished projects with clear outdoor sealant. This prevents fading and cracking.
Your Garden Transformation Starts Now
These upcycled milk jug projects prove that outdoor decor doesn’t have to be expensive. Start with one easy project this weekend. You’ll be surprised how much difference a few simple changes can make in your garden space.
Farmhouse Kitchen Metal Milk Jug Projects
Your kitchen counters are crowded with utensils, herbs are dying on the windowsill, and storage containers cost a fortune. Vintage milk jug repurposing can solve all these problems while giving your kitchen that perfect farmhouse decor look.
Turn Milk Jugs Into Smart Utensil Holders
Wooden spoons and spatulas need a home that looks good on your counter.
Clean your milk jug completely and remove all labels. Cut the top off about 4 inches from the handle. Sand the cut edge until it’s smooth. Paint with chalk paint in cream or sage green for that authentic farmhouse feel.
These holders are wider at the bottom than store-bought versions. Your utensils won’t tip over when you grab one quickly during cooking.
Create a Coffee Station Organizer That Actually Works
Coffee pods, stirrers, and sugar packets create morning chaos.
Use three milk jugs of different heights. Cut them at 6, 8, and 10 inches tall. Paint them to match your kitchen colors. Group them on a tray near your coffee maker.
Store coffee pods in the tallest jug, sugar and creamer in the medium one, and stirrers in the shortest. Everything stays organized and you save 5 minutes every morning.
Build a Tiered Herb Garden Display
Fresh herbs from the store cost $3 each and go bad quickly. Growing your own saves money and tastes better.
Cut three milk jugs at different heights: 4, 6, and 8 inches. Drill drainage holes in the bottom of each one. Paint with outdoor paint since herbs need good light near windows.
Plant basil in the tallest container, parsley in the medium, and chives in the shortest. Arrange them in a step pattern on your kitchen windowsill. Water flows through the drainage holes into a tray underneath.
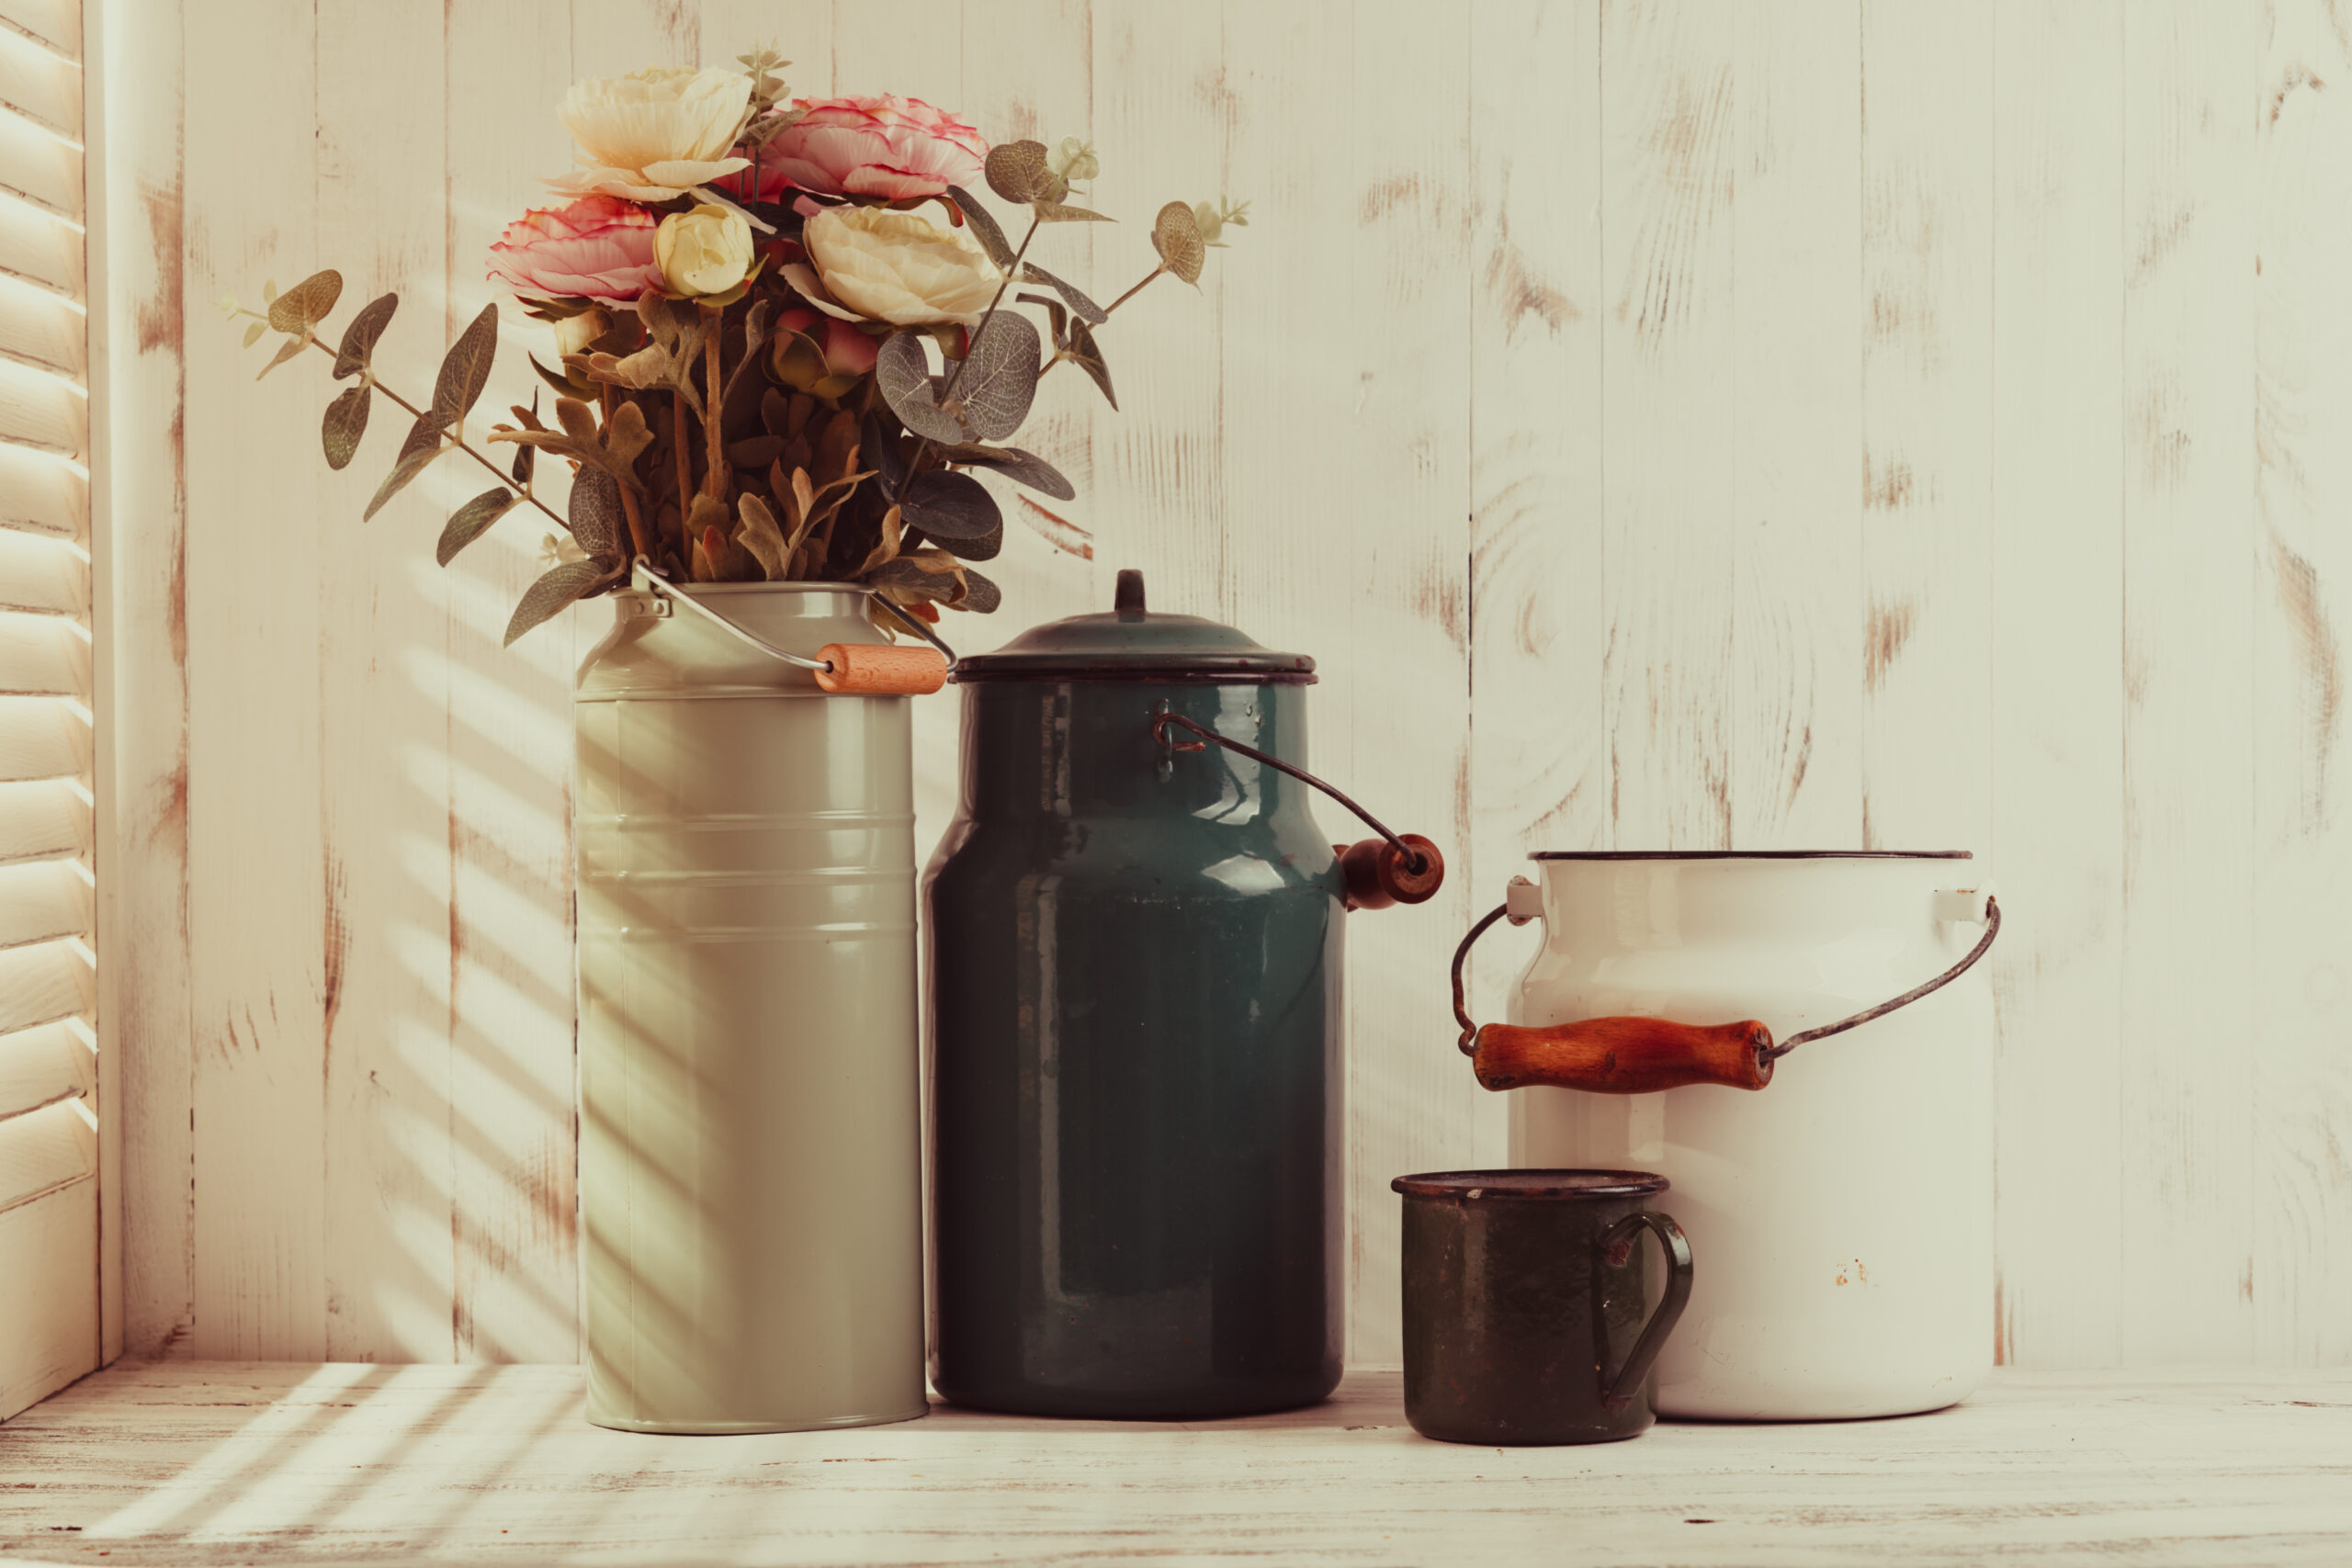
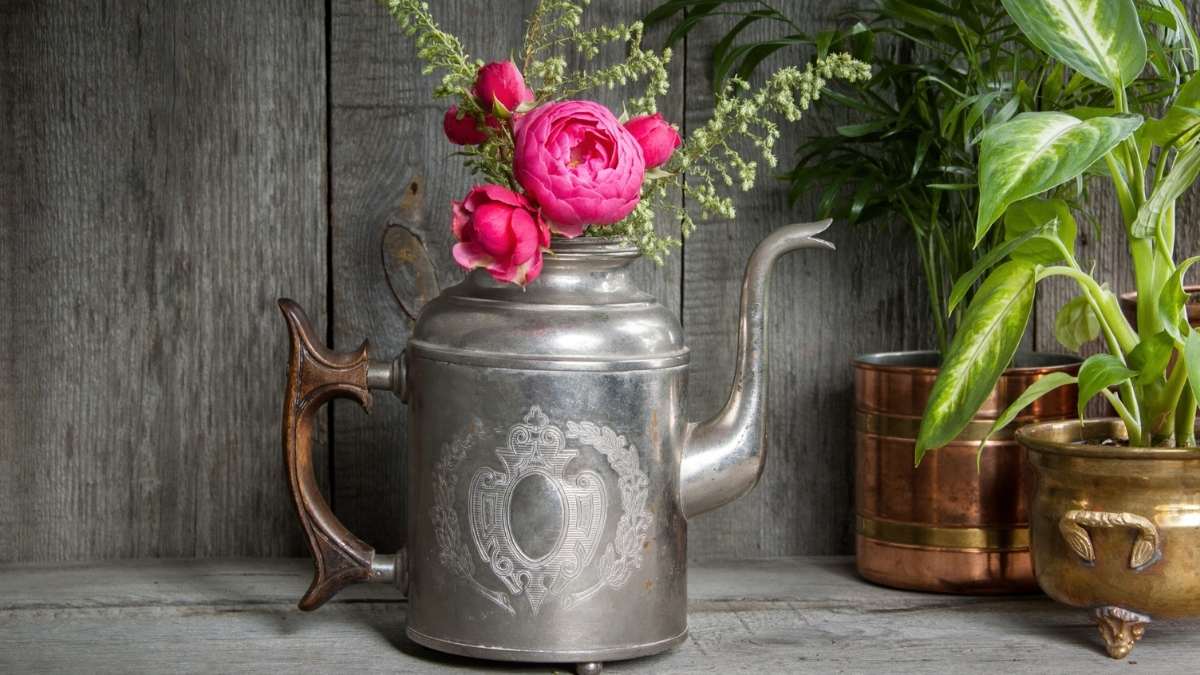
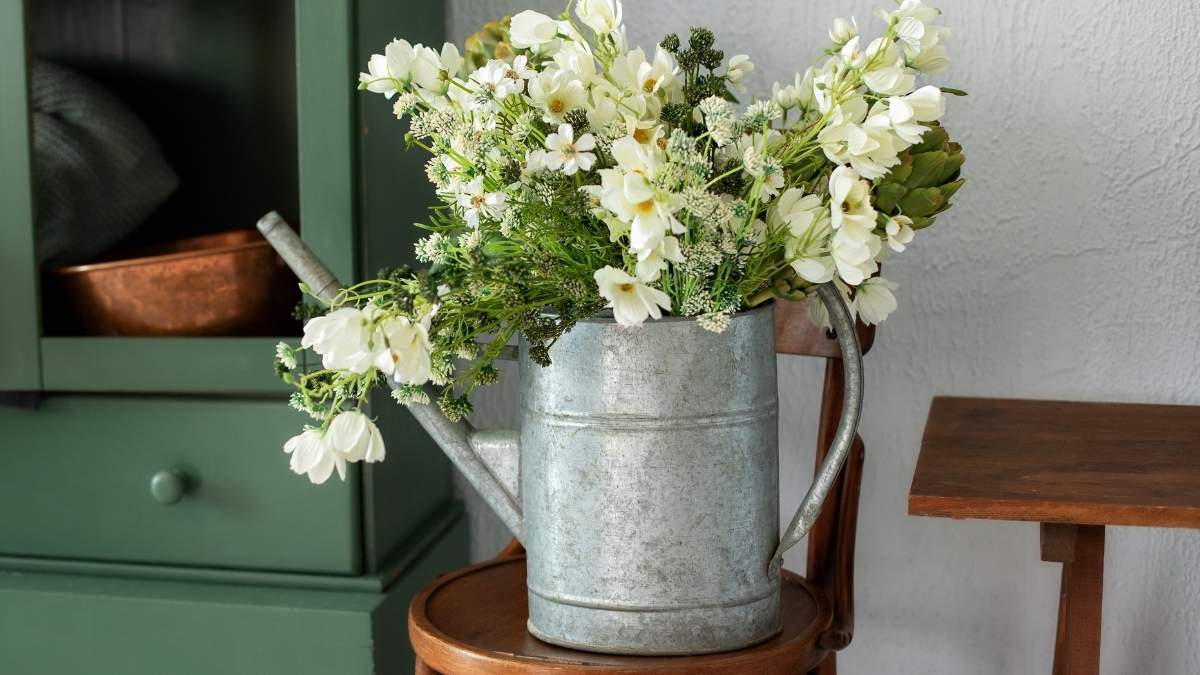
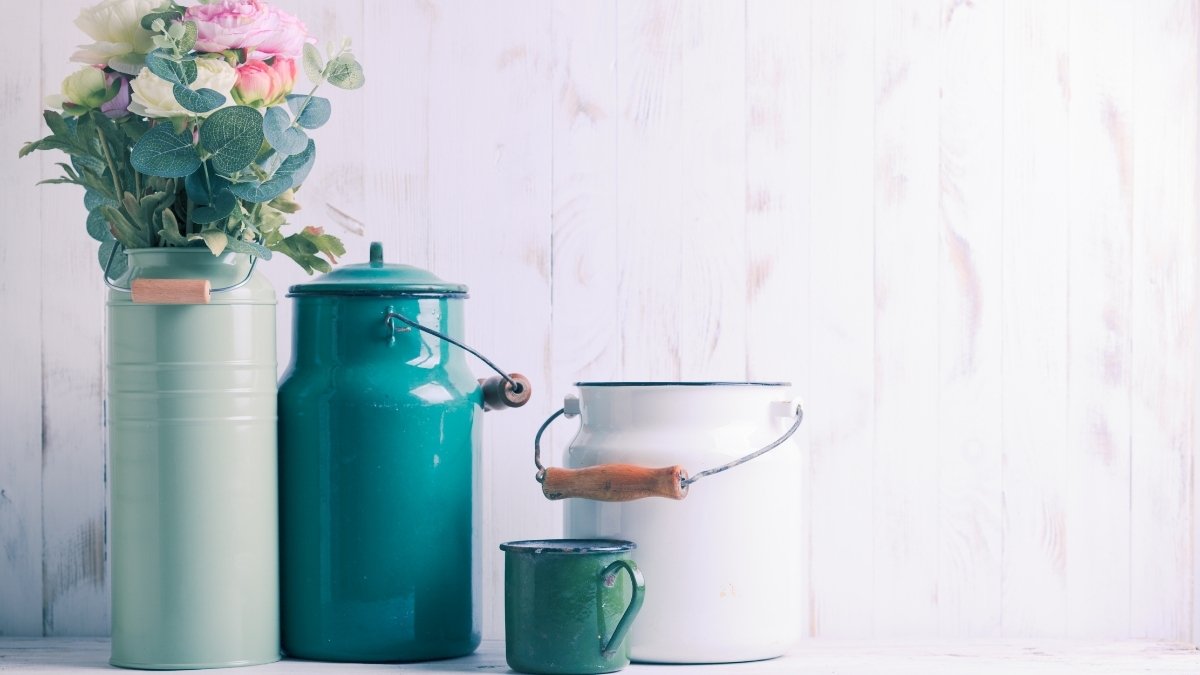
Make Decorative Centerpieces for Your Table
Store-bought centerpieces cost $30 and look fake. Your homemade version looks better and costs almost nothing.
Choose milk jugs in good condition with no dents. Remove labels completely using warm soapy water and a plastic scraper. Paint with matte finish paint in colors that match your dining room.
Fill with seasonal items like pinecones in winter, flowers in spring, or small pumpkins in fall. Change the contents when you get tired of the look.
Create Wall-Mounted Spice Displays
Spice racks take up valuable cabinet space. Wall storage keeps everything visible and saves room.
Cut milk jugs in half horizontally. Use the bottom portions as small containers. Mount them on a wooden board using screws through the handle area. Hang the board on your wall near the stove.
Label each container clearly. Store loose spices in small glass jars inside each milk jug section.
Safety Tips for Food-Contact Applications
Some milk jug projects will touch food. You need to know which ones are safe.
Never use milk jugs that held non-food items for storing food. Only paint the outside of containers that will hold edibles. Use food-safe sealers if the inside might contact what you’re storing.
For dry goods like flour or sugar, line the inside with food-safe plastic bags. This creates a barrier between your food and the container.
Start Your Kitchen Makeover Today
These vintage milk jug repurposing projects give you farmhouse style without the high price tag. Pick one project and try it this weekend. You’ll love how much more organized and stylish your kitchen looks.
Creative Storage Solutions Using Metal Milk Jugs
Your house is drowning in clutter and expensive storage systems don’t fit your budget or your space. Every room has stuff piled in corners because you can’t find the right containers. These metal milk jug crafts turn your trash into smart organization solutions that actually work.
Fix Bathroom Chaos With Simple Wall Storage
Bathroom counters collect bottles, brushes, and towels until you can’t find anything.
Create a multi-jug wall storage system that keeps everything visible and organized. Cut 4-5 milk jugs at different heights: 4, 6, 8, and 10 inches tall. Mount them on a wooden board using screws through the handle areas.
Store rolled towels in the tallest jugs, toiletries in medium ones, and small items like hair ties in the shortest containers. Hang the whole system on your bathroom wall where you need it most.
Build a Mobile Craft Cart That Actually Moves
Craft supplies spread all over the house because you don’t have one good storage spot.
Use 6-8 milk jugs of the same height mounted on a small wheeled cart. Cut them about 6 inches tall so you can see what’s inside each one. Paint them different colors to match what you’ll store: red for scissors, blue for glue, green for markers.
Roll your cart to wherever you’re working. When you’re done, everything goes back in its color-coded spot and rolls away to storage.
Organize Your Garage Workshop in One Weekend
Garage tools get lost in boxes and small parts disappear when you need them most.
Mount milk jugs on pegboard or directly to garage walls. Cut various heights to fit different tools. Store screws, nails, and bolts in shorter containers. Put longer tools like screwdrivers and wrenches in taller ones.
Label everything clearly with a marker. Your tools stay clean, dry, and easy to find.
Create Safe Toy Storage Kids Can Use
Toy boxes are too big and small containers break easily when kids play rough.
Cut milk jugs smooth and sand all edges until they’re completely safe to touch. Make them different sizes for different toys: small for Legos, medium for action figures, large for dress-up clothes.
Kids can carry these containers easily and won’t get hurt if they drop them. Clear plastic lets them see what’s inside without dumping everything out.
Make Laundry Room Storage Work Better
Detergent, fabric softener, and cleaning supplies need organized homes that fit your space.
Mount jugs on laundry room walls at heights that make sense. Keep detergent pods high where kids can’t reach them. Store measuring cups and stain removers at eye level where you use them most.
Start Organizing One Room This Week
These organization solutions prove that good storage doesn’t have to cost much. Pick your messiest room and try one project. You’ll be surprised how much better organized spaces make your whole house feel.
Advanced DIY Metal Milk Jug Projects
You’ve mastered basic milk jug crafts and want to try something bigger. Maybe you’re tired of simple projects that look homemade. These advanced upcycled milk jug projects create furniture and fixtures that look professional, but they require real skills and safety knowledge.
When Welding Makes Sense (And When It Doesn’t)
Welding milk jugs sounds cool but has serious limits. Most milk jugs are made from thin steel that burns through easily when welded.
If you want to try welding, start with practice pieces first. Use the lowest heat setting on your welder. Work in short bursts to avoid burning holes in the metal. Always wear proper safety gear: welding helmet, leather gloves, and fire-resistant clothing.
Honestly, strong adhesives or mechanical fasteners work better for most projects. Save welding for when you really need permanent, super-strong joints.
Build a Multi-Jug Chandelier That Won’t Fall Down
Custom chandeliers cost thousands but you can make one that looks just as good.
You’ll need 8-12 matching milk jugs and a strong ceiling mounting system. This is where safety becomes critical. Your chandelier will weigh 15-20 pounds when finished. Use a ceiling box rated for at least 50 pounds.
Wire each jug with its own LED light kit. Connect all the wires to one main cord using wire nuts inside a junction box. If you’re not comfortable with electrical work, hire an electrician for this part. A house fire isn’t worth saving money.
Mount the jugs on a metal ring or wooden frame. Space them evenly so the weight distributes properly.
Create Functional Furniture That Actually Holds Weight
Milk jug furniture needs serious reinforcement to work safely.
For a side table, you’ll need internal framework. Build a wooden or metal skeleton inside your base jug. The jug becomes decorative covering, not structural support. Add proper table legs that connect to your internal frame, not just the jug walls.
This same principle works for stools, plant stands, and storage benches. The milk jug provides the look, but real building materials provide the strength.
Combine Wood and Metal for Professional Results
The best advanced projects mix materials instead of relying on milk jugs alone.
Build a wooden base or frame first. Then add milk jug elements as accents or functional parts. For example, create a wooden shelf system and use cut milk jugs as drawer pulls or decorative end caps.
This approach gives you furniture that’s actually sturdy while still showing off your upcycling creativity.
Safe Electrical Integration for Multiple Lights
Complex lighting projects need proper electrical planning.
Each light needs its own switch or they all turn on together. Plan your wiring before you start cutting and mounting anything. Use LED bulbs only – they produce less heat and use less power.
All electrical connections must happen inside proper junction boxes. Never leave wire nuts hanging loose or twist wires together without proper connectors.
Know Your Limits and When to Get Help
Advanced projects push into areas where mistakes can be dangerous or expensive.
If your project needs structural engineering (like ceiling mounting), electrical permits, or professional welding, hire experts for those parts. You can still do the creative design and simple assembly work yourself.
Start With One Advanced Feature at a Time
Don’t try to master welding, electrical work, and furniture building in one project. Pick one new skill and focus on learning it safely. Your next project can add another advanced technique.
These projects take time and practice to get right, but the results look completely professional.
🛠️ Metal Milk Jug Maintenance Guide
Keep your DIY projects looking great for years
📅 Maintenance Timeline
🌦️ Seasonal Care Instructions
- Deep clean after winter storage
- Check for winter damage
- Apply fresh protective coating
- Inspect outdoor pieces for rust
- UV protection for outdoor items
- Regular dust removal
- Check paint for fading
- Ensure good ventilation
- Prepare for winter storage
- Touch-up damaged areas
- Clean thoroughly before storage
- Apply extra rust protection
- Store indoors if possible
- Monitor for condensation
- Avoid salt exposure
- Limit temperature fluctuations
🛡️ Rust Prevention Strategies
🖌️ Quick Touch-up Process
🔴 Structural Damage
Holes, cracks, or bent handles that affect safety
🟠 Extensive Rust
Rust that covers >50% of surface or penetrates deeply
🟡 Repeated Failures
Same areas requiring constant touch-ups and repairs
🧴 Recommended Protective Coatings
- Penetrates existing rust
- Prevents further corrosion
- Works as primer base
- Superior weather resistance
- UV protection included
- Long-lasting durability
- Preserves paint color
- Adds protective barrier
- Easy to apply and maintain
Conclusion
You’ve seen how versatile old metal milk jugs can be. From garden planters to kitchen storage, these forgotten containers solve real problems in every room of your house. The best part? You’re saving 60-80% compared to buying new decor while helping the environment.
DIY metal milk jug ideas work because they’re simple, cheap, and actually useful. You don’t need special skills or expensive tools to get started. Most projects take just a few hours and cost under $10.
The upcycling benefits go beyond saving money. You’re keeping metal out of landfills and creating something unique for your home. Your friends will ask where you bought that amazing planter or lamp, and you’ll have the satisfaction of saying you made it yourself.
Pick one project from this guide and try it this weekend. Start with something easy like a utensil holder or hanging planter. Take a photo of your finished project and share it online. You might inspire someone else to start their own upcycling adventure.
