
“If you’re losing lettuce to aphids or squash to borers, the fastest win isn’t a spray—it’s preventing bugs from reaching plants in the first place.” Home gardens are magnets for pests, and random remedies (or old myths) often backfire by harming the very beneficial insects that keep problems in check.
This guide shows how to keep bugs out of garden beds using a modern integrated pest management (IPM) approach: prevent first, monitor second, and only treat when you must. In plain English, IPM means combining smart cultural practices (crop timing and rotation), exclusion (floating row cover and insect netting), habitat for beneficials (flowers that feed predators and parasitoids), and—only if needed—gentle, targeted products (soaps, oils, microbial options) timed to the pest’s weakest stage.
The University of California’s IPM program defines IPM as an ecosystem-based strategy focused on prevention and monitoring, with pesticides used only after scouting shows they’re needed. We’ll walk you through exactly how to apply that—step by step—so your garden pest control protects pollinators, saves time, and yields more food. Keywords to weave in naturally: integrated pest management (IPM), floating row cover, insect netting.
Start With IPM: Identify, Monitor, Act Smart
Your IPM Game Plan for This Week
Actionable, prevention-first steps and evidence snippets that complement your section—without repeating it.
Increase checks on new transplants/seedlings.
Source: UF/IFAS (Florida Vegetable Gardening Guide, 2025).
- Prioritize new growth & leaf undersides.
- Look for eggs, nymphs, honeydew/sooty mold, stippling, webbing, frass.
- Hot spells? Treat weekly as the minimum cadence.
Hand-lens guidance: Penn State Extension (10× is the practical field standard).
Warm-weather life-cycle speed (approximate)
Aphids: WVU Extension (2024). Spider mites: Oregon State University Extension.
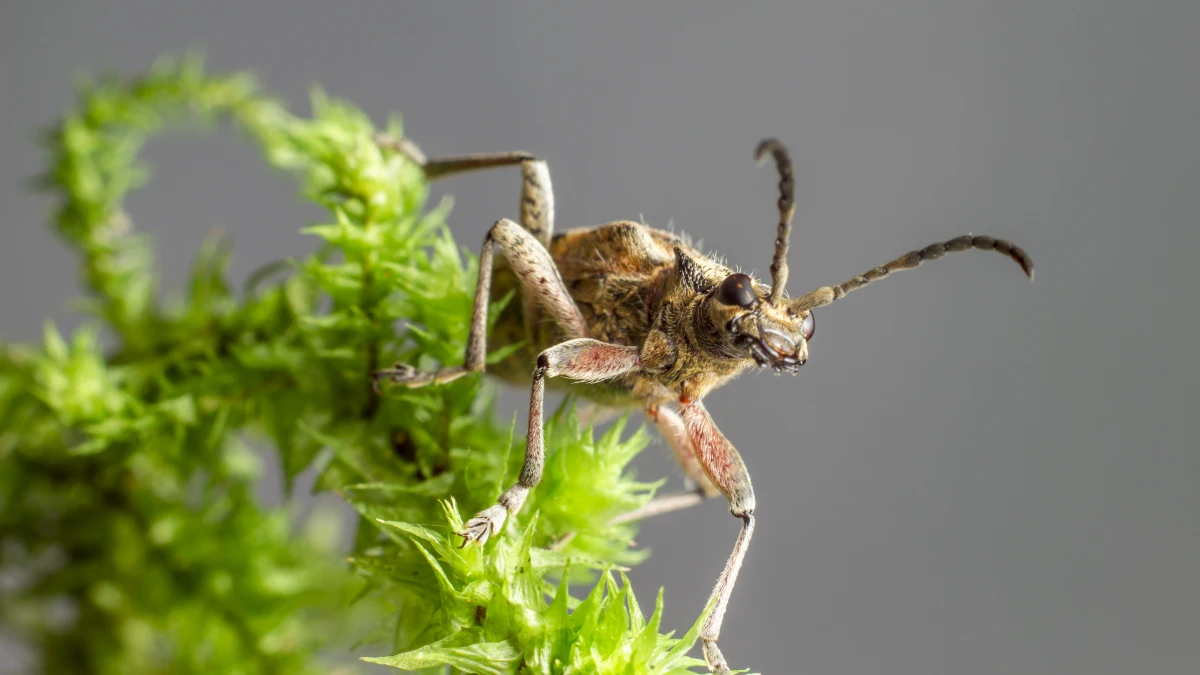
Confirm ID before acting
- Primary reference: UC IPM “Pest Notes” (photos, life cycles, thresholds).
- Rapid checks: Seek/iNaturalist for field suggestions; confirm with extension images.
- Optics: A 10× hand lens reveals mites, thrips & eggs your camera might miss.
“IPM is an ecosystem-based strategy focused on prevention and monitoring; pesticides are used only when monitoring indicates they’re needed.” — UC IPM
| Date | Crop | Pest & stage | Count | Action |
|---|---|---|---|---|
| 05/09 | Lettuce | Aphids—nymphs | 3/10 plants | Rinse + recheck 3d |
| 08/09 | Broccoli | Flea beetles—adults | Light | Cover edges sealed |
Do nothing; keep monitoring.
Prevent/exclude (covers, sanitation, irrigation tune-up).
Use targeted, low-risk options matched to pest & life stage.
Cadence & “prevent first” framing echoed by UC IPM and UF/IFAS.
Lead with prevention, steer with monitoring. In IPM, you avoid outbreaks by removing pest opportunities, then you act only when scouting says it’s time. UC’s IPM program puts it bluntly: prevention and monitoring first; treatments last. Keep this order in mind every week of the season.
Scout weekly—especially during rapid growth and warm weather. Choose a set day. Inspect new growth and the undersides of leaves for eggs, nymphs, honeydew, sooty mold, stippling, webbing, or frass. Warm conditions accelerate pest lifecycles, so weekly checks are the minimum during hot spells (UF/IFAS). Bring a hand lens and snap photos.
Identify before you act. Mis-ID wastes money and can worsen problems. For rock-solid IDs and thresholds, use UC IPM Pest Notes; for quick field checks, the Seek/iNaturalist apps can suggest likely matches—then confirm against extension photos before deciding.
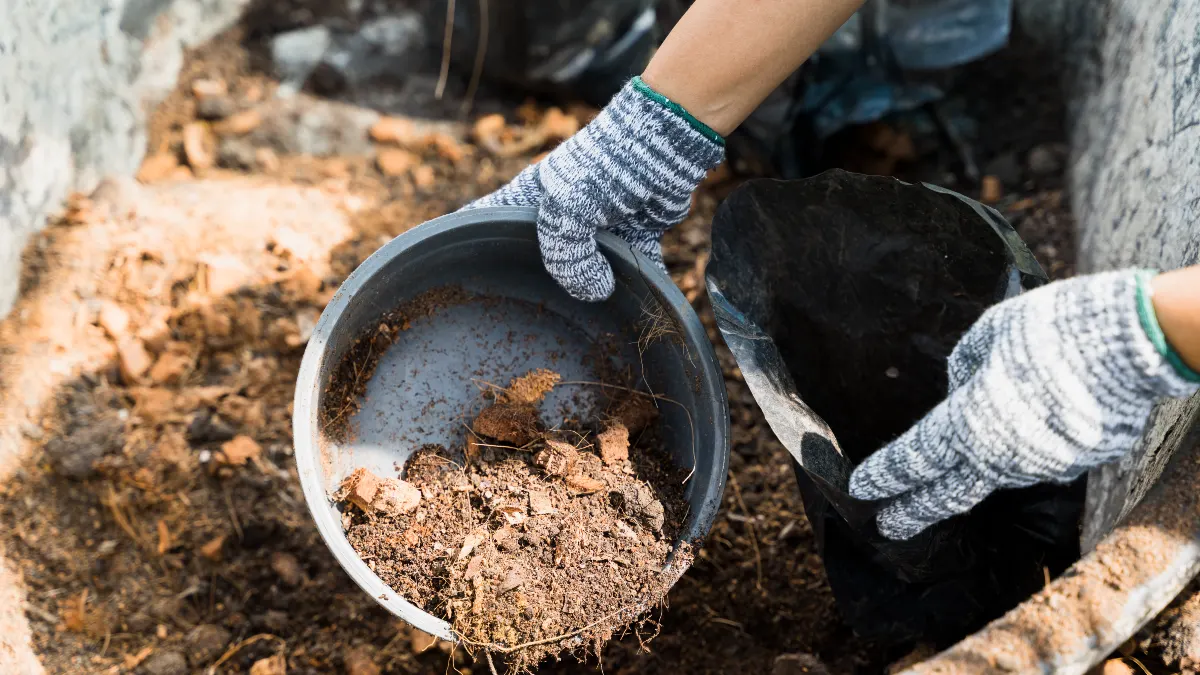
Log what you see to time prevention next season. A simple notebook or phone note works: date, crop, pest, life stage, count or rough level (e.g., “aphids on 3/10 lettuce plants”), and action taken. Patterns appear fast—like flea beetles hitting brassicas right after transplanting—so you can preempt with covers or a later planting window next year. During each pass, decide: (1) do nothing (below concern), (2) prevent/exclude (covers, sanitation), or (3) targeted control (spot-treat soft options). This is the backbone of garden pest control and how you consistently identify garden bugs and beat them.
Exclude Pests With Covers, Netting & Collars
Put up the “fence” at planting. The most effective way to keep insects off plants is physical exclusion: install floating row cover or insect netting the day you sow or transplant. Keep edges fully sealed—bury or pin the perimeter so there are no gaps. Remove (or temporarily lift) covers when crops need pollination, or hand-pollinate under cover. The University of Minnesota extension notes row covers are typically removed once plants start to bloom so bees can access flowers. Virginia Tech highlights the added benefit of reduced plant stress and faster early growth.
Choose mesh size for the pest. The Royal Horticultural Society advises ~0.8 mm insect mesh to block small flyers such as carrot fly and allium leaf miner (ALM), plus flea beetles and green/blackfly. Use ultrafine mesh (0.3–0.6 mm) if thrips are your issue. This is a “set-and-forget” shield provided the edges are anchored.
Time covers to pest flights. For ALM, Cornell and UMass recommend installing row cover/netting before adult flights in spring and fall; if you wait until after you see oviposition marks, exclusion works poorly. In practice: cover onions/leeks early, and keep beds clean of volunteer alliums that can harbor ALM.
Add cutworm collars for transplants. To stop night-active cutworms from clipping seedlings, slide a cardboard or foil collar around each stem, burying an inch or two into soil and leaving 2–3 inches above ground. UMN and UMD extensions both teach this low-tech barrier; it’s cheap, fast, and effective during the susceptible seedling window.
Pro tip: Label covers by crop and date, and store them dry; most fabrics last multiple seasons if kept out of UV when not in use.
Planting Timing, Rotation & Trap Crops
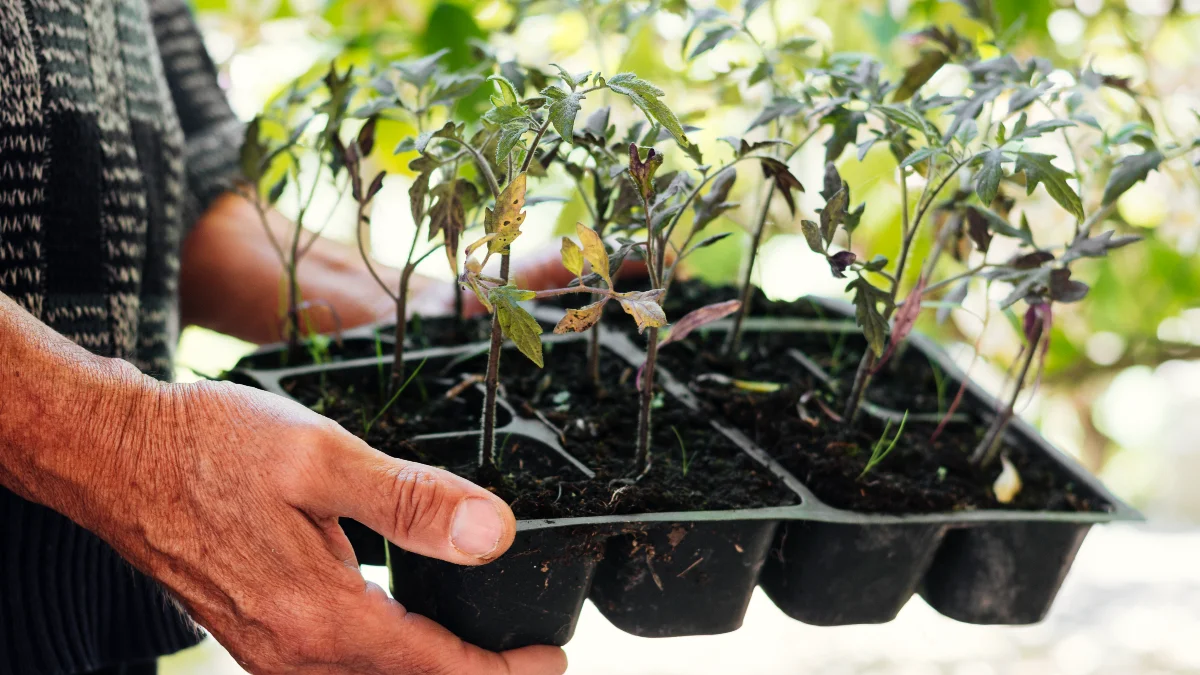
Dodge the pests with timing. For brassicas (kale, cabbage, broccoli), flea beetles are fiercest on tiny seedlings. UMN recommends planting as late as possible so seedlings establish in warmer soil and outgrow early feeding, or using covers until plants toughen. For squash vine borer (SVB), plant a second wave of summer squash in early July so it matures after peak egg-laying; UMN calls this out explicitly for home gardeners.
Rotate crop families to starve overwintered pests. Rotating cucurbits and brassicas to new beds each year reduces carryover of soil-staged pests and their diseases. Penn State (2025) and Wisconsin Extension emphasize rotation as a core IPM practice in home gardens; even small-space gardeners can move families bed-to-bed yearly and pair rotation with sanitation.
Use a perimeter trap crop (PTC) for cucumber beetles/squash bugs. Plant ‘Blue Hubbard’ squash as a one–three-row ring around your main cucurbits. University of Vermont trials found >90% of cucumber beetles congregated in the border, with up to 93% fewer beetles on the unsprayed main crop when the border alone was treated—letting you spray less area, less often. Penn State and Rutgers outline field use and note ‘Blue Hubbard’ is highly attractive because of cucurbitacins. In small gardens, six to eight ‘Blue Hubbard’ plants placed as a perimeter or at corners can concentrate pests for hand-picking or spot treatment.
Workflow you can follow this season:
- Map last year’s cucurbit/brassica beds; rotate both.
- Stagger squash plantings (early and early-July).
- Encircle cucurbits with ‘Blue Hubbard’ and be ready to spot-treat only the border if beetles mass there.
- Keep a flight log (e.g., “first SVB moths seen mid-June”) to fine-tune timing next year.
Habitat That Helps You: Flowers & Beneficials

Feed your allies. Adult predators and parasitoids (lady beetles, lacewings, hoverflies, tiny wasps) need nectar and pollen. Extension programs from Wisconsin, Clemson, and Iowa State consistently recommend insectary flowers like sweet alyssum, dill, coriander/cilantro, and other small-flowered umbels/asters along bed edges or in adjacent strips. These plantings keep natural enemies on site and have been tied to fewer aphids in nearby crops.
Companion planting—what’s actually supported. Marigolds can help with root-knot nematodes when used as a solid planting/cover crop ahead of a susceptible crop. Clemson’s Home & Garden Information Center notes that interplanting marigolds among vegetables does not protect neighboring roots; use a full bed of the right French marigold cultivars (e.g., ‘Tangerine’, ‘Single Gold’) between seasons instead. Plan them like a green manure, not a ring of flowers around tomatoes.
Skip buying ladybugs; build habitat instead. Purchased lady beetles rarely stay put and can conflict with local species. Washington State University Extension and UC IPM caution against releases for home gardens; you’re far better off supplying nectar/pollen and protecting existing larvae (which do most of the eating) by avoiding broad-spectrum sprays. If ants are herding aphids, manage the ants (trunk/stem barriers) so predators can work.
How to implement this week: sow alyssum in 12–18-inch ribbons at bed margins; tuck dill/cilantro every 2–3 feet in brassica beds; schedule a marigold cover-crop block where you’ll plant tomatoes next spring; and leave some stems/leaf litter over winter except where plants are diseased or pest-loaded (those go to the trash).
Reflective Mulches & Kaolin Clay: Field-Tested Deterrents
Why this works: Winged pests use reflected light and plant contrast to find hosts. Reflective (silver) films scramble those cues; kaolin clay creates a gritty, white “particle film” plants wear like armor, deterring landing and feeding.
How to use reflective mulch (silver):
- Install before transplanting and keep the surface exposed until foliage shades it. Seal seams and patch holes so light reflection stays uniform. Trials used strips ~30 in (76 cm) wide laid pre-plant.
- Expect fewer virus vectors: reflective mulch reduces colonization by aphids/whiteflies/thrips and has reduced aphid-borne virus incidence in field studies.
- Real-world result: In zucchini, USDA-ARS/UGA field work reported whiteflies down up to 87% in Georgia with reflective mulch, with higher marketable yield versus bare soil.
How to use kaolin clay (Surround WP):
- Purpose: A preventive repellent, not a killer. Start before pests arrive, then maintain the film.
- Application rhythm: Build coverage with the first 2–3 sprays; reapply after heavy rain or when the white film fades.
- Evidence: New HortTechnology research (2025) found 54–80% fewer second-generation leafhopper nymphs in treated vineyard rows; fruit quality unchanged.
- Cucurbit note: Kaolin reduces cucumber beetle feeding; use as a pre-infestation deterrent and maintain coverage through rainy spells.
Quick setup checklist (keywords: reflective mulch, kaolin clay, reduce whiteflies, repel aphids):
- Lay silver mulch at planting; keep edges sealed.
- Spray kaolin to a visible, even film; recoat after rain.
- Combine with insect netting on high-value beds for maximum early-season protection.
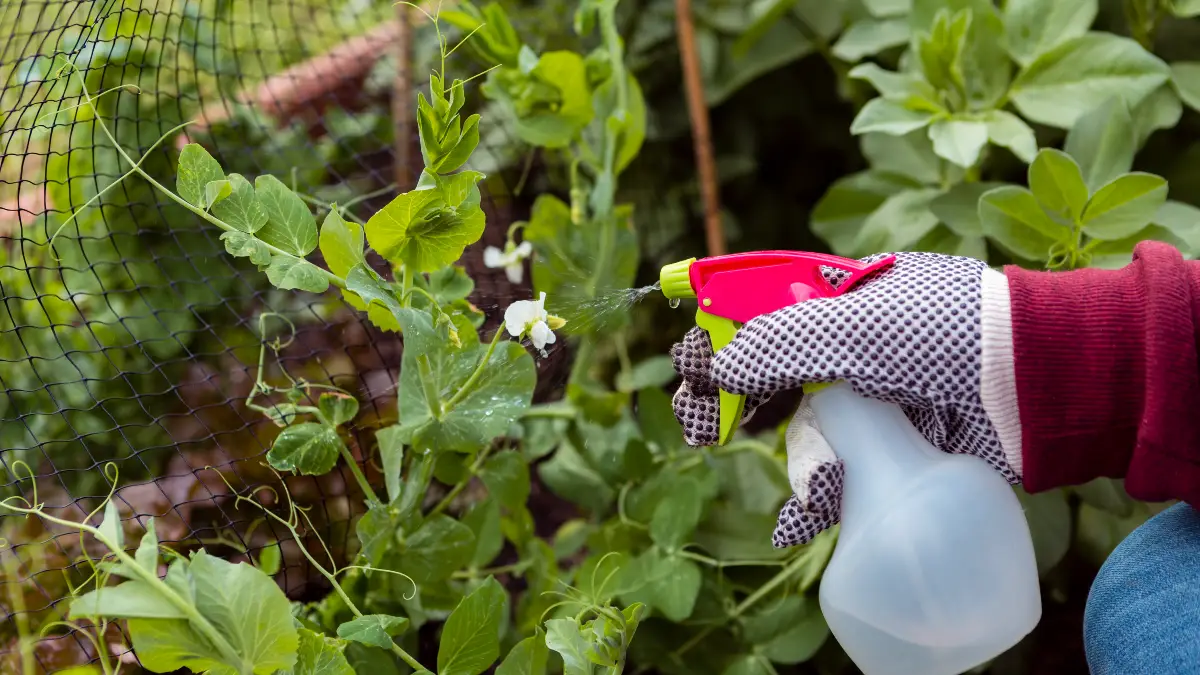
Smart, Low-Risk Sprays (When You Truly Need Them)
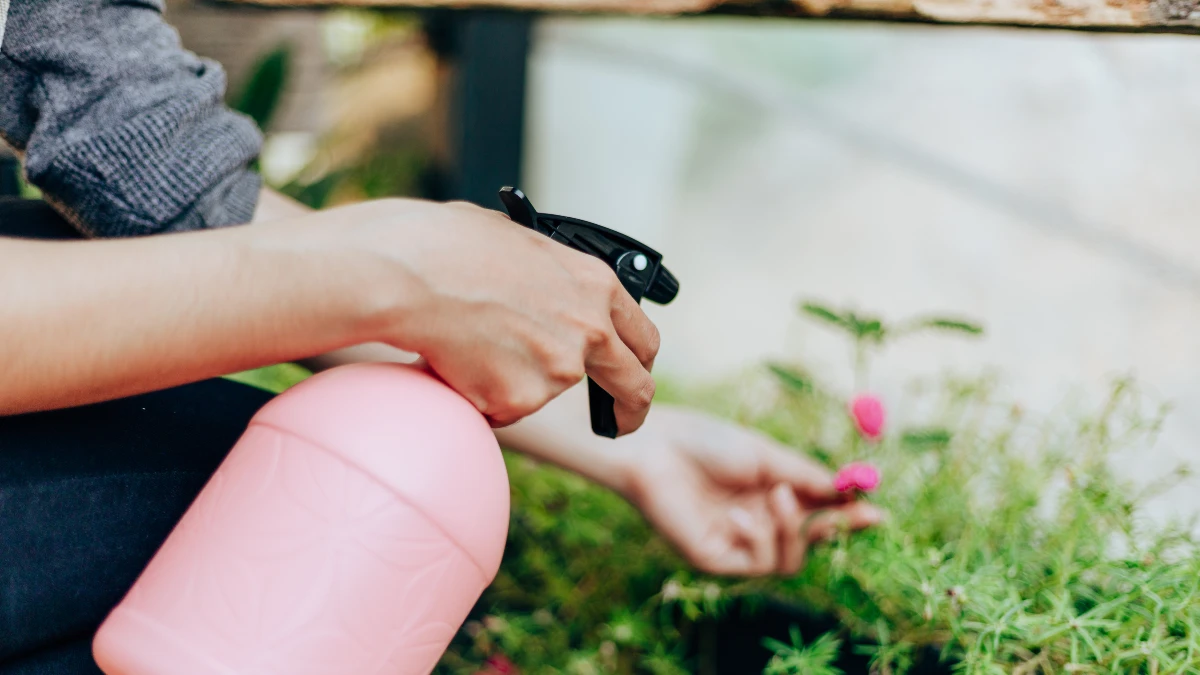
Ground rules: Spray only after scouting shows a need, and target the pest/stage. Read the label; protect pollinators. (UC IPM.)
Insecticidal soap & horticultural oil (contact-only):
- When & how: Hit pests directly (tops/undersides of leaves, stems). Repeat as scouting dictates; dried residues don’t work. (UConn IPM.)
- Temperature safety: Apply in the cool part of the day; avoid hot spells (> 85–90 °F / 29–32 °C) and drought-stressed plants to prevent leaf burn.
Spinosad (microbial-derived) — caterpillars/thrips:
- Bee safety: Spinosad is highly toxic to bees while wet; hazard drops to low once dry (≈ 3 hours to 1 day). Apply late evening, avoid open blooms, and follow bee-precaution guidance. (NPIC; Michigan State Univ.; UC IPM bee ratings.)
- Reserve for documented targets; don’t spray prophylactically.
Bt (Bacillus thuringiensis) for caterpillars only:
- Timing is everything: Apply to young, actively feeding larvae; Bt must be ingested and breaks down quickly in sun—reapply per label.
Skip the home-brew mixes:
- Dish-soap/vinegar/garlic recipes can burn foliage and may violate pesticide laws. Use labeled products only. (UC ANR; Montana State Extension.)
Water, Weeds & Clean-Up: Reduce Pest Pressure Naturally

Water management:
- Avoid drought stress—it predisposes plants to spider mites; in hot, dry weather mites can explode every 5–7 days and losses can reach ≥ 50% if stress continues. Hose-off mites and dust to slow outbreaks. (Oregon State University Extension.)
Sanitation that matters:
- Remove and discard infested/diseased leaves and fallen fruit; pull and trash badly infested crop residues at season’s end; clean tools between beds to limit carryover. (Arizona Cooperative Extension; Penn State Extension; UMN Extension.)
Habitat balance:
- It’s fine to leave some hollow stems/leaves over winter for pollinators, but do remove obviously diseased or pest-loaded debris from veggie beds. (North Carolina State Extension; Wisconsin Master Gardener Program.)
Simple Traps & Barriers for Early Warning
Yellow sticky cards = early alert, not a silver bullet
- Place at canopy height near susceptible plants; track whiteflies/winged aphids trends and act before populations spike. (UC IPM “Whiteflies.”)
Stop the ant bodyguards
- Sticky trunk bands (e.g., Tangle-type products) on fruit trees and stakes can block ants that protect aphids/scale, improving natural enemy control. (UC IPM “Ants.”)
Hand removal works (and scales):
- Egg-mass checks weekly: Scrape squash bug clusters and crush or drop into soapy water; it measurably reduces nymph outbreaks. (Colorado State Univ.; UMN Extension; Virginia Tech.)
- For Colorado potato beetle, patrol rows and squish eggs; hand-picking slows population build-up in small plantings. (UMass Extension; UMN Extension.)
Conclusion
Prevent first, spray last. You’ll keep most pests out by covering early (netting/covers), timing plantings, rotating beds, and supporting beneficials with flowers. Add reflective mulches and kaolin preventatively, scout weekly, and save targeted sprays (soaps/oils/Bt and carefully timed spinosad) for when monitoring shows you need them. That’s integrated pest management (IPM)—a prevention-first framework widely defined by universities and agencies to limit pests while reducing risk to people, pollinators, and the garden ecosystem.
Your next steps: Print a one-page IPM checklist, set a weekly “scout” reminder, and bookmark UC IPM Pest Notes for fast IDs and thresholds. With these IPM steps, you now know how to keep bugs out of garden—safely and effectively.
