
Have you looked at the price of bell peppers lately? It is enough to make anyone frustrated. Grocery bills are climbing higher every month, but your access to fresh produce does not have to depend on your wallet.
The problem is that most people think they need a farm to grow food. You might look at your small apartment balcony or concrete patio and think that you cannot grow anything there.
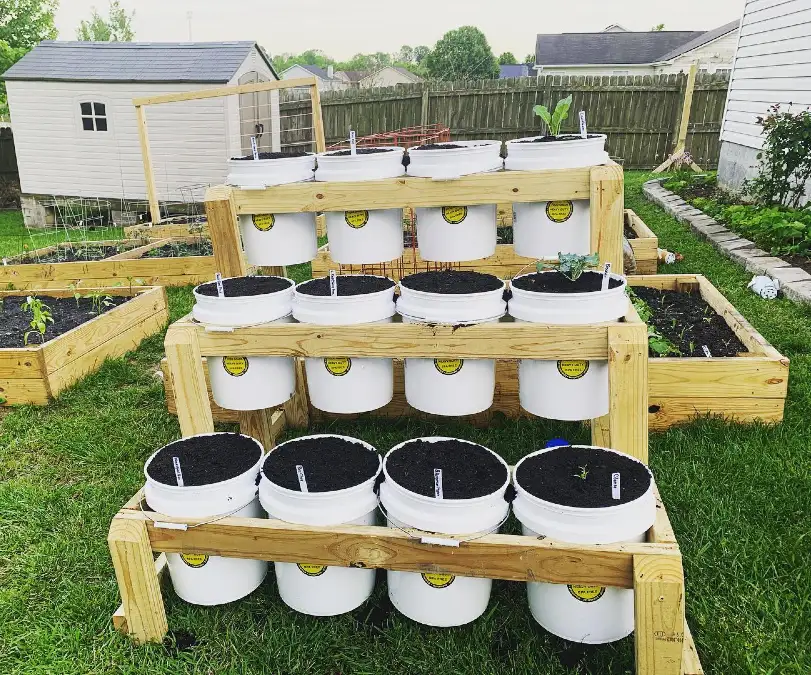
But you are wrong because you do not need acres of land to feed your family. You just need a standard 5-gallon bucket. This system is simple, cheap, and effective. You can turn a piece of plastic into a garden that produces fresh vegetables.
Step 1: Sourcing the Right Buckets (Free vs. Bought)
You do not need to spend a lot of money on fancy pots because the best container is likely sitting in a trash pile behind a local bakery right now.
But you have to be careful about which plastic you choose to ensure it is safe for growing food for your family. Some plastics can leach chemicals into the soil when they get hot in the sun.
| Feature | Free Buckets | Bought Buckets |
| Cost | $0 | $5 – $8 each |
| Best Source | Bakeries, Delis, Donut Shops | Hardware Stores, Online |
| Safety Check | Look for HDPE 2 symbol | Look for “Food Grade” label |
| Effort | Needs scrubbing (sticky icing) | Ready to use immediately |
- Check for the HDPE 2 symbol on the bottom to ensure the plastic is food safe.
- Ask local bakeries or delis for empty icing buckets which they often give away for free.
- Avoid using chemical buckets or paint containers that might leach toxins into the soil.
Step 2: Drainage (The Secret to Success)
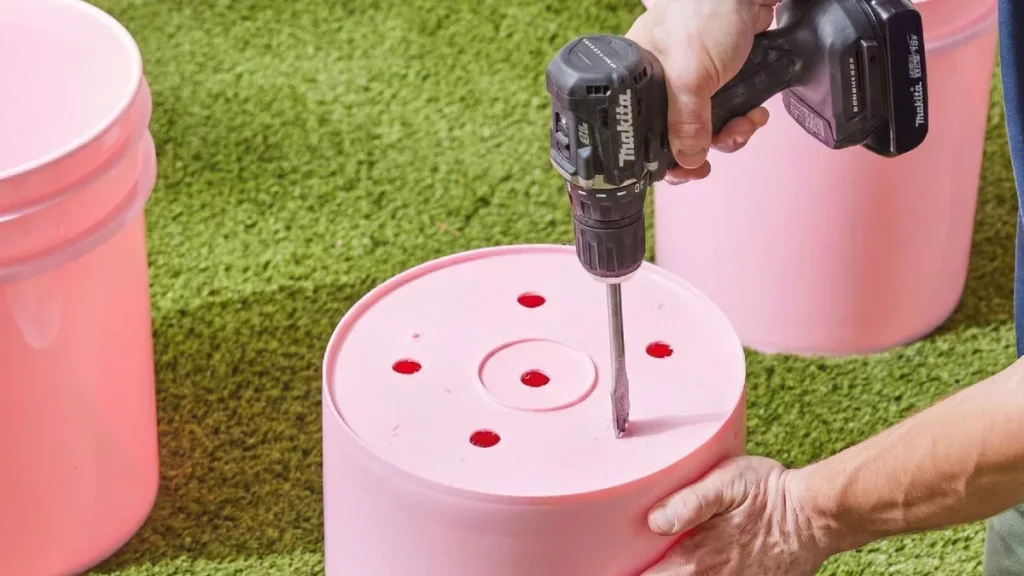
A bucket without holes is just a swimming pool for rotting roots so you must drill holes to let the water escape.
If you skip this step your plants will drown and die very quickly because the water has nowhere to go. You want to drain the excess water while keeping a little bit in reserve.
Self-Watering Bucket
Precision Drilling
Drill four drainage holes exactly two inches up from the bottom on the side of the bucket.
Drought Resilience
Create a water reservoir at the bottom to help plants thrive through intense summer heat.
- 1/2″
Optimal Clog Prevention
Use a half-inch drill bit to ensure holes are large enough to prevent clogging over time.
Step 3: The Perfect Soil Mix (Don’t Use Dirt!)
This is where most beginners fail because they make the mistake of digging up soil from the ground and putting it into a container.
Ground soil is too heavy for buckets and it turns into a hard brick that suffocates the roots and stops water from draining. You need a mix that stays fluffy and holds moisture.
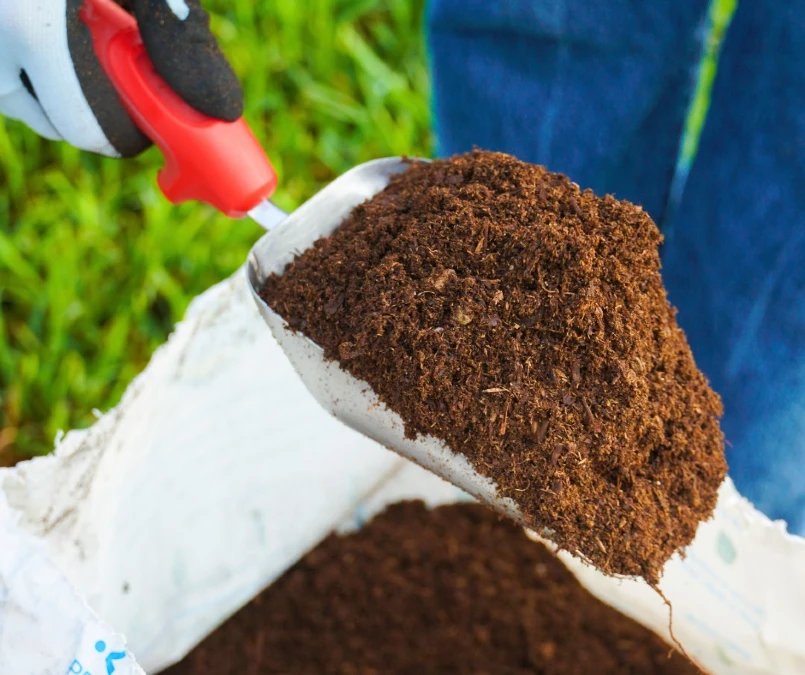
Perfect Potting Mix
The Golden Ratio
Mix equal parts peat moss and compost to create a medium that is both nutrient-dense and light.
Airflow & Drainage
Add perlite or vermiculite to keep the mixture loose, preventing “wet feet” and root rot.
Avoid Garden Soil
Never use standard garden soil; it compacts heavily in containers and can suffocate your plants.
Step 4: Best Crops for 5-Gallon Buckets
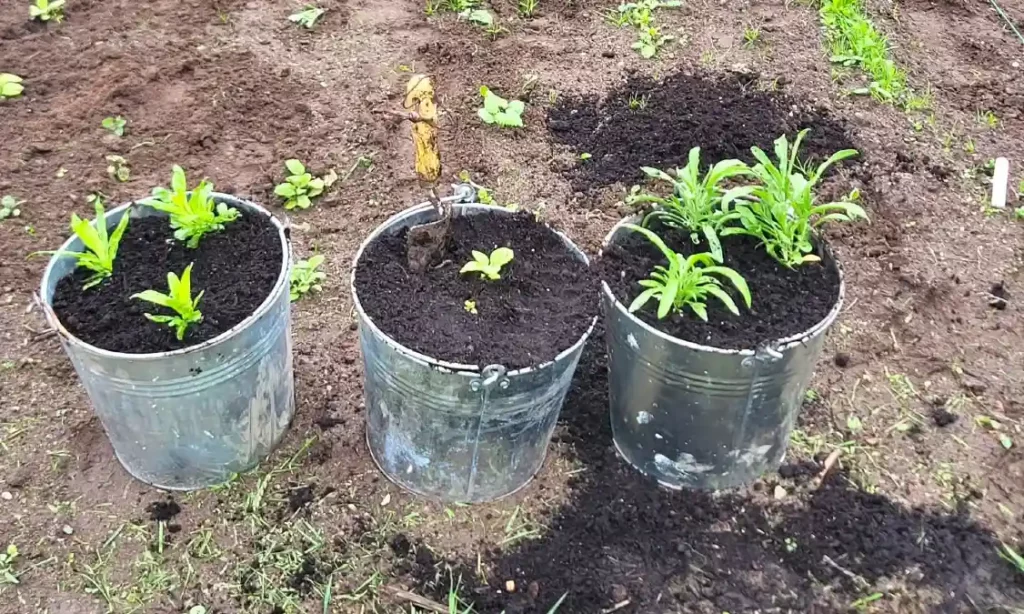
You can grow almost anything in a bucket but some crops give you a much better return on your effort than others do.
It helps to choose plants that naturally fit well in a confined space and produce a high yield without needing acres of room. Focus on vegetables that provide the most calories and nutrition.
The Bucket Crop Guide
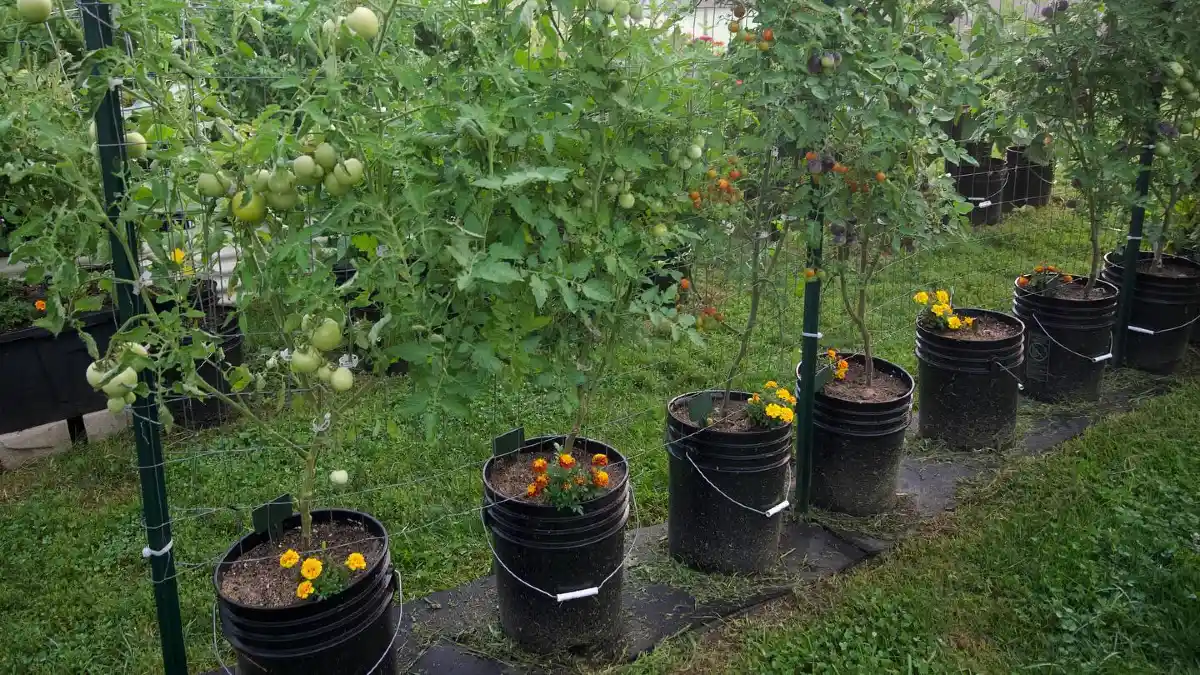
Solo Tomato Setup
Plant one tomato plant per bucket. Select compact “bush” or determinate varieties for the best results.
The Pepper Duo
You can grow two pepper plants in a single bucket to maximize your yield of spicy or sweet harvests.
Potato Hilling Method
Start with 4″ of soil and add more as the plant grows to fill the bucket with healthy tubers.
Shallow Leafy Greens
Sow lettuce, spinach, or kale. These have shallow roots and thrive in the upper layers of a bucket.
Step 5: Watering and Feeding
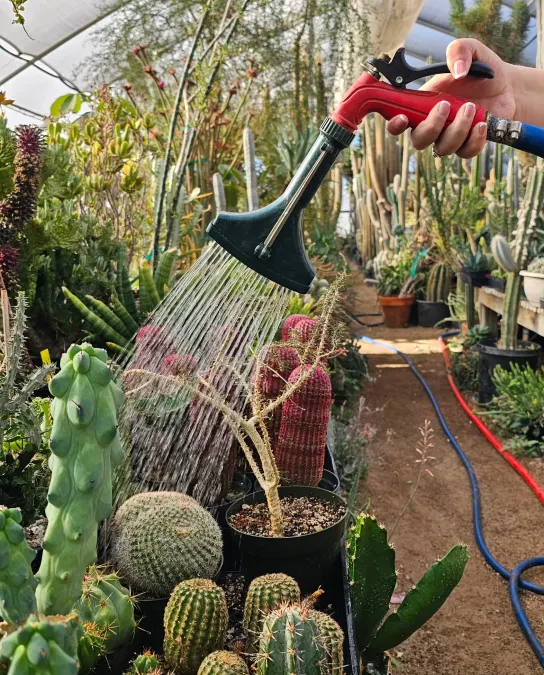
Container plants live in a small world and they cannot send roots deep into the earth to find the water or minerals they need to survive.
You have to bring everything to them because the drainage holes wash away nutrients faster than in a regular garden bed. You must be diligent about checking them.
Bucket Maintenance
Daily Summer Watering
Water every day in summer. Black buckets absorb heat and dry out significantly faster than ground soil.
Weekly Liquid Feed
Feed weekly with a diluted liquid fertilizer. Nutrients leach out quickly with frequent bucket watering.
The One-Inch Test
Check moisture levels by sticking your finger an inch into the soil. If it feels dry, it’s time to water.
Step 6: Location and Sun

Vegetables act like solar panels and they need a lot of direct energy from the sun to produce big healthy fruit.
The best part about bucket gardening is that you can pick up your garden and move it to find the best light in your yard or patio. You can chase the sun or hide from the heat.
Strategic Placement
Sunlight Threshold
Place buckets where they receive 6 to 8 hours of direct sun for robust photosynthesis and fruit set.
Afternoon Relief
Move plants into the shade during peak afternoon heat if you notice foliage wilting or drooping.
Root Zone Cooling
Wrap dark buckets in white cloth or foil to prevent the sun from “cooking” roots in scorching weather.
Conclusion
Bucket gardening is the ultimate survival hack for the modern world. It requires very little space, minimal money, and almost no weeding.
You don’t need to wait for the “perfect” time or a bigger house. You can create food security on your back porch.
Go find a bucket this week. Drill your holes, mix your soil, and plant one tomato. Once you taste that first bite of fresh food you grew yourself, you will be hooked.
