
If your pond edge is steep or plastic-looking, wildlife will avoid it—and algae won’t. A shiny, vertical rim or bare pond liner edging is more than a cosmetic issue: it traps small animals, stops roots from anchoring, and wicks nutrients into the water.
The result? Stressed plants and murky water. Designers at Freshwater Habitats Trust point out that the most wildlife-rich part of any pond is the first 1–10 cm of water, which only exists if you build a gently sloping pond edge rather than a sharp drop.
This guide walks you through 13 wildlife pond edging ideas that actually work: from a pebble “beach” entry to a 30 cm marginal shelf, plus coir rolls, bog garden spillovers and discreet ramps that let hedgehogs and amphibians climb out. You’ll get the dimensions, materials, and step-by-step builds to hide liner, stabilize banks, and improve water quality—so your wildlife pond edges look natural from day one.
Expect clear targets (e.g., 1:10–1:20 gradients), simple planting recipes, and maintenance that favors rainwater and plant cover over chemicals. By the end, you’ll know exactly how to choose the right pond liner edging, where to place a marginal shelf, and how to blend stone, turf, and planting into a safe, living shoreline.
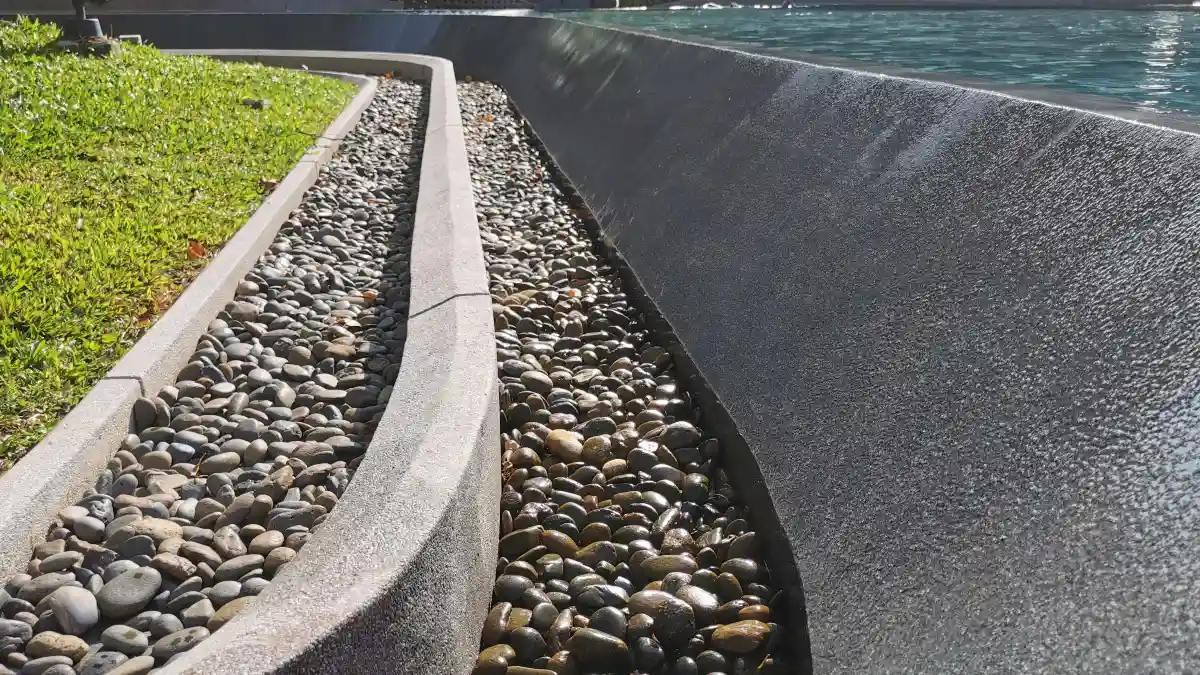
1. Pebble
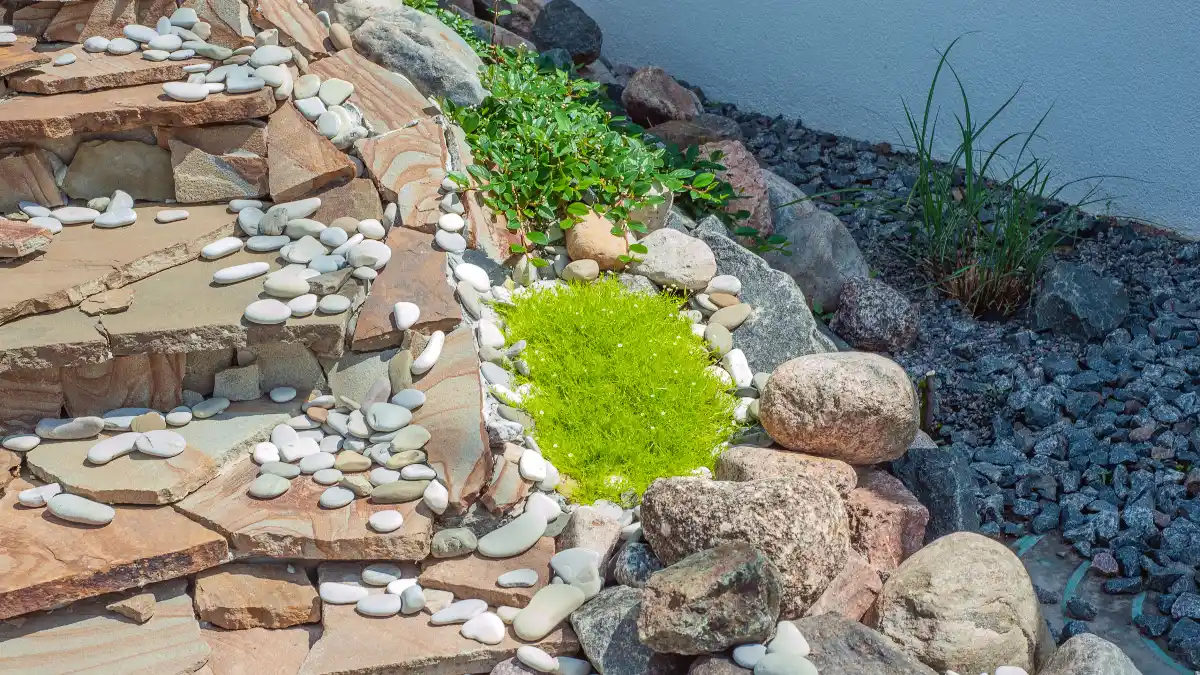
Wildlife-Safe Pebble Shore: Specs & Wins
At-a-Glance Numbers
Freshwater Habitats Trust emphasises gently shelving margins and the productivity of the first 0–10 cm of water. Rounded stone protects the liner and creates micro-habitats.
How Much Space Do You Need?
Build Sequence (Condensed)
Shape a broad ramp; remove sharp debris; add ~5 cm sand cushion.
Lay underlay + liner; avoid creases at the waterline; protect with geotextile offcuts if needed.
Spread rounded pea gravel; press in mixed cobbles as “keys” without puncturing the liner.
Feather gravel into open water; backfill behind the liner to lock the edge; plant marginals behind the toe.
Pebble Mix & Purpose
| Size | Use |
|---|---|
| 6–10 mm pea | Protects liner, fills gaps, easy grip for tadpoles/invertebrates |
| 30–60 mm stone | Stability and texture; breaks up uniform surfaces |
| 50–150 mm cobbles | “Key” the beach, create refuges, add thermal mass for basking |
Plant Pairing (Fast Knit)
2–3 plants/m² around the back edge. Try marsh marigold, water forget-me-not, creeping jenny.
RHS/RSPB favour partial plant cover to cool water and deter algae.Do
- Keep at least one edge beach-shallow even if others are formal.
- Use rounded stone and a sand + underlay cushion to protect liners.
- Top up with rainwater; let levels fluctuate naturally.
Don’t
- Seal the rim with mortar—wildlife needs a porous, planted transition.
- Create a steep drop at the waterline; 1:10–1:20 is the safer target.
- Use sharp or angular rock that can puncture liners or injure wildlife.
Why this works: A shallow pebble beach creates the broad, sun-warmed shallows where amphibians, insects, and birds feed and bask. Freshwater Habitats Trust advises <1:5 at the very least—and ideally ~1:10 to 1:20—so wildlife can use the vital 1–10 cm depth band.
Materials
- Pond underlay and liner; sharp sand base
- Rounded pea gravel (6–10 mm) + mixed cobbles (50–150 mm)
- Geotextile offcuts (optional) for extra liner protection
- Plant baskets/substrate for the transition to marginals
Targets
- Gradient: aim for 1:10–1:20 over the first 60–120 cm
- Depth at toe: extend the beach to 5–20 cm water depth before the plant zone
Build steps
- Shape a gentle ramp; remove sharp stones; lay 5 cm sand then underlay/liner.
- Pour a thin layer of rounded gravel; press in larger cobbles as “keys” (no sharp rock that could puncture liner).
- Feather the gravel into open water; backfill behind with soil to lock the liner.
Planting tips
- Behind the toe, plant a belt of low marginals (e.g., water forget-me-not) to knit stones and shade the shallows.
- Keep at least one sloping access like this even if other sides are formal.
2. 30 cm marginal planting shelf all round
Why this works: A continuous marginal shelf supports emergent plants that hide the liner, oxygenate water, and baffle waves. RHS construction guidance calls for a ~30 cm-wide shelf, with edges sloped and cushioned with sand/underfelt to protect the liner.
Materials
- Sharp sand (≈ 5 cm), pond underlay + liner
- Planting baskets with aquatic soil (or a clay/loam bed)
- A few reclaimed coping stones or saved turf strips for overhang
Targets
- Shelf width: ≈ 30 cm
- Water over basket rims: 13–22 cm suits most marginals (variate around the edge).
Build steps
- Cut a level bench around the pond; lay sand and underlay; set the liner with minimal creases.
- Place baskets on the shelf; if the shelf is >30 cm, increase planting density to fill space quickly.
- Hide the pond liner edging by slightly overhanging turf or coping stones as you backfill the rim.
Planting tips
- Mix uprights (e.g., rushes/sedges) with “rafters” like Lysimachia nummularia that creep across the surface to knit the edge.
3. Turf-overhang
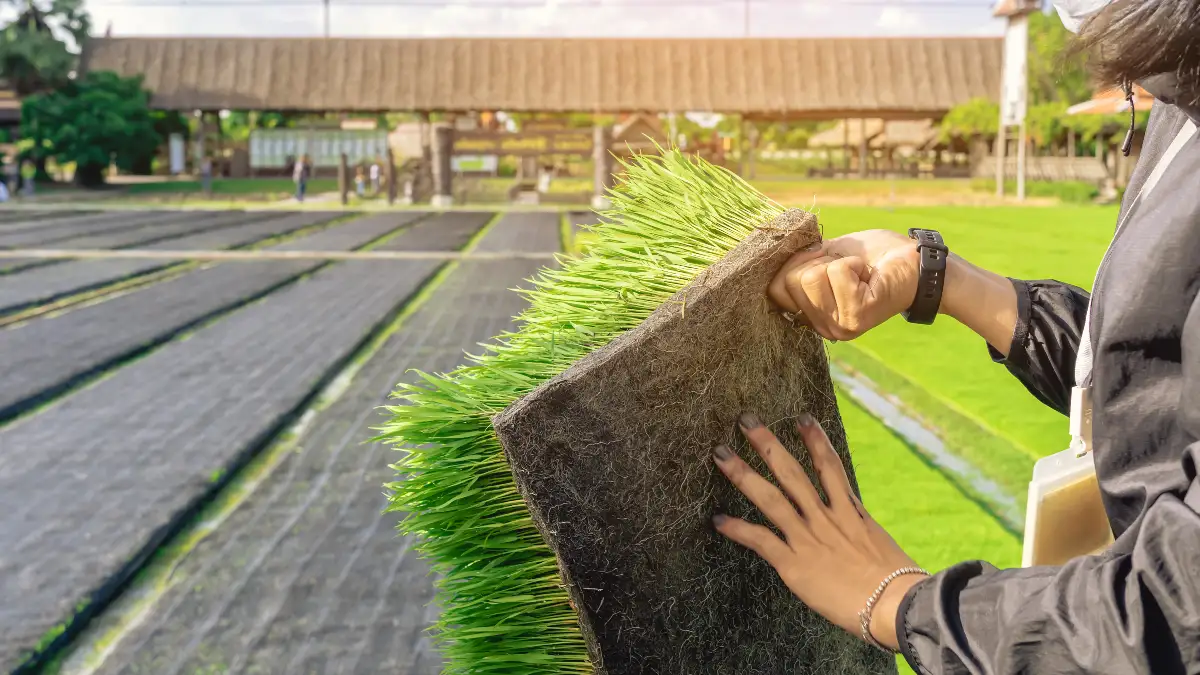
Why this works: A saved-turf overhang creates a soft, damp verge that conceals plastic, shades the rim, and gives insects and amphibians a safe landing. The Wildlife Trusts recommend placing turf or flagstones over exposed liner during build, and a living edge does the job beautifully.
Materials
- Strips of lifted lawn turf (or meadow turf)
- Soil to bed the turf; hand tamper
- Mulch/pegs to hold edges while rooting
Targets
- Overhang the turf 2–5 cm past the waterline so the grass skirts the surface.
- Leave a no-mow buffer (30–50 cm) around at least one side for invertebrate cover.
Build steps
- After the liner is set, lay turf over the rim, lips slightly over water; firm and water.
- Keep the fringe longer than the lawn; avoid fertilizers or weed-and-feed near the pond.
- Top up with rainwater only—RHS warns that nutrients in tap water fuel algae.
Planting/aftercare
- Let sedges and self-seeders colonize the fringe; clip paths but leave pockets to flower.
- In heatwaves, water the turf with rain-butt water and let the pond level fluctuate naturally.
4. Pre-planted
Why this works: Pre-vegetated coir rolls pin a soft bank edge at the waterline, giving you immediate marginal growth and stabilising loose banks without hard revetments. Salix River & Wetland Services (UK) describes coir as an organic, living revetment that rapidly establishes native wetland plants while protecting erodible edges—precisely what a wildlife pond needs. The Broads Authority highlights coir and faggots as “bank toe” protection that lets natural vegetation establish behind, avoiding the wildlife drawbacks of gabions or concrete.
Materials
- Pre-planted 200–300 mm coir rolls (or coir mats)
- Hardwood stakes (≈1.2 m), 3 mm coir/galv. tie, mallet
- Shallow shelf/berm at waterline; shovel; loamy backfill
Targets
- Seat rolls so ~⅔ is in water, ~⅓ above average summer level; tie end-to-end; 5 stakes per 3 m roll (front line). Spring installs establish fastest.
Build steps
- Cut a level marginal shelf; remove snags; set rolls flush to bank.
- Stake in front of the roll, tie low (below waterline) in a criss-cross to avoid wildlife entanglement; backfill behind the roll to lock it in.
- Where banks fluctuate, add a second line or support with brush faggots.
Planting/aftercare
- Choose pre-vegetated mixes (e.g., Carex, Juncus, Iris) for “instant” green and habitat; leave largely uncut in years 1–2 so roots knit into the bank.
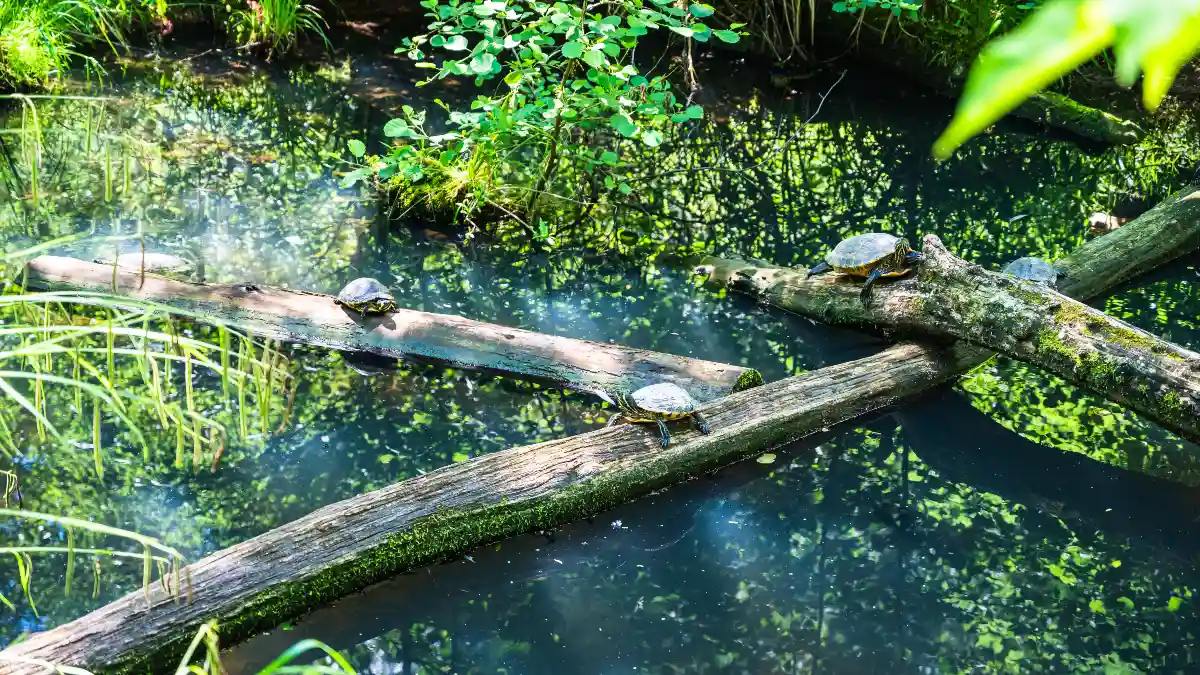
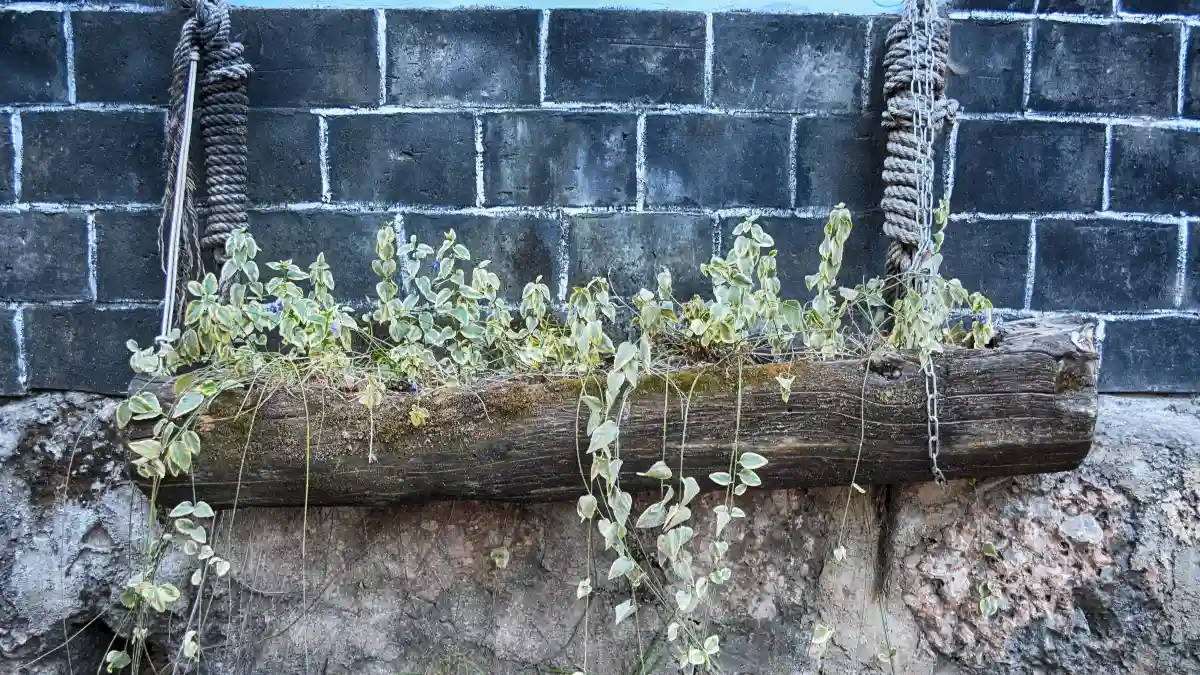
5. Half-submerged
Why this works: A low deadwood berm—logs and rounded stones set partly in water—adds basking spots, refuge, and complex edges for aquatic insects, newts and frogs. Large wood is buoyant, so restoration guidance notes you must pin logs with boulders or staking to stop float-off; once fixed, they create long-lived micro-habitats.
Materials
- Sound hardwood logs (no creosote/treated timber), 1–2 small boulders/anchors
- Rounded cobbles/gravels; coir twine/galv. wire for lashing
Targets
- Build along one leeward edge, alternating log–stone–log with voids; keep ~30–50% submerged so wildlife can tuck underneath while sections dry for basking.
Build steps
- Set the lowest log on the shelf; pin with cobbles or stakes; lash where needed.
- Stagger more logs and stones to form pockets; avoid blocking overflow routes.
- Add a nearby log pile/hibernaculum on dry ground for winter shelter (shallow pit, stacked logs/brash, backfilled and topped with turf). RHS and Amphibian & Reptile Conservation both recommend log/hibernacula features near ponds.
Example/stat: Guidance for pond wildlife repeatedly notes small cavities in log piles are prime amphibian refuges—place them near (not through) tree roots to avoid damage.
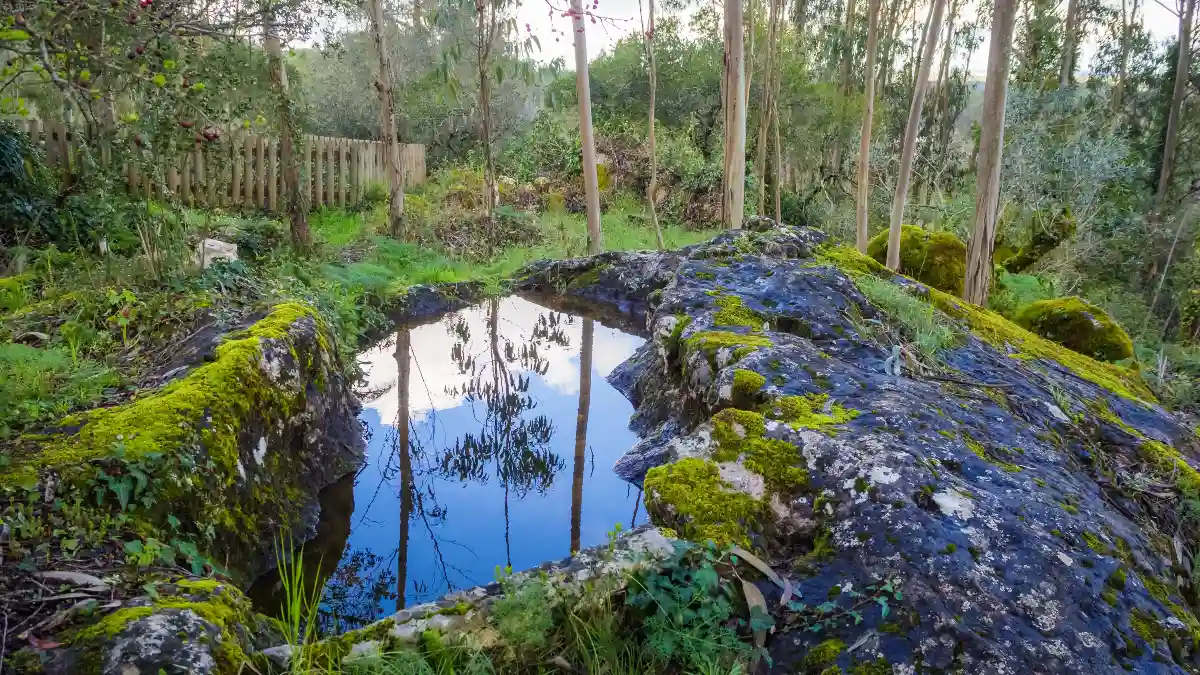
6. Bog-belt spillover
Why this works: A narrow bog garden edge beside the pond acts as a cool, saturated refuge in summer and a nutrient buffer that intercepts lawn runoff before it hits the water. Froglife’s pond guidance shows a simple build: dig ~30–45 cm deep, line with inexpensive liner, pierce it periodically for slow drainage, then backfill and plant moisture-lovers. The US EPA’s current green-infrastructure pages explain how rain gardens/bioswales slow, filter and infiltrate stormwater—your bog-belt is the small-garden version.
Materials
- Liner offcut; fork for drain holes; moisture-retentive soil/compost
- Pebbles/cobbles for a shallow spillway; native bog plants
Targets
- Depth ≈30 cm; make a low spill point from pond to bog so high water gently overtops into vegetation, not over bare soil.
Build steps
- Excavate strip parallel to pond; line; pierce every metre; refill.
- Plant Caltha palustris, Mentha aquatica, Iris pseudacorus in clumps; mulch.
- Route downpipes or path runoff into the bog, not directly into the pond.
7. Native sedge/rush ring
Why this works: Fast, dense native marginal planting hides liner, cools water, and starves algae of light and nutrients. Freshwater Habitats Trust advises 2–3 plants per m² for quick establishment—enough to reach good cover within a year. Aim for about half the surface shaded by lilies/floaters and emergents; RSPB explicitly recommends ~50% cover to keep water cool and algae down (RHS also stresses partial shade and plant cover benefits).
Materials
- Aquatic baskets + low-nutrient compost (or sediment edge)
- Mix of uprights and rafters/creepers
Targets
- Density: 2–3 plants/m² around the marginal shelf
- Surface cover goal: ~50% by peak summer (mix lilies/rafts/marginals)
Planting recipe (UK-native examples)
- Uprights: Carex acutiformis, Juncus effusus
- Flowering structure: Caltha palustris (marsh marigold)
- Rafts/edge knitters: Myosotis scorpioides (water forget-me-not), Lysimachia nummularia (creeping jenny)
- Add 1–2 lilies for broadleaf surface shade in deeper water. Wildlife Trusts and WWT list these as reliable starters for small wildlife ponds.
Aftercare
- Let the ring fill gaps before splitting; top up with rainwater only; thin back to maintain ~50% open water for amphibian access and oxygen exchange.
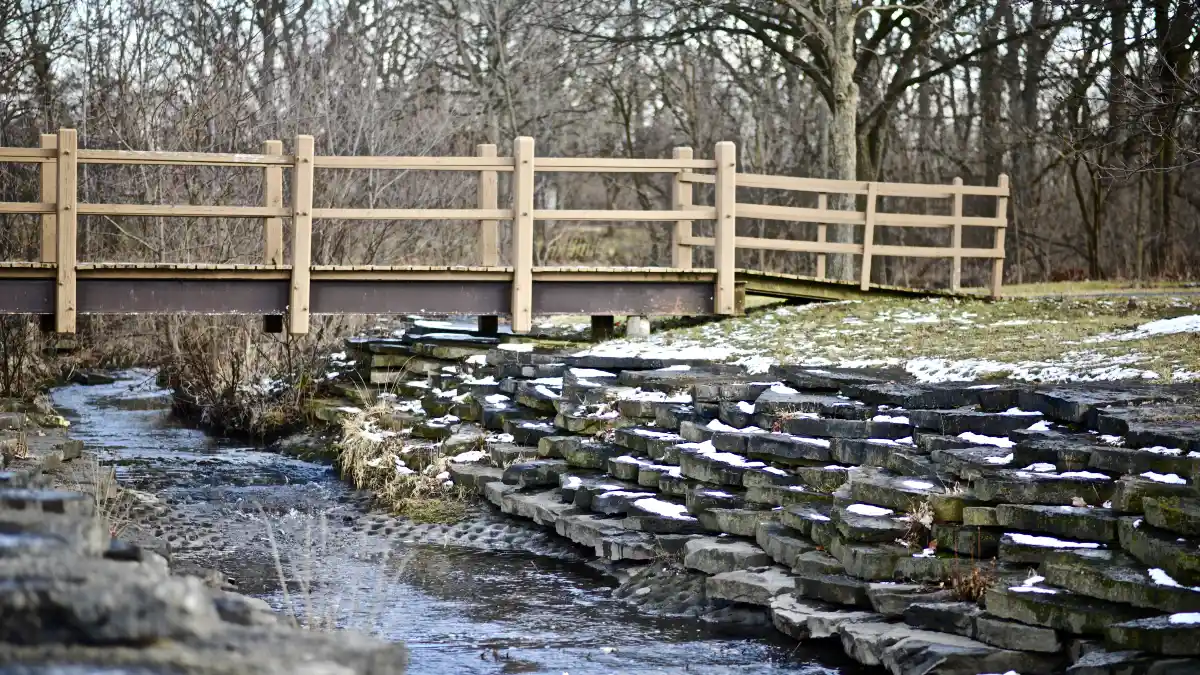
8. Reclaimed stone coping with weep gaps
Why this works: You can keep a crisp, formal rim without sealing the shoreline. Bed reclaimed slabs or brick as coping, but leave weep gaps every 20–40 cm and a thin planting strip just behind the stones. Water can pass through, oxygen reaches the bank, and marginal roots can knit the edge rather than bouncing off a hard barrier.
For paths or seating nearby, use permeable paving so rainfall infiltrates the ground instead of flushing sediment and nutrients into the pond—state stormwater teams such as the West Virginia Department of Environmental Protection note permeable pavements reduce runoff volumes and rates, lowering pollution and erosion risk. The London Wildlife Trust’s build notes also stress a 3 cm sand cushion plus underlay and rounded stones to protect liners from puncture and wicking.
Materials
- Reclaimed coping (rounded edges), sharp sand, underlay + liner
- 10–20 mm gravel for the planting strip; aquatic soil in baskets
- Permeable pavers for adjacent paths
Targets & steps
- Lay 3 cm sand, then underlay and liner under the rim zone.
- Bed coping in a broken line (leave weep gaps).
- Behind stones, create a 10–15 cm planting strip for low marginals; top paths with permeable pavers.
9. Willow faggots
Why this works: Tied brushwood bundles (faggots) pinned at the waterline form a porous toe that traps silt and offers instant rootable structure for marginals. Paired with coir rolls, you get rapid “green-up” and a soft, wildlife-friendly edge that gradually turns into planted bank.
River authorities such as the Broads Authority specifically highlight faggots and coir rolls as beneficial to wildlife once vegetation establishes, with lower visual impact than metal cages and a more natural look as they biodegrade.
Materials
- Willow/hazel faggots (200–300 mm diameter), chestnut stakes, coir twine
- Optional: pre-planted coir rolls behind the faggots
Targets & steps
- Set a shallow shelf; stake a front line at 1–1.5 m intervals.
- Lash faggots to stakes just below water; key stones at intervals.
- Backfill lightly with silt/loam and plant sedges/irises through gaps; let it knit for one growing season.
10. Gravel filter strip/infiltration trench
Why this works: A narrow gravel strip or mini infiltration trench just upslope of the pond intercepts soil and fertilizer before they reach the water. Connect it to a small rain-garden/bioswale so stormflow spreads into vegetation and soaks in.
The US Environmental Protection Agency groups these practices under green infrastructure and reports substantial runoff reductions where infiltration trenches and bioretention are used—case studies show trenches cutting runoff volumes by ~77%, with rain gardens even higher, meaning cleaner inflow and less bank erosion at your pond.
Materials
- Trench: 20–30 cm deep × 20–30 cm wide, lined sides, clean 20–40 mm gravel
- Overflow path to a planted rain-garden bed
Targets & steps
- Cut the trench parallel to the shore; fill with gravel flush to grade.
- Pitch a slight fall to a vegetated basin.
- Use permeable surfaces for nearby paths/seating to keep runoff low.
11. Built-in wildlife ramps

Why this works: Even in a formal pond, at least one side must be easy-exit. Where you can’t soften the whole rim, add textured ramps: a grooved plank, wire-mesh-topped board, or a run of rough stones keyed into the bank. The Royal Horticultural Society advises fitting a wildlife ramp in any steep-sided pond so hedgehogs and other small mammals can clamber out, and keeping one edge shallow and beach-like if possible. In droughts or heatwaves, extend ramps as levels drop so access remains safe.
Materials & steps
- Non-treated timber plank with sawn grooves or mesh; two stakes
- Fix top well above high-water mark; submerge the toe by 5–10 cm; add a side stone-step line for amphibians.
- Check weekly; keep algae off for grip.
12. Overflow “swale” spillway edged with cobbles
Why this works: A controlled low spill point edged with cobbles lets storm water leave the pond safely into a planted swale/bog, rather than chewing through the bank. That swale spreads water through vegetation and soils, which slows flow, traps sediment, and filters nutrients—exactly how green infrastructure is meant to lower pollution and erosion, per the US Environmental Protection Agency.
Materials
- Cobbles/rounded stone (no sharp edges)
- Spade, level, mulch, moisture-loving plants (sedge/rush/iris mix)
Targets & steps
- Mark a spill notch 2–5 cm lower than the rest of the rim at a strong bank.
- Line with cobbles over geotextile; grade a gentle swale (≈1–3% fall) 1–3 m away from the pond.
- Plant the swale densely; mulch. In cloudbursts, water overtops the notch, runs over stone, and soaks through the planted swale—not straight back into your pond.
13. Satellite scrapes & micro-pools along the edge
Why this works: Tiny shallow scrapes (1–10 cm water) stitched to your main pond by narrow channels extend the wildlife-rich band where amphibians, water beetles, and emerging dragonflies thrive. Freshwater Habitats Trust emphasizes that extensive shallows are critical, and warns that typical 20–30° banks are too steep—they squeeze out the <10 cm zone wildlife uses most.
Materials
- Spade/trowel, rounded pea gravel, a few small cobbles
- Optional: liner offcuts beneath scrapes in very free-draining soils
Targets & steps
- Scoop shallow saucers (30–80 cm wide, 1–10 cm deep) that can wet–dry naturally.
- Top with rounded gravel for grip and liner protection; set finger-width channels back to the pond.
- Dot flat stones for basking; let low plants creep in, keeping sightlines open for dragonfly emergence.
Conclusion
The best wildlife pond edging ideas have four things in common: they’re soft, shallow, planted, and porous. In practice that means a pebble beach entry for safe access, a 30 cm marginal shelf for emergent plants, native cover at roughly 50% of the surface to shade and cool water, and soft engineering—coir/faggots, a bog belt, and wildlife ramps—so banks are stable but living.
Guidance from the Royal Horticultural Society reinforces these principles: build shelves, favour partial plant cover over chemicals, and provide exits for hedgehogs and other small mammals. Pick two ideas you can build this weekend (the beach + shelf combo is a great start), stick to rainwater for top-ups, and photograph the shallows monthly—you’ll see frogs, newts, dragonflies, and visiting birds move in fast. Final keywords: wildlife pond edging ideas, pond liner edging, sloping pond edge.
