
If your yard tilts like a ski slope, you don’t need a bulldozer—you need a plan. Slopes waste usable space, are miserable to mow, and they shove water exactly where you don’t want it—toward foundations, patios, and paths. Left alone, that runoff erodes soil, drowns plants, and can even create basement leaks.
In this guide you’ll learn the simple way to measure your grade (so you know what you’re dealing with), how to control water first (the root of most slope problems), and how to choose the right fix—plantings, swales, steps and paths, small terraces, or engineered retaining walls. You’ll also see what permits typically get triggered, plus low-maintenance ideas tailored to gentle, moderate, and steep grades—with practical specs and ballpark costs so you can plan confidently.
As you read, watch for sloped backyard ideas, proven backyard slope solutions, and smart sloped yard drainage moves you can actually do this season. We’ll keep it straight: what’s DIY-friendly, what’s pro-only, and where to spend (and save) for the biggest impact.
Diagnose Your Slope & Water First
Slope Math in Two Minutes
Fast conversions so you can size fixes without re-reading the manual.
Quick Formula
= (Rise ÷ Run) × 100 | 10 ft board = 120 in run
Method taught by university extensions and the USGS (rise-over-run).
Degrees & Inches per 10 ft
| % | Degrees (≈) | Drop / 10 ft |
|---|---|---|
| 5% | 2.9° | 6.0 in |
| 8% | 4.6° | 9.6 in |
| 12% | 6.8° | 14.4 in |
| 16% | 9.1° | 19.2 in |
| 20% | 11.3° | 24.0 in |
| 27% | 15.1° | 32.4 in |
Decision Bands (what your number suggests)
Start with the numbers.
Measure grade as percent slope = (rise ÷ run) × 100. Lay a 10-ft straight board (or taut string line) on the slope with a level on top. Measure the vertical difference from the downhill end of the board to grade; divide by 120 inches (10 ft) and multiply by 100. Example: a 6-inch drop over 10 ft = 5% slope. (Universities and the USGS teach this same rise-over-run method.)
Classify what you have (so you pick the right fix).
University extension guidance for home landscapes commonly labels grades roughly as: gentle <5%, moderate ~8–16%, steep ≥20%, and ~30%+ is generally too steep to mow. If you’re at 20% or more, plan on plantings, steps, terraces, or walls instead of lawn.
Map water before you move soil.
Walk the site during/after rain. Note where water starts, how it flows, and where it pools, including driveway edges, low lawn swales, and every downspout discharge. As a rule of thumb, extend downspouts 5–10 ft from the house (or to an approved drain) to keep water off the foundation.
Call before you dig.
Dial 811 (free, nationwide) 2–3 business days before any digging. Utility locators will mark buried lines at no cost so you can trench for drains or set wall bases safely. Timing varies by state, but “a few days” is typical.
Safety check.
Riding mowers are not for steep grades: OSHA advises avoiding slopes over ~15° (≈27%). Use a walk-behind, string trimmer, or convert to plantings on steeper faces.
Fix Drainage & Grading Before Anything Else
Protect the house first. The International Residential Code requires the finished grade to fall at least 6 inches in the first 10 feet away from foundation walls (≈ 5%). If you can’t achieve that due to lot lines or obstacles, install drains or a swale to carry water away.
Hard surfaces must shed water. Patios, walks, and driveways should slope 1/8–1/4 inch per foot (≈ 1–2%) away from the building. Industry how-tos and technical guides for pavers align on this range; ENERGY STAR/Building America also notes ≥ 1/4 in. per ft as a best practice for impervious slabs near homes.
Use a swale where gravity can help. A shallow, grassed swale collects and routes runoff across the yard. Typical longitudinal slopes are ~2–4% (up to ~6–7% where allowed); shallower swales may need check dams or turf reinforcement to slow water. Size the swale to carry your roof and upslope runoff without eroding.
Keep paths comfortable and accessible. For everyday comfort—and to avoid creating a “ramp” under accessibility rules—keep running slope ≤5% and cross-slope ≤2% on walks where feasible; steeper routes should be treated as ramps with proper transitions and landings. (PROWAG/Access Board.)
Action checklist (do these in order):
- Regrade the first 10 ft around the house to meet 6 in/10 ft minimum.
- Move downspouts: extend to 5–10 ft or to a buried drain day-lighting away from the foundation.
- Choose surface slopes: 1–2% on hardscapes, 2–4% along swales.
- Test with a hose: verify water flows away and no low spots hold water.
Terraces & Retaining Walls
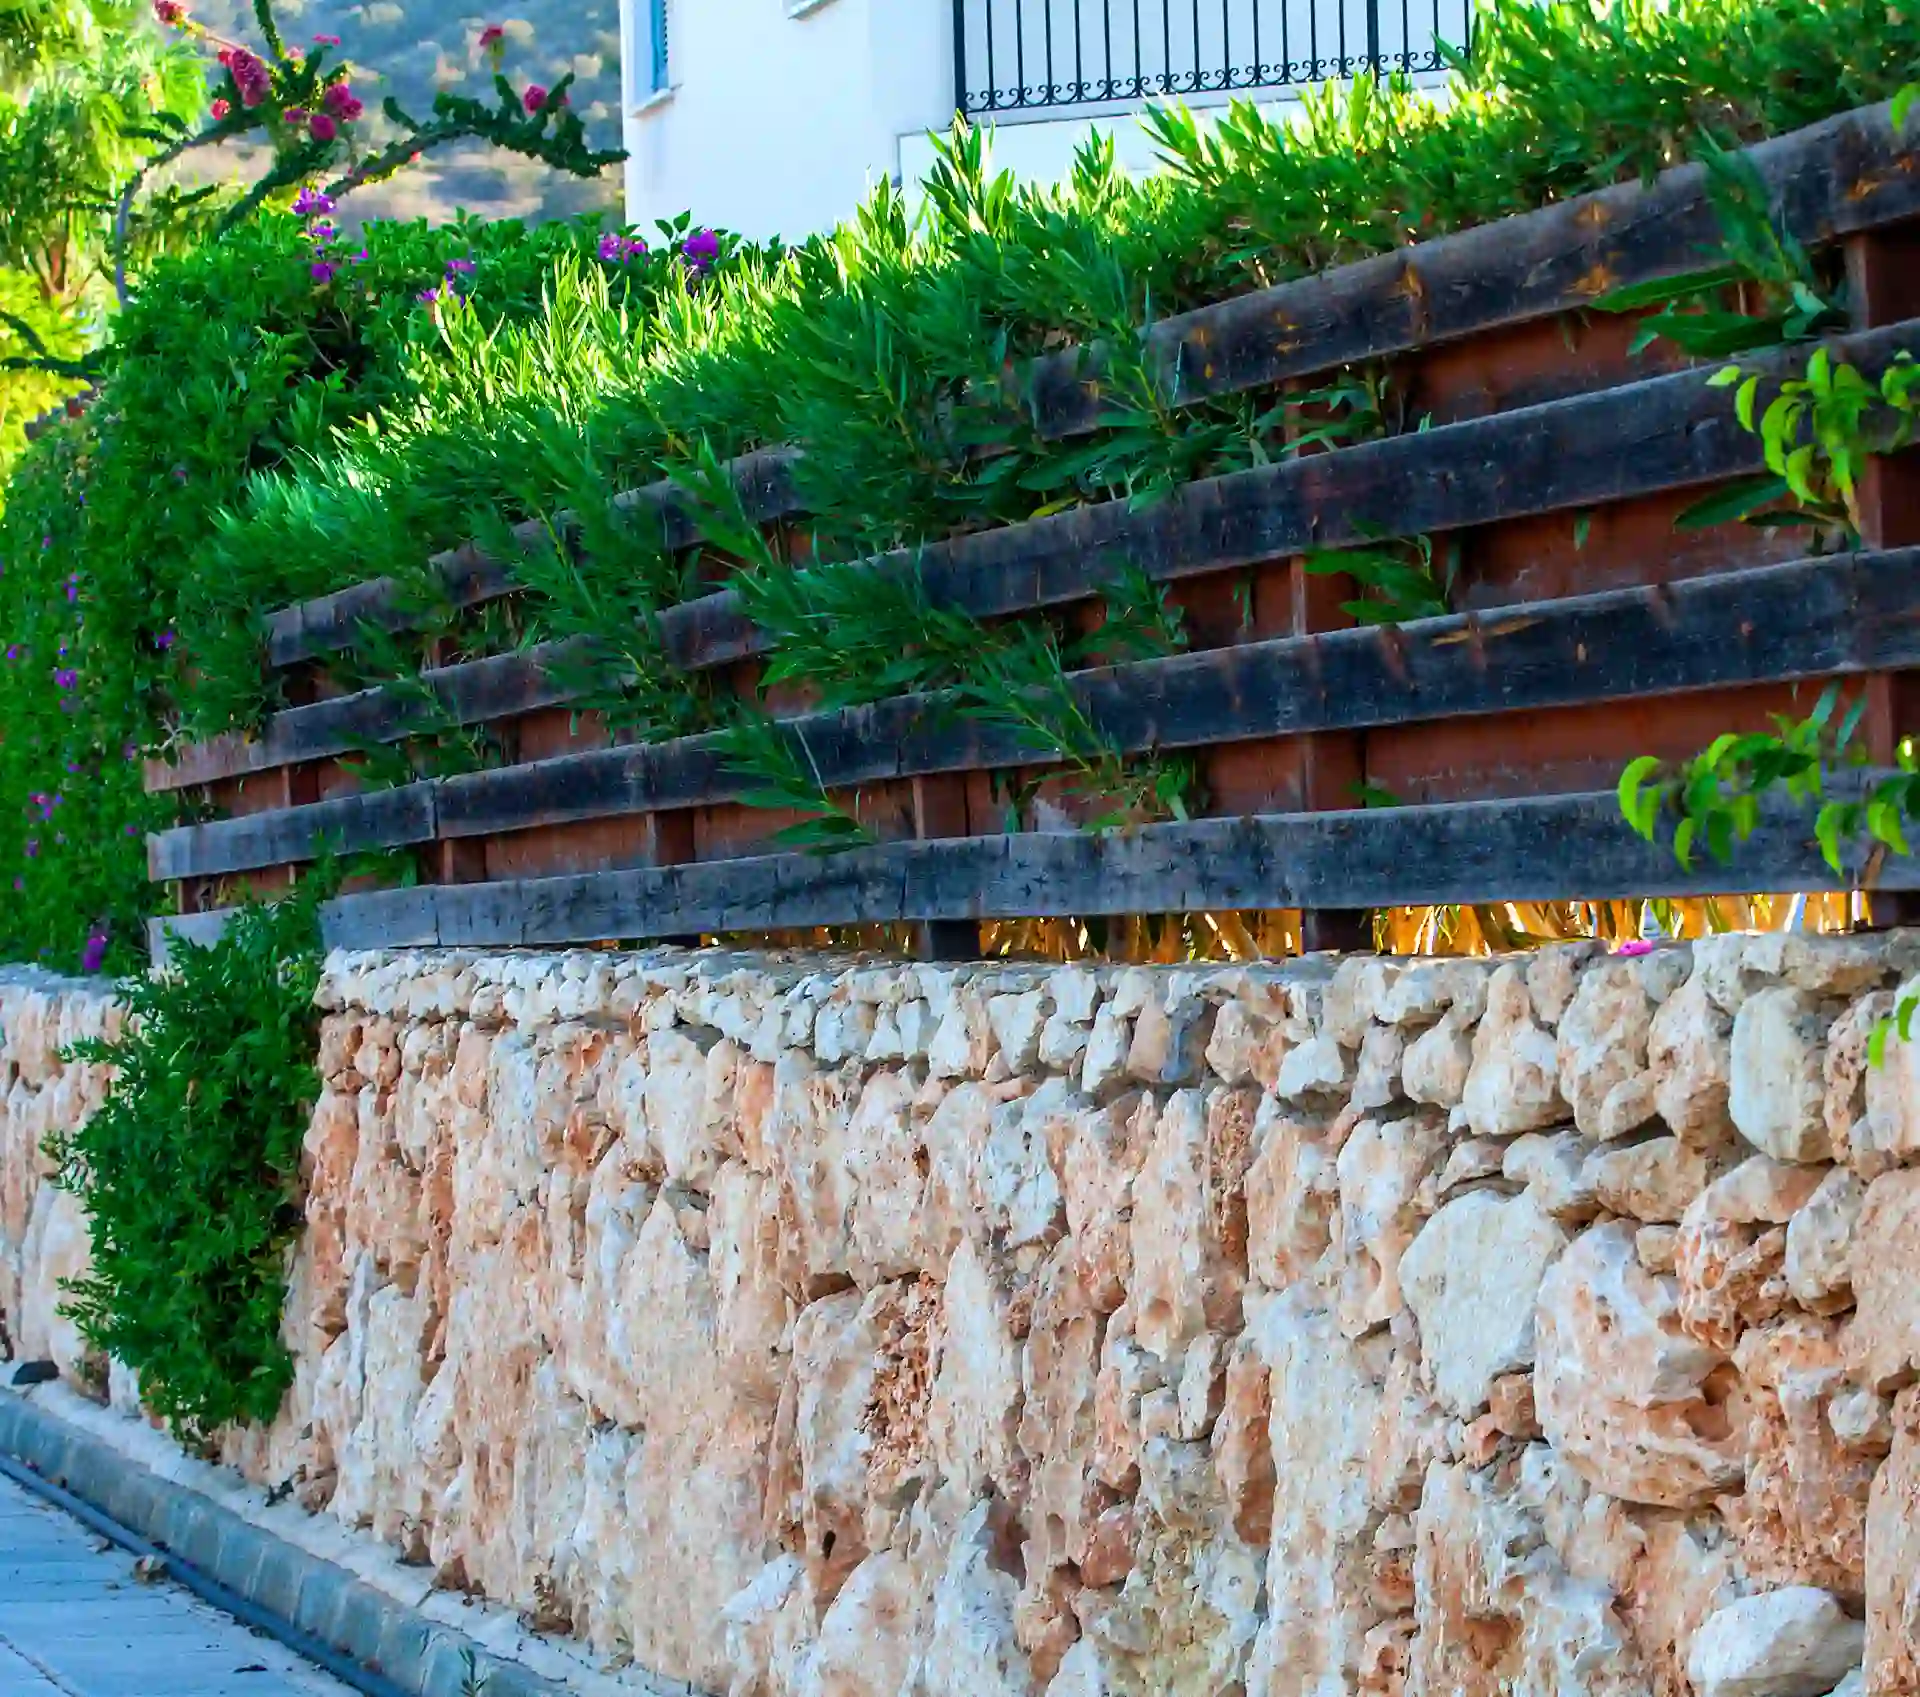
Know the permit triggers. In jurisdictions that adopt the I-Codes, retaining walls over 4 ft high (measured from the bottom of footing to the top of wall) or any wall supporting a surcharge (sloping backfill, driveways, fences, structures, etc.) typically require permits and engineered design. Don’t confuse “exposed height” with the code’s footing-to-top measurement.
Plan terraces with spacing, not just looks. When you stack short walls, set the upper wall back ≈ 2× the height of the lower wall unless a licensed engineer designs otherwise; closer spacing makes the lower wall “feel” the weight (a surcharge). Many municipal and manufacturer bulletins call out this “2H rule.” Example: If the lower wall is 3 ft, keep the next wall ~6 ft behind it.
Build the structure under the wall, not just the face. Segmental systems rely on a compacted, level base, proper drainage (free-draining backfill plus a perforated pipe), and, for taller walls or loaded conditions, geogrid reinforcement installed exactly to the manufacturer’s length and layer spacing. DIY is reasonable for low garden walls (~2–3 ft with level backfill); beyond that—or if there’s a driveway, slope, or fence behind—hire a pro.
Mind water and outlets. Every terrace step needs a way to relieve water. Include daylighted drain outlets or tie into an approved storm system; direct downspouts away from walls to avoid surcharge from saturated soils.
2025 ballpark costs (installed): Materials, site access, and engineering drive price, but expect roughly $20–$75 per linear foot for typical residential retaining walls (stone or block trending higher), with complex or tall engineered systems costing more. Use these as screening numbers and bid your site.
Pro tips:
- On steep sites, fewer, properly engineered walls beat many short, under-spaced ones.
- Keep planting beds on each terrace to slow runoff and hide wall faces.
- Never bury wall caps with mulch/soil; it invites water behind the face.
Steps, Ramps & Paths That Feel Safe on a Hill
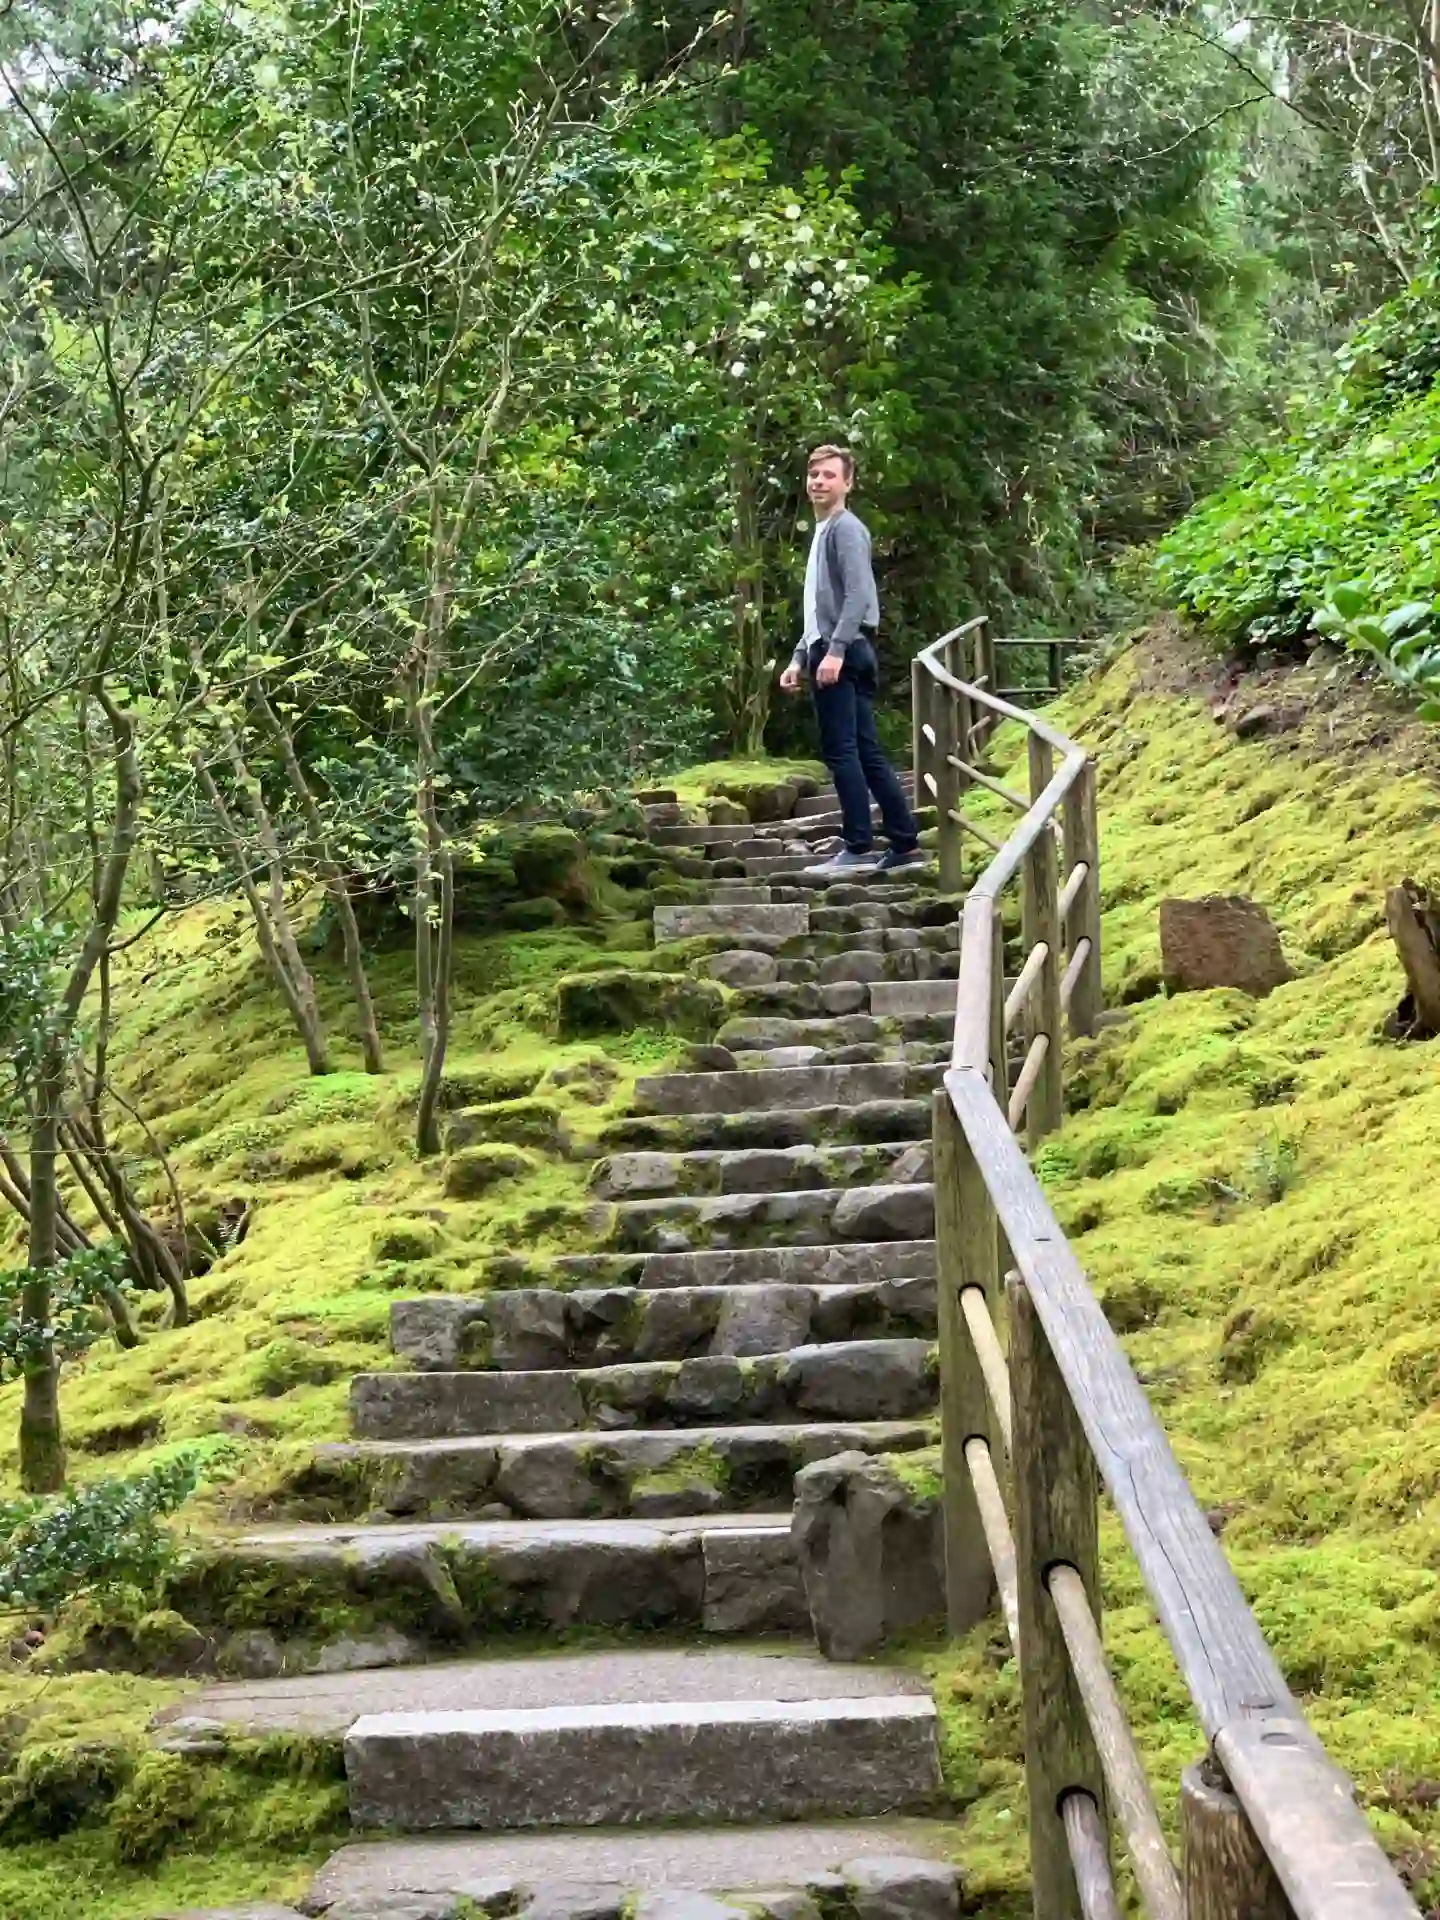
On slopes you walk every day, comfort and code shape the design. Aim for walkways at ≤5% running slope so they feel natural and don’t function like a ramp; keep cross-slope ≤2% for traction and to avoid ankle roll (U.S. Access Board; ADA 403.3).
When you must go steeper, break the grade with short landings or convert to steps. The IRC baseline (widely adopted locally) sets max riser 7¾ in. and min tread 10 in., with ≤⅜-in. variation for both—consistency prevents trips. Many jurisdictions also require a handrail for stairs with 4+ risers; verify locally.
Example: You need to climb 24 inches. Use four 6-in. risers with 12-in. treads for a gentle run (48 in.). If the hillside walkway must turn, insert a 3-ft-deep landing mid-flight so users can re-orient before the next run. That geometry sits well within comfort bands while aligning with outdoor stairs code.
Materials & details that help on slopes:
- Step nosings with slight contrast improve depth perception at dusk; add low, shielded step lighting for safety.
- Treads: textured pavers, broom-finished concrete, or stone with a thermal finish for traction.
- Ramps: if you exceed 5% and need true accessibility, design as a ramp at 1:12 (8.33%) max, with level landings per ADA; keep cross-slope ≤2%.
Quick checks before you build: verify drainage paths so water doesn’t sheet across steps; pitch landings a barely perceptible 1–2% to shed water without feeling slanted. Keywords to weave in: garden steps on slope; hillside walkway; outdoor stairs code.
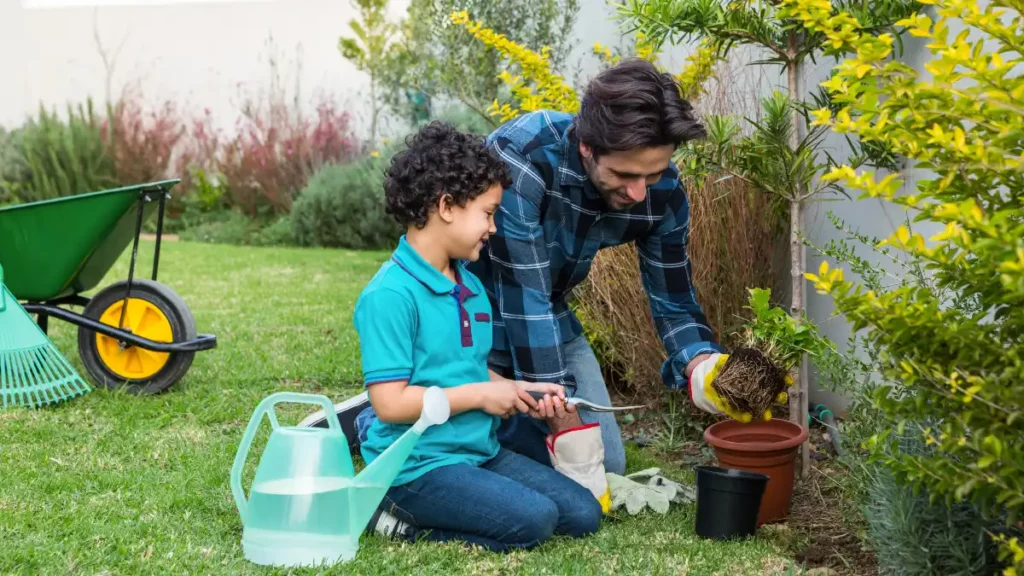
Planting for Erosion Control
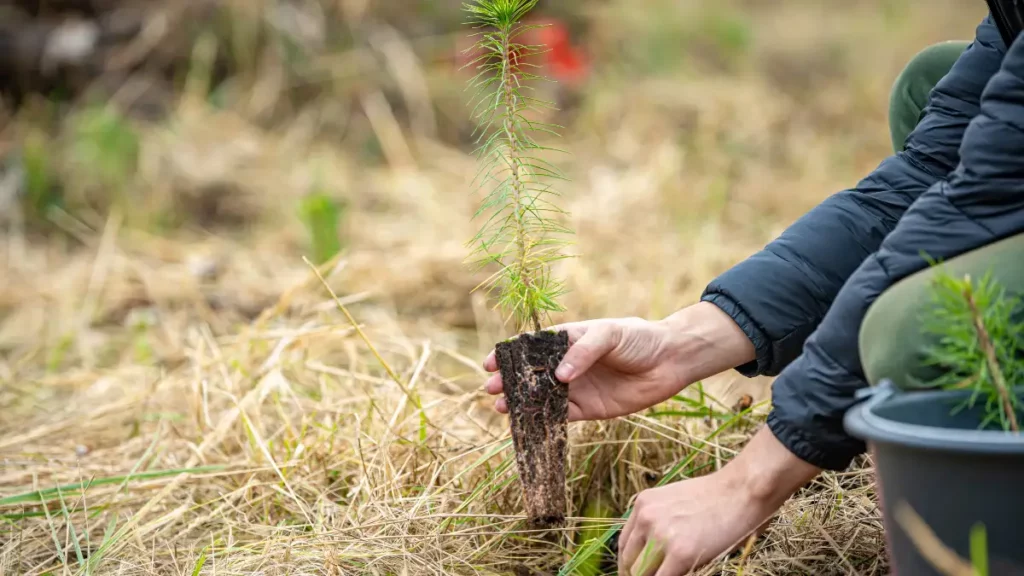
If a slope is ≈15° (~27% grade) or more, mowing gets risky—trade turf for groundcovers, deep-rooted grasses, shrubs, and small trees that knit soil together. University of Georgia Extension notes mower stability limits around 15°, and many extension guides advise replacing lawn altogether on ≥30% slopes.
Stabilize bare soil immediately. On newly graded slopes, pin down erosion control blankets (ECBs)—jute/coir or engineered rolled erosion control products—until roots establish. State stormwater manuals and Caltrans show ECB/RECP classes used up to 2:1 (50%) slopes when specified correctly (heavier products as slopes steepen). Follow product class, staple patterns, and check slots; biodegradable options can be left to decay after establishment.
Plant palette (think layers):
- Groundcovers for slopes: creeping juniper, kinnikinnick, low manzanita, sedums, or region-appropriate natives that spread and root along stems (OSU Extension).
- Grasses & sedges: fine fescue blends, little bluestem, switchgrass, or native rhizomatous species—rhizomes tie soil together and resist rills.
- Shrub pockets: stagger in drifts to break slope length and intercept runoff; mulch 2–3 in. (non-floating) around plants to limit splash erosion.
Practical specs:
- On 2:1–3:1 slopes, upgrade to heavier ECBs or reinforced netting classes; use biodegradable coir where you want vegetation to take over.
- Water new plantings through the first two growing seasons; overseed with quick nurse grasses while perennials establish.
- Where mowing remains, lateral (across-slope) passes only; for anything near ~27%, switch to string trimmers or plantings.
Rain Gardens, Swales & Dry Creek Beds
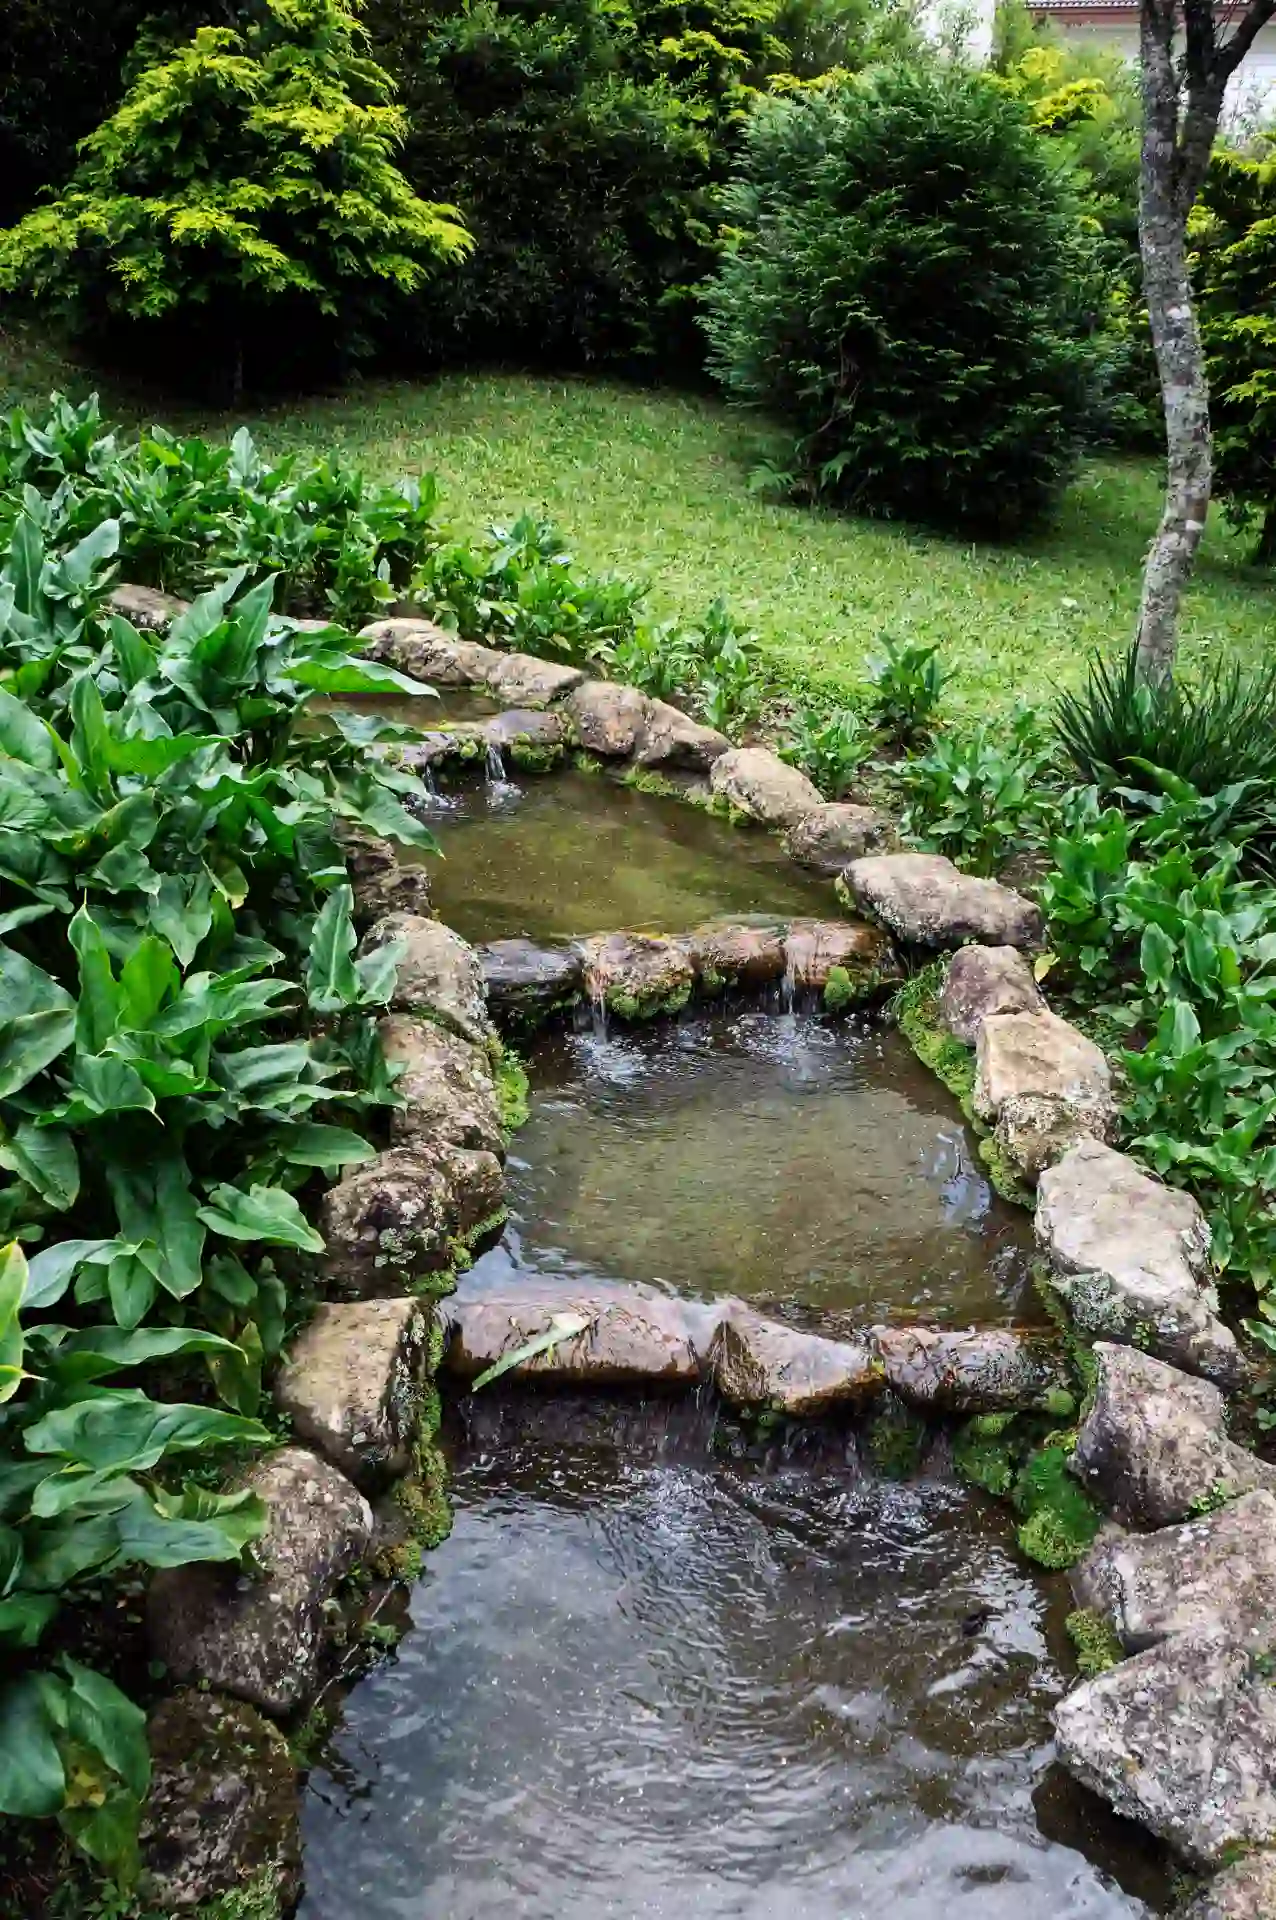
Rain gardens (sink it): Keep them ≥10 ft from foundations and avoid very steep sites unless you terrace or bring in a pro. Do a quick infiltration test (fill a 6-in-deep hole; if water’s still there after ~24 hours, choose a different practice or add an underdrain). Many university and state guides size ponding depth by lawn slope:
- <4% slope: 3–5 in. ponding
- 5–7%: 6–7 in.
- 8–12%: ~8 in.
Add a reinforced overflow notch (4–8 in.) on the downhill berm so storms have a safe exit path. (Illinois DNR; Wisconsin Extension; Chesapeake Bay Trust.)
Swales (slow it & steer it): A vegetated swale routes water gently across the yard while filtering sediment. Typical longitudinal slopes run ~1–3% (many programs allow 0.5–6% with check dams above ~2–3%). Keep side slopes ≤3H:1V, bottoms broad and level, and maintain turf or meadow grasses for friction.
Dry creek beds (send it): Where you can’t infiltrate, build an attractive rock-lined conveyance that resists scour. Armor inlets/outlets, and on steeper runs use small check dams to step flows—guidance favors multiple low dams with spacing so the upstream toe meets the downstream crest; stabilize below the last dam with riprap or geotextile. (Tahoe Regional Planning Agency; FHWA; state BMPs.)
Design tips that prevent callbacks:
- Place rain gardens down-slope of hard surfaces (roof leaders, driveway edges) and size for your soil and drainage area; coarse compost or wood chips in the bowl resist float-off better than bark mulch (OSU Extension).
- For bioswale backyard layouts, keep hydraulic residence time (slow flow) in mind; taller vegetation or micro-check dams help.
- Always give water a Plan B: a stabilized overflow that returns it to its pre-project route.
Hardscape on Hills
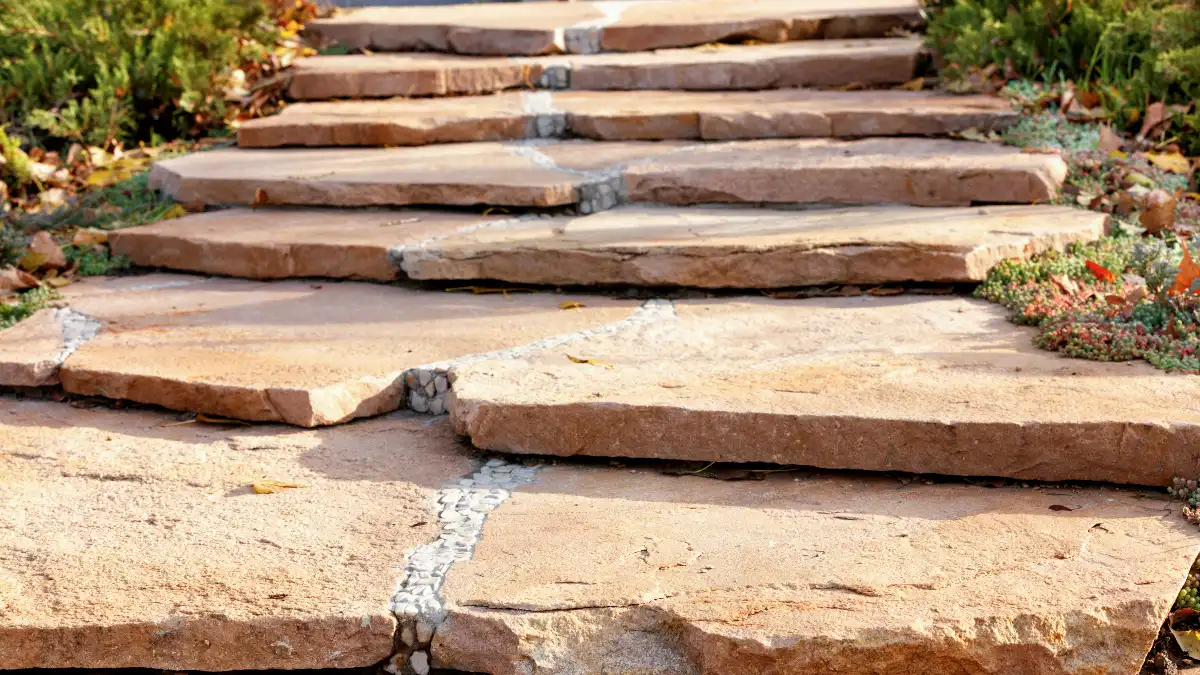
Paver patios must shed water away from the house at about 1/8–1/4 in. per ft (≈1–2%)—a long-standing industry range reflected in national big-box how-to’s. Screed and compact in lifts; confirm slope with string lines. Keep any slab or seat-wall tops near 2% so furniture feels level yet water moves.
Permeable interlocking concrete pavers (PICP) can be an excellent hillside patio choice where soils infiltrate. Several public programs cap surface slope at ~1–5% for standard designs; steeper (~6–12%) installations are possible when you break runs with check-dams/terraced cells and follow manufacturer/engineer details (FHWA tech guidance; Montgomery County MD; Cambridge Pavers technical specs).
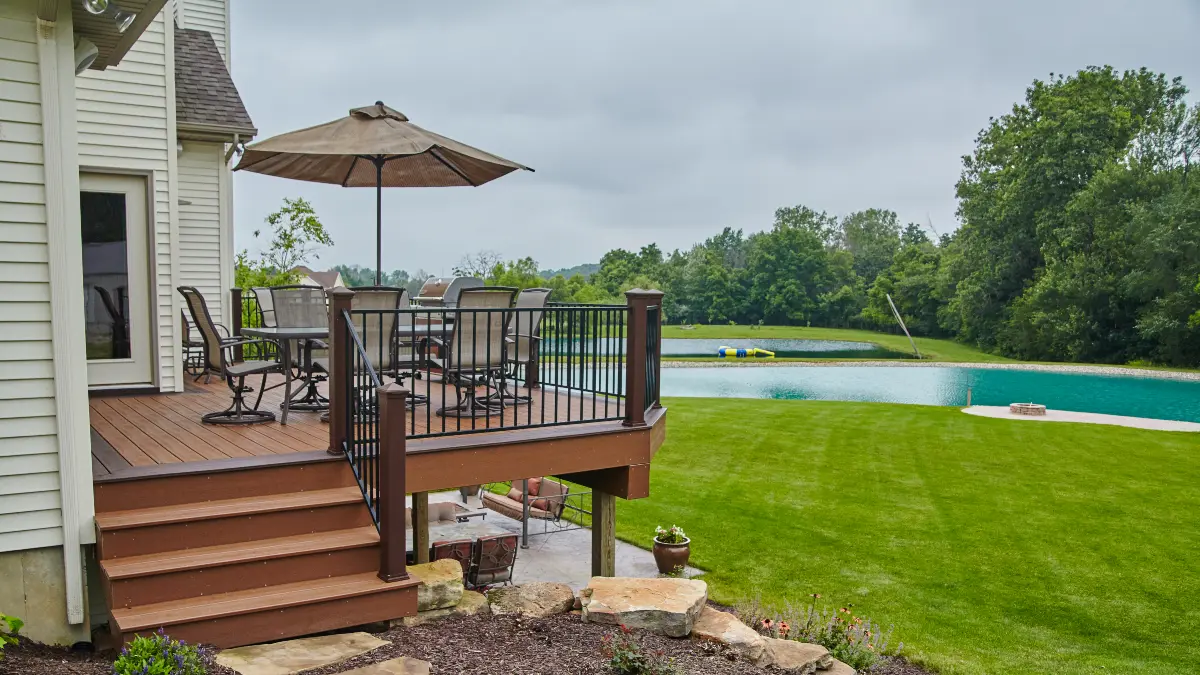
Deck on slope: If your yard is very steep or soils are marginal, a platform deck (or a series of small terraces with short stairs) often beats large cuts and fills. Follow your local prescriptive deck guide for footings, bracing, and stair/handrail rules; involve an engineer where piers are tall or loads are high. (Prescriptive IRC-based deck tip sheets.) cms2.revize.com
Build-smart checklist:
- Maintain patio slope continuity—avoid birdbaths by checking after compaction and after paver compaction.
- Edge restraints and geotextile at base transitions keep systems tight on grades.
- For permeable pavers on slope, design the base as terraced cells with check curbs and a protected overflow to daylight—especially above ~5%.
Budget, Maintenance & Safety Quick Wins
Know the ballpark before you dig. For yard drainage cost, typical homeowner French-drain installs land around the $2,800–$6,500 range nationwide (and roughly $20–$50 per linear foot for a ~100-ft run, depending on depth, access, and soil). That aligns with current contractor pricing and national cost trackers.
For your retaining wall budget, most residential projects price at $20–$60 per square foot (material and height drive variance), which translates to about $40–$300 per linear foot when you factor wall height. Keep in mind engineering, drainage stone, and geogrid can move totals upward.
When routing water across a yard, swales are often cheaper than buried pipe because you’re moving soil, not buying and trenching pipe; multiple stormwater programs and extension guides note swales as a cost-effective alternative with lower life-cycle costs than many gray conveyance options.
Maintenance that prevents callbacks: After big storms, inspect swales and dry creek beds; clear debris and sediment at inlets/outlets, and top up rock or repair check dams as needed so water stays in the channel. For permeable pavers, plan on periodic vacuum-sweeping or rotary sweeping to restore infiltration, then replenish joint aggregate where removed.
Mower slope safety: Treat ~15° (≈27% grade) as a practical upper limit for riding mowers; OSHA cautions operators to avoid mowing on slopes over 15° absent specific manufacturer guidance. Convert those zones to plantings or hardscape.
Conclusion
Measure your slope, then fix drainage and grading first—it protects the house and makes every later choice work better. For gentle grades, lean on groundcovers and shallow swales that slow and steer water. For moderate grades, add steps, landings, and short terraces to carve out flat, usable pads. For steep slopes, think platform decks, engineered retaining walls, and durable planting to lock soil in place. Price the big moves (drainage, walls) with at least two bids, and plan simple seasonal maintenance so performance lasts.
