
Most “affordable” paths crack, wash out, or turn weedy. The difference isn’t fancy materials—it’s picking the right cheap materials and installing them properly. This guide turns common mistakes into wins so your budget garden path looks good for years.
You’ll avoid pitfalls like using the wrong rock size, skipping edging or fabric where it’s needed, or ignoring drainage—three reasons backyard path DIY projects fail fast.
You’ll learn 19 cheap DIY garden path ideas with exact specs you can act on today: standard widths (36–48 in.), smart stride spacing (18–24 in.), layer depths that hold up, and when to use a separator fabric.
We’ll cover cost math (with bulk vs. bagged comparisons), free and low-cost sourcing (including arborist wood chips), and maintenance shortcuts that keep paths tight and tidy.
By the end, you’ll know which design fits your soil, slope, traffic, and budget—and how to build it right the first time.
Wood-Chip/Mulch Path (fastest & often free)
Arborist-Chip Paths: Field-Proven Specs & Sourcing
Extra numbers, expert tips, and sourcing realities to complement your wood-chip/mulch path section.
What the Research Says
Depth that smothers most new weeds and protects soil.
Best for weed suppression, soil health, and moisture buffering.
Wood chips can maintain or enhance infiltration vs. bare soil.
How Much Mulch Will You Need?
Use this quick reference for 1 cubic yard (27 cu ft). Multiply to scale up.
| Depth | Coverage / yd³ | Weed Control |
|---|---|---|
| 2 inches | ≈ 162 sq ft | Thin: won’t smother established weeds |
| 3 inches | ≈ 108 sq ft | Recommended for suppression |
| 4 inches | ≈ 81 sq ft | Best for tough sites & footpaths |
Quick formula: (Area in sq ft × depth in inches) ÷ 324 = cubic yards.
Chip Sourcing Reality Check
ChipDrop & local arborists
- Load size varies: entire truckloads are common — roughly 4–20 yd³. Have a staging space ready.
- Optional tip ($20–$80) can improve odds; chips are often free to the homeowner.
- Mixed species & textures are normal—and perfect for durable paths.
Tree Safety: Donut, Not Volcano
Keep chips off trunks to avoid decay and girdling roots.
Do — leave a gap
Gap: keep chips 3–6 in. from the trunk flare (ISA & USDA guidance).
Don’t — volcano
Avoid piling mulch against bark.
Keep-It-Cheap Maintenance Plan
- Seasonal rake to smooth footprints & redistribute chips.
- Top-up 1–2 in. as chips settle (typically every 12–24 months).
- Edge control: trench edge or steel edging where paths meet lawn.
- Skip fabrics/cardboard under chips; they can trap water and impede gas exchange.
Why this works: Coarse arborist chips create a cushioned, permeable mulch walkway that installs fast and is often free. Research from Oregon State University Extension and the Garden Professors consortium shows ≥3 in. of coarse mulch suppresses most weeds and protects soil. Plan 36–48 in. width for comfortable walking.
Refresh chips every 1–2 years—it’s minutes of work for a big visual upgrade. Keep chips off trunks to avoid “mulch volcano” damage. For sourcing, check with local arborists or sign up for ChipDrop; accept that deliveries are mixed-species and chunky (great for paths).
Quick spec: Rake level 2–4 in. deep (coarser chips toward 3–4 in.). Pin lightweight edging or trench-edge the sides so chips don’t creep. In wet spots, crown the center slightly so water sheds to bed edges.
Pro tip: Use chips to pre-grade soft areas; if you sink while walking, you need another 1–2 in. and a quick rake/compact pass.
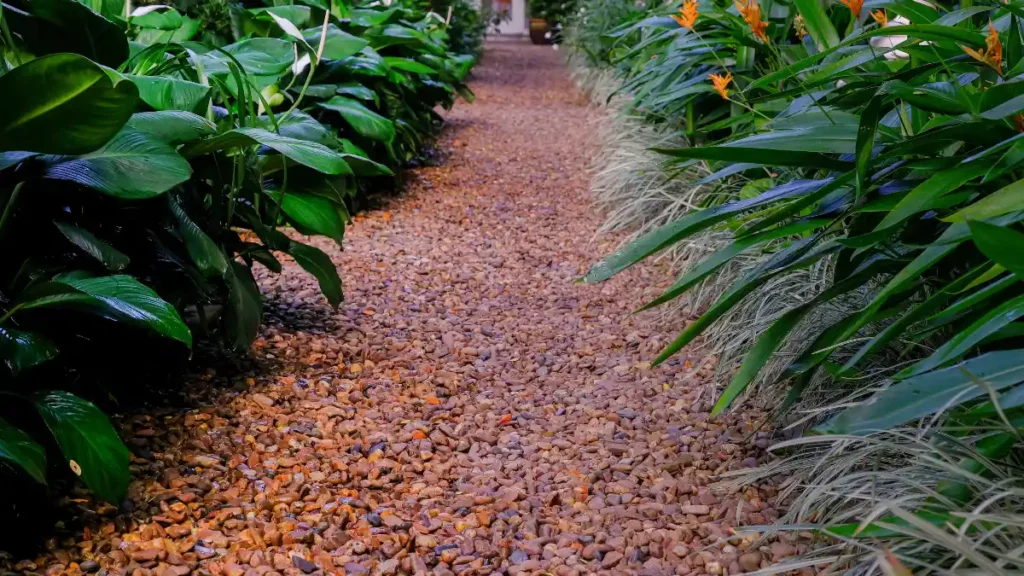
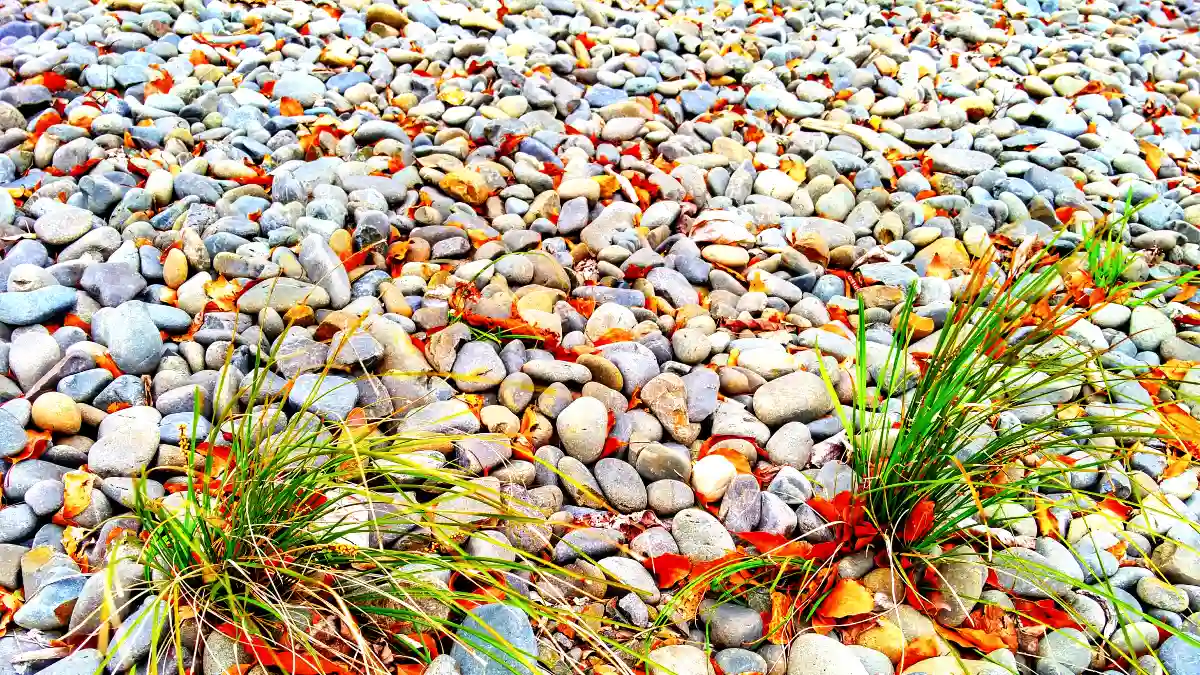
Pea-Gravel Path with Edging
Why this works: 3/8-in. pea gravel looks tidy, drains well, and stays comfortable underfoot when contained with proper edging. Standard walkway guidance: 36–48 in. wide so two people can pass. Build a simple section: compact subgrade, add 2–3 in. of compactable base (crushed stone), optional geotextile separator where subsoil is soft or you expect mixing, then ~2 in. of pea gravel.
This Old House’s long-standing method—compact base + separator + edging—is still the durability sweet spot. For quantity, a quick rule of thumb: 200 sq ft @ 3 in. depth ≈ 1.85 yd³ (round to 2 yd³). Bulk costs commonly run $25–$75 per yd³ regionally; bagged gravel sells in ~0.5 cu ft units, so a calculator helps translate square footage to bags.
Steps: 1) Outline and excavate; 2) Compact base; 3) Install edging; 4) Lay fabric if needed; 5) Pour gravel and rake; 6) Lightly compact.
Pro tip: On curves, steel or aluminum edging controls spread better than plastic; top up ½ in. annually if you notice rutting at entries.
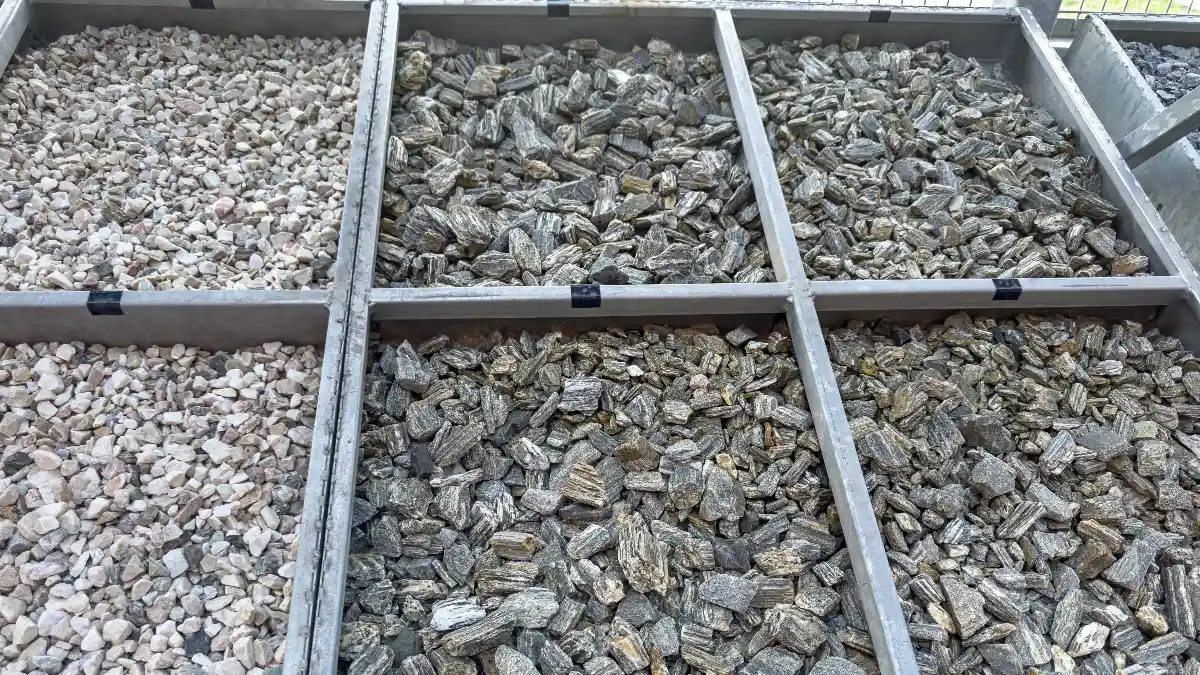
Decomposed Granite (DG) Path (firm, natural look)
Why this works: A decomposed granite path compacts into a firm, natural surface that handles foot traffic without looking “poured.” Many suppliers (e.g., Southwest Boulder) recommend 2–3 in. DG over 2–3 in. compacted base; add a stabilizer if you want a tighter, lower-dust finish.
As a permeable path, DG lets rain soak through instead of running off—U.S. EPA notes permeable pavements reduce stormwater volume and can filter pollutants when designed and maintained correctly. Costs for crushed/decomposed granite typically align with standard gravel in many markets.
Steps: 1) Excavate and compact subgrade; 2) Install edging; 3) Add and compact 2–3 in. base; 4) Spread DG in thin lifts (about 1–1.5 in. per pass), mist, and compact to final 2–3 in. thickness; 5) Sweep and roll once more after 24 hours.
Pro tip: Where oak leaves or gritty debris are common, a stabilized top lift makes cleanup with a broom or blower much easier.
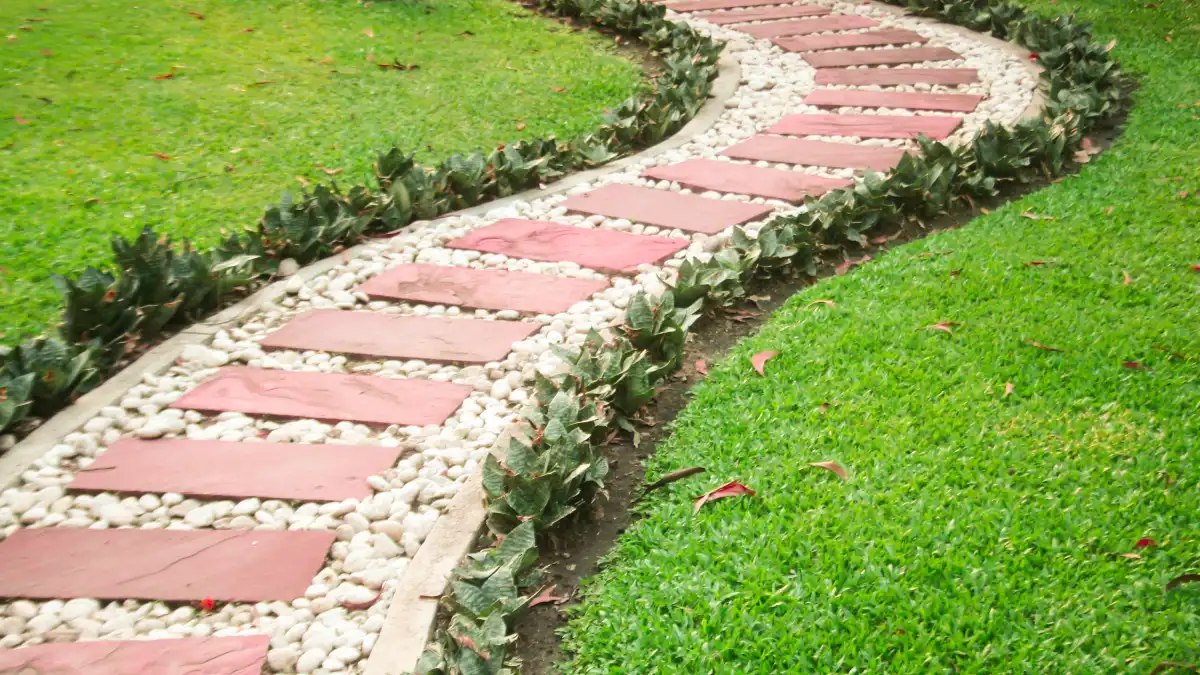
Stepping Stones in Mulch (no-dig feel)
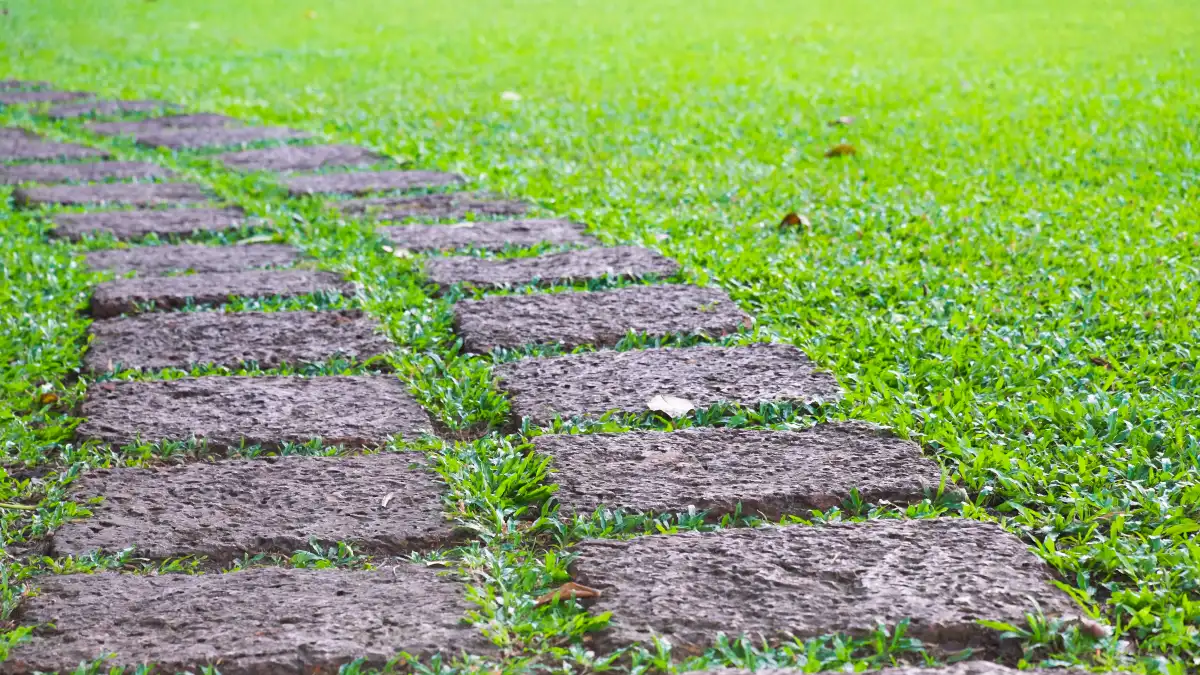
How it works: Lay flat stones where your feet naturally fall, then “lock” them in place with ~3 inches of coarse wood chips—an easy mulch path that installs fast and drains well. Western Interlock’s field guidance puts stepping stone spacing at ~18–24 inches on center (about an average stride), which keeps the walk comfortable without awkward half-steps.
Set each stone flush or slightly proud of grade so it won’t collect puddles; then mulch right up to the edges for stability. Oregon State University Extension notes that ≥3 inches of coarse mulch suppresses most annual weeds—exactly what you want between stones—while the Garden Professors emphasize that coarse chips perform best for weed control and soil protection.
Keep chips off trunks and crowns. For curves, set stones first, walk the path, adjust spacing, then mulch last.
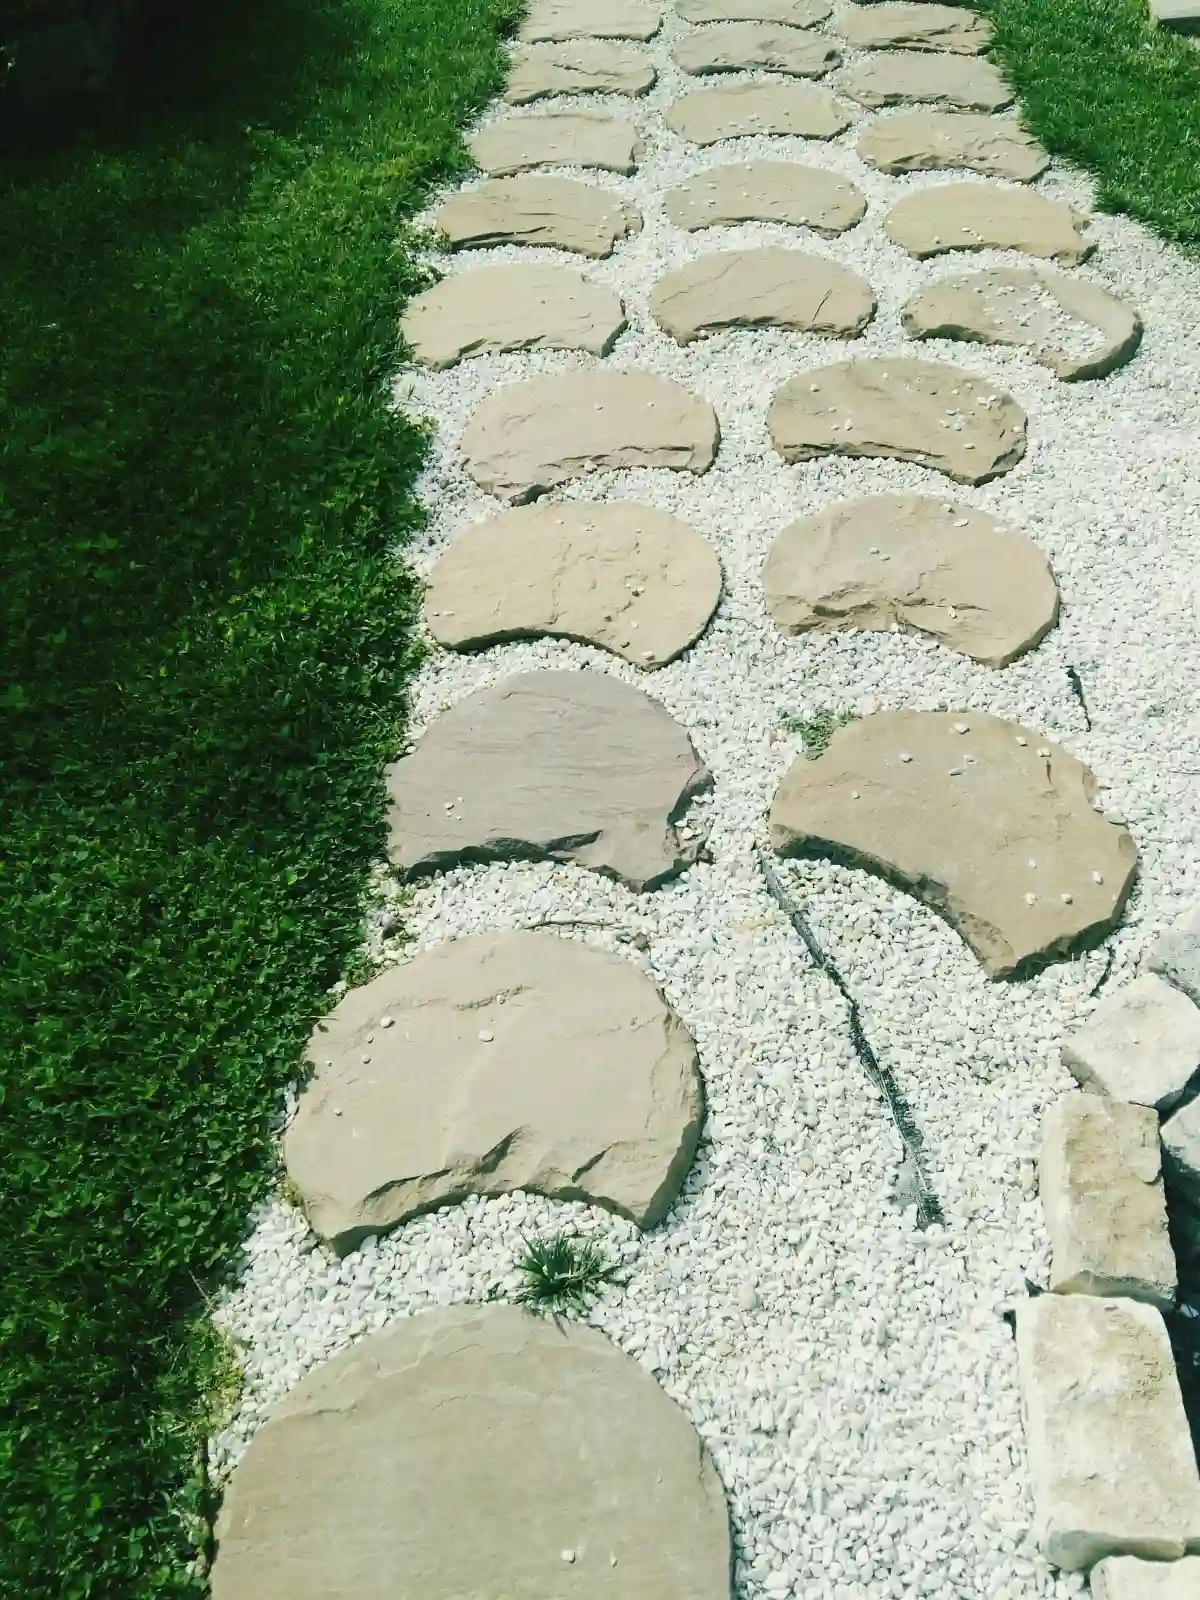
Stepping Stones in Gravel (clean, modern)
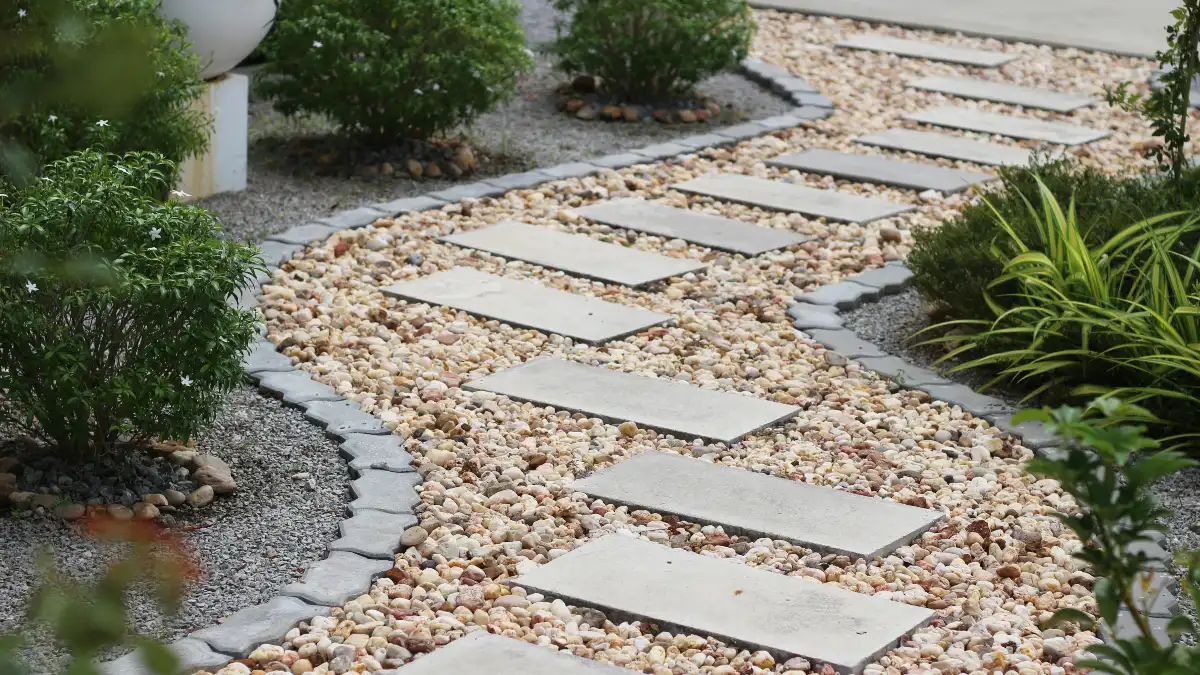
How it works: Use 3/8-inch pea gravel for a tidy surface that drains and looks sharp, then contain it with steel or aluminum edging. Match the stone layout to your gait—18–24 inches center-to-center—so you can walk naturally. For durability, Washington Rock Quarries explains that a geotextile separator under the gravel reduces mixing and potholes, especially over soft subsoil; it also lets you use a thinner base in some cases.
Build like this: compact subgrade; optional separator; 2–3 inches of compactable base (crushed fines); edging; then ~2 inches of 3/8-inch pea gravel raked level. Top up ½ inch as needed at entries.
This simple assembly gives you gravel stepping stones that stay put and feel stable—an ideal budget walkway for side yards or between beds.
Cast-in-Place Concrete Steppers (mold & pour)
How it works: Get the “paver” look for less by using a reusable WalkMaker-style mold and bagged concrete. Prep a flat strip, screed 1 inch of compacted sand, set the mold, and fill. Quikrete specifies an 80-lb bag yields ~0.6 cu ft of concrete; most 24 in. x 24 in. x 2 in. molds take about one 80-lb bag per pour.
Lightly tap to settle, texture the surface for traction, lift the form, and repeat at your 18–24 in. stride spacing. Home Depot commonly lists WalkMaker-pattern forms around $32 (varies by store), making this one of the least expensive ways to create durable, repeatable “stones.”
Color the mix or dust the surface for variation. Cure gently (shade + mist) to minimize cracking, then backfill gaps with mulch or gravel. DIY concrete stepping stones = cheap pavers, pro look.
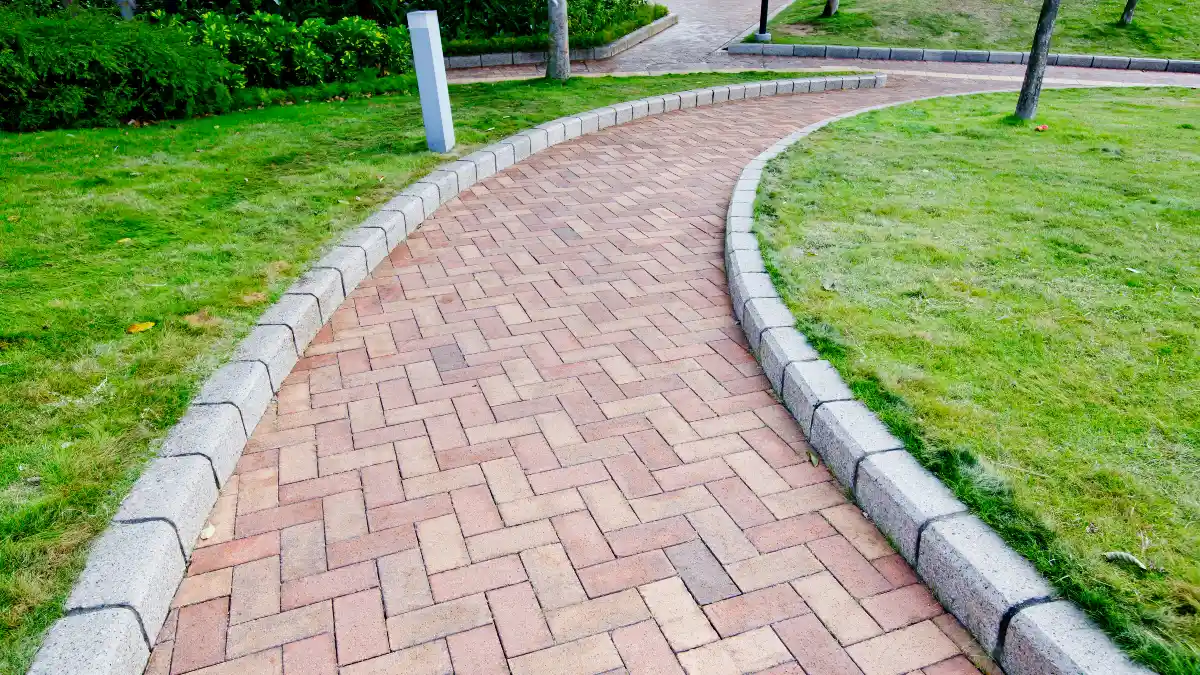
Reclaimed Brick on Sand (herringbone or running bond)
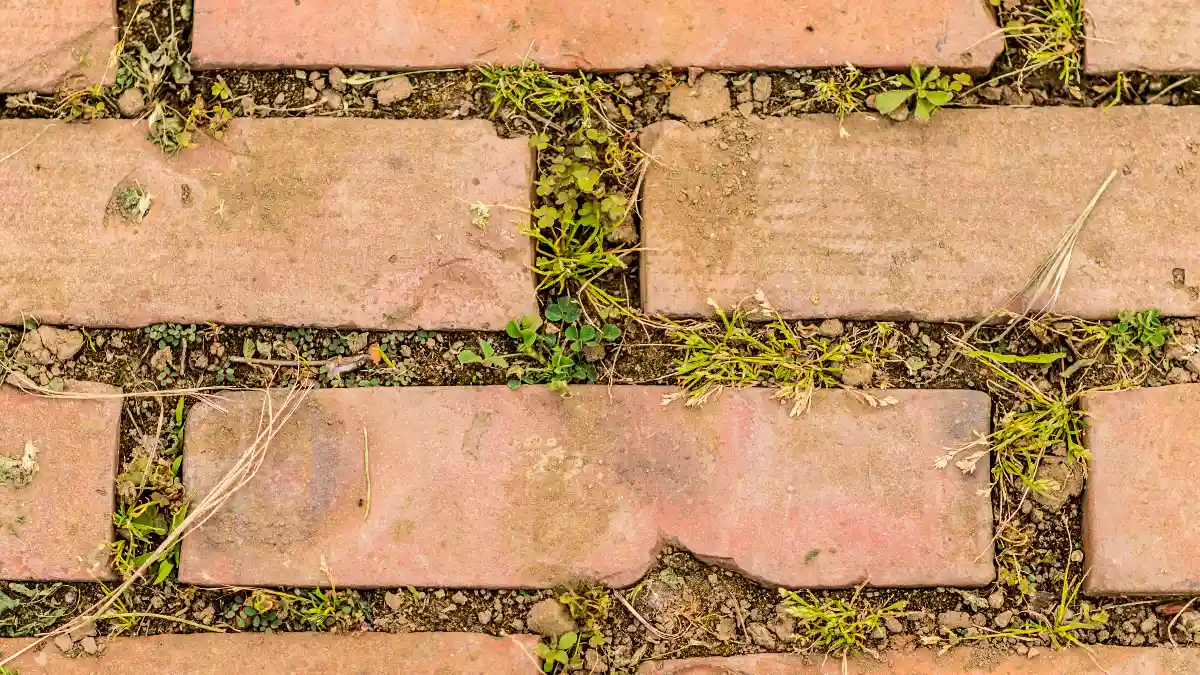
How it works: Dry-lay reclaimed brick over a compacted base for a timeless reclaimed brick path without mortar. Excavate; compact subgrade; add 3–4 inches of crushed stone base and compact; screed 1 inch of bedding sand. Lay bricks tight in running bond (fast) or herringbone (locks best), then sweep polymeric sand into joints and mist to set.
Pro makers (Sakrete, This Old House) note polymeric sand helps lock bricks, resist washout, and reduce weeds when installed correctly. To cut costs, source brick from architectural salvage or reuse yards—inventory changes, but reclaimed batches often come pre-patinated and dimensionally consistent. For budgeting,
HomeGuide’s 2025 data puts materials for stone/brick walkways around $7–$18 per sq ft, with pro installs much higher; DIYing the labor is where you save. A narrow budget paver walkway (24–36 inches) keeps totals down while looking bespoke.
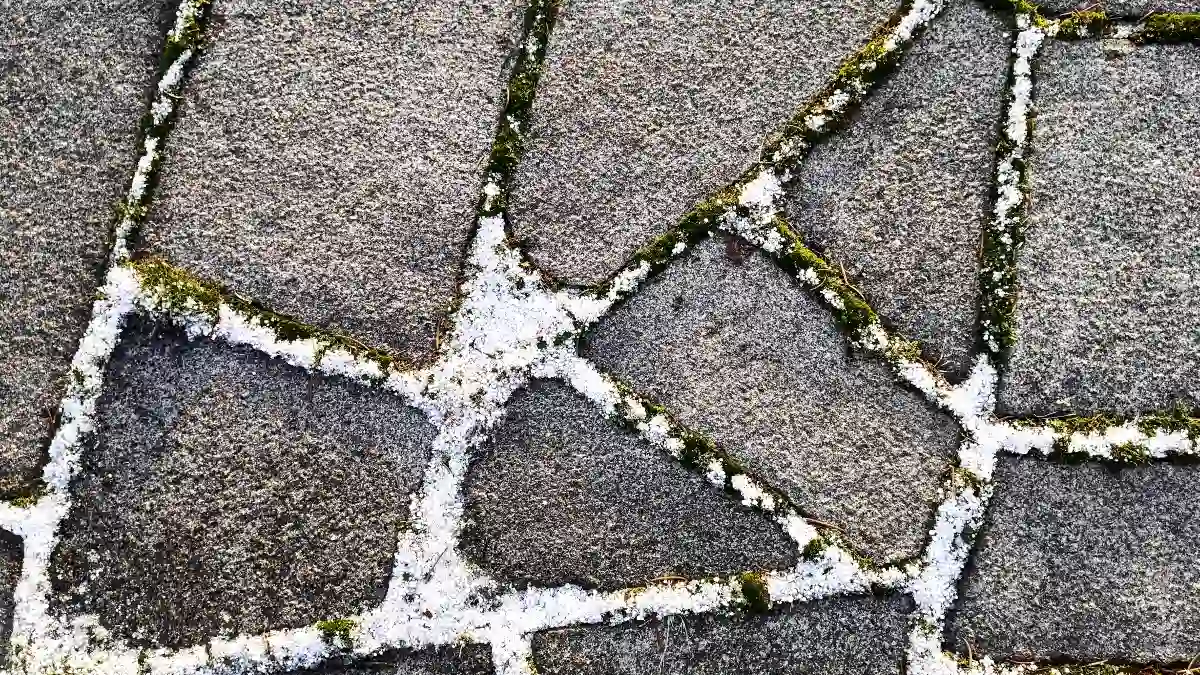
“Urbanite” Broken-Concrete Path (free flagstone look)
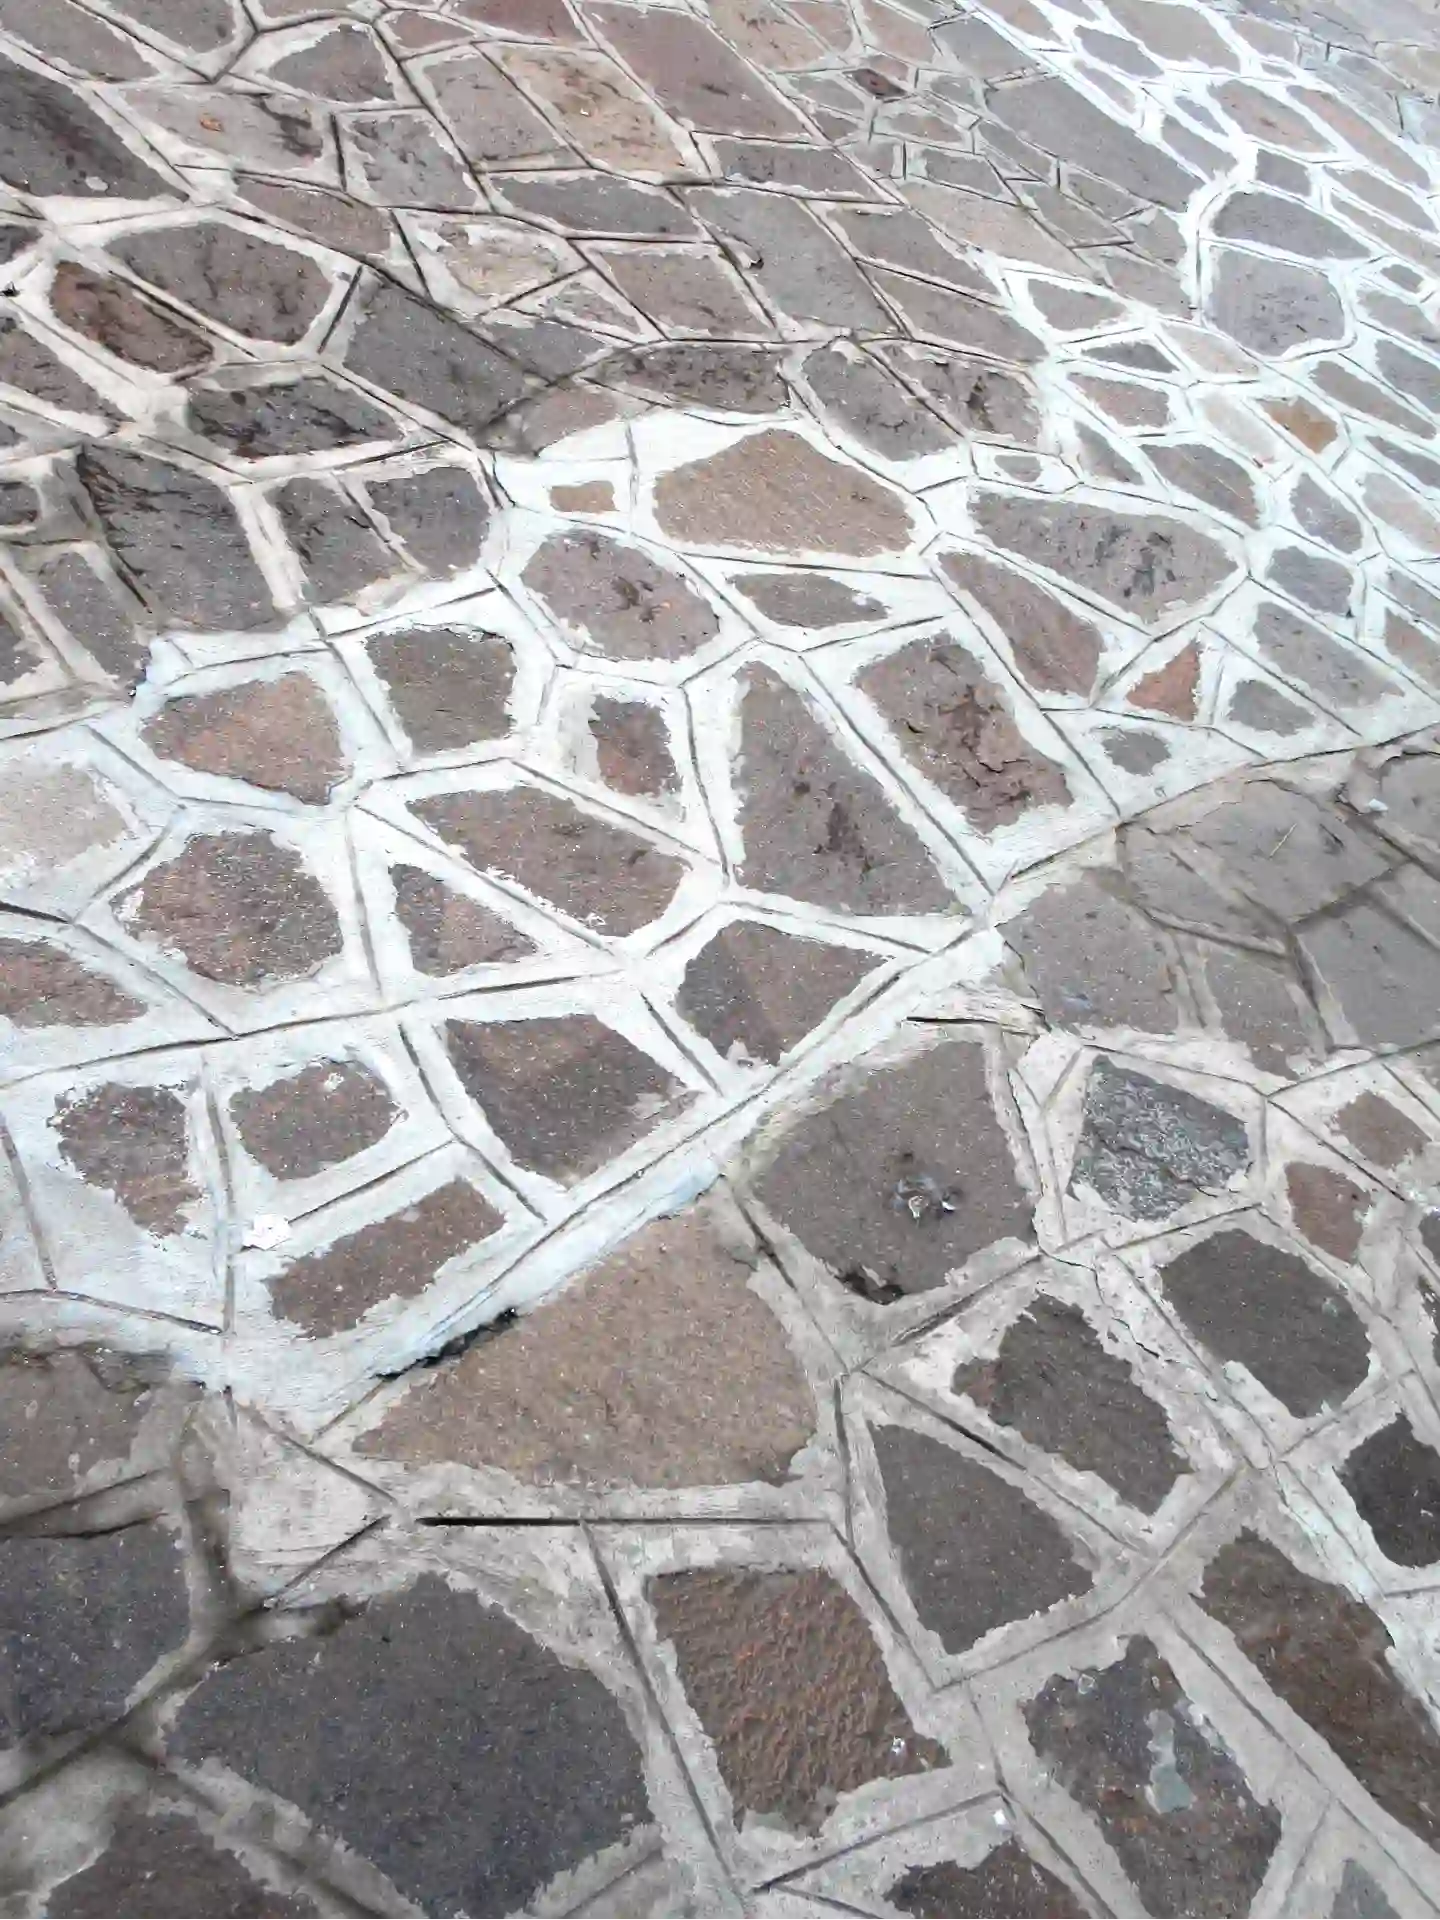
Why this works: A broken concrete path (often called an urbanite walkway) gives you a flagstone look for almost nothing. Source slabs from your own demo or a neighbor’s—then set them like stone: compact the subgrade, add 2–3 inches of crushed-base, screed ~1 inch of sand, and bed each piece so it doesn’t rock. Keep joints ⅜–¾ inch; fill with decomposed granite, compacted fines, or polymeric sand.
For a tighter edge, mortar only the border pieces and dry-set the rest. DIYer Jami Boys of An Oregon Cottage reports building a patio from salvaged slabs for about $10–$20 in mortar—the concrete itself was free—illustrating how dramatically reuse cuts costs.
Safety notes: knock off exposed rebar; wear eye/respiratory protection when trimming (silica dust). Design tip: mix larger “flag” pieces with smaller chocks to lock shapes and maintain a gentle crown so water sheds.
Crushed Seashell Path (regional, bright & permeable)
Why this works: A crushed shell path installs like gravel but compacts into a firm, luminous surface that’s comfortable underfoot—perfect for a coastal garden walkway. Build it the gravel way: compact subgrade, lay 2–3 inches of crushed base (where soils are soft), install edging, then spread 2–3 inches of shells. Lightly wet and compact to help pieces knit.
Gardenista notes shells naturally fracture into smaller pieces under traffic, creating a stable surface that’s less prone to ruts and holes than many loose-stone toppings; that’s why you’ll also see them used on driveways in shell-supplied regions.
Gal Pal Lifestyle’s step-by-step emphasizes edging containment and plate compaction; expect a quick top-up every year or two as shells weather. Practical limits: avoid steep slopes, and check local availability—shell supply is regional and seasonal.
Gravel with Stabilizer Grids (for slopes/heavy use)
Why this works: A gravel stabilizer grid (HDPE geocell or honeycomb panel) locks angular gravel into cells, stopping lateral migration and rutting while staying permeable. That makes it ideal for moderate slopes, wheelbarrow routes, and anywhere you want a firm surface without pouring concrete.
Manufacturers such as BaseCore describe the system as soil/gravel reinforcement that improves load distribution; the U.S. EPA highlights that permeable pavements reduce stormwater runoff and can help filter pollutants when correctly installed.
Install process: grade and compact the subgrade; place a separator fabric if the soil pumps; anchor and expand panels; fill with 3/8-inch clean gravel; rake level and compact. For budgeting, TRUEGRID sells boxes of permeable panels at ~40 sq ft per box, commonly listed around $175 per box online (≈ $4.38/sq ft for the grid before gravel/base). Use metal or composite edging on the downslope side to hold lines crisp.
Dry Creek-Bed Path (looks good, moves water)
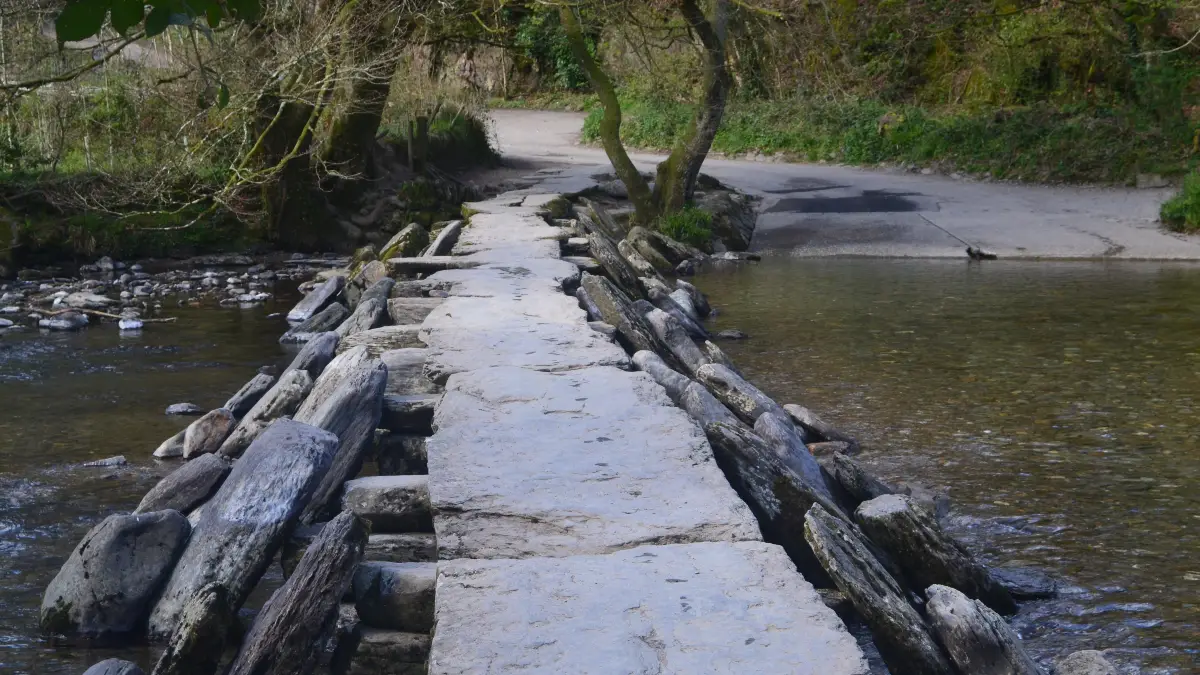
Why this works: A dry creek bed path turns a drainage swale into a feature—rock-lined “stream” for moving water, with stepping zones or a crossing you can walk on. Plan it like a real channel: follow the natural slope and give water a safe outlet (to a rain garden, drain, or lower lawn). TDH Landscaping stresses mapping existing flow and letting the bed meander to look natural and function well.
Build steps (weekend scale): excavate a trench (many pros start ~3 feet wide and up to 2 feet deep depending on flow), line with nonwoven fabric, add a base layer of crushed stone, then set cobbles/boulders for structure and river rock for the “stream.”
Fine Gardening recommends maintaining continuous fall (they note a minimum slope toward the outlet) to avoid stagnant pockets; add flat steppers where you cross so footing stays dry. Finish with drought-tolerant plants along the banks to stabilize edges and soften the look.
Rubber Paver Walkway (recycled & easy on joints)
Why this works: Recycled rubber pavers are naturally cushioned, slip-resistant, and forgiving in freeze–thaw cycles—great for knees and year-round safety. Rubber surfacing specialists at Rubcorp note that the textured surface provides traction when wet and needs minimal upkeep (no sealing, easy wash-down).
For cost planning, HomeGuide puts material prices around $2–$6 per sq ft depending on thickness and brand, and big-box stores stock modular tiles and larger formats, making this one of the most inexpensive walkway ideas that still feels premium. Build it like pavers: compact subgrade, add 2–3 in. of crushed base, screed ~1 in. of sand, set tiles tight, then border with edging to keep lines crisp.
Many retail products highlight resilience in harsh weather and won’t spall like concrete; choose darker colors to hide scuffs. Pro tip: Use a rubber mallet to lock interlocking profiles and trim with a sharp utility knife for clean curves.
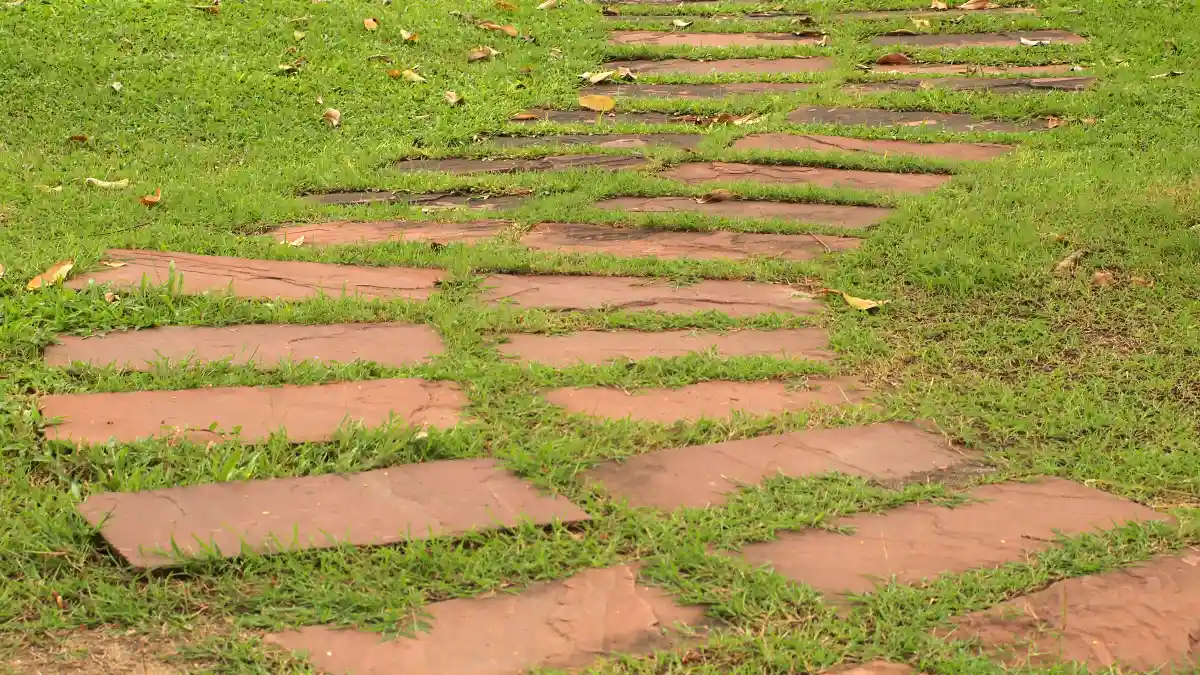
Flagstone “Steppers” on Sand
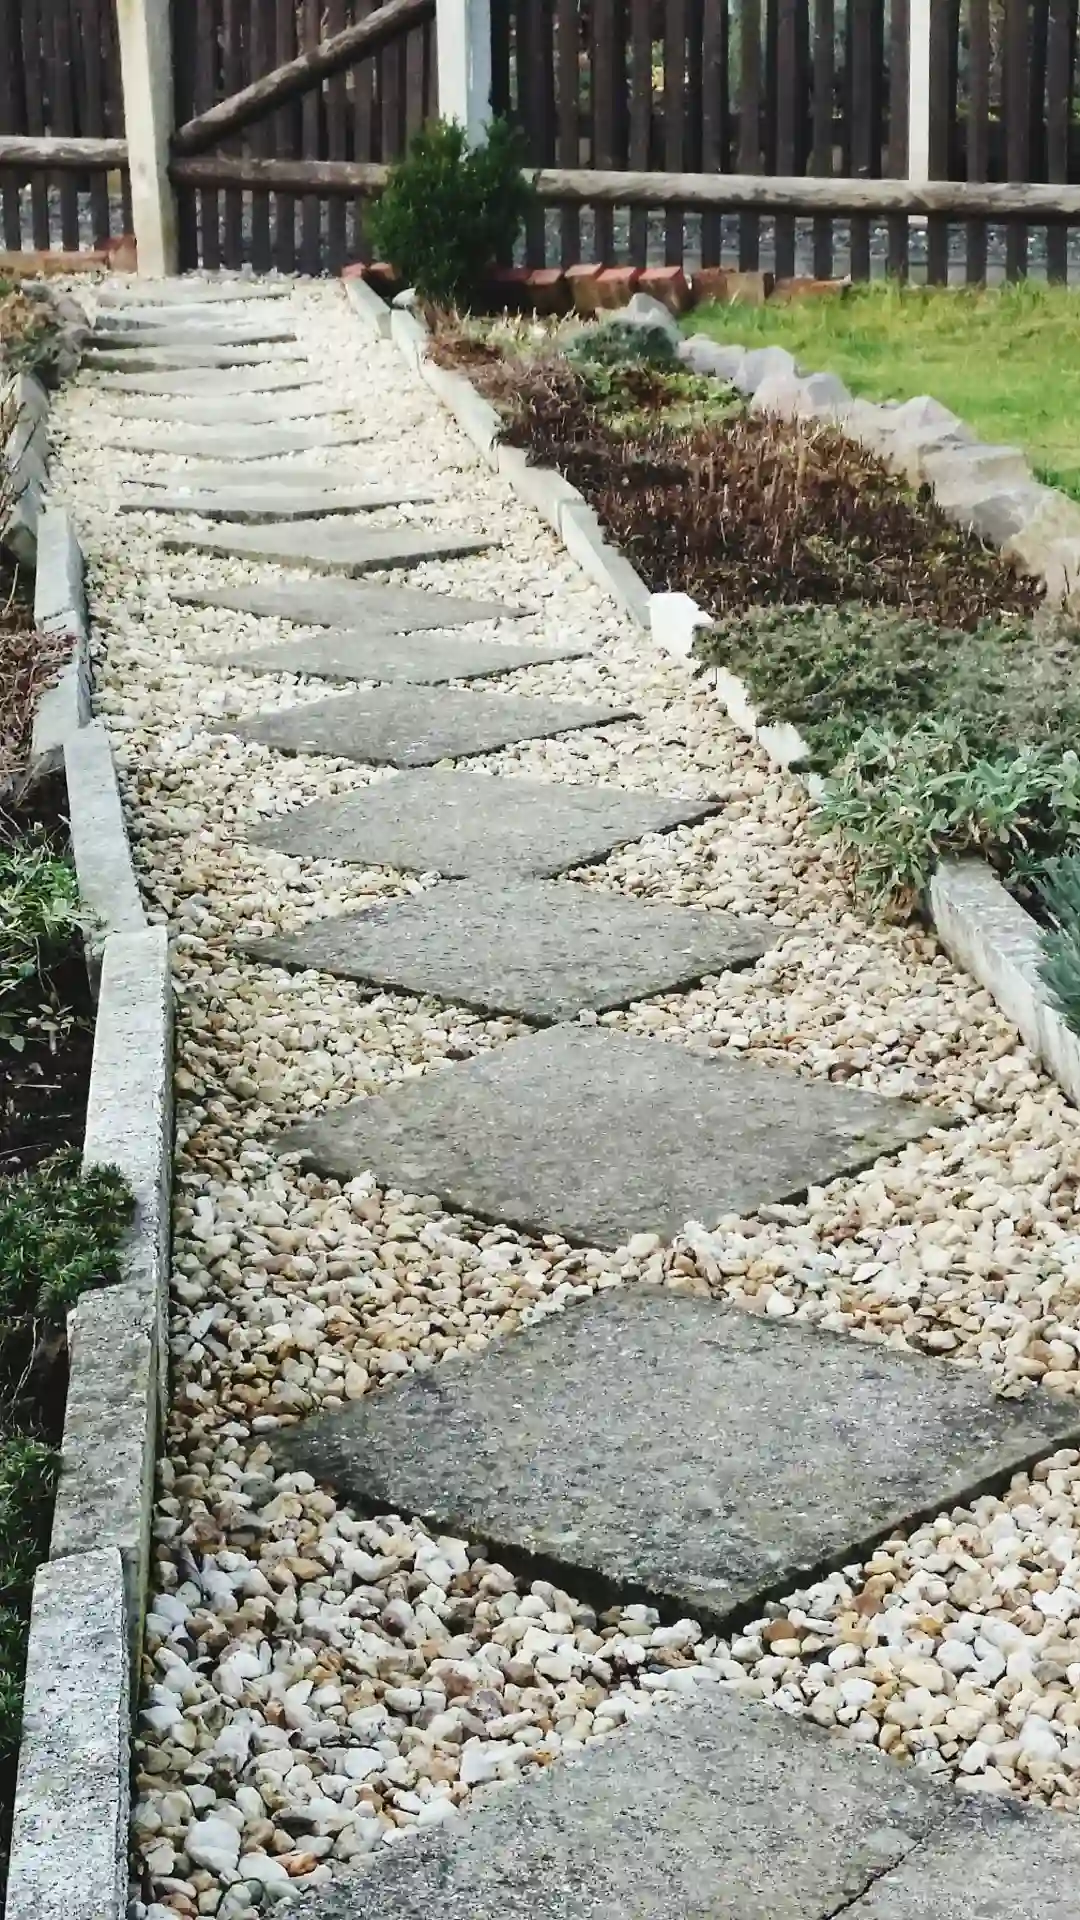
Why this works: A flagstone stepping path gives you the stone look at a fraction of full-coverage cost. Instead of paving everything, place widely spaced flat stones where your feet naturally land. Bed each stone on ½–1 in. of sand (or stone dust) over a compacted base and tap until it doesn’t wobble. This keeps water moving and avoids trip edges while saving a huge percentage of material.
For budgeting context, HomeGuide estimates installed stone walkway costs at $16–$35 per sq ft; by using steppers, you dramatically shrink the square footage you need to buy and install—big savings with the same visual impact. Finish by sweeping fines into gaps, or plant low groundcovers between stones for a softer look.
Pro tip: Use thicker pieces (≥1½ in.) on bare soil and test with a full stride before you commit to spacing.
Pallet-Wood Boardwalk
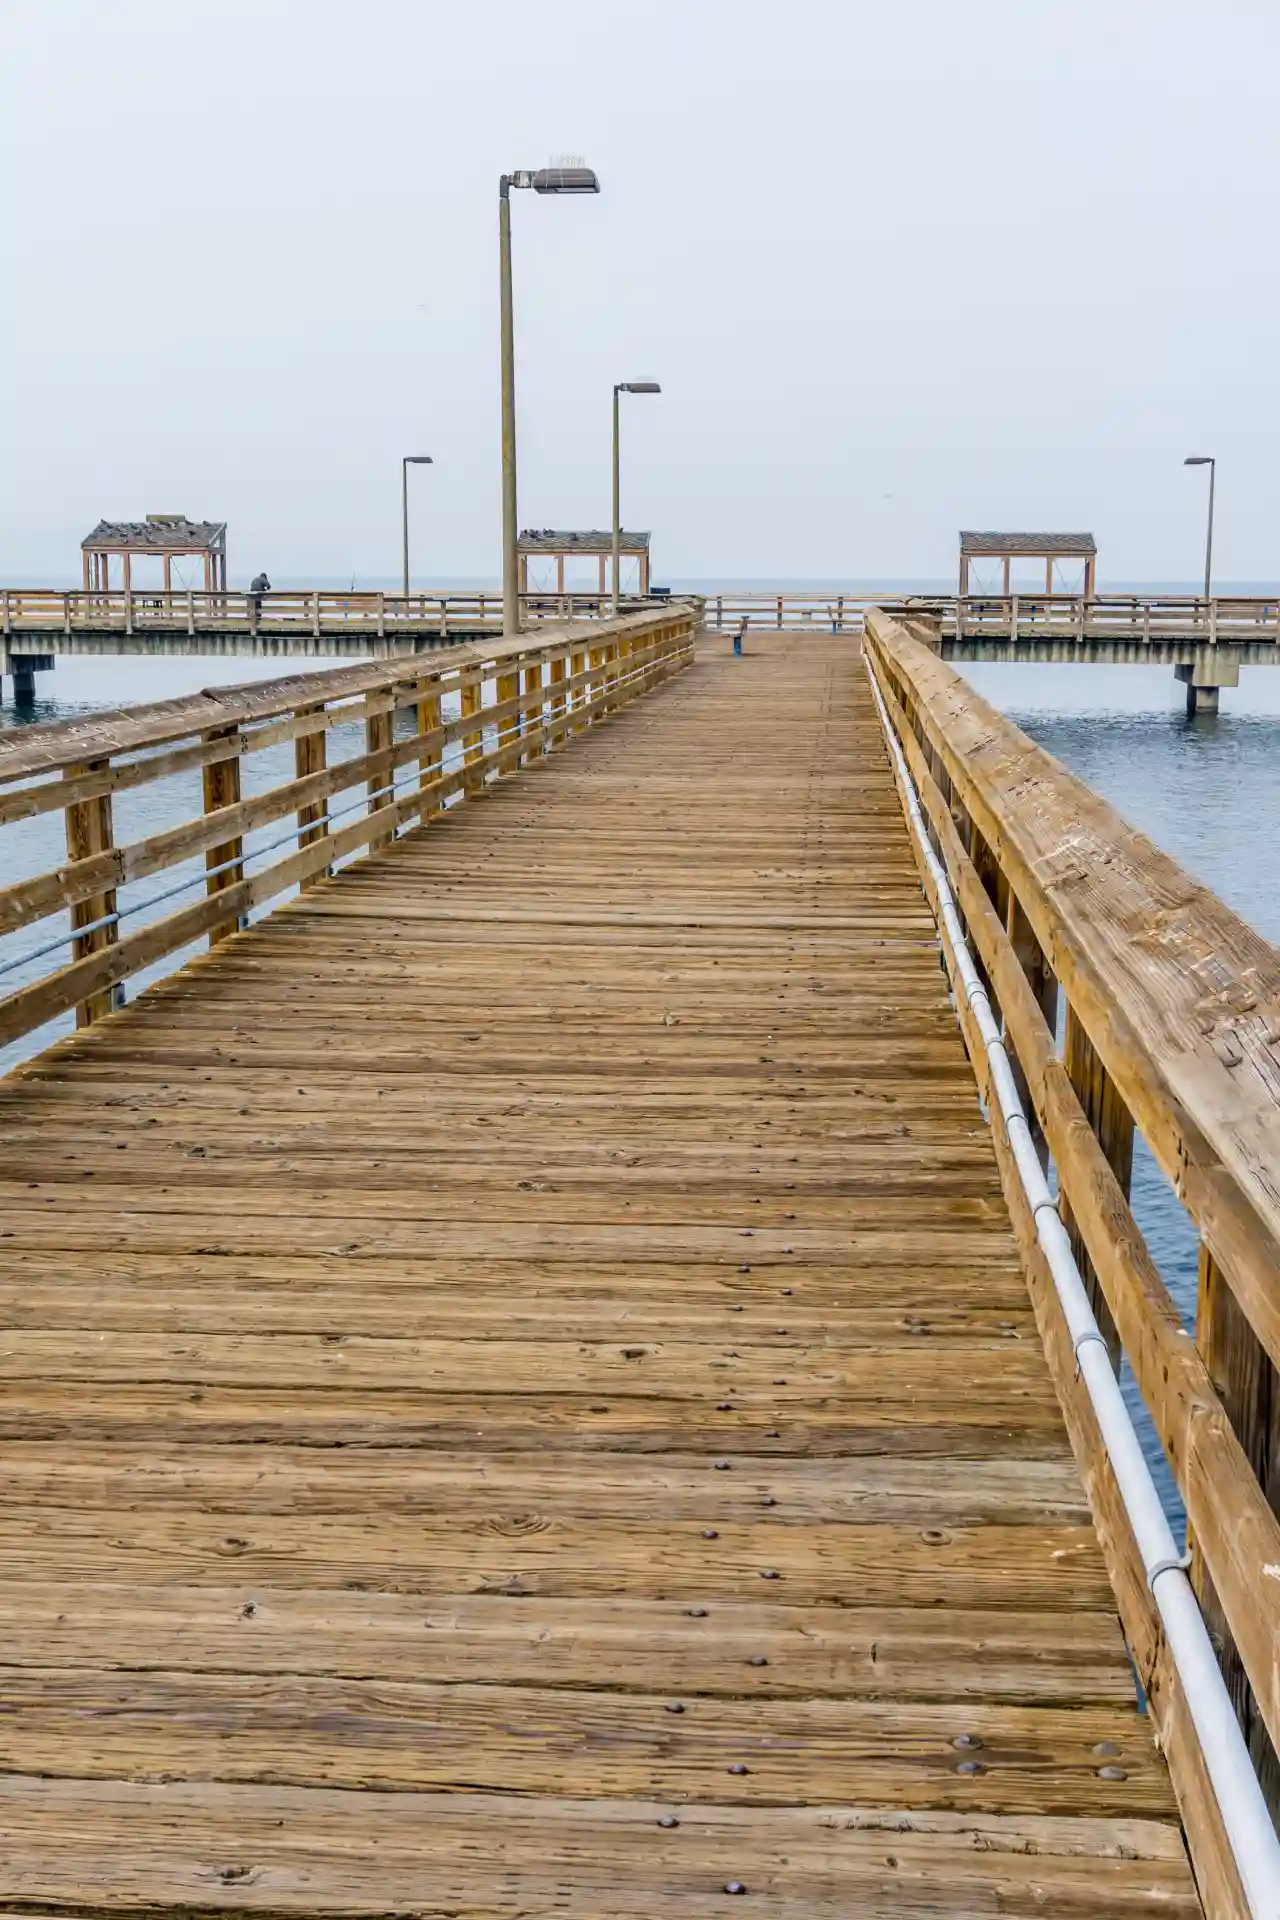
Why this works: For a quick DIY wood walkway across damp spots, repurpose heat-treated (“HT”) pallets and rot-resistant deck boards. Rest the boards on simple sleepers (treated 2x or composite) so wood doesn’t touch soil. Only use pallets stamped with the IPPC wheat-stalk logo and the code HT; avoid MB (methyl bromide)-fumigated pallets.
Agencies like USDA APHIS explain that the IPPC mark shows treatment type (HT or MB), and industry guidance reiterates HT is the chemical-free option suitable for reuse projects. Expect seasonal maintenance (re-fasten loose boards, refresh finish, watch for rot), and consider this a short-span solution rather than a forever path.
Pro tip: Pre-drill and use exterior screws; leave ⅛ in. gaps between boards for drainage, and keep the whole assembly slightly crowned so water sheds off the centerline.
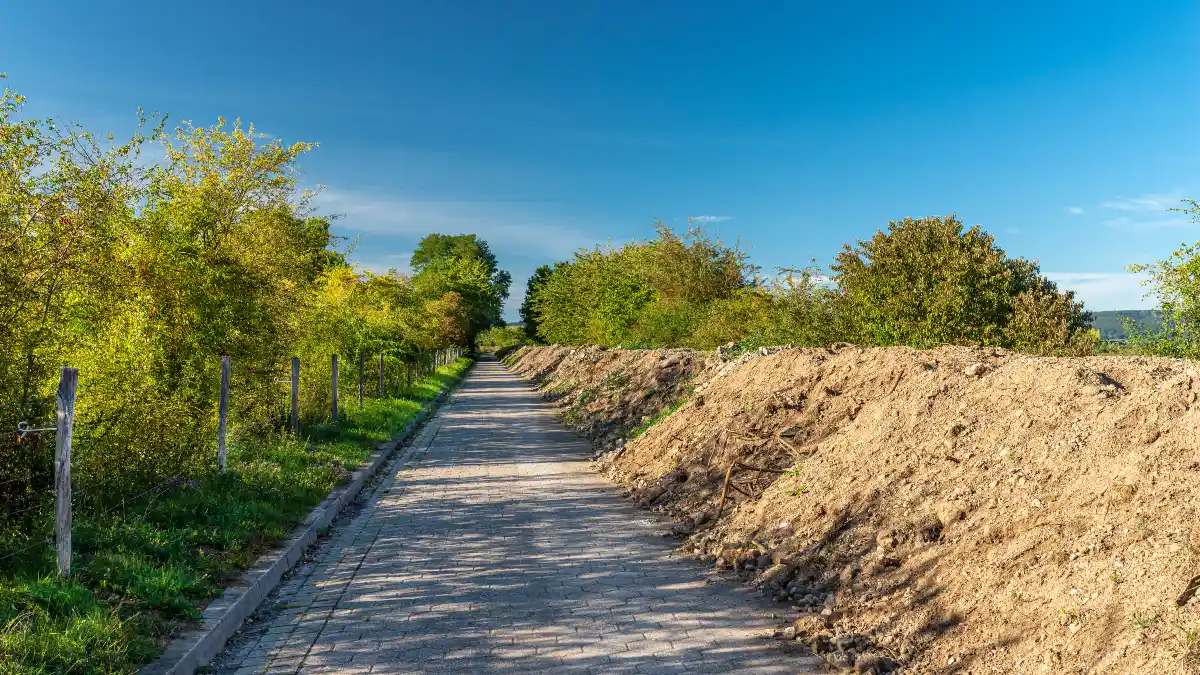
Brick-Edged Gravel Ribbon
Why this works: A narrow gravel ribbon (12–24 in. wide) with a single soldier-course brick edge gives you sharp definition for minimal cost—perfect between beds or along a fence. Build it like any good gravel path: compact subgrade, add 2–3 in. of crushed base, optional separator fabric on soft soils, then ~2 in. of ⅜-in. gravel.
Set the brick edge first so your line is dead-straight (or cleanly curved), then backfill gravel to the top of the bricks. This Old House’s classic method—base, compaction, fabric where needed—keeps maintenance low and the gravel from pumping into the soil.
For context, Angi notes main walkways are typically 36–48 in. wide; using a narrow ribbon intentionally makes this a neat side-yard cheap walkway border rather than a primary path. Pro tip: On slopes, switch to steel or aluminum edging behind the bricks on the downslope side to prevent creep.
Pea-Gravel + Groundcover Joints (soft, cottage-style)
Why this works: Big steppers set at your natural stride with creeping thyme or Irish moss stitching the joints softens lines while the surrounding field of 3/8-inch pea gravel drains fast and looks tidy.
Pea gravel of this size is standard for walkways and comfortable underfoot, but the small, smooth stones can shift—clean steel or aluminum edging keeps the profile crisp (Angi; Bower & Branch). While plants establish, give them full sun and sharp drainage (thyme) or sun to part-shade with evenly moist, well-drained soil (Irish moss).
Keep heavy foot traffic off the joints for 4–6 weeks, then prune runners to keep a low carpet. Spec: compact subgrade; 1 in. sand under steppers; pea gravel raked to ~2 in.; drip irrigation on a timer during the first season.
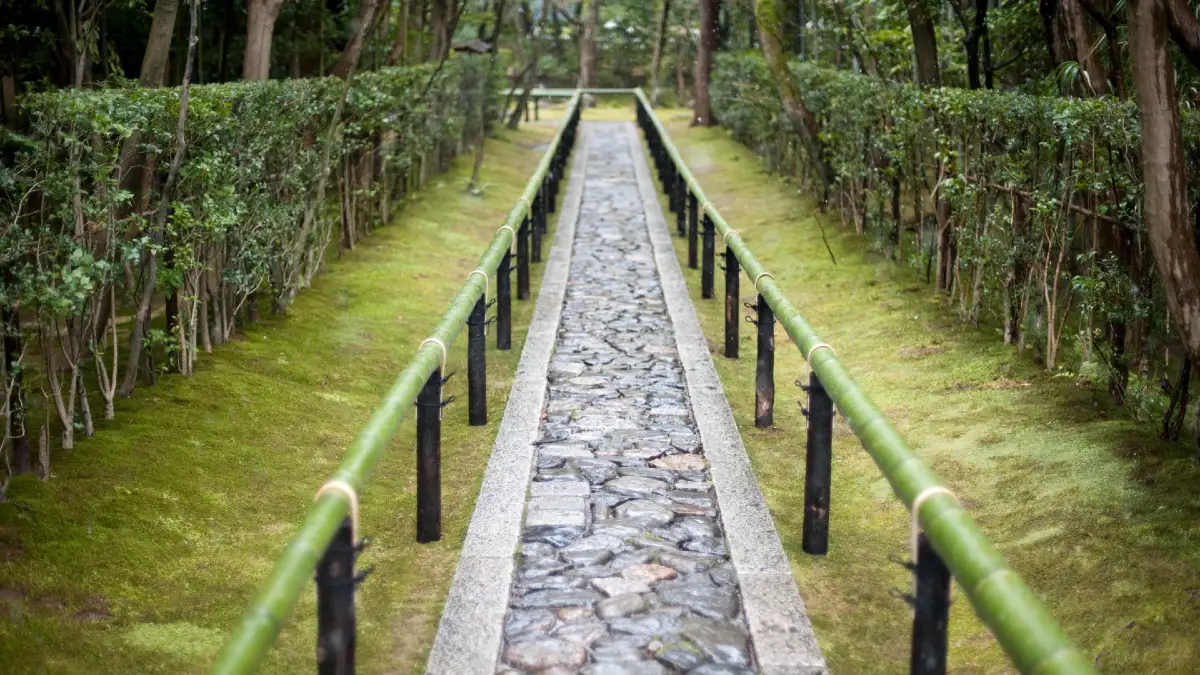
Limestone/“Fines” Path (firm, compactable)
Why this works: If you need firmer footing than pea gravel, use crushed stone fines (also sold as screenings). The angular particles knit together and compact into a tight surface when installed in thin lifts and moistened—ideal for wheelbarrow routes and everyday traffic (American Trails; supplier technical notes).
Build like this: excavate; compact subgrade; add 3–4 inches of crushed base; then 2–3 inches of limestone or granite fines in 1–1.5-inch layers, misting and tamping each lift. It’s budget-friendly but can track—plan edging and a stiff doormat at entries.
Note that most of a pro’s price is site prep: excavation and base commonly run $2–$5 per sq ft each, so solid DIY compaction is where you save (Nix Landscaping; This Old House base guidance).
Large Concrete Paver “Steppers”
Why this works: Buy 16×16-inch concrete pavers (widely stocked at big-box stores) and place them at a comfortable 20–24-inch stride spacing so you’re paying for only the “footfalls,” not a whole patio. Bed each paver on ~1 inch of leveled sand over compacted subgrade; press until there’s no wobble.
Fill gaps with mulch or 3/8-inch gravel for drainage and easy upkeep. Garden design editors at Gardenista highlight how pavers set the tone and pair well with filler stones or groundcovers, while This Old House’s how-tos reinforce the simple base-and-bedding method and the value of edging to keep everything aligned.
Finish with a clean steel edge and a quick hose test; if a stone rocks, lift, add sand, and reset.
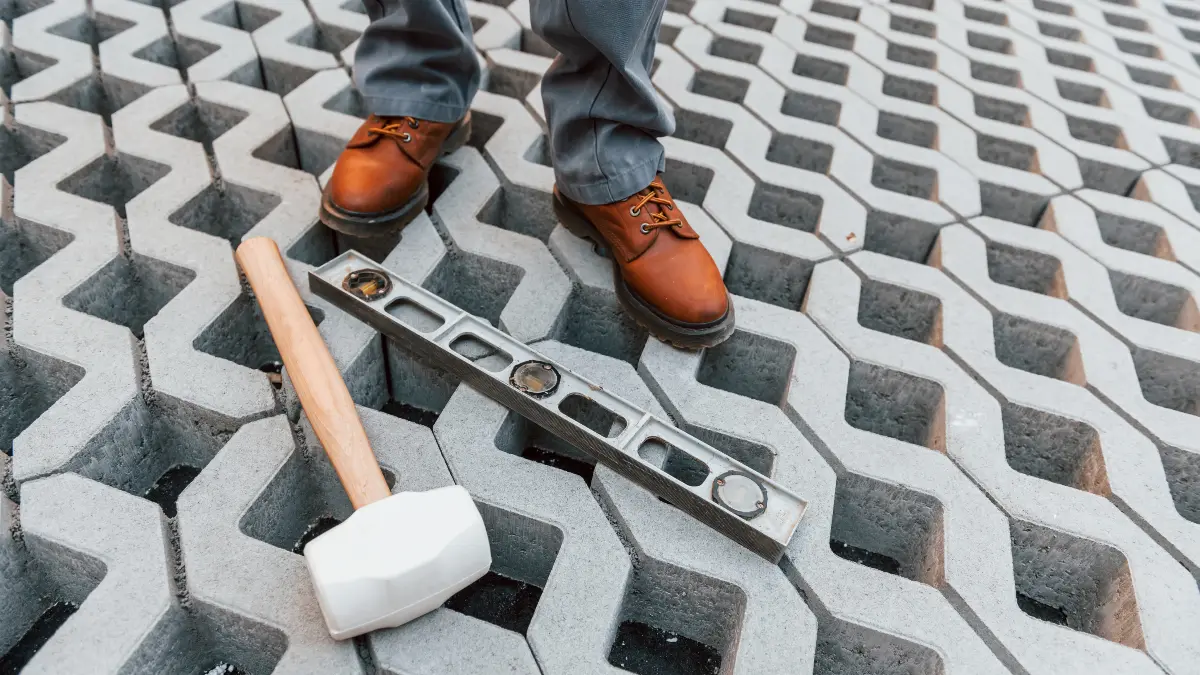
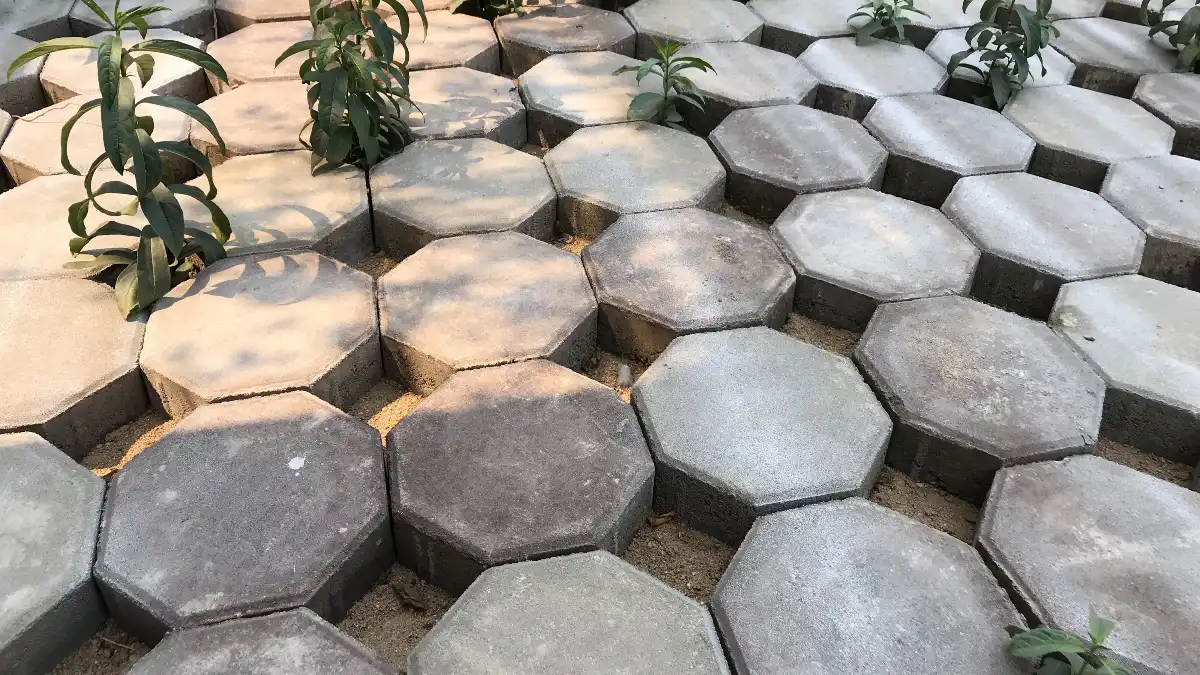
Plastic “Grass” Paver Tiles

Why this works: Grass pavers are interlocking plastic grids you fill with soil/seed (or gravel) to make a surface that’s load-bearing yet permeable—great for overflow parking, mower-friendly side paths, or a hidden utility run. The U.S. EPA lists plastic grid pavers among permeable pavement options that reduce runoff and can filter pollutants.
Installation is straightforward: grade and compact the base, snap panels together, infill with topsoil, seed or sod, and mow like normal once rooted; manufacturers (e.g., NDS Tufftrack, TRUEGRID) emphasize base compaction for stability and healthy turf.
Use edging where the grid meets planting beds to prevent creep. In wet climates, choose turf species tolerant of foot traffic and intermittent drying.
Conclusion
With the right material and a few simple specs, building a path that’s cheap now and cheap to own later is straightforward. Aim for a 36–48 in. walking width—This Old House calls 3–4 feet standard—set comfortable 18–24 in. stride spacing for steppers, and keep surface layers in the 2–4 in. range (gravel, DG, mulch, shells) over a compacted base.
Add crisp edging and, where it helps, a separator fabric to limit mixing and weeds—both are core durability tips from This Old House. For choices and cost sense, Angi’s 2024–2025 guides confirm pea-gravel price ranges and the value of proper base prep.
And for material ideas that hold up—gravel, DG, shells, chips, steppers, urbanite, rubber—Gardenista’s editors profile proven loose toppings and layouts that resist ruts. Pick one idea, price it with a calculator, and start this weekend.
