
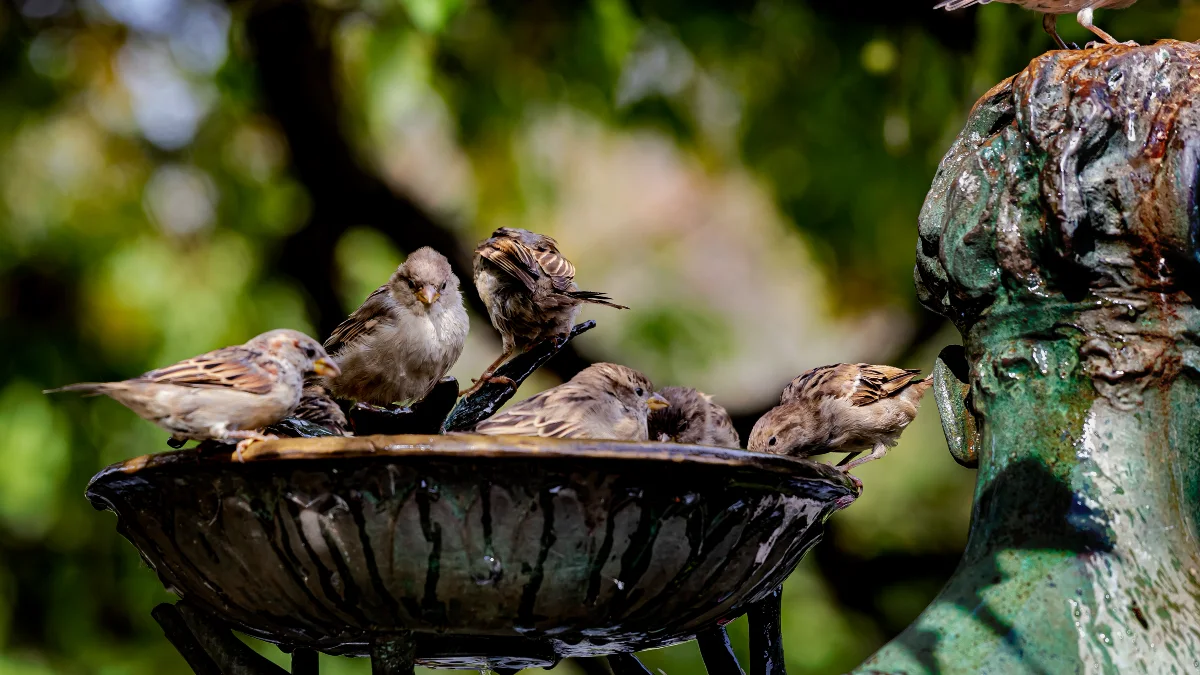
Who says a charming bird bath needs to cost a fortune? If you’ve ever browsed outdoor decor and quickly stepped back at the price tag—or closer at how large and heavy store-bought baths can be—you’re not alone. Plus, many DIY tutorials assume you already own chisels, saws, or specialty materials.
That’s where this guide comes in. You’ll discover 12 easy, stylish bird bath designs—all made with materials from the Dollar Store—perfect for 2025 budgets and backyard trends.
From glow-in-the-dark solar designs to minimalist shallow trays, each idea is a budget bird bath DIY solution that’s beginner-friendly and feather-friend approved.
From shimmering budget finds to charming stacked planters, these DIY bird bath projects prove that beautiful backyard features don’t need fancy equipment or deep pockets. Ready to transform your outdoor space with simple, affordable creativity? Let’s start building.
1. Solar-Light Basin Bath (Dollar Tree)
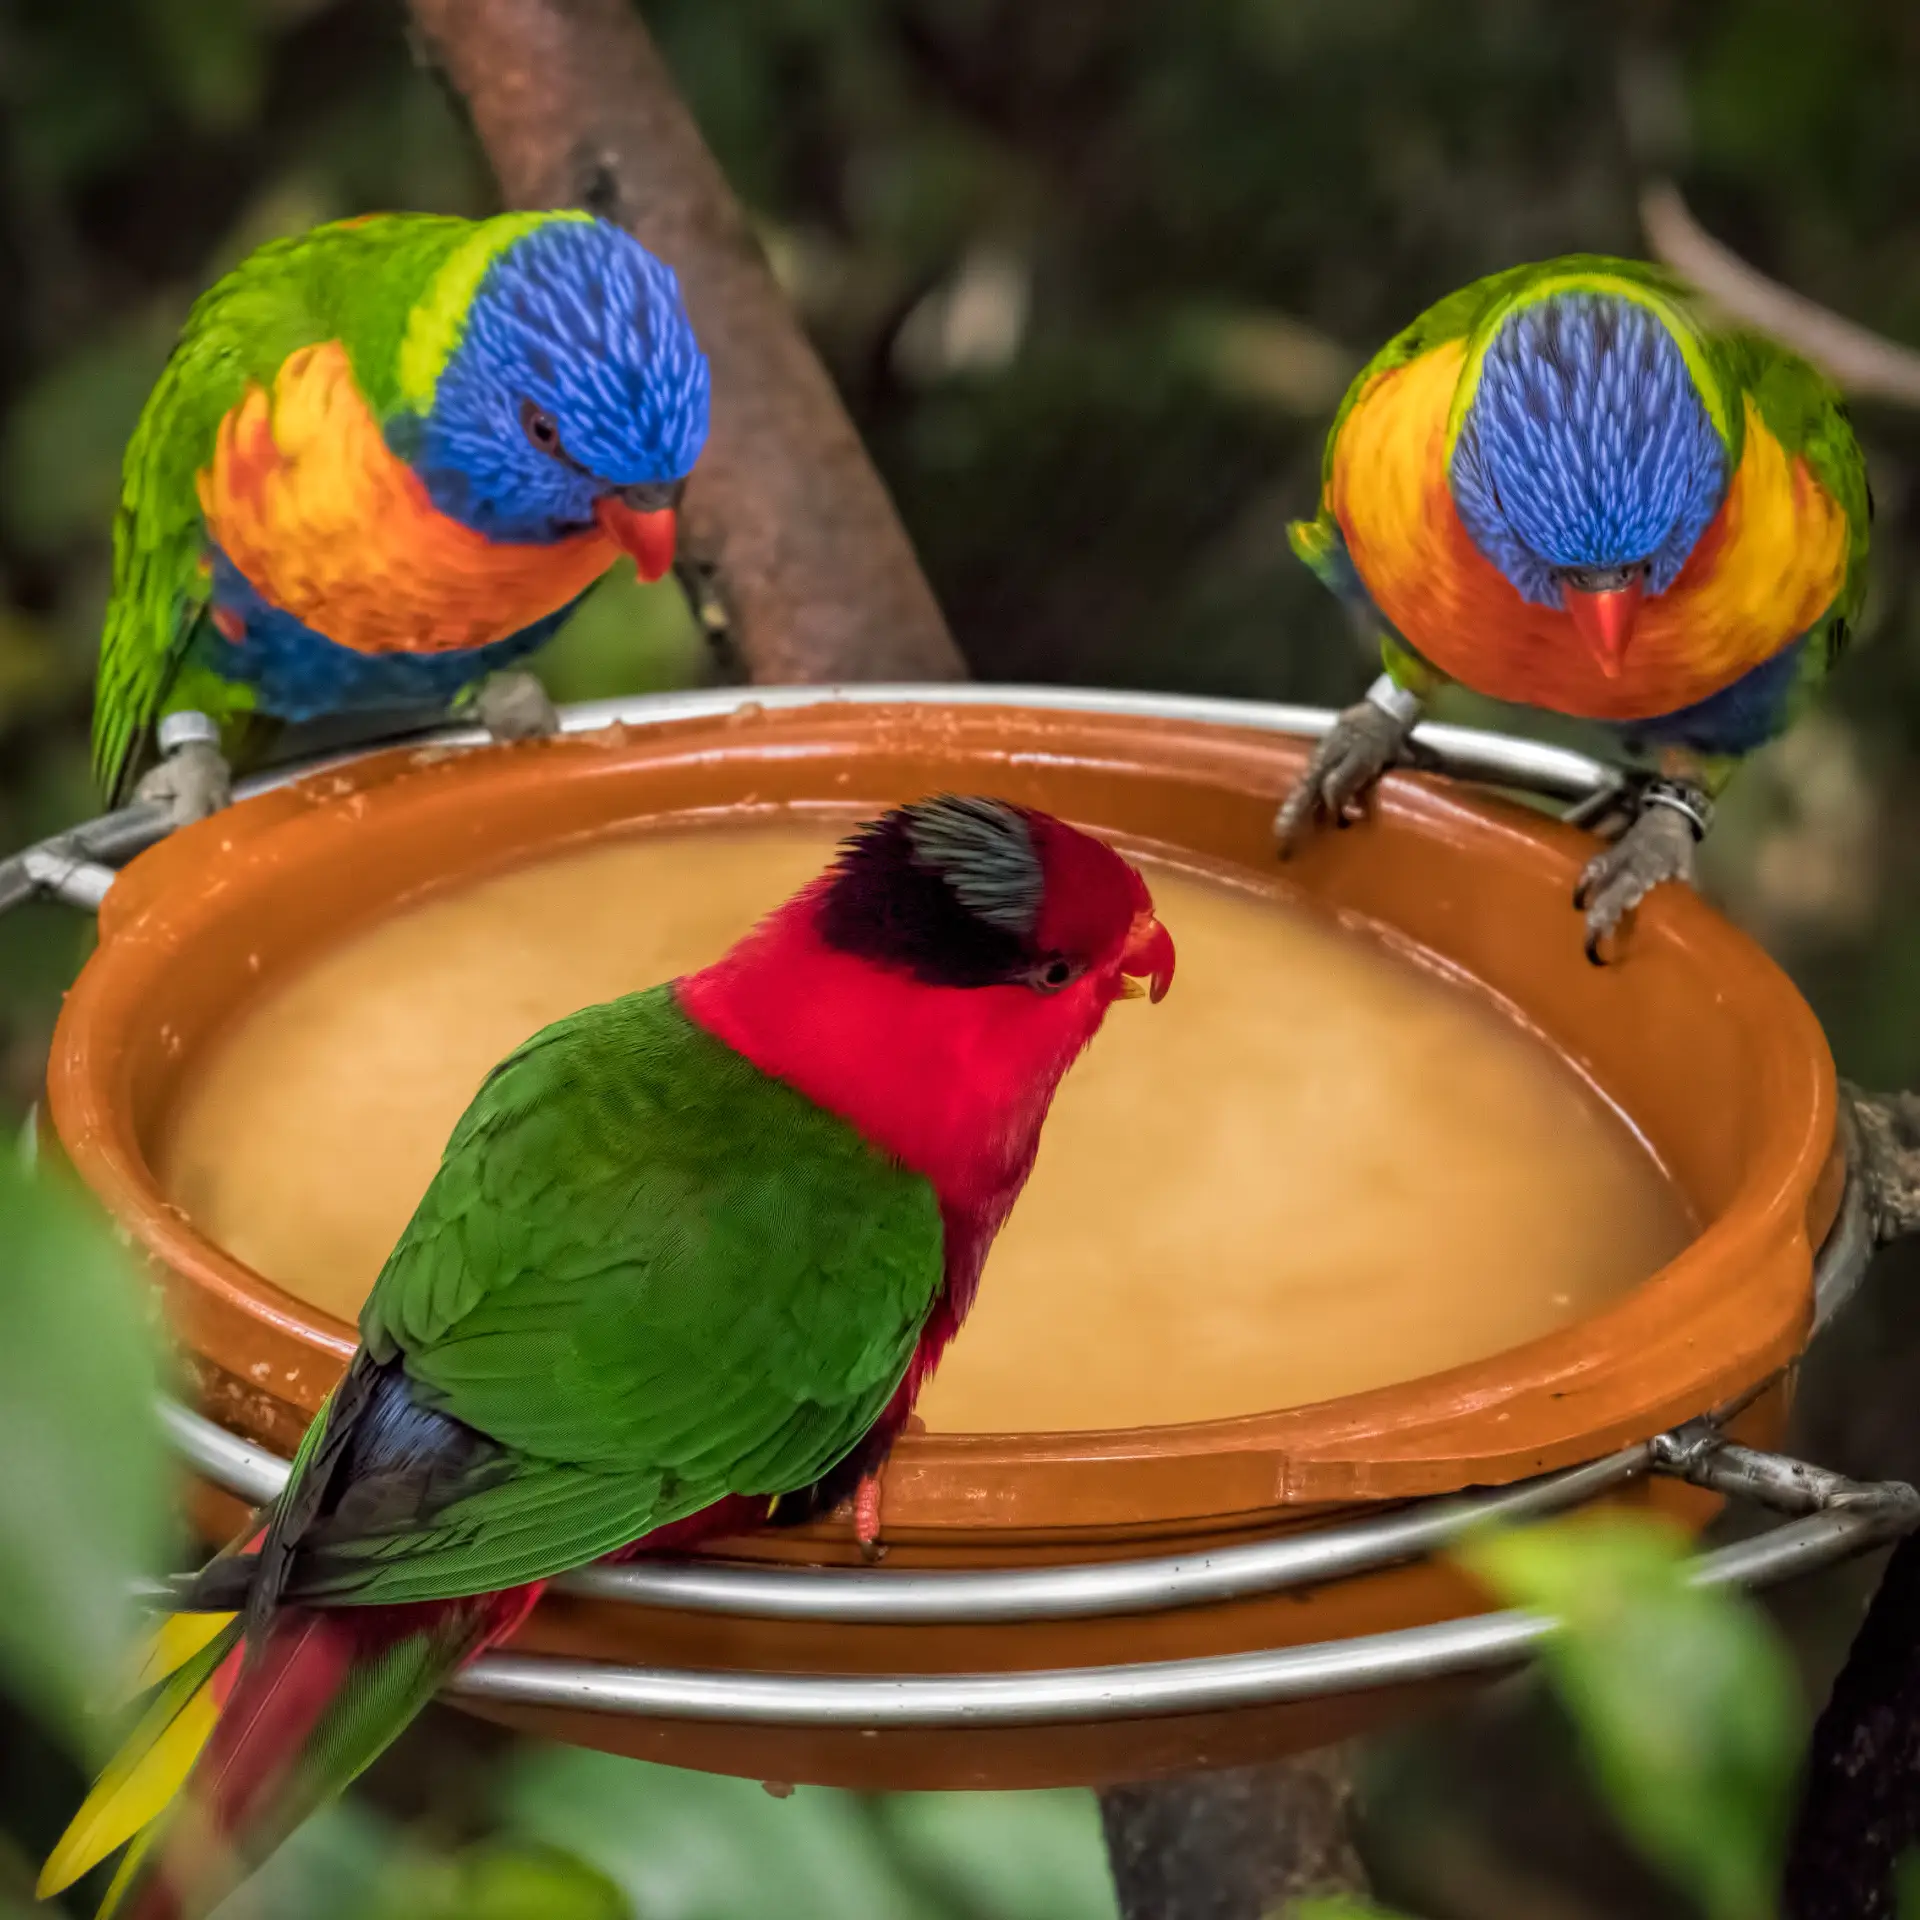
Solar Bowl Bird Bath — Pro Tips & Specs
Evidence-backed guidance to boost performance, safety, and bird appeal for your “solar stake + shallow bowl” setup.
Quick Specs (Ideal Targets)
Wide surface helps birds land and wade.
Shallow, gently sloped is safest.
Easy viewing; reduces ground predator risk.
No tools; simple adhesive set-up.
Placement & Safety (Bird-First)
- Partial shade: keeps water cooler and slows algae & evaporation.
- Clear sightlines: place ~6–10 ft from dense shrubs (safer take-off if startled).
- Near perches: a branch or stake nearby lets birds scout before bathing.
- Window safety: avoid direct alignment with large panes to reduce collision risk.
- Stable base: level ground; check wobble after adhesive cures.
Care Schedule That Birds Benefit From
| Task | When | Why it matters |
|---|---|---|
| Refill with fresh water | Every 1–2 days (daily in heat) | Fresh, cool water draws more species and discourages mosquitoes. |
| Quick rinse / wipe | Mid-week | Removes film and droppings; keeps the surface grippy for safe footing. |
| Deep clean (9:1 water:vinegar) | Weekly in summer | Controls algae; rinse thoroughly before refilling. |
| Rotate position | Monthly | Fine-tune shade & visibility as plants leaf out. |
Attributions: Cornell Lab of Ornithology • RSPB • National Wildlife Federation • Audubon (guidance summarized; no external links shown).
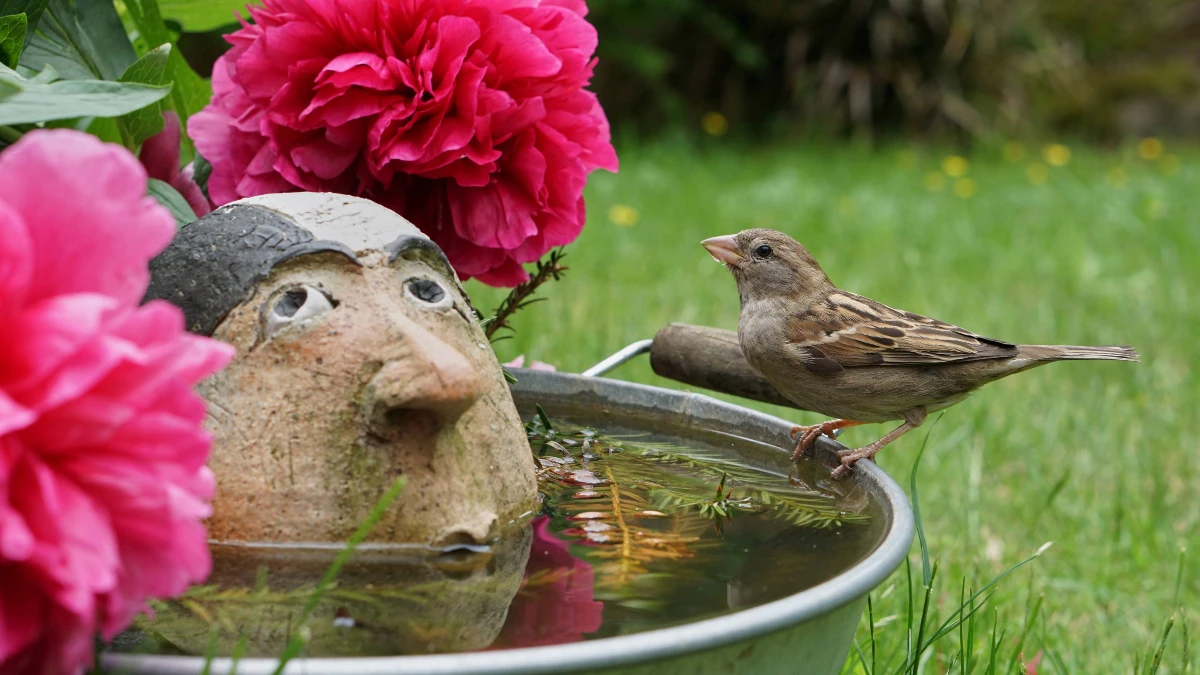
A plastic serving bowl glued to a solar cylinder stake (both $1 each at Dollar Tree) creates an illuminated pedestal—a soft glow that’s attractive to birds and delightful for evening enjoyment. According to Outdoor Guide’s July 2025 tutorial, this beginner-friendly method requires zero tools and minimal effort.
Materials:
- A wide, shallow plastic bowl (≤ 2 in deep)
- Solar stake light with plastic top
- Clear exterior adhesive
- Glass marbles or pebbles for traction
Steps:
- Attach the solar light stake to the bottom center of the bowl using adhesive.
- Fill the basin with marbles to create varied depths and perching points.
- Add water so it reaches about 2 in deep—ideal for most backyard birds, as confirmed by wildlife design experts.
- Charge the solar light in sunlight, then place the bird bath in a shaded area—this conserves water and keeps the light glowing.
Expert insight: Birds favor water just a few inches deep—shallow, sloping basins make splashing safe and easy—while shade placement reduces evaporation, per Cornell Lab’s garden advice.
2. Stacked Bowl & Planter Bird Bath

As per And Then Home’s DIY Dollar Store Bird Bath guide, this classic setup uses a plastic bowl securely glued to an inverted planter or tin base.
Materials:
- Shallow plastic bowl (choose ≤ 2 in deep)
- Inverted planter or tin base
- Hot glue or exterior adhesive
Steps:
- Select a wide, shallow bowl—birds prefer ≤ 2 in water depth, which feels safer and mirrors natural puddles.
- Glue the bowl to the top of your base—allow proper cure time for stability.
- Once secure, fill with clean water and place in semi-shade.
Why shallow matters: The Wikipedia-backed avian design consensus confirms most birds only scene-dip, avoiding deep water—perches (marbles or pebbles) are optional but helpful.
3. Trinket-Decorated Bowl & Vase Bath
Crafts like this elevate simple materials into works of art.Start with a shallow bowl decorated with stones, shells, or rope (using hot glue or E6000), mounted onto a vase to serve as a charming and elevated bird bath—perfect for evening ambiance if you tuck in a small solar light.
Materials:
- Shallow plastic bowl
- Vase or narrow planter as pedestal
- Decorative elements (stones, shells, rope)
- Waterproof adhesive (hot glue or E6000)
- Optional: small solar light for night glow
Steps:
- Glue decorations around the bowl rim for texture and personality.
- Affix the bowl to your vase base—use adhesive tested for outdoor conditions.
- Place a solar puck light inside before adding water, or place beside for gentle illumination.
Tip: Insulating materials like rope can moderate water temperature—a subtle feature that helps maintain cool water on warm days, inspired by visual examples from DIY Joy and garden community shares.
4. Glass Globes & Rope Tiered Bath
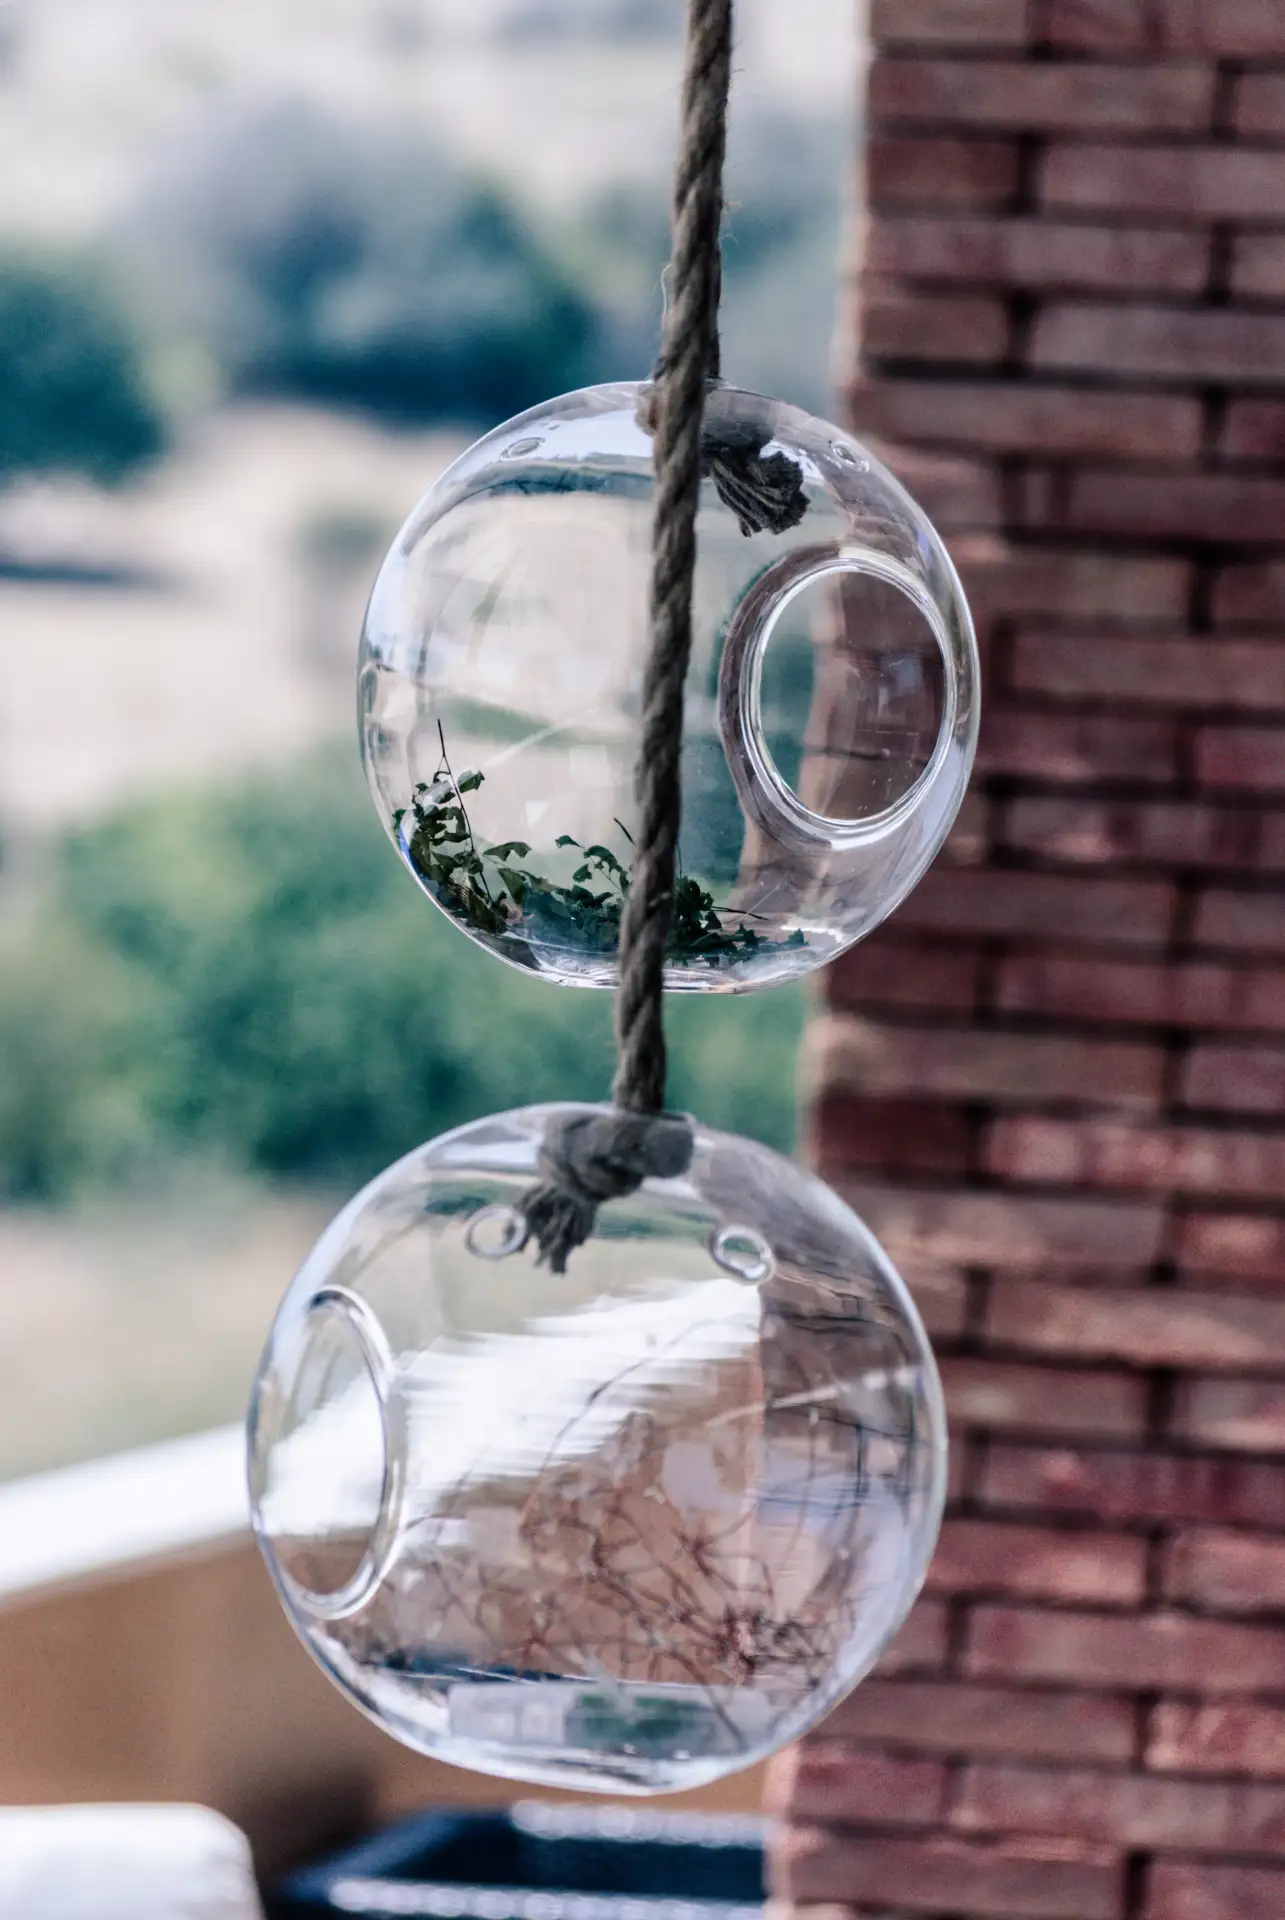
Dollar Tree materials are transformed into a centerpiece with this design: layer glass globes, gemstones, garden dishes, and nautical rope for a whimsical, tiered bath that’s both easy to build and visually stunning.
Materials:
- Three glass globes or oversized marbles
- Nautical rope
- Decorative gemstones or glass pebbles
- Two garden dishes (a large plate and a small plate)
Steps:
- Stack the garden dishes to create a stable tiered base—larger dish bottom, smaller dish on top.
- Wrap the rope around the edge of each dish for a secure decorative finish.
- Place the glass globes and gemstones around the dishes—arrange them in a spiral or concentric design.
- Fill the top tier with water, keeping depth shallow (~2 inches)—ideal for safe bird bathing.
Expert insight: The layer of rope absorbs heat and keeps the bowl cooler, while the reflective surfaces of globes attract curious birds. As detailed in bird habitat design principles, a shallow, gradually deepening bowl encourages safe splashing while reducing predator risk.
5. Hanging Wire Basket Bath
Inspired by hanging planter designs, this bath floats in the air—lined with a waterproof liner and topped with a shallow bowl. It evokes a natural puddle suspended in the garden, capturing both elegance and functionality (popular on Pinterest and featured on AndThenHome).
Materials:
- Wire hanging basket
- Plastic or coconut fiber liner
- Plant saucer or shallow bowl
- Small pebbles or stones
Steps:
- Line the basket with a plastic or coconut fiber liner to hold water securely.
- Set a shallow saucer inside the liner, nestling it into place.
- Add pebbles for texture and shallower water zones.
- Fill with clean water (~2 in deep) and hang from a pergola beam or tree branch.
Why birds love it: This setup replicates the natural puddles birds frequent—safe shallow water with perches. Birdfy and other wildlife gardening experts affirm that these “floating” designs make birds comfortable.
6. Tree Stump Pedestal Bird Bath
Repurposing a leftover tree stump into a bird bath base is ecological and cost-free. As recommended by HGTV and gardening experts in mid-2025, this approach transforms yard waste into habitat with rustic charm.
Materials:
- A clean, solid tree stump (non-rotting)
- Optional: mortar or putty (for smoothing the basin)
- A large shallow bowl or mortar top
Steps:
- Confirm the stump is solid; avoid using rotted or unstable wood.
- Carve a shallow depression into the top (1 in deep at edges, 2 in at center is optimal)—per backyard wildlife standards.
- Smooth the carved area with mortar or putty; let it cure (24–48 hours).
- Secure a bowl on top if desired, or pour water directly into the finished basin.
- Add small stones for perching areas and better access.
Eco benefit: According to Better Homes & Gardens, this repurposing frees homeowners from expensive stump removal and provides wildlife with essential water access—all with a natural look that blends into garden landscapes.
7. Plant Saucer & Glazed Pot Bath
Flip a glazed pot (or large planter) and place a saucer or shallow tray on top—glue it for added stability. Southern Living highlights this as a top repurposing tip for old pots in 2025, and it’s repeatedly seen across Pinterest and Facebook DIY feeds for its instant, refined appeal.
Materials:
- Glazed pot or planter (invert it so the rim is on the ground)
- Matching saucer or shallow tray
- Waterproof exterior adhesive (e.g., E6000) for a secure bond
Steps:
- Position the inverted pot on a level surface in your garden.
- Place the saucer on top—check for even balance.
- Apply adhesive along the contact points and let fully cure (about 24 hours).
- Fill with fresh water (≤2 in depth) and add pebbles if desired for texture or perching.
Bonus benefits: The smooth finish of glazed ceramics resists algae better than porous materials. As per Southern Living’s 2025 insight, this combo is attractive, durable, and requires minimal cleaning.
8. Concrete Leaf Imprint Bath (Creative Stretch Option)
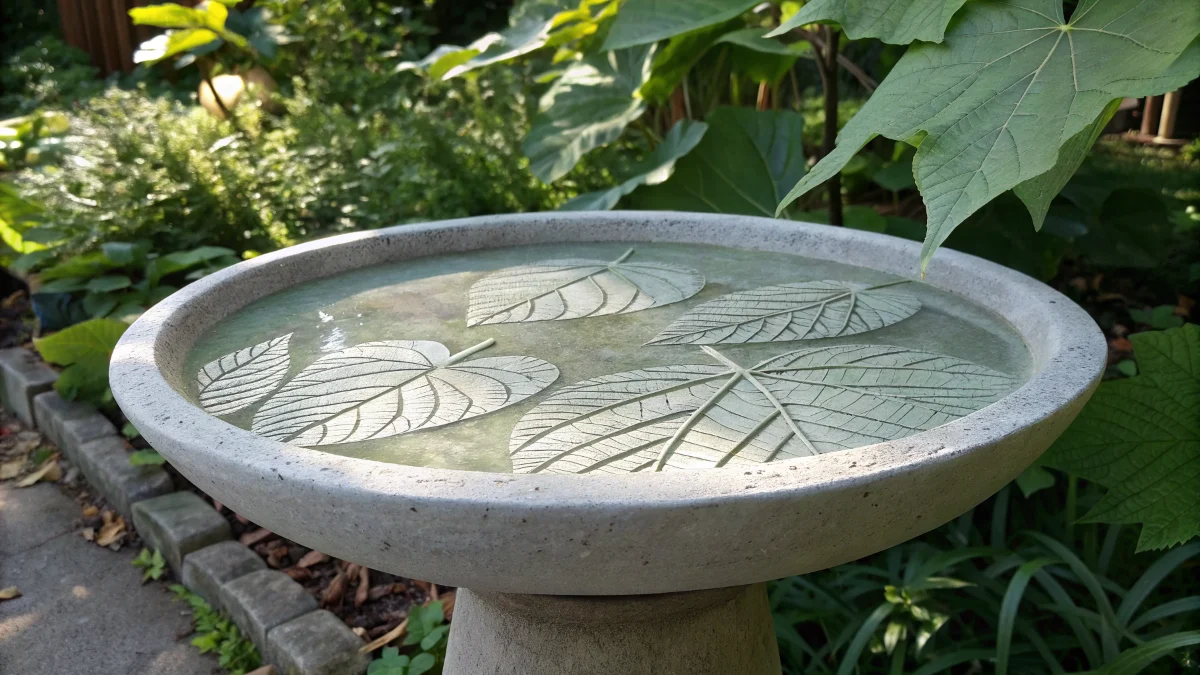
It’s not exactly Dollar Store-quality, but it’s an artistic, long-lasting alternative that’s durable and charming. Use local leaves as molds in concrete, creating natural veins and textures. Featured in The Spruce and Better Homes & Gardens as an inventive, permanent garden element.
Materials:
- Quick-setting concrete mix
- Large leaves (e.g., hosta or maple)
- Shallow container or mold
- Release spray (or light oil)
- Sealant to protect from weather
Steps:
- Spray the mold container with release agent to prevent sticking.
- Lay a leaf shiny side down in the mold.
- Pour mixed concrete over the leaf, pressing gently to capture details.
- Let it set, then carefully remove the leaf—it leaves a beautiful imprint.
- Seal the surface, then place in garden and fill with water (≤2 in).
Expert insight: This method builds texture and natural aesthetics while creating a long-term, low-maintenance feature—a step up in longevity and charm over store-bought versions.
9. Rain-Filled Shallow Tray Bath
Nature provides an ultra-simple solution: use a wide, shallow dish (≤10 cm deep), set it on bricks or a stable plinth, and let rain do the rest. This method offers rainwater refills and a low-maintenance set-up—shared by cost-savvy bloggers and The Sun’s gardening section as a top summer hack.
Materials:
- Wide, shallow tray or saucer
- A stack of bricks or small pavers to elevate
- Optional: pebbles for perching
Steps:
- Place bricks in a stable stack in your garden—ensure they’re level.
- Set the tray on top.
- Let it collect rainwater naturally; add pebbles if desired.
- Reposition as needed depending on rainfall patterns.
Why it works: Minimal effort, zero upfront cost (if you already have the tray/bricks), and naturally filtered by rain. The shallow design is ideal for bird safety and appeal.
10. Algae-Reducing Penny Hack
A well-known garden trick: placing a copper penny in the water helps reduce algae growth. Copper acts as a natural algicide by interrupting algae cell membranes. But there’s a catch: modern pennies are copper-plated zinc and can pose risks to birds if used carelessly.
Materials:
- Pre-1982 copper pennies (95% copper) that are cleaned and rust-free
- Optional: alternative copper disks if older pennies aren’t available
Steps:
- Verify your pennies are from before 1982—newer ones are mostly zinc.
- Clean with vinegar and salt—rinse well and dry.
- Place 1–2 pennies in the DIY bird bath (e.g., Dollar-Store bowl).
- Change water weekly and clean thoroughly—don’t rely on the penny alone.
Caveats: Experts caution over-reliance:
- Copper is effective short term but not a substitute for regular cleaning.
- Pennies made post-1982 contain zinc, potentially toxic to birds.
- Modern garden authorities advise pairing this hack with routine scrubbing and water changes.
11. Repurposed Art-Style Bath (Teapot, Vintage Plates)

Teapots are used in this whimsical DIY, vintage plates, and mismatched glassware to create a charming garden accent that also captures birds’ attention. Featured by The Spruce under creative and upcycling ideas, it’s an eco-friendly way to reuse beloved pieces while adding personality to your outdoor space.
Materials:
- Vintage teapot or decorative bowl
- Matching saucers or plates (varying sizes)
- Waterproof adhesive like E6000
- Optional: spray paint or primer to unify the look
Steps:
- Gather your pieces—look for teapots, cups, and plates that bring visual balance.
- Place a sturdy plate upside down as the base.
- Layer a teapot (opening facing upward) on the plate and secure with adhesive.
- Attach saucers or smaller plates atop—continue stacking until desired height reached.
- Seal edges with a bit of painter’s tape while glue sets.
- Once cured, fill the top vessel with water (≤ 2 in depth) and ensure stability.
Expert insight: Recycled dishware appeals to birds with unique textures and colors while reducing waste—like a Mad Hatter’s garden. The visual layers attract attention and blend art with wildlife needs.
12. Stacked Pots Topiary Bath

Living sculptures are created by transforming ordinary pots—stacking planters to create a topiary-style bird bath with seasonal flair. Southern Living highlights this as a fun, sustainable way to repurpose garden containers while adding functional art to your yard.
Materials:
- Multiple pots/planters in descending sizes
- Waterproof adhesive (optional for security)
- Seasonal decor (e.g., succulents, berries, small pumpkins)
- Shallow tray or saucer for the top
Steps:
- Start with the largest pot on the bottom for stability.
- Stack medium and smaller pots—glue optional if you want a permanent fixture.
- Place a shallow saucer or tray on top to serve as the bird bath basin.
- Add seasonal decor around the tiers—like herbs in spring, mini pumpkins in fall.
- Fill the tray with water (≤ 2 in depth) and position near feeding areas or bird-friendly plants.
Why it’s effective: This multifunctional structure serves as decor, planter, and bird bath. The height makes it easy for birds to spot from above, and Southern Living suggests it’s whimsical, cost-effective, and visually rewarding.
Conclusion
Creating a bird bath doesn’t have to drain your wallet—or require special tools. With just a few Dollar Store finds and a spark of creativity, you can build a welcoming oasis that not only beautifies your yard but also supports local bird populations. From solar-lit bowls to rustic stump pedestals, each design proves that function, charm, and affordability can go hand in hand.
Remember, the most successful bird baths share a few essentials: shallow water, safe placement, and regular cleaning. By keeping these fundamentals in mind, your DIY bird bath dollar store project will attract everything from sparrows to finches, all while giving you daily front-row seats to nature.
So pick your favorite budget bird bath DIY, gather a handful of supplies, and start crafting today. The reward isn’t just a stylish Dollar Tree bird bath—it’s the joy of hearing wings flutter and watching your garden come alive.
