
Your basil keeps wilting, your tomato seedlings are leggy, and that expensive fiddle leaf fig just dropped another leaf. The culprit? Your home’s dry air and inconsistent temperatures are working against your green thumb ambitions.
An indoor greenhouse changes everything. You’ll create a controlled microclimate where humidity stays perfect, warmth is consistent, and your plants actually thrive instead of just surviving. The best part? You don’t need a massive sunroom or a four-figure budget to make it happen.
From repurposed furniture transformed into lush growing stations to clever IKEA hacks that maximize vertical space, indoor greenhouses come in every size and style. You can nurture seedlings on a kitchen shelf, grow fresh herbs year-round in a corner cabinet, or dedicate an entire wall to tropical beauties.
1. Plastic-Bottle Cloches for Seedlings (ultra-budget)
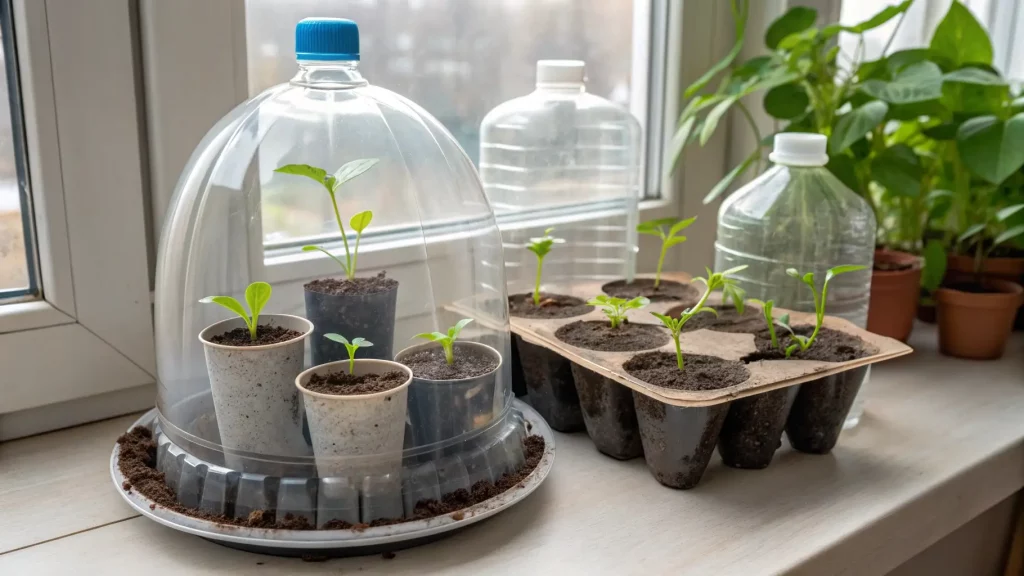
Grab a 1–2 liter soda bottle and cut off the bottom. Push it into your pot around your seedling. The bottle traps warm, humid air that helps seeds sprout faster. Remove the cap so your plant doesn’t cook on sunny days. Watch your seedling grow. Once the leaves start touching the sides, take the bottle off. Your plant needs more room and air now.
This trick works great on windowsills where the air is dry. You’re building a mini greenhouse for free. The plastic holds moisture so you water less often. Just don’t forget to vent it. A sealed bottle turns into an oven fast. Pull it off at night if it’s really hot, then put it back in the morning.
2. Takeout-Tray Prop Dome (“no-buy” germination)
Save those plastic takeout containers. Clean them with a 1:10 bleach solution to kill bacteria. Poke three or four drainage holes in the bottom with a knife. Fill with seed starting mix and plant your seeds. Stretch plastic wrap over the top, or use a clear deli container lid if you have one.
Label each container with the plant variety and date. You’ll forget otherwise. Put them in bright, indirect light. Once sprouts appear, remove the plastic cover right away. Sealed containers in direct sun turn into ovens and cook your seedlings. The trapped heat that helped germination will now hurt them.
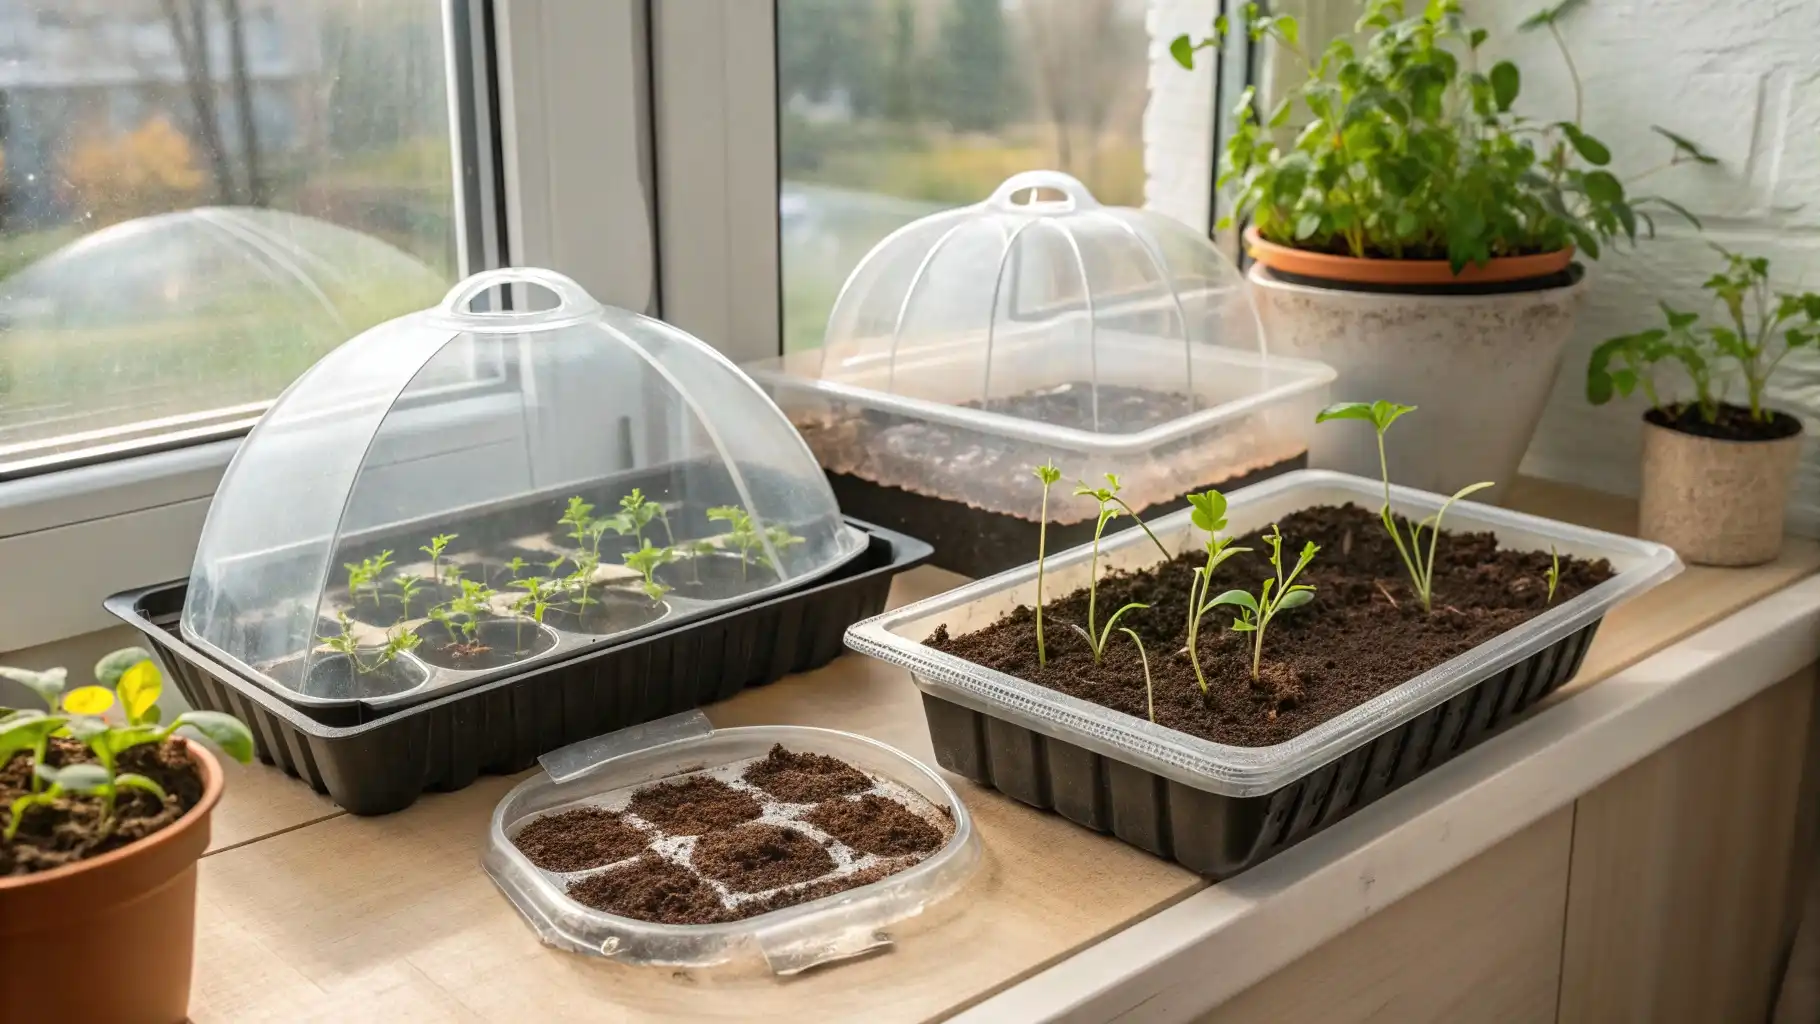
3. 1020 Tray + Clear Dome Starter Station
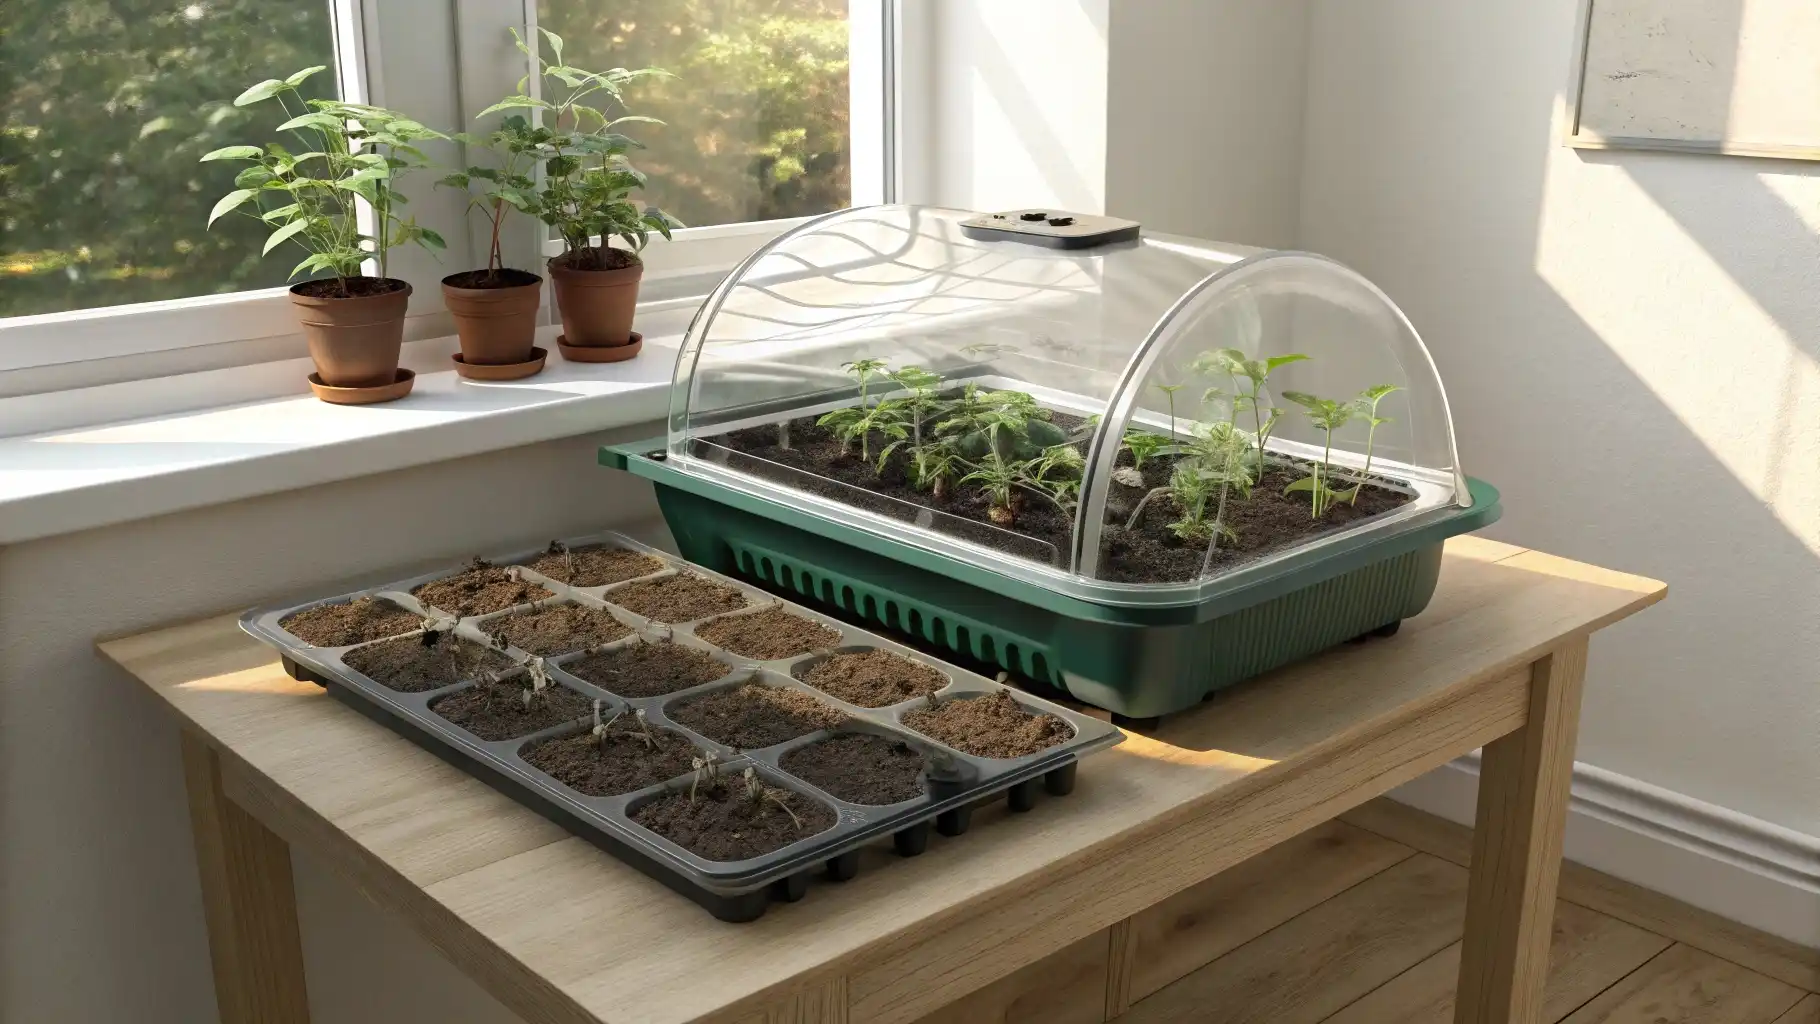
Buy a solid 1020 tray with no drainage holes. Add cell inserts on top and fill them with soil. Plant your seeds. Place a clear plastic dome over everything. The dome keeps moisture and heat inside so seeds germinate faster.
Bottom-water by pouring water into the solid tray below. The soil soaks it up from underneath. Use a heat mat only during germination, then unplug it. Seedlings don’t need extra heat once they sprout. Add a small clip fan after seeds emerge. Moving air prevents fungal diseases that kill baby plants.
This setup is what commercial growers use, scaled down for home. You can start hundreds of seedlings in one tray. The domes are reusable for years.
4. Shelf-Top Microgreen Rack (kitchen-friendly)
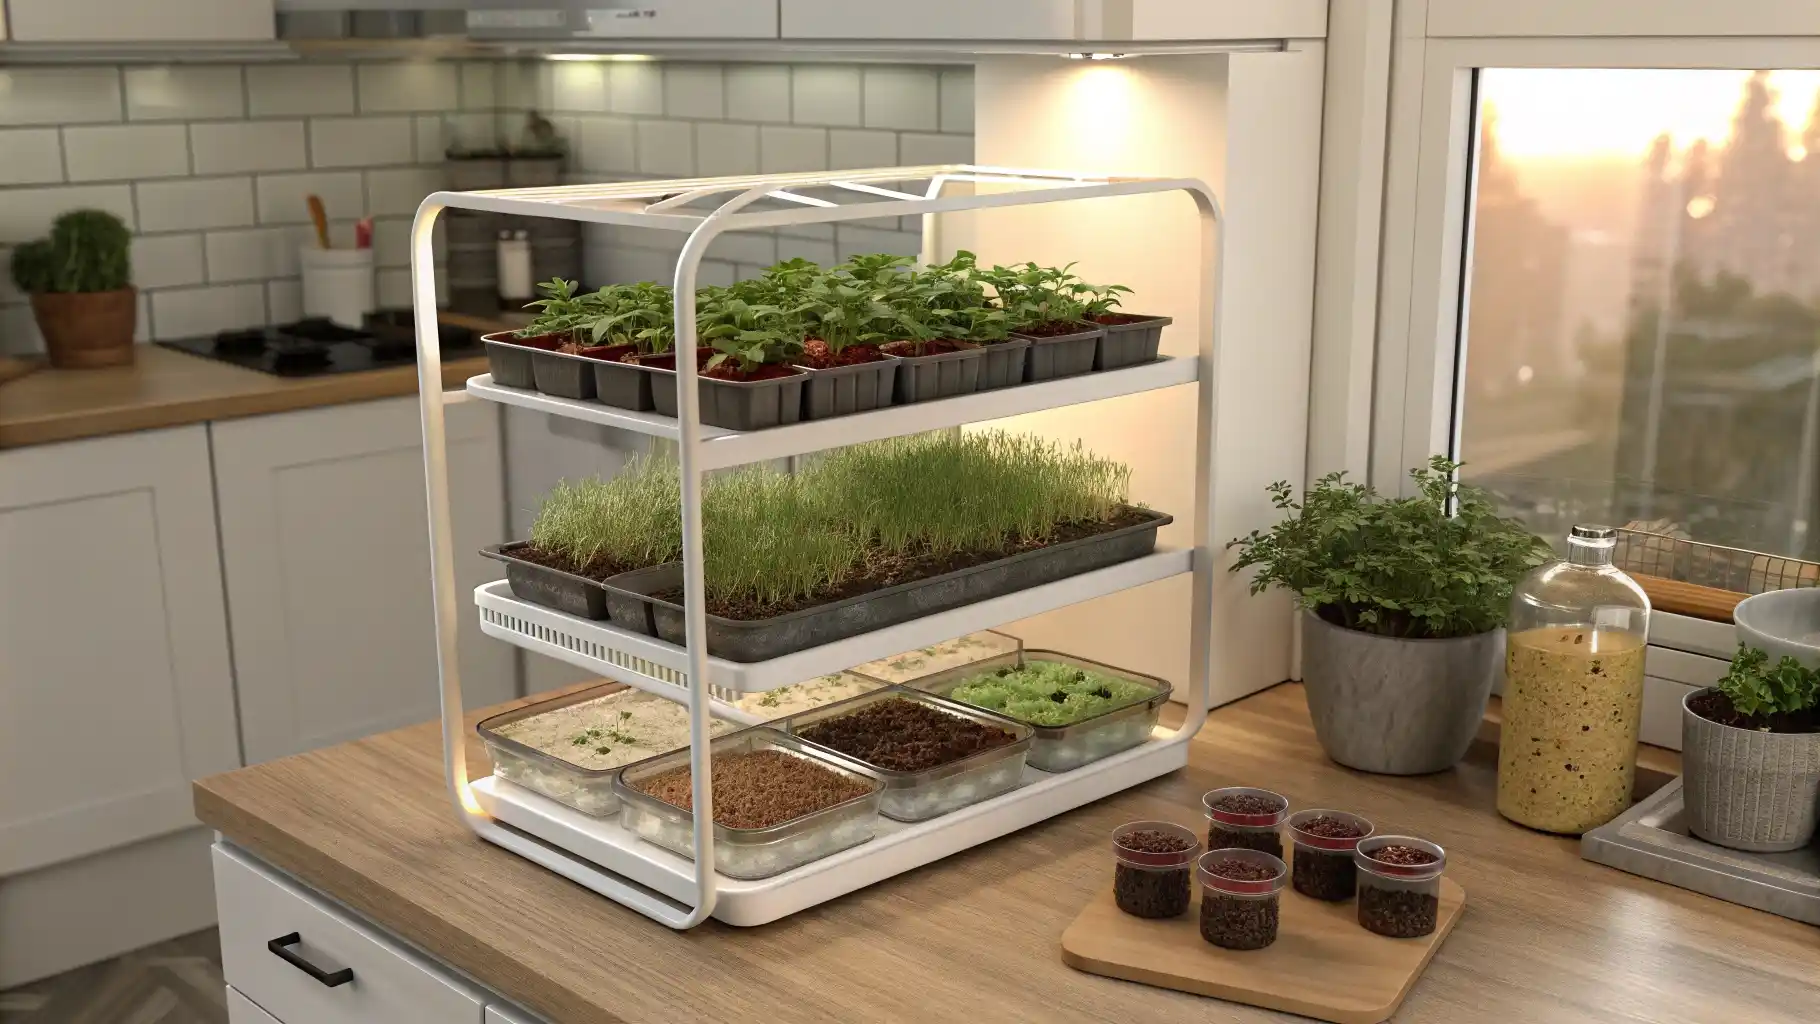
Set up two shelves in your kitchen with 1020 shallow trays. Fill trays with coco coir or grow mats, not regular potting soil. Sprinkle 10–15 grams of brassica seeds per tray. That’s about two tablespoons. Press them into the surface and mist with water.
Cover trays for 2–3 days until seeds sprout. Then give them light. Harvest in 10–14 days when the first true leaves appear. Cut with scissors just above the soil line. Rinse and eat them right away. One tray feeds two people for several salads.
This works in any kitchen with counter space. You don’t need a yard. Microgreens grow fast and don’t need much light compared to full-sized plant
5. LED Strip Bar Over Herbs (windowsill boost)
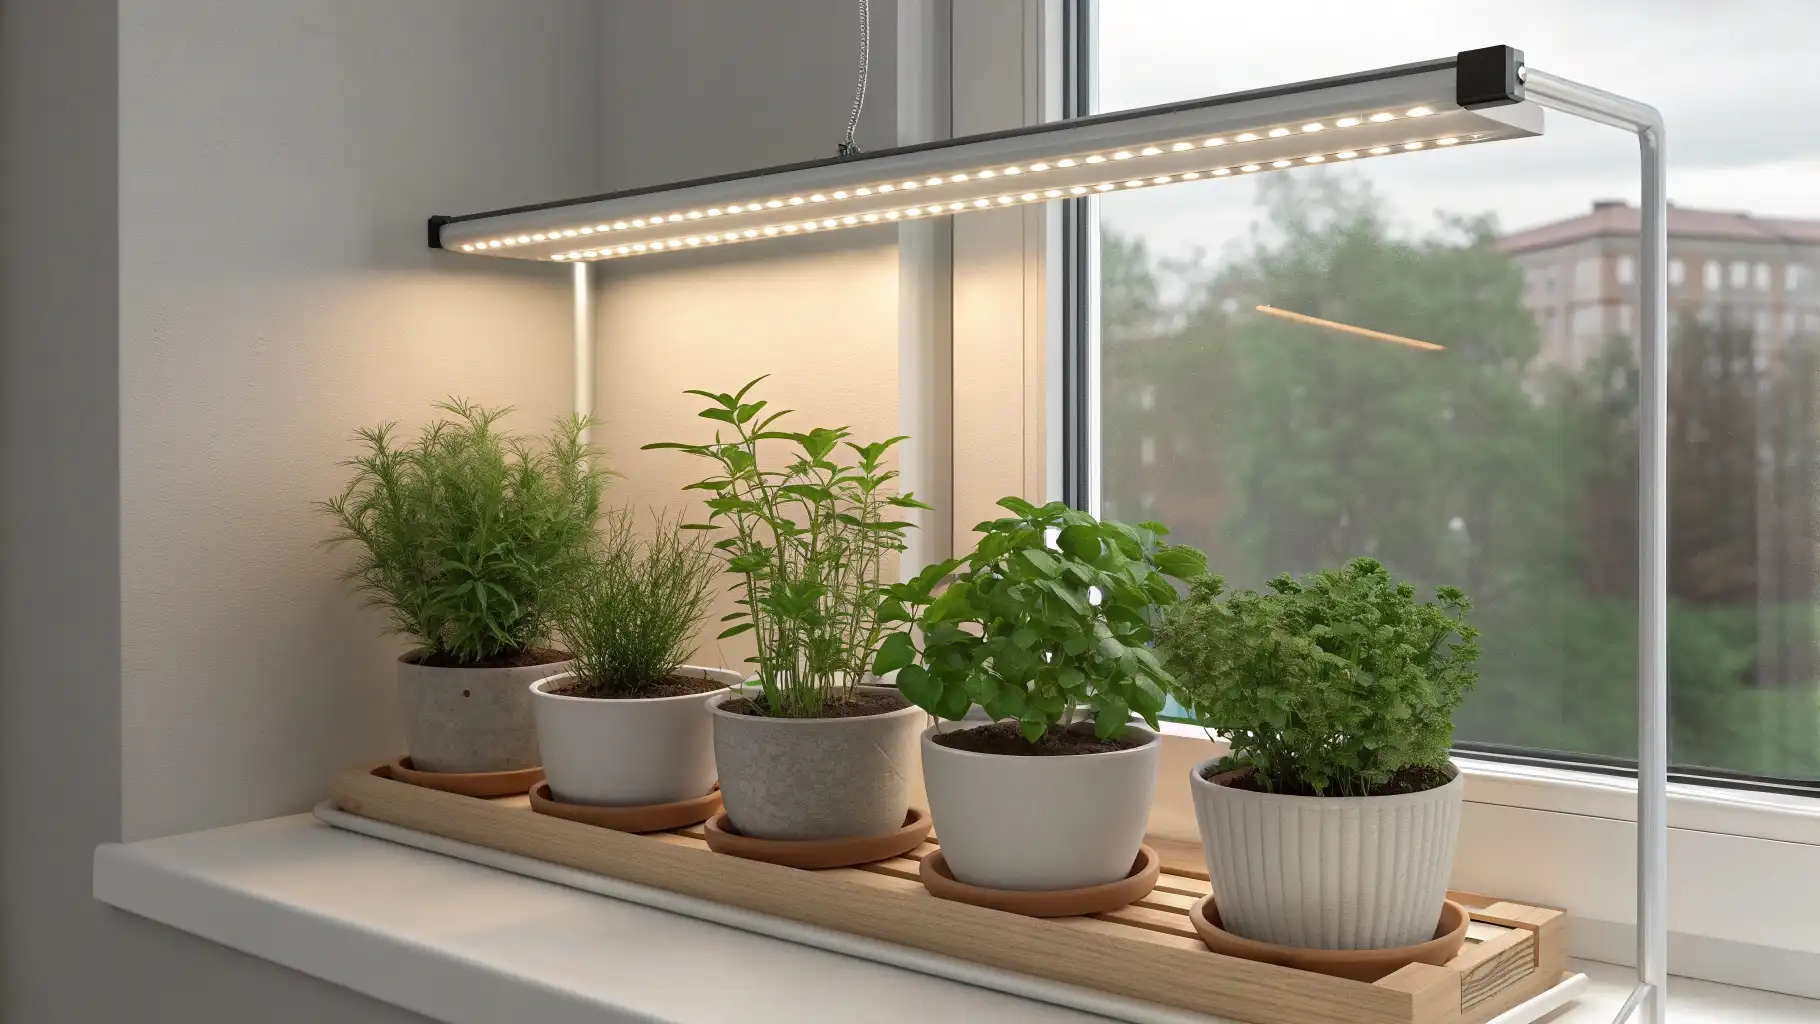
Mount LED light bars 6–12 inches above your herb pots. Use bulbs rated 4000–6500K for the right light color. Run them 12–16 hours per day with a timer. Your herbs will grow stronger and fuller than with window light alone.
If you can, track PPFD instead of lumens. PPFD measures the light plants actually use. Lumens measure what human eyes see, which doesn’t matter to plants. But don’t stress if your lights only list lumens. Most LED strips work fine for herbs.
Winter windowsills don’t give enough light. The sun is low and days are short. These bars fill the gap. Your basil won’t get leggy and weak anymore.
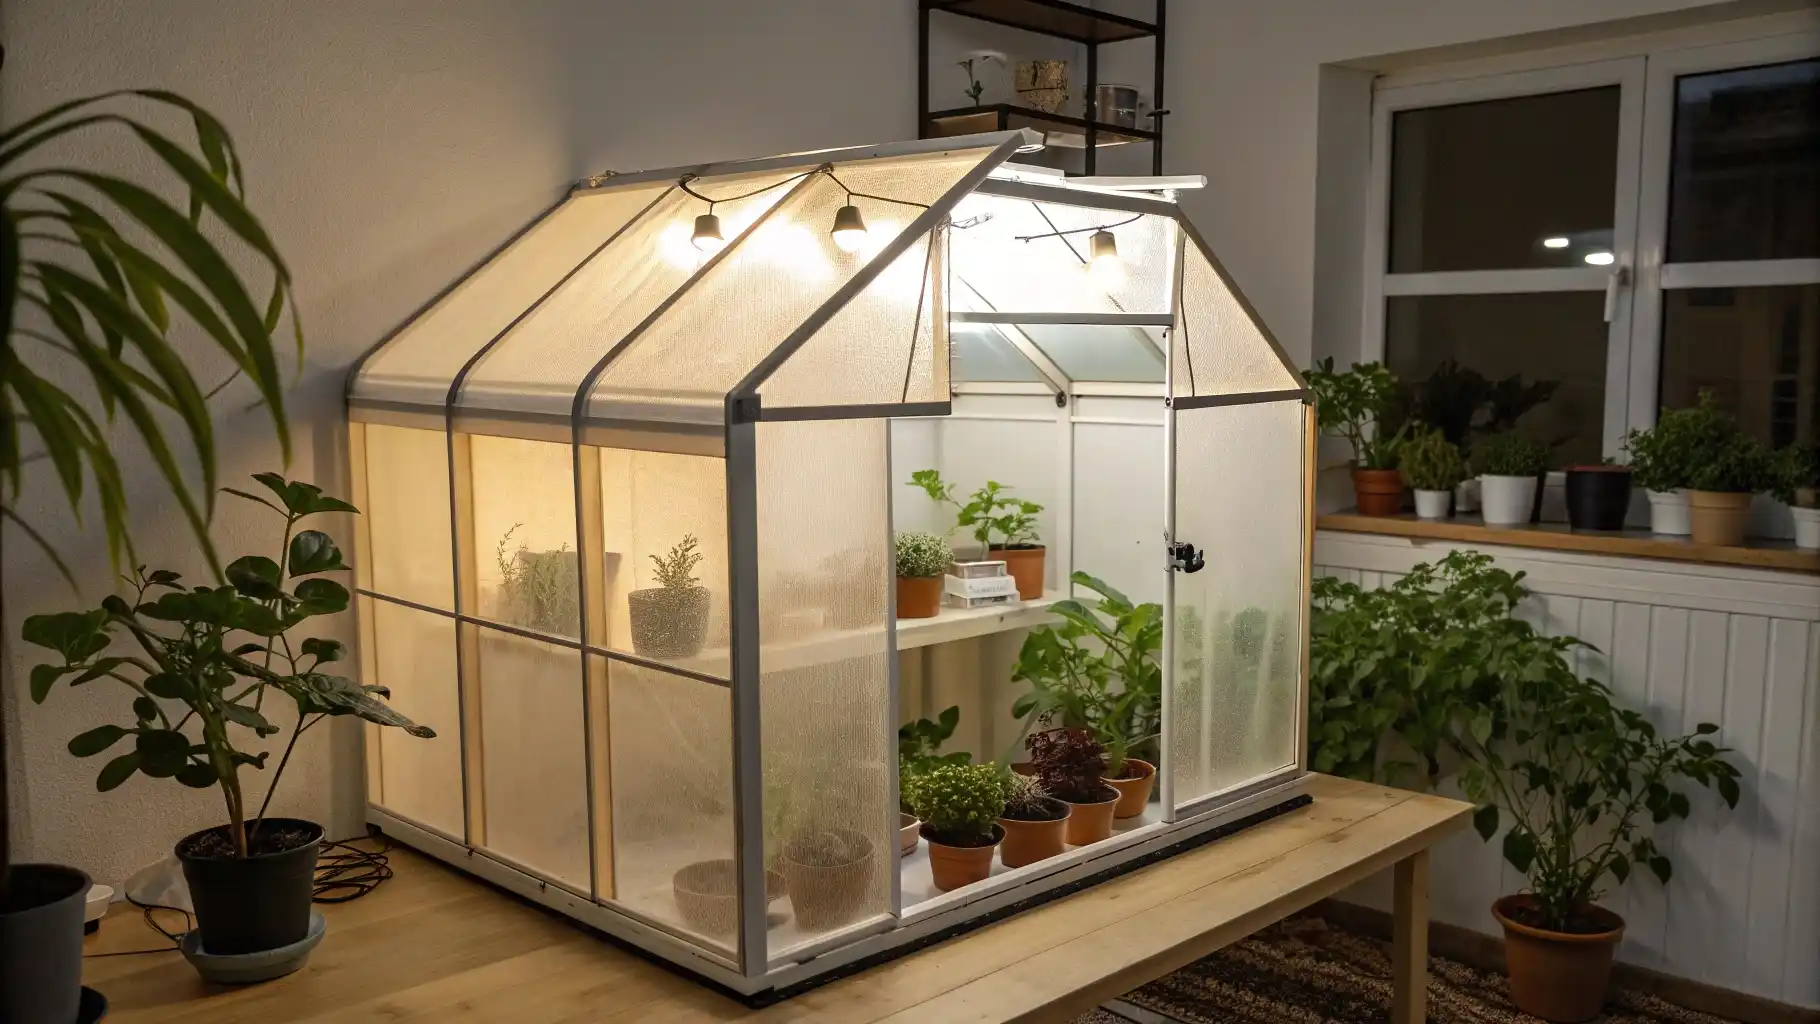
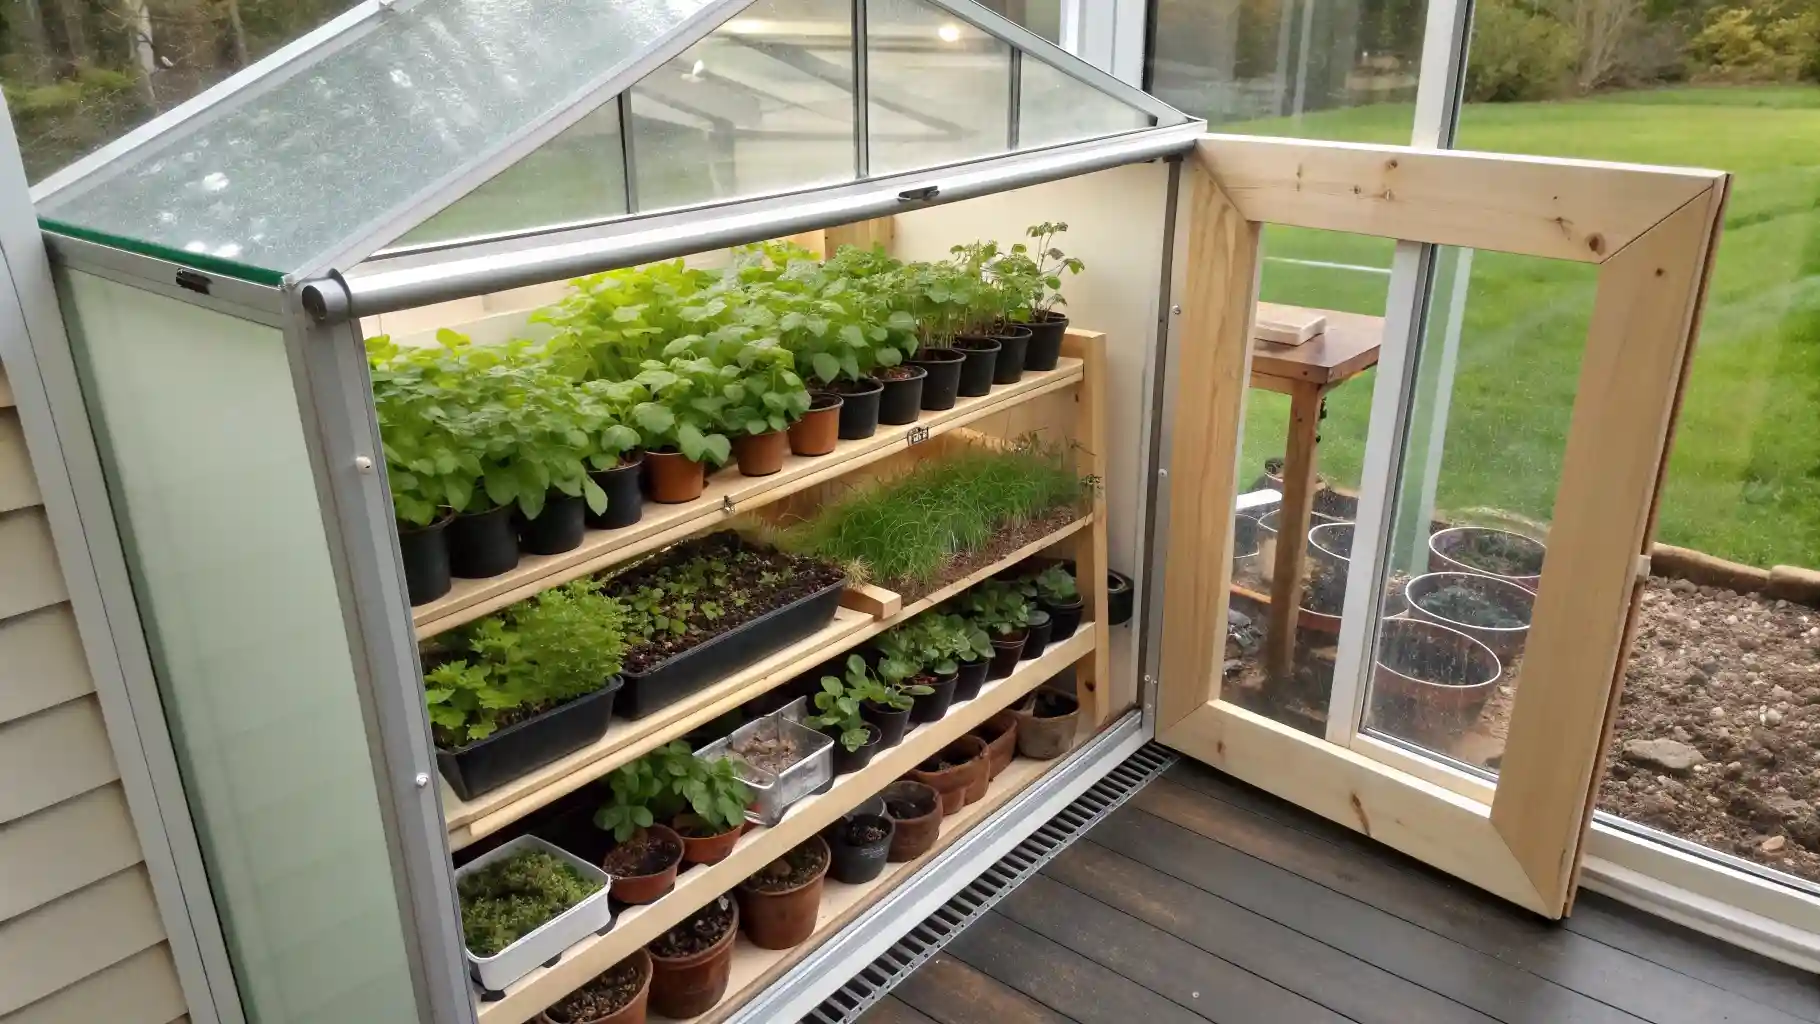
6. Standalone Mini Greenhouse (zippered cover)
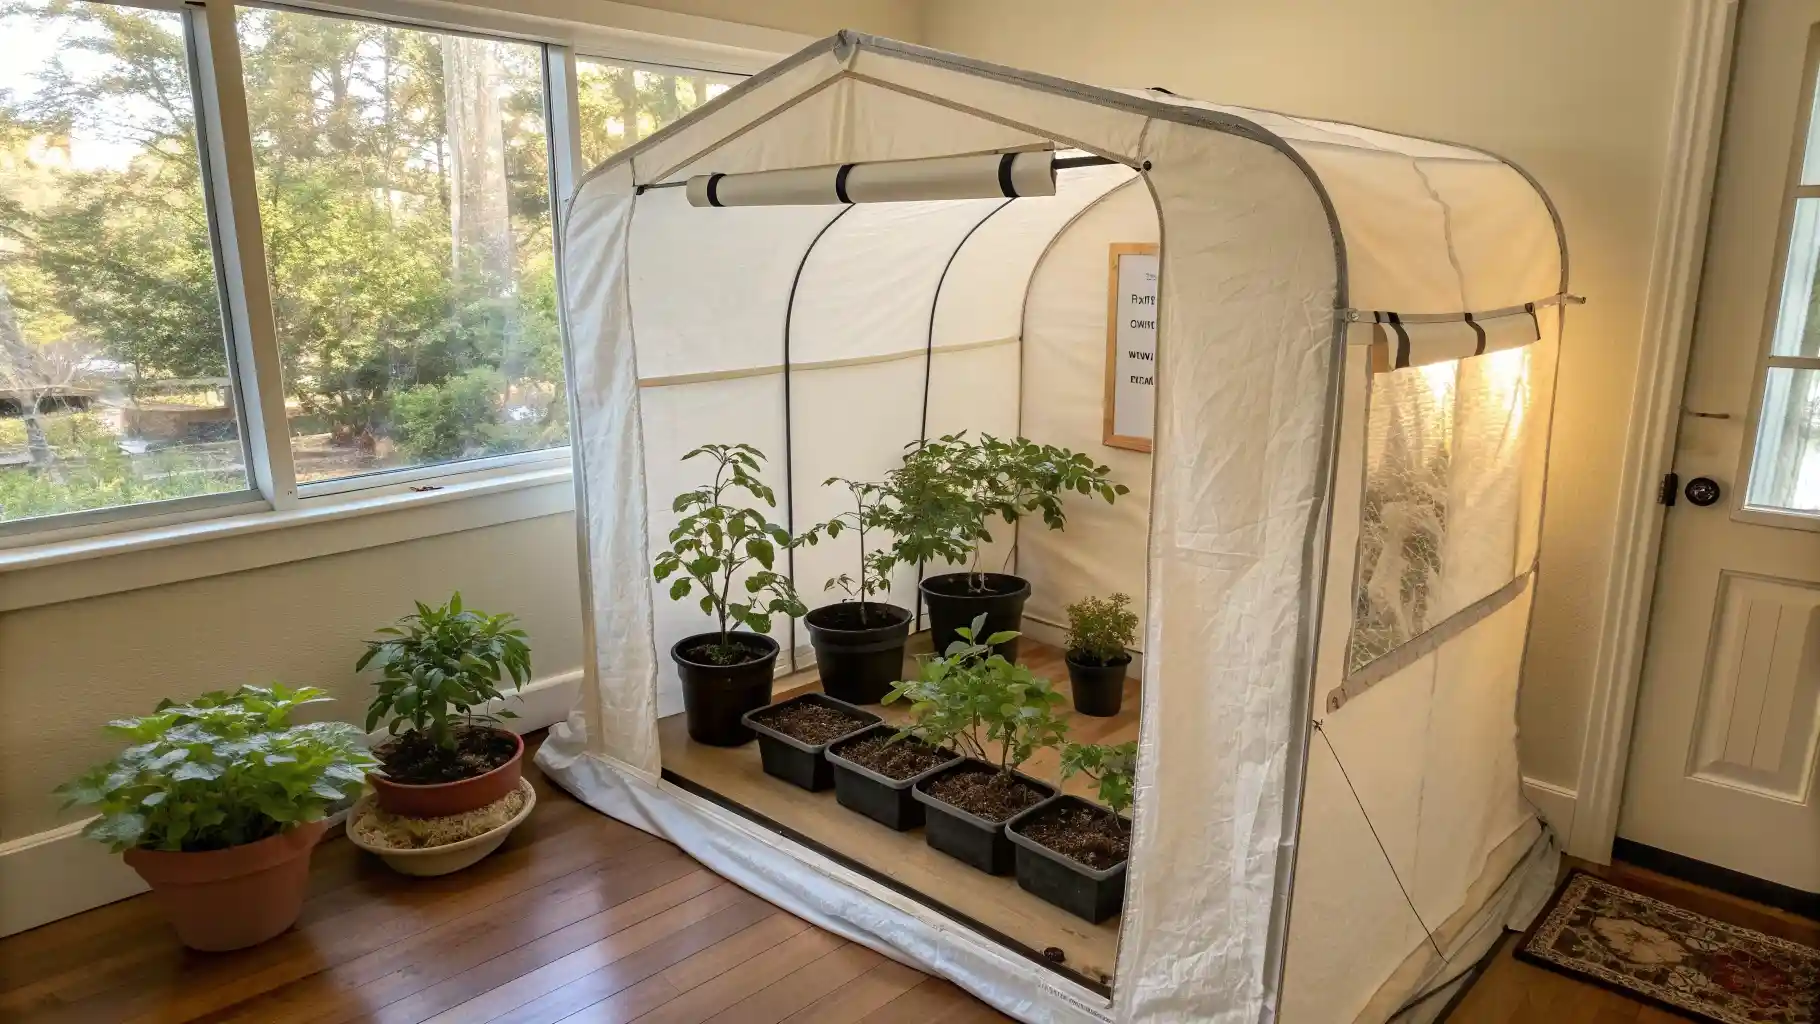
Buy a 3–4 tier mini greenhouse with a PVC or steel frame. It comes with a clear plastic cover and a zippered front. You can roll up the door for airflow. Add a small clip fan inside to keep air moving. Plants need fresh air or they’ll get moldy.
Watch the temperature if you put this in direct sun. Even in winter, enclosed spaces heat up fast. Unzip the front on warm days. Water in the morning so leaves dry before evening. Wet leaves plus no airflow equals fungal problems.
These units are cheap and fold flat for storage. Perfect for renters who can’t build permanent structures.
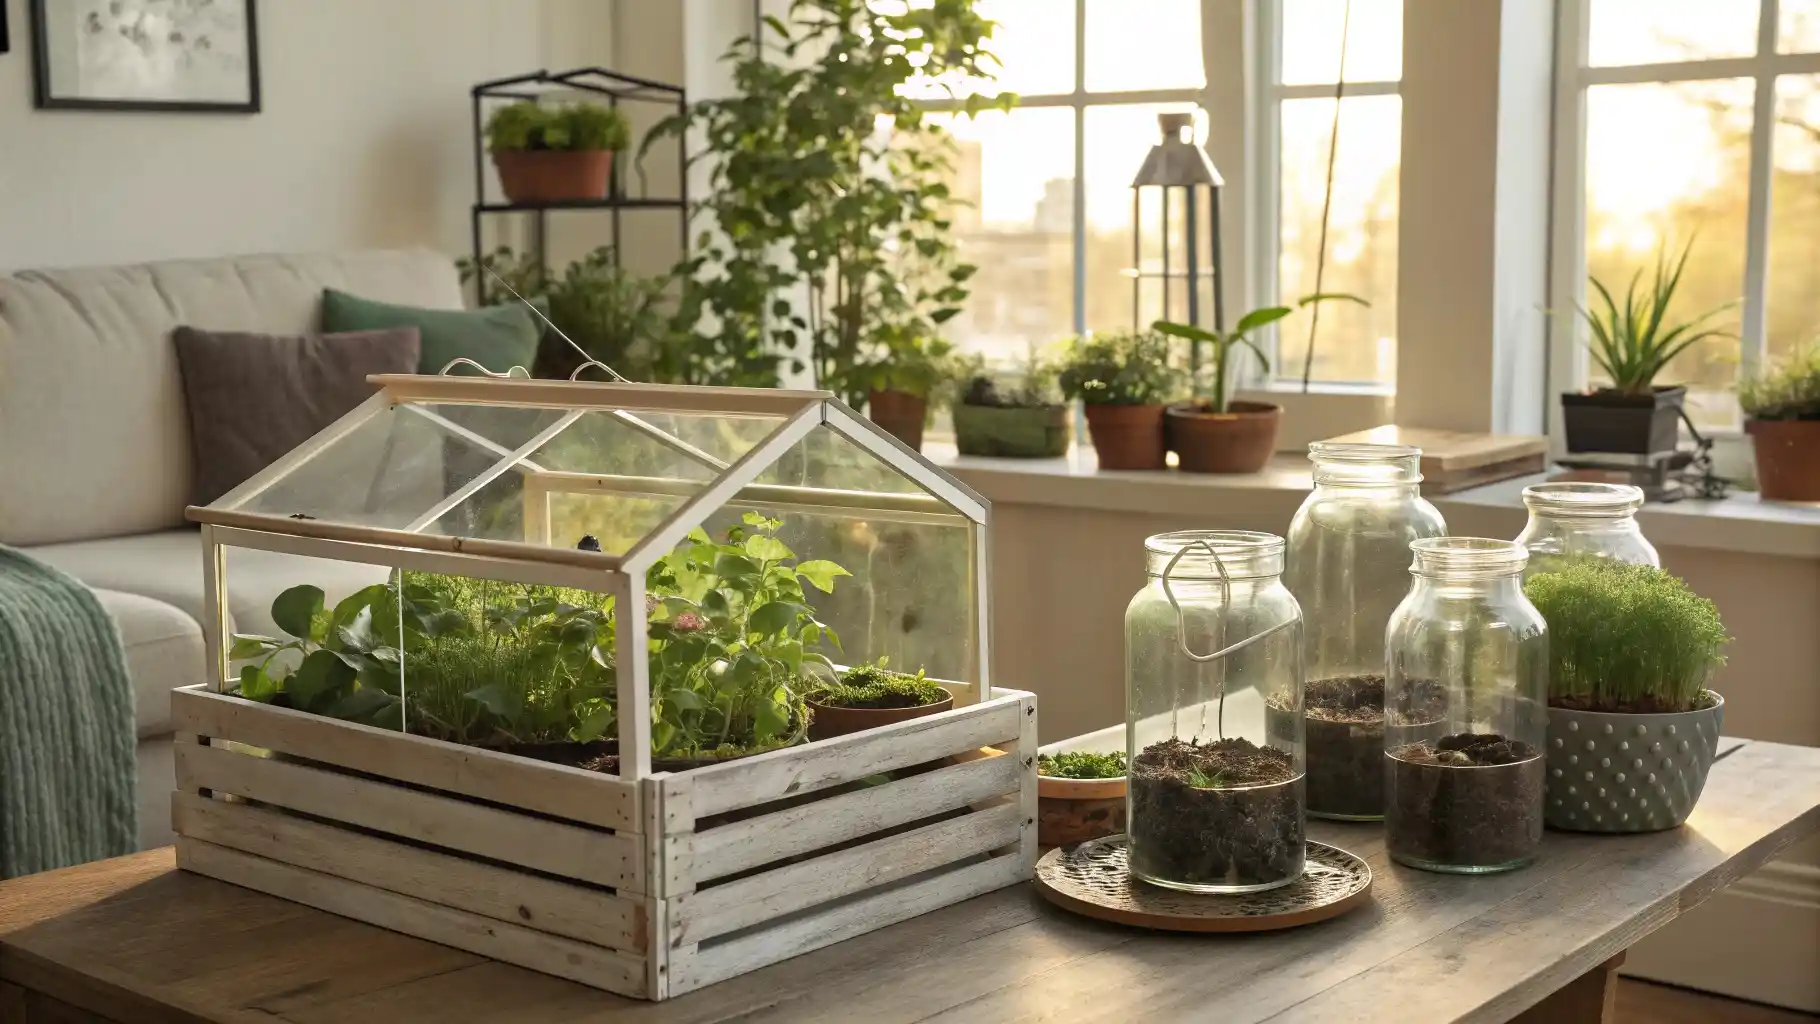
7. Picture-Frame Tabletop Greenhouse (decor-first)
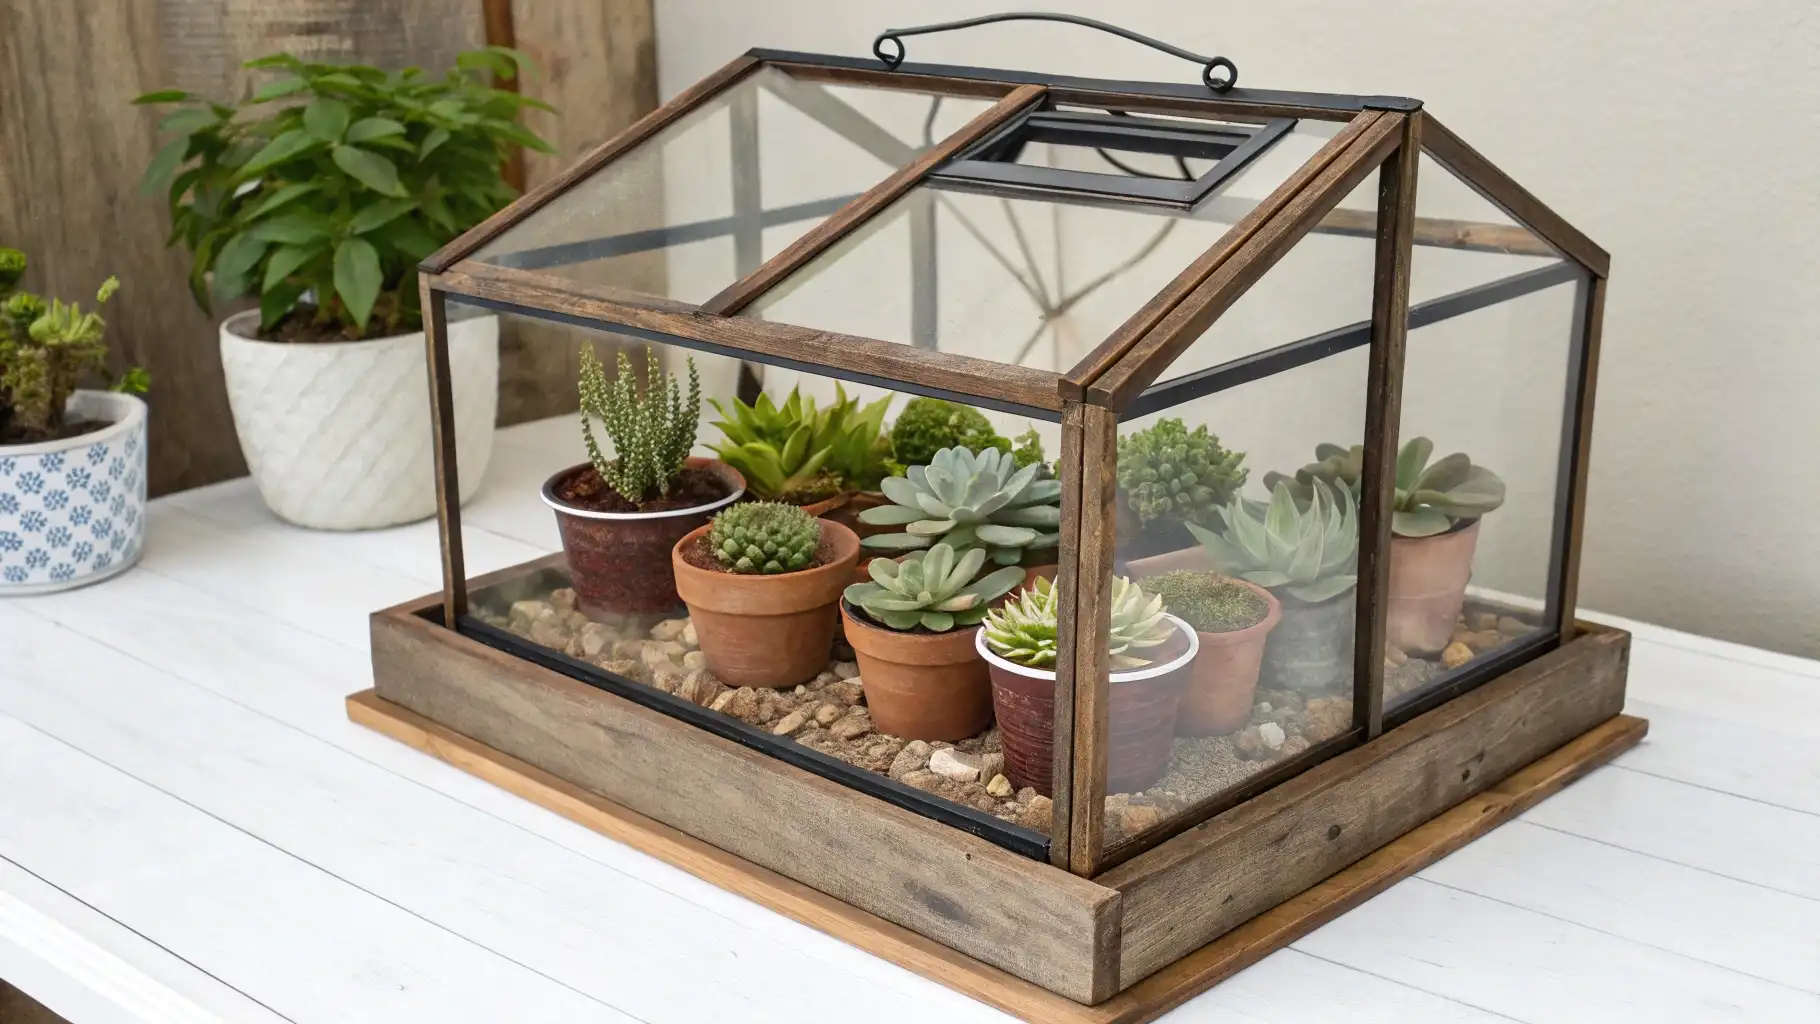
Buy 6–8 matching picture frames from a thrift store. Remove the backing and photos. Glue the frames together into a little house shape with a peaked roof. Hinge the roof so you can open it. Add a small USB fan and a battery-powered puck light inside.
This looks nice on a table or desk. It’s decoration that also keeps your plants healthy. The glass holds humidity without looking like plastic. You can grow small ferns, moss, or baby succulents inside. Just remember to open the roof daily for fresh air. Even small enclosed spaces need ventilation.
8. Aquarium-to-Terrarium Conversion
Clean an old aquarium thoroughly. Add a 1-inch layer of gravel on the bottom for drainage. Put down a thin layer of horticultural charcoal to keep things fresh. Add sphagnum moss, then 2–3 inches of potting soil on top.
Plant humidity-loving species like ferns, nerve plants, or peperomias. Cover with the hinged glass top. The enclosed space holds moisture so you water less often. Open the lid for an hour each day so fresh air gets in.
This works perfectly for plants that struggle in dry indoor air. The glass creates a humid microclimate. You’re basically making a tiny rainforest. Check for condensation. Too much means you need more ventilation.
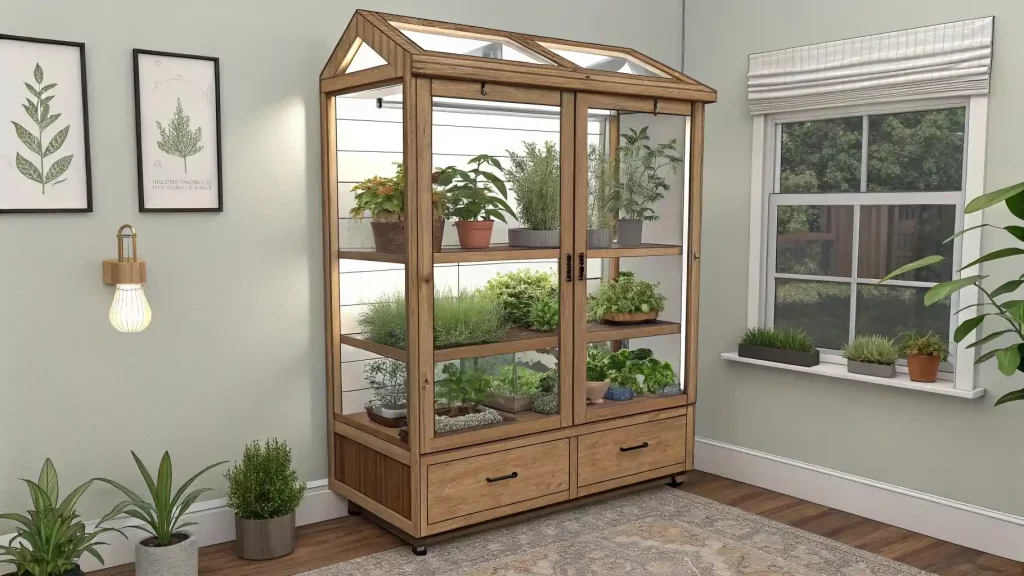
9. IKEA Greenhouse Cabinet (Milsbo/Rudsta/Fabrikör)
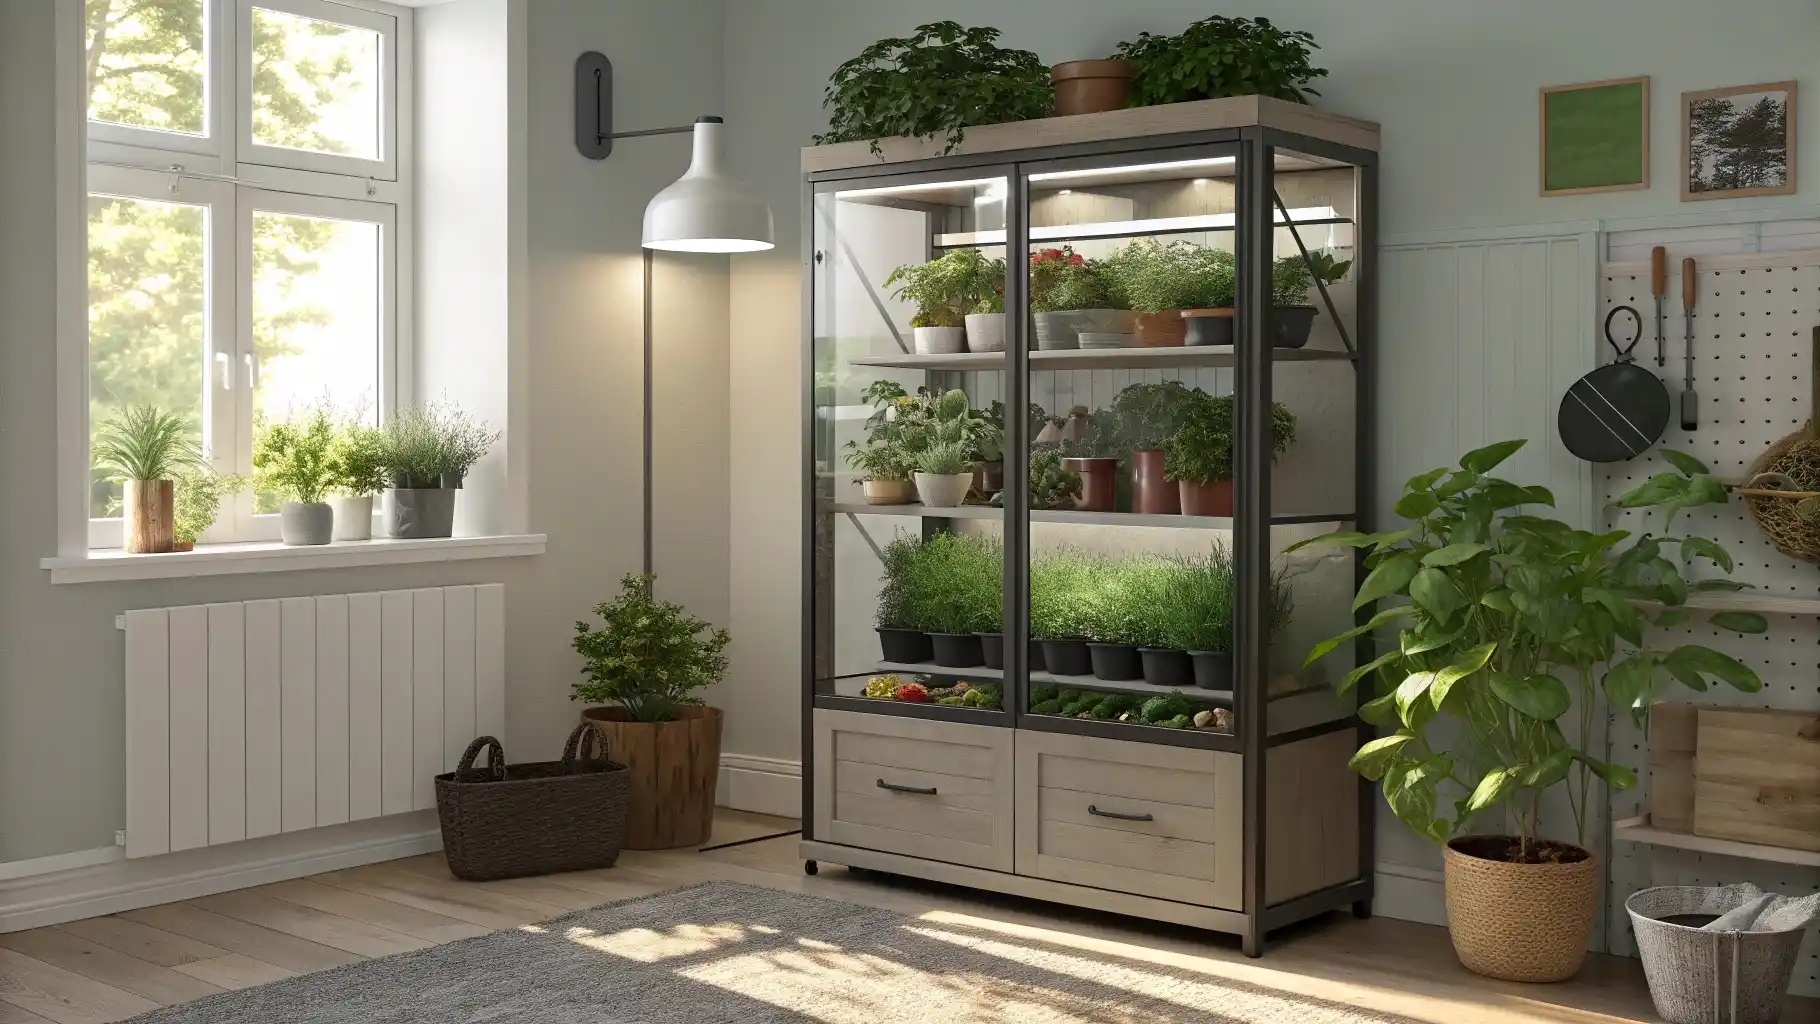
Convert an IKEA glass cabinet into a plant paradise. Install LED grow lights on each shelf. Add 80mm computer fans for airflow. Put a small humidifier inside if you’re growing tropical plants. Use smart plugs to run lights for 14 hours daily.
Keep humidity between 60–75% for tropicals. Use a hygrometer to track it. Lower humidity works for succulents and cacti. The glass doors hold moisture and heat better than open shelves. Your plants will grow faster and look healthier.
This is the most popular DIY greenhouse project right now. The cabinets look good in any room. You can grow orchids, anthuriums, and rare plants that normally hate indoor air. Just don’t skip the fans. Stagnant air causes mold.
10. Polycarbonate Panel “Soft-Light” Case
Build a simple wooden frame the size you need. Cover it with twin-wall polycarbonate sheets instead of glass. The plastic diffuses light so your plants don’t get scorched. It also insulates better than glass, keeping warmth inside during winter.
Hinge one panel so you can open it for ventilation. The twin-wall structure traps air between two layers, creating insulation. Light transmission is 80–90% depending on thickness. That’s plenty for seedlings and herbs.
This is lighter and safer than glass. If it falls, it won’t shatter. You can cut polycarbonate with a circular saw. Seal edges with aluminum tape to keep bugs out. This handles temperature swings better than single-pane glass.
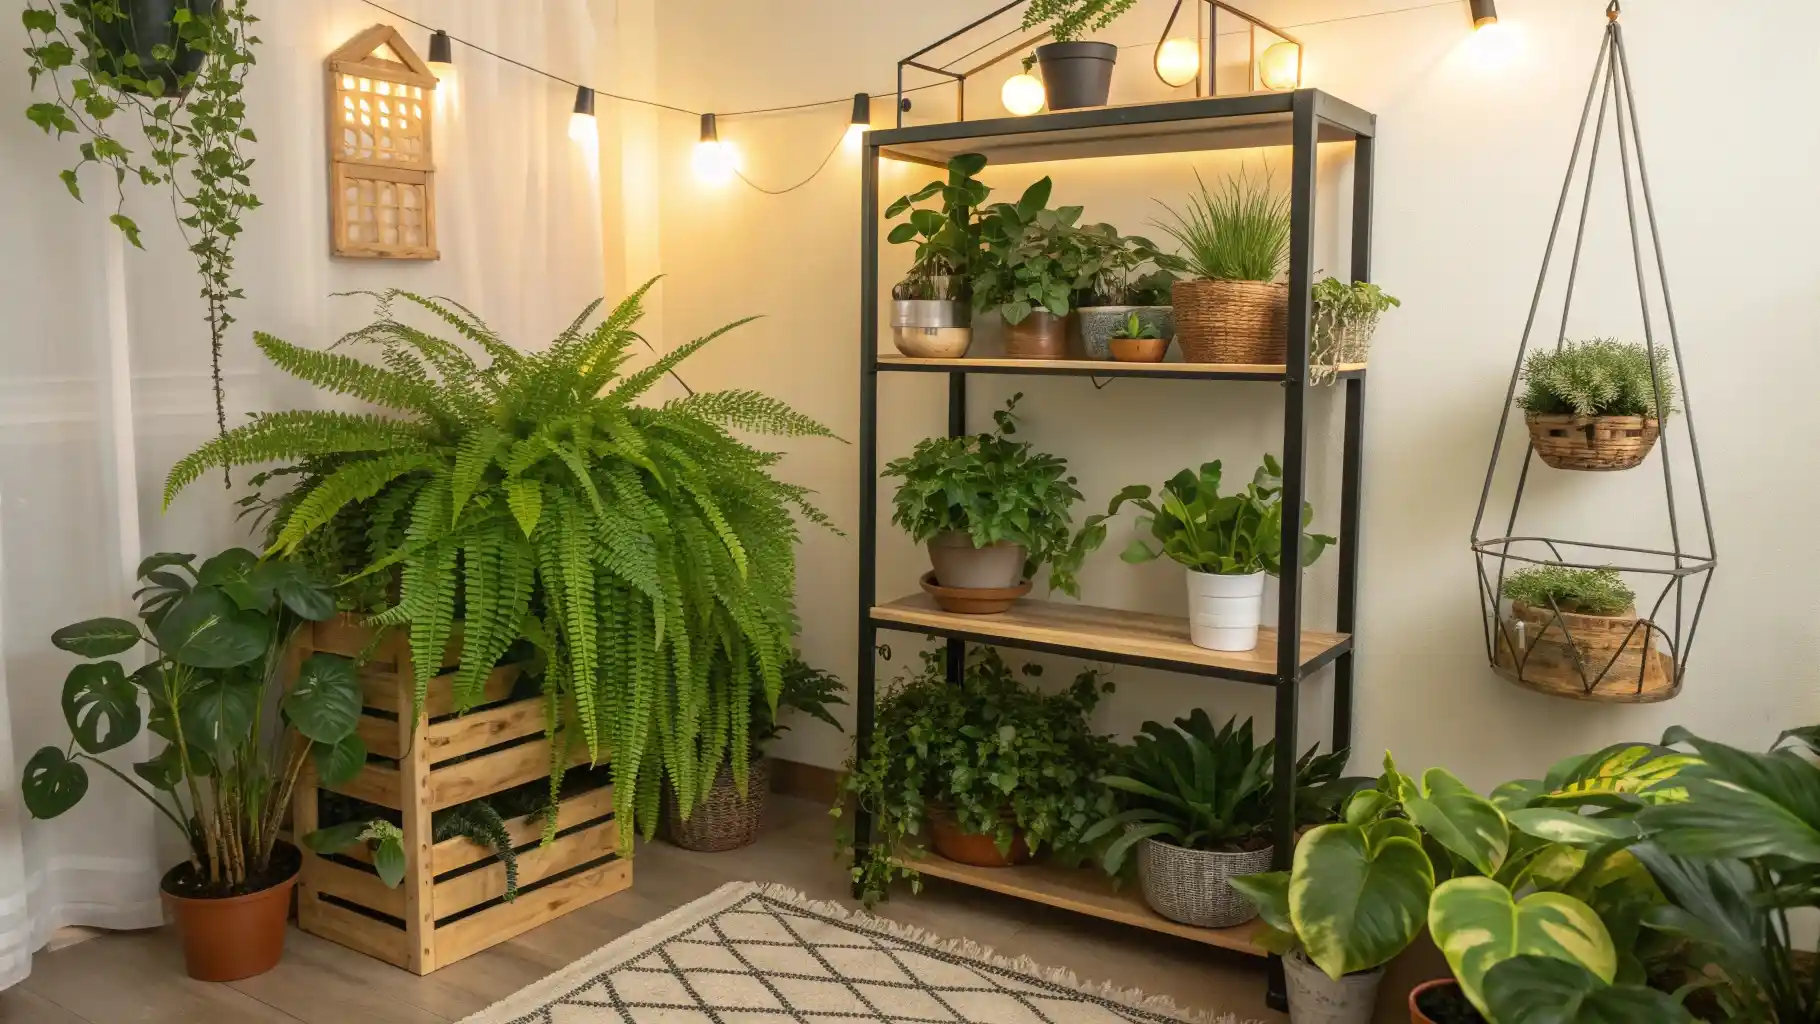
11. Wire Rack Grow Stand with LED Bars
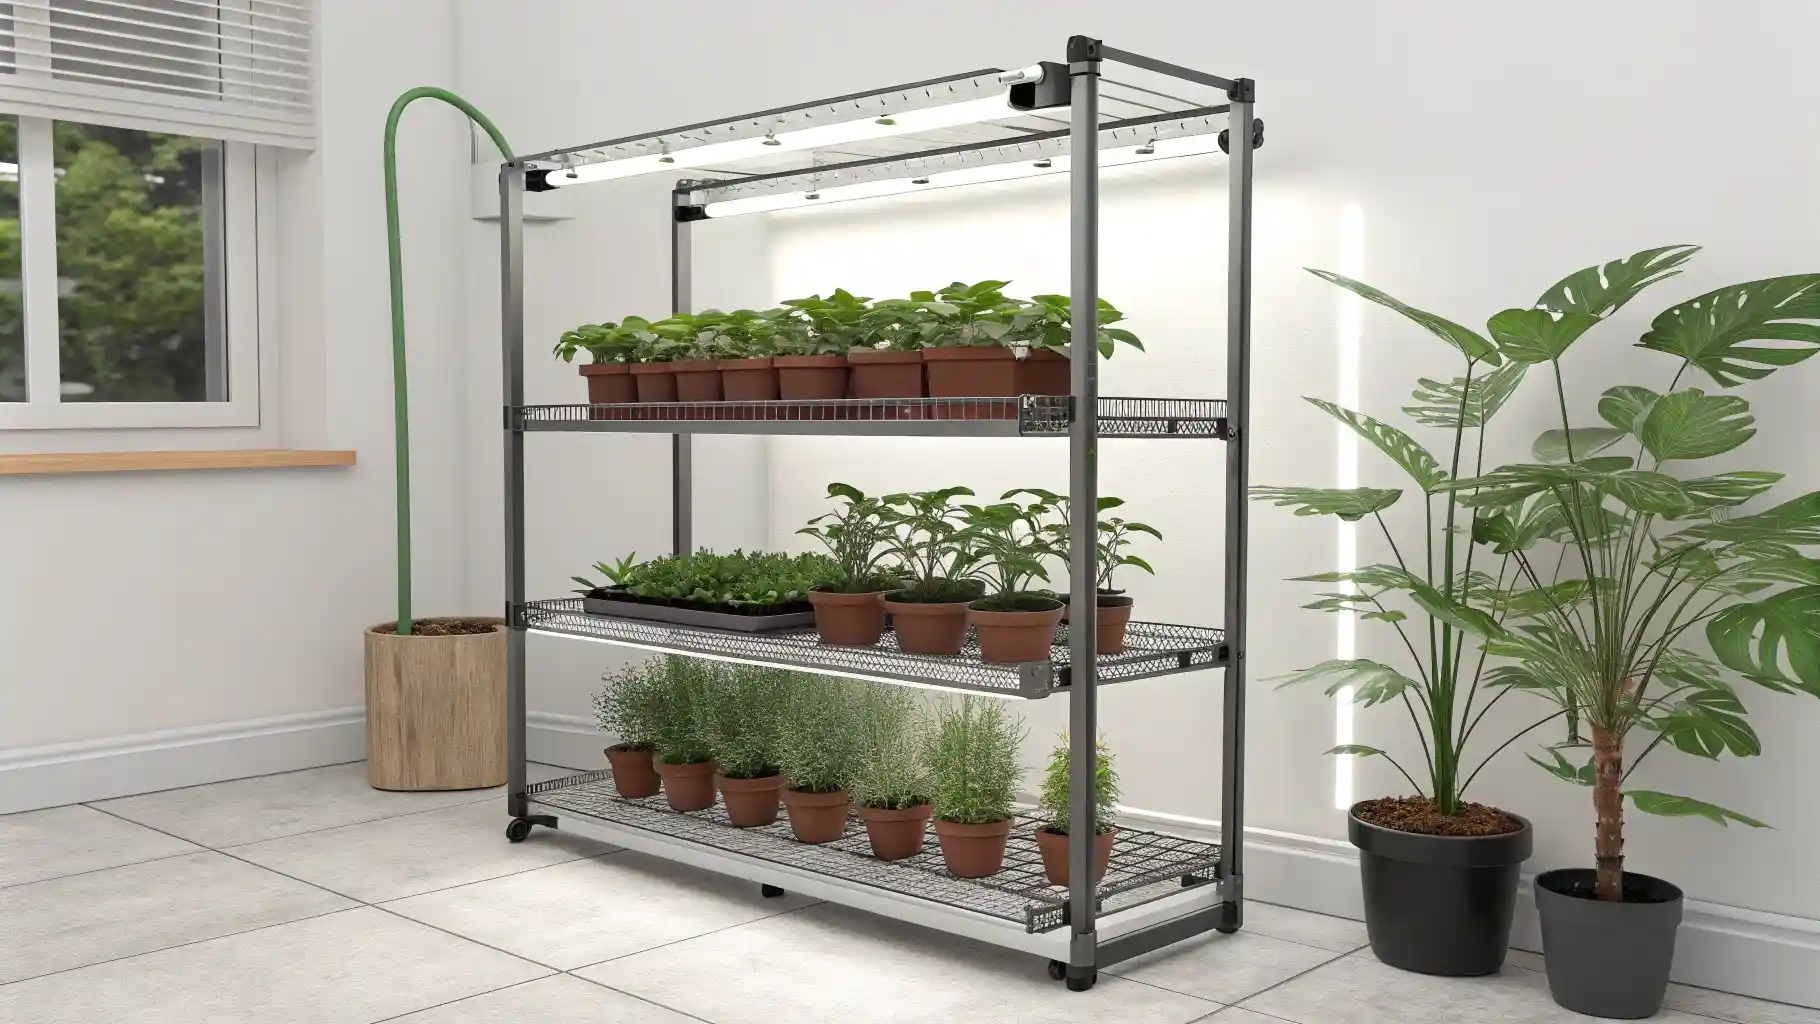
Get a 4-tier chrome wire shelf. Mount 2–3 LED light bars under each shelf, pointing down at the shelf below. Keep lights 12–18 inches above your seedlings. Use a timer to run them 14–16 hours daily.
Put trays on each shelf for bottom watering. This saves time when you have lots of plants. The wire shelves let excess water drain through. Your lights don’t need to be expensive. Even basic LED strips work if you keep them close enough to the plants.
Seedlings need 100–300 PPFD. That’s a measurement of usable light. Most setups hit this range at 12–15 inches distance. Adjust height as plants grow.
12. Humidity Corner: Pebble Trays + Compact Humidifier
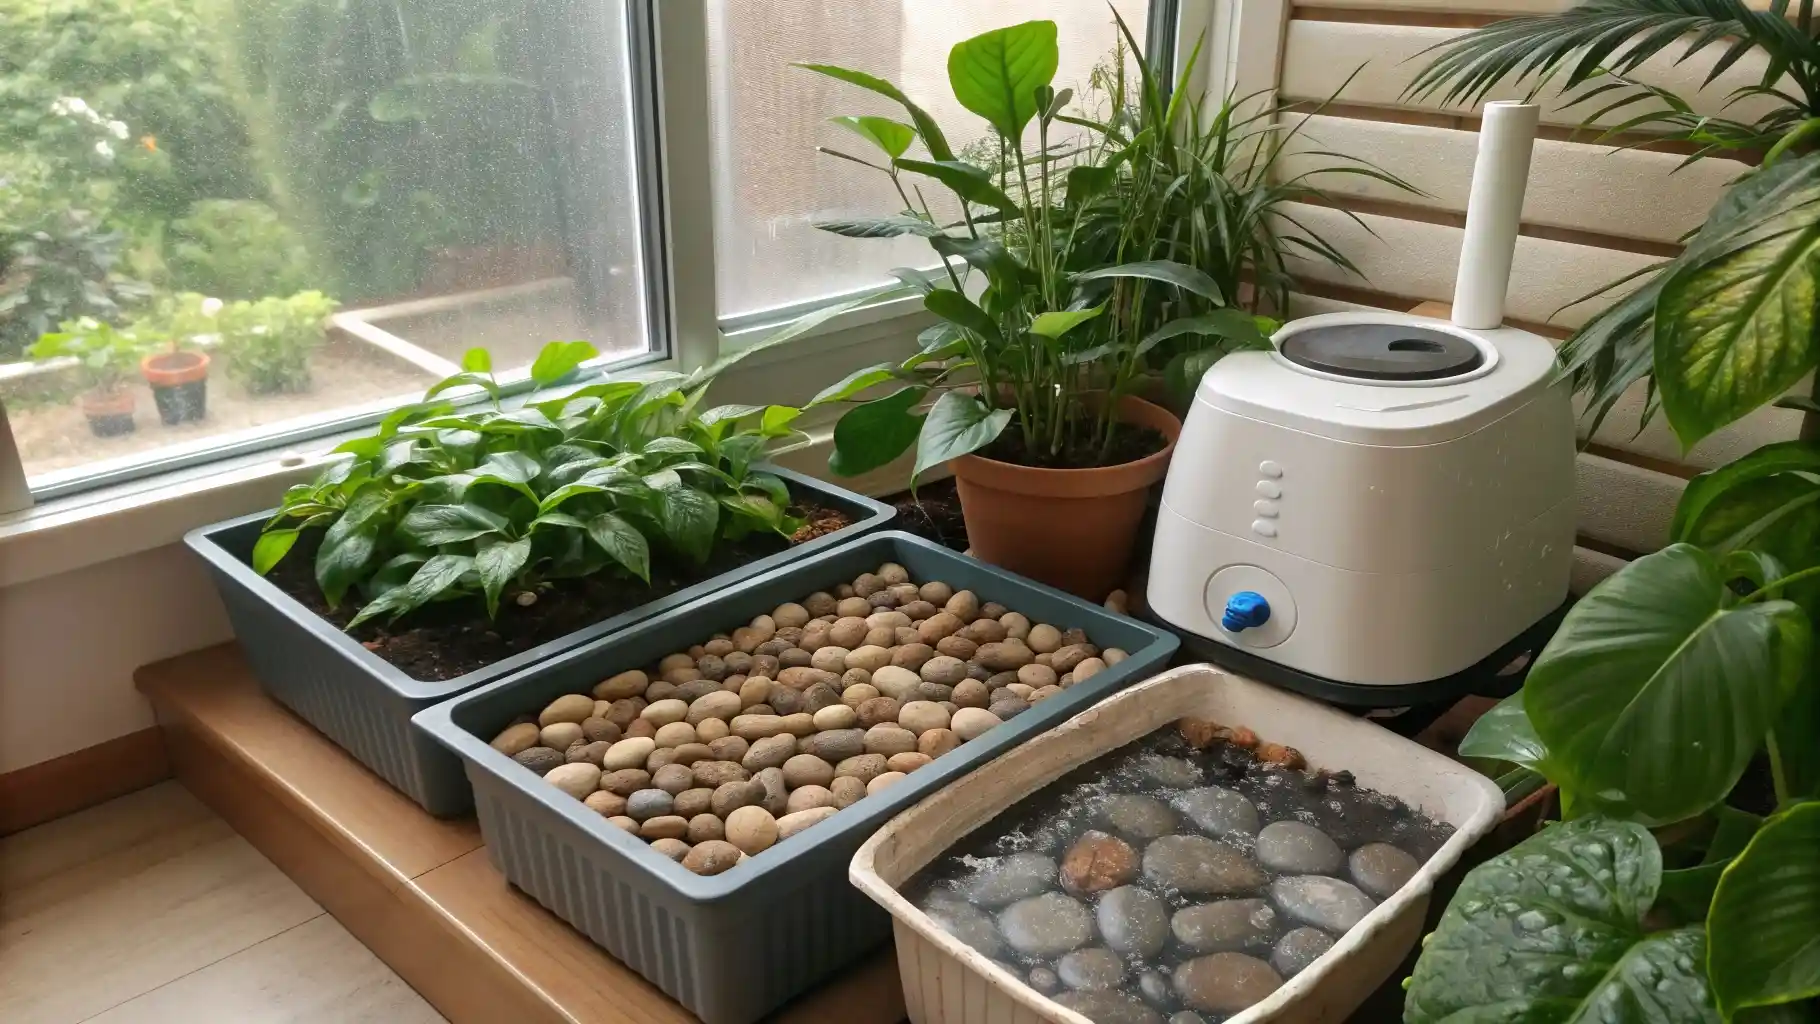
Group your plants together in one corner. Put them on trays filled with pebbles and water. The water evaporates and raises humidity around the leaves. Add a small humidifier set to 45–60% in winter. Indoor winter air often drops below 30%, which stresses most houseplants.
Don’t go above 60% humidity. Higher levels increase mold risk in your home. Your plants will be happy in this range, and you won’t damage your walls or create health problems.
13. Heated Germination Drawer (with thermostat)
Fit seed trays inside a drawer or shallow box. Place a seedling heat mat underneath. Plug the mat into a thermostat controller. Set temperature based on what you’re growing. Most vegetables germinate at 70–75°F. Peppers and tomatoes like it warmer at 80–85°F.
Remove the heat once seeds sprout. Seedlings don’t need extra warmth and will get leggy if you keep the heat on. The thermostat prevents overheating, which cooks seeds and wastes your effort.
This speeds germination by several days. You’re creating the perfect conditions for seeds to wake up. Just remember to move sprouts to light immediately. Dark, warm conditions make weak, stretched seedlings.
14. Balcony-Door Micro-Greenhouse (renter-safe)
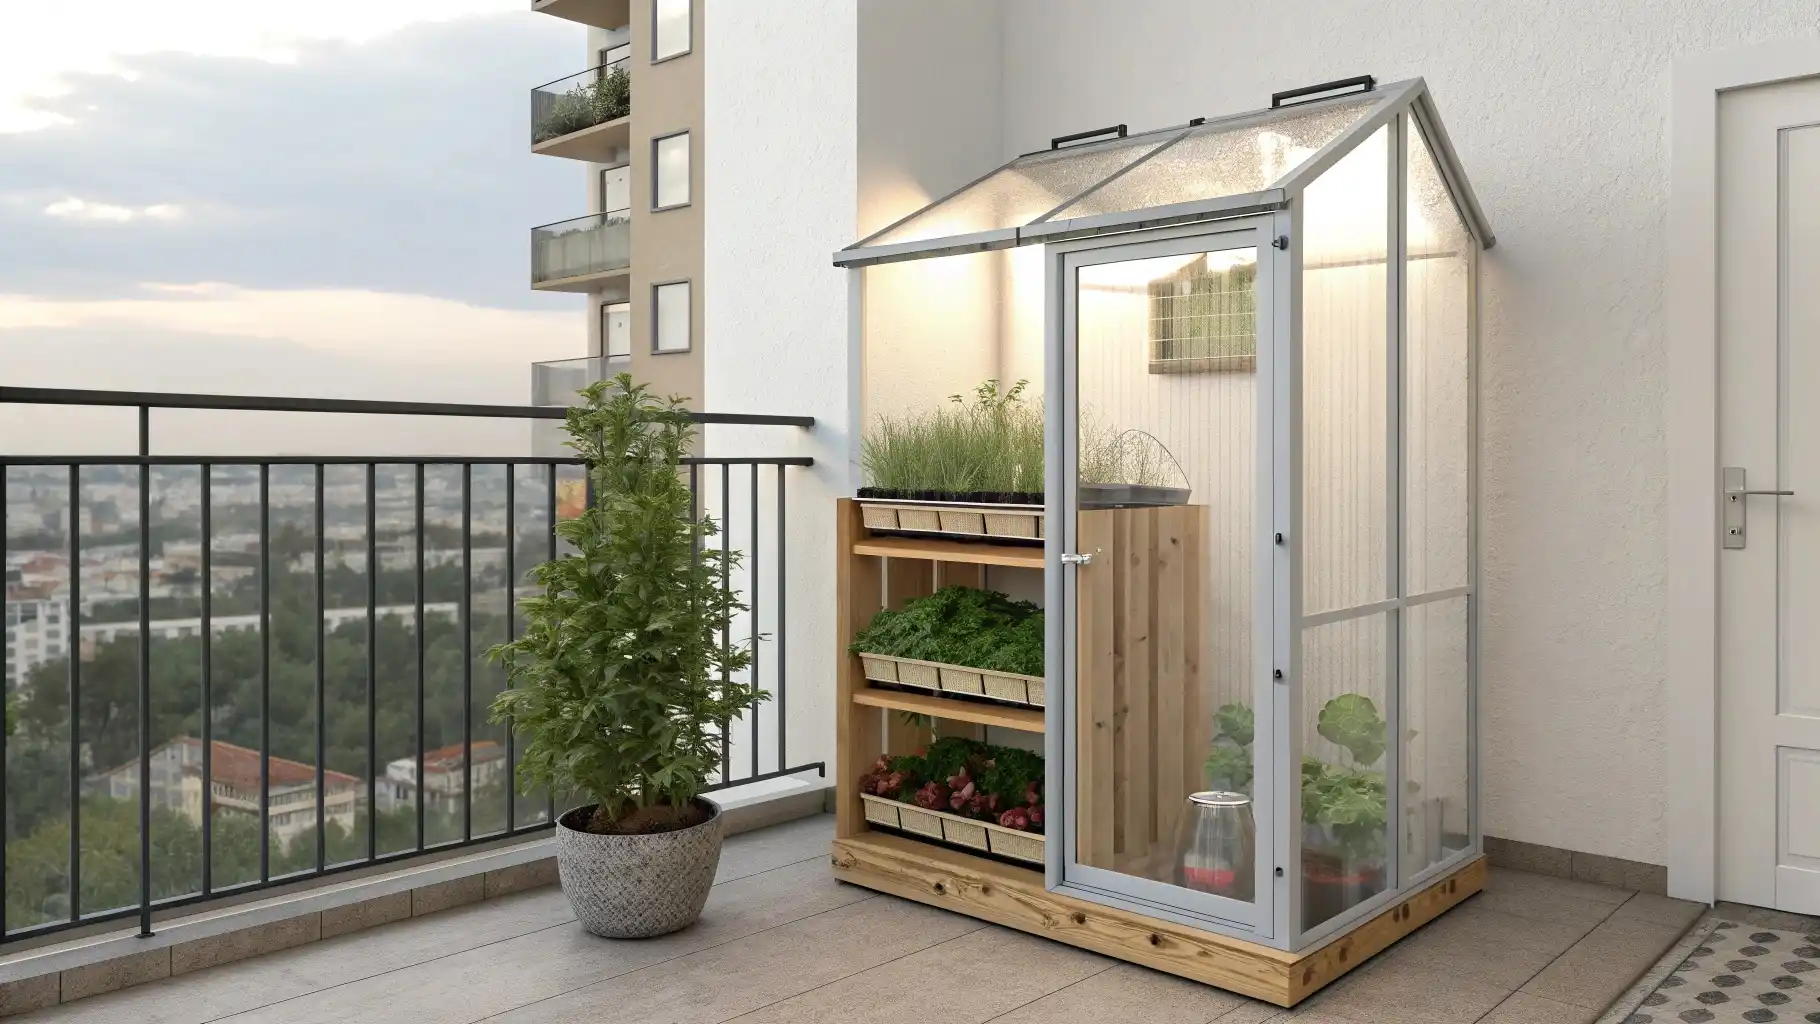
Put a slim wire rack near your sliding glass door. Hang a clear shower curtain or plastic sheeting in front to create a soft enclosure. Add tie-backs so you can pull the curtain open for ventilation. The door provides natural light. The curtain holds warmth and humidity.
This won’t damage walls, so landlords can’t complain. Make sure the rack is stable and won’t tip. Water carefully so you don’t flood the floor. This works best for seedlings and herbs that don’t need intense light.
You’re using wasted space by the door. The curtain is removable in summer when you don’t need extra humidity.
15. Mason-Jar Prop Culture (for cuttings)
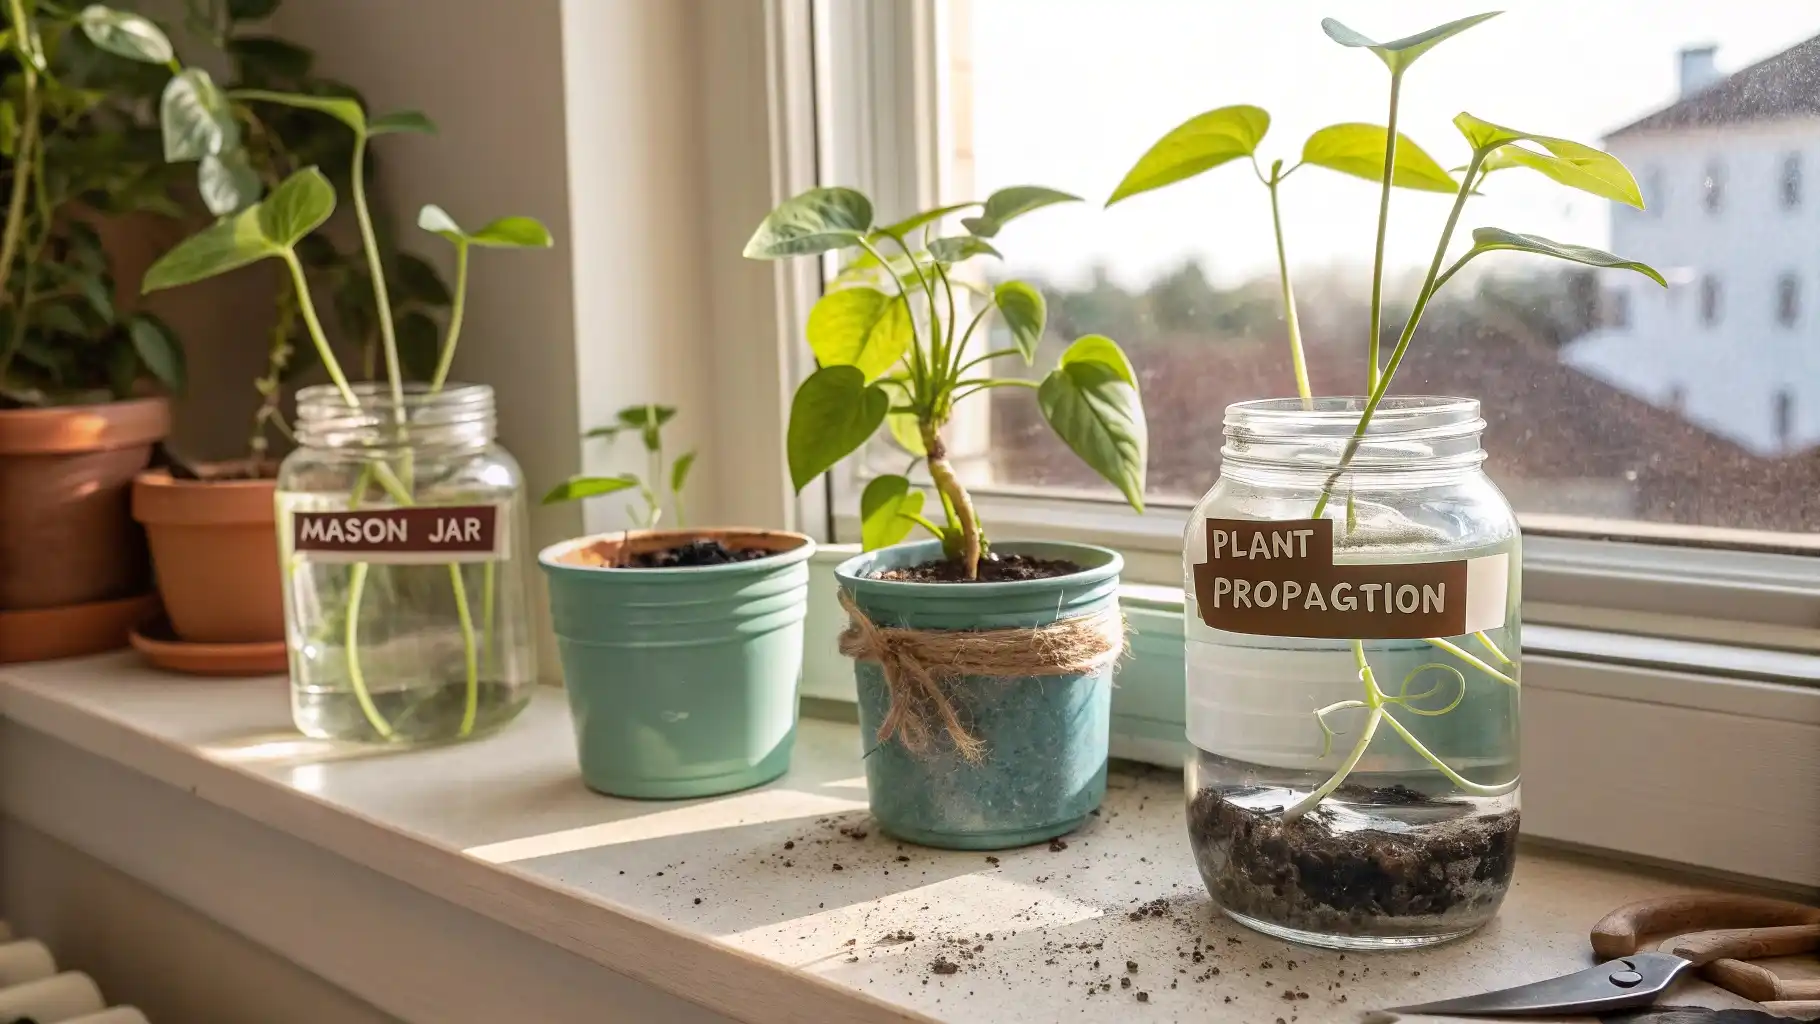
Use mason jars to root plant cuttings. Poke holes in the metal lids for airflow, or cover the jar opening with plastic wrap and poke small holes in it. Keep humidity at 60–70% inside the jar. Place a small USB fan nearby to keep air moving around your jars.
The humidity helps cuttings root faster. The airflow prevents mold from growing on the stems. Check daily and wipe off any condensation. Too much moisture invites fungal problems.
This method works great for plants that root in water or in moist soil. You can see through the glass to watch roots form. It’s satisfying and helps you know when cuttings are ready to pot up.
16. Grow-Tent “Micro-Farm” (small 2×2 ft)
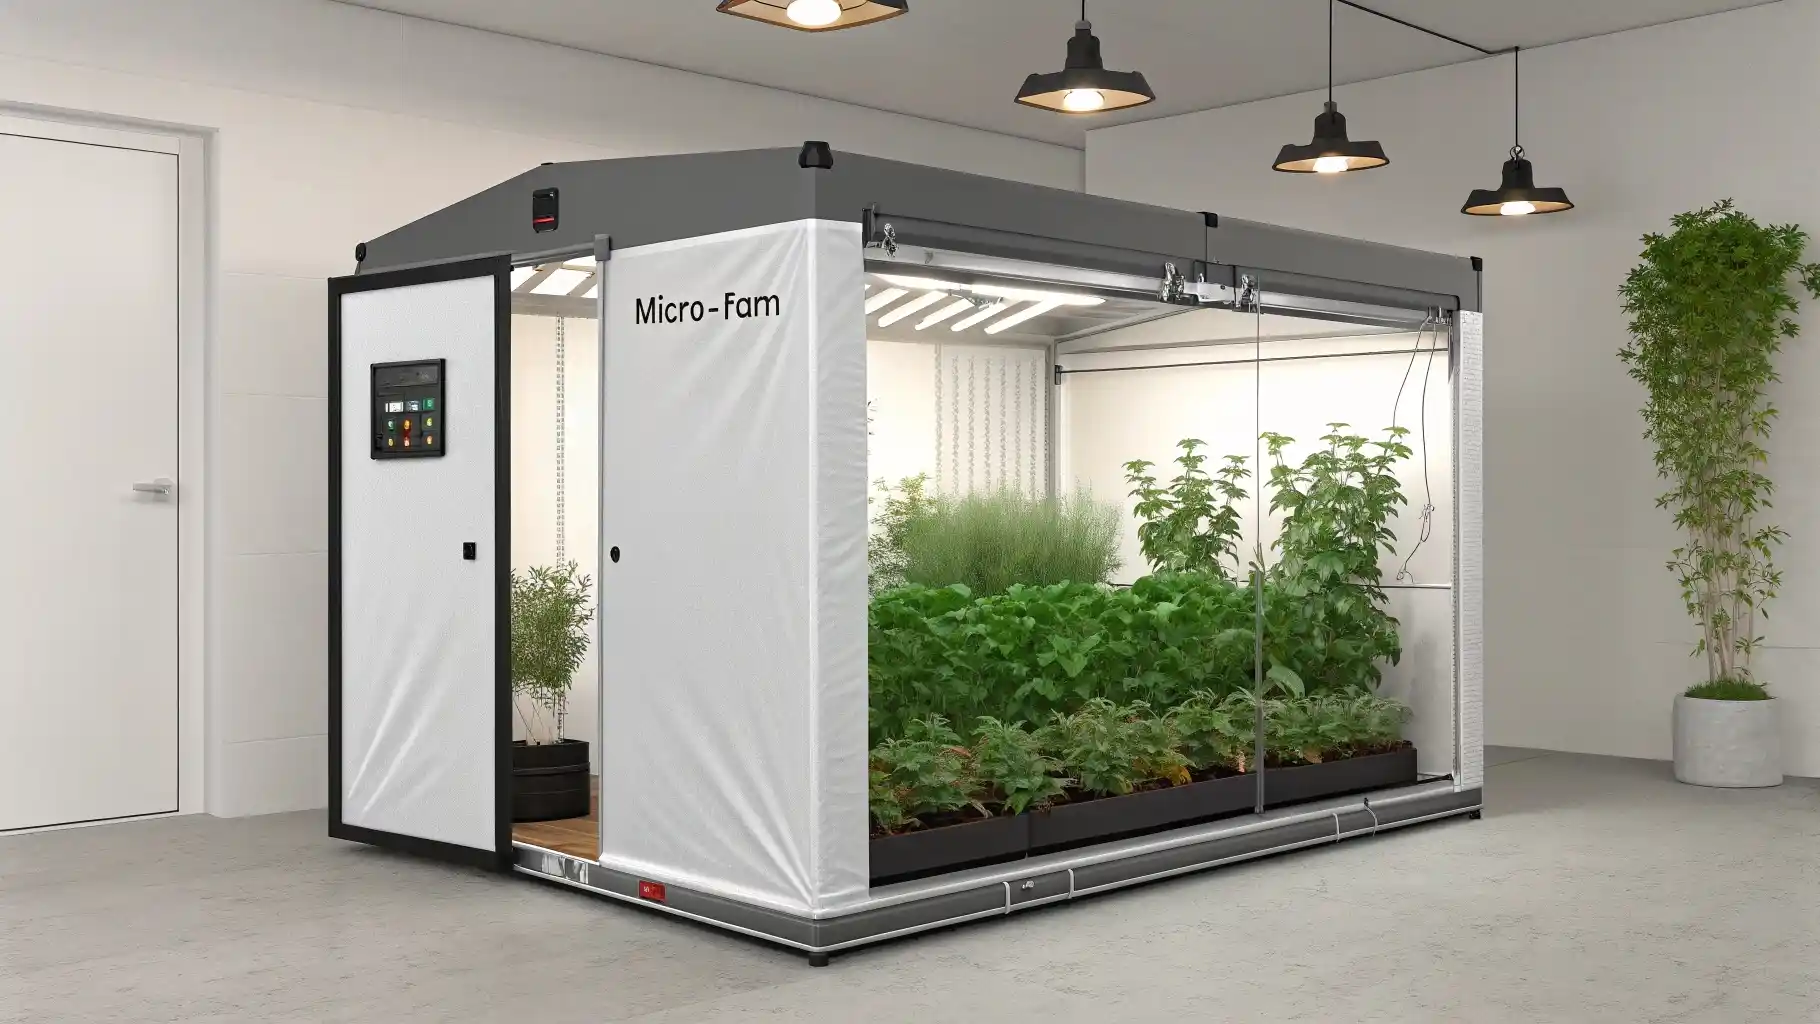
Set up a 2×2 foot grow tent in a closet or spare room. Install an inline exhaust fan with a carbon filter to remove odors and stale air. Add an oscillating fan inside for air circulation. Use a PPFD meter to map light intensity across your growing area. Run lights on a timer for 14–16 hours daily.
Balanced ventilation is key. Fresh air comes in, stale air goes out, and the oscillating fan moves air around plants. This prevents hot spots and fungal diseases. The tent blocks light pollution and contains humidity.
This is serious indoor growing in a tiny footprint. You can grow vegetables, herbs, or flowers year-round. It uses more electricity than other options but gives you complete control.
17. Picture-Ledge Herb Greenhouse (magnetic door)
Build a shallow acrylic box that fits over a wall shelf. Attach magnetic strips to create an easy-open door. Mount LED strips under the shelf above, pointing down. Leave a small gap at the top for airflow. Hot air rises and escapes through the gap.
This keeps your cooking herbs close to the kitchen without taking counter space. The enclosure holds humidity so herbs don’t dry out from heating systems. The magnetic door makes it easy to water and harvest.
You’re creating a miniature greenhouse on your wall. It looks intentional and clean, not like a makeshift plant setup. Works great for basil, cilantro, and parsley.
18. Old Wardian-Case Style from Photo Frames
Buy 6–8 identical picture frames. Remove the backing from all of them. Glue or hinge them together to form a box with a pitched roof. Add a small hygrometer inside to track humidity. Install a low-profile USB fan at the base for air circulation.
This is a Victorian-era design that still works today. The glass creates a stable environment for delicate plants. You can grow miniature orchids, ferns, or African violets inside. Open the roof daily to refresh the air and prevent mold.
It’s functional art for plant lovers. The peaked roof looks elegant on a table or mantle.
19. Aquarium “Seed Starting Hot-House”
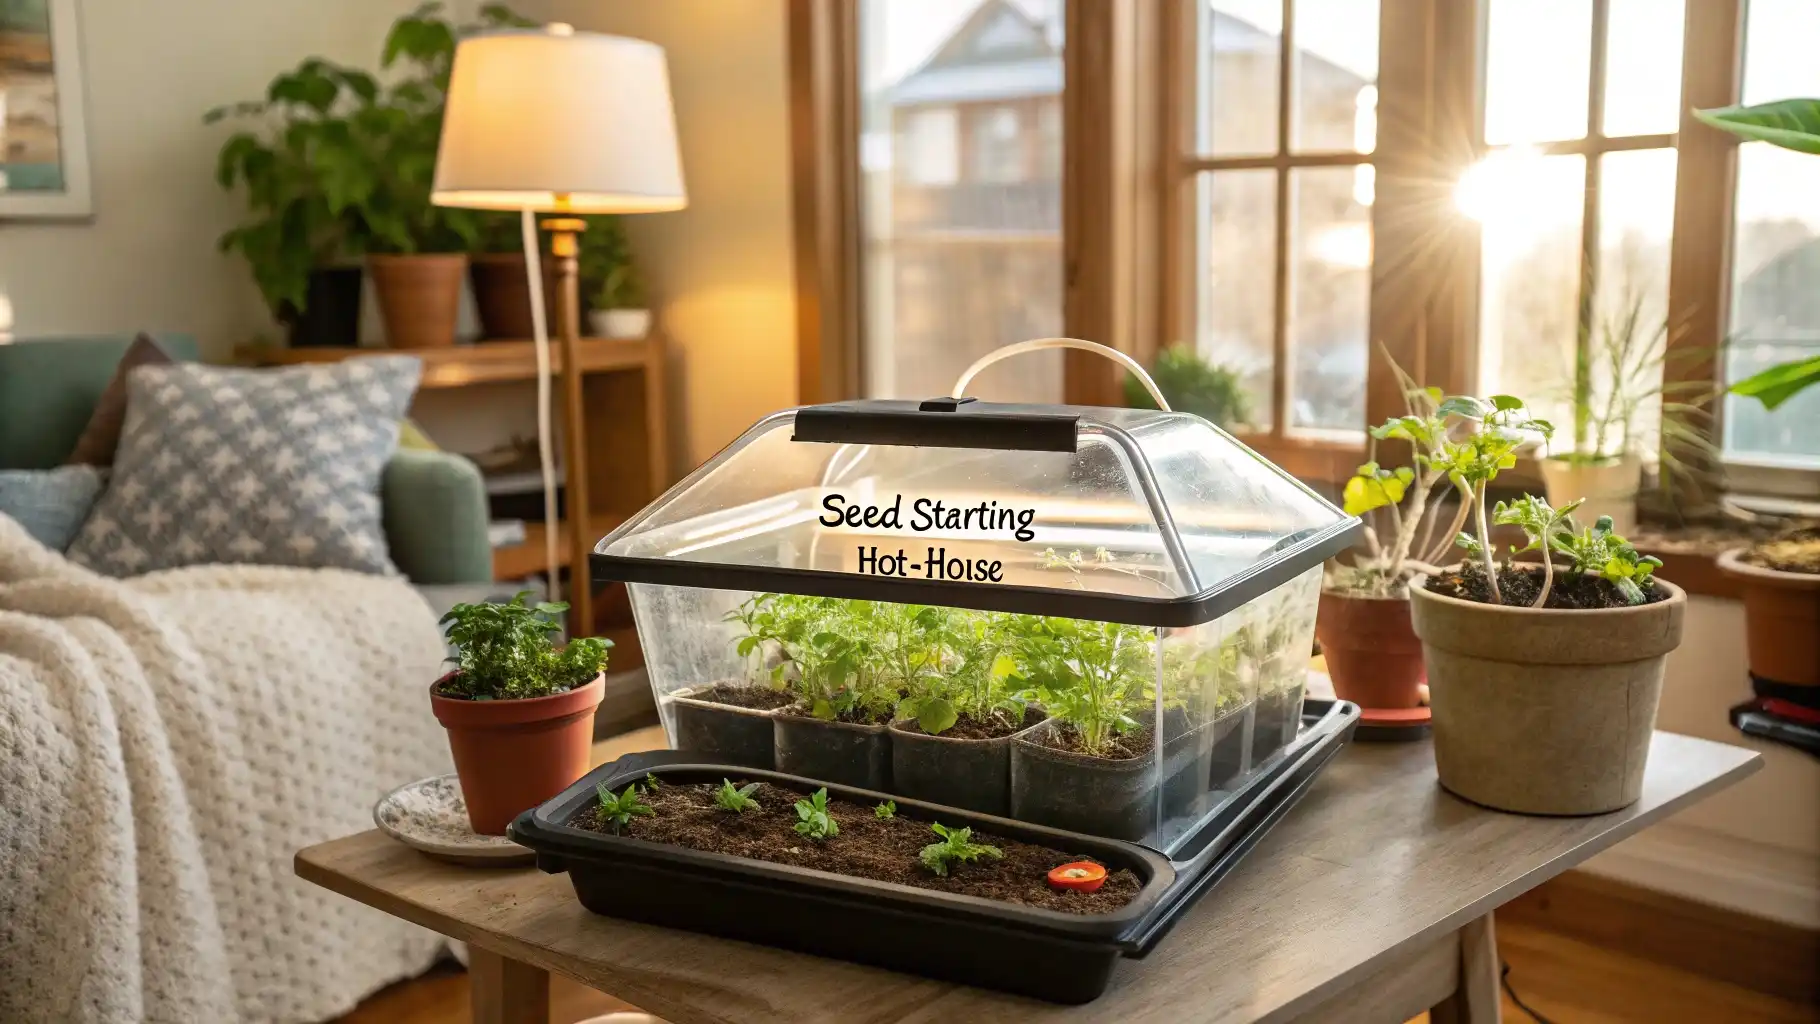
Use an old aquarium with a glass lid to start seeds. The enclosed space holds humidity and warmth. Lift the lid for 30 minutes each day to let fresh air in. Once true leaves appear, move seedlings to a well-ventilated area with good light.
The humid, warm conditions help germination. But seedlings need more air and light to stay healthy. If you leave them in the sealed aquarium too long, they’ll develop damping-off disease. That’s a fungal problem that kills baby plants at the soil line.
This method jumpstarts germination in cold homes. Just don’t forget to transition seedlings out once they sprout.
20. Vertical Microgreens Tower (high-yield)
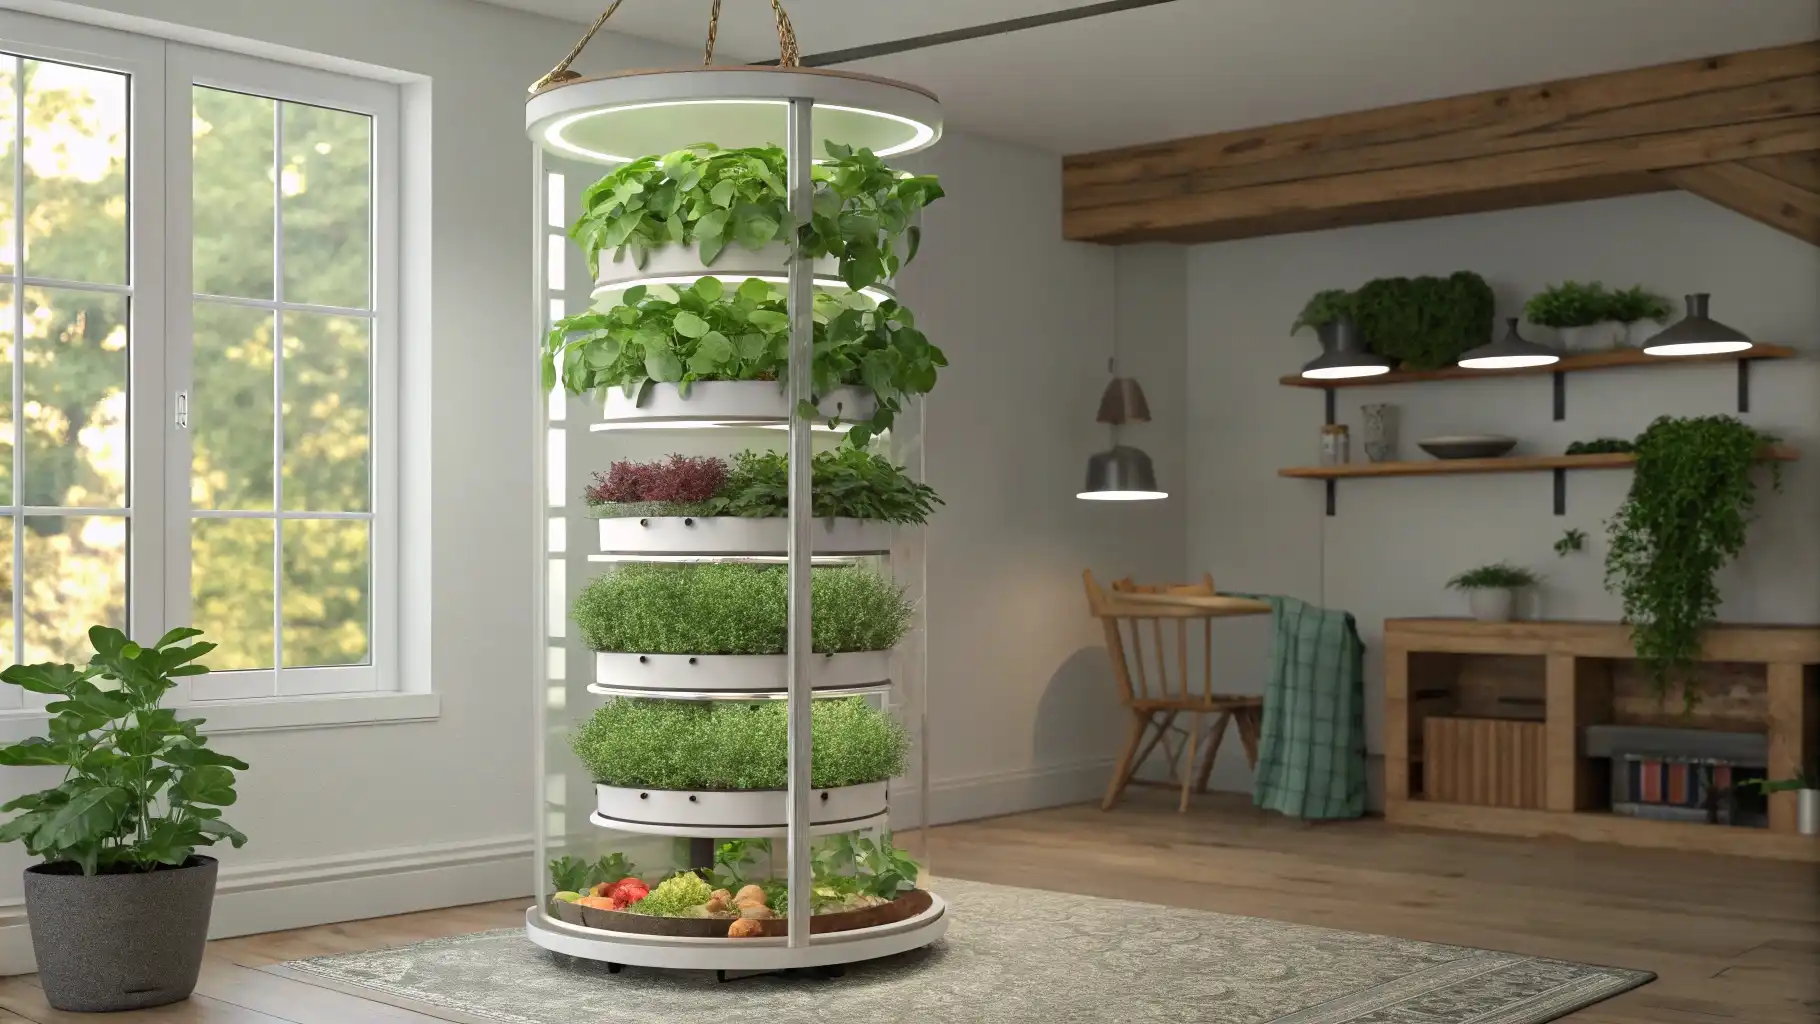
Stack a 3–4 shelf unit and fill each level with 1020 trays. Sow 10–15 grams of brassica seeds per tray for maximum yield. Add a clip fan to keep air moving between shelves. Harvest when microgreens reach 2–3 inches tall. Re-sow immediately for continuous production.
One tray yields about 8–12 ounces of fresh microgreens. With four trays, you’re harvesting a pound of greens every 10–14 days. That’s more than most families can eat. You could sell the excess to neighbors or restaurants.
