
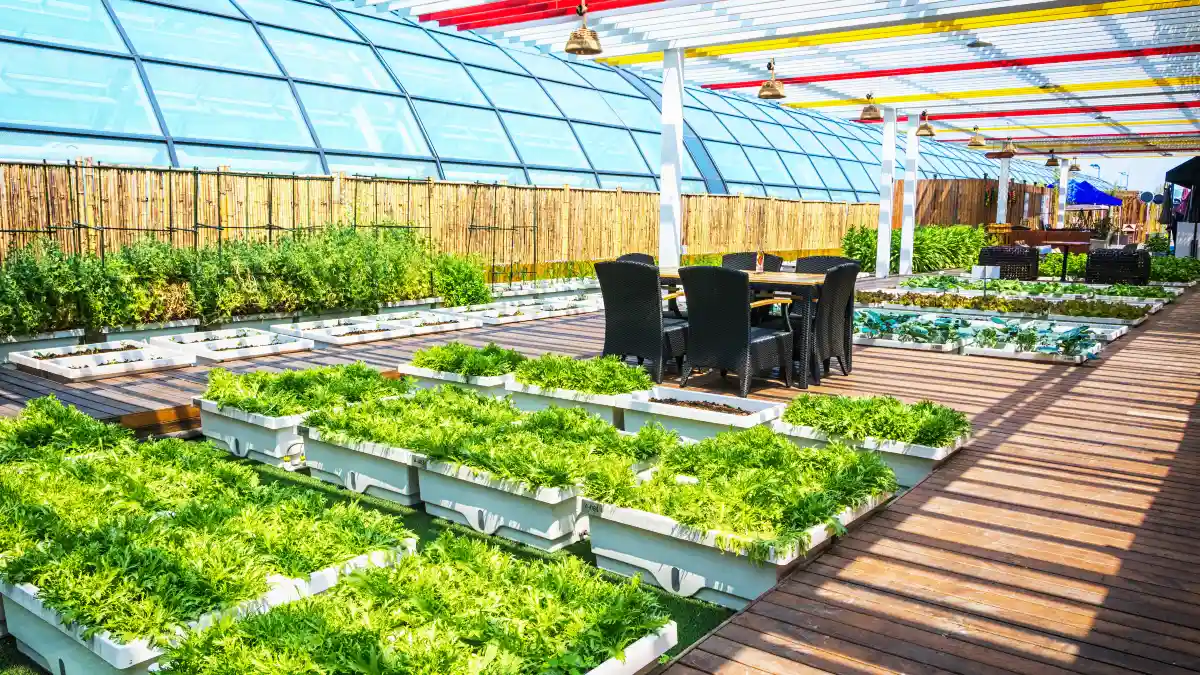
“Want a garden that drains well, warms earlier, and cranks out more per square foot?” Illinois Extension notes that even modestly raised soil dries and warms sooner, which lets you plant earlier and dodge spring sogginess. That single advantage—earlier, healthier roots—underpins many of the best raised bed garden ideas.
But most gardeners hit the same roadblocks: How wide should the bed be? Is pressure-treated wood safe now? Do galvanized or block walls affect soil? What’s the best soil for raised beds if you’re going peat-free? And how do you stop watering from becoming a time sink? Cooperative Extension resources agree these are solvable with a few clear rules on dimensions, materials, soil mix, and simple irrigation.
In this guide you’ll get proven dimensions and layout math, material choices that are safe and durable, peat-free soil recipes that actually hold moisture, and watering methods that the U.S. EPA says can cut outdoor use by 20–50%. You’ll also see raised garden bed designs for access (including wheelchair-friendly paths) and step-by-step DIY raised bed plans. Start with one bed, follow the numbers, and you’ll harvest sooner—with less weeding, less water, and less guesswork.
Benefits That Matter: Why Raised Beds Shine
Benefit Highlight
Beat Spring Chill: How Raised Beds Start Earlier
Why it works
- Lifted soil drains faster after rain, reducing cold-wet stress on roots.
- Exposed surfaces warm sooner in spring, letting you plant earlier.
- Contained beds stay aerated because you never step on them.
“Raised beds also have better drainage, and soils warm up earlier in the spring, allowing an earlier start.” — Illinois Extension
Earlier, better starts. Illinois Extension explains that lifted soil profiles drain faster and warm sooner in spring, enabling earlier planting and reducing disease tied to cold, wet ground. That’s a compounding win: earlier roots, earlier flowers, earlier harvests. (It also means fewer lost weekends waiting for mud to dry.)
More yield per area. Oregon State University Extension highlights a key design truth: when you stop walking on beds—and concentrate fertility and irrigation in a defined space—you can plant more densely and harvest more per square foot. Pair that with vertical trellises and you reduce path “waste” while keeping airflow strong.
Accessibility and cleaner layouts. UF/IFAS Gardening Solutions points to two everyday benefits: less compaction (because you never step in the bed) and easier access for gardeners with limited mobility. Narrow beds and firm, wide paths reduce strain and make routine tasks—seeding, pruning, harvesting—much faster.
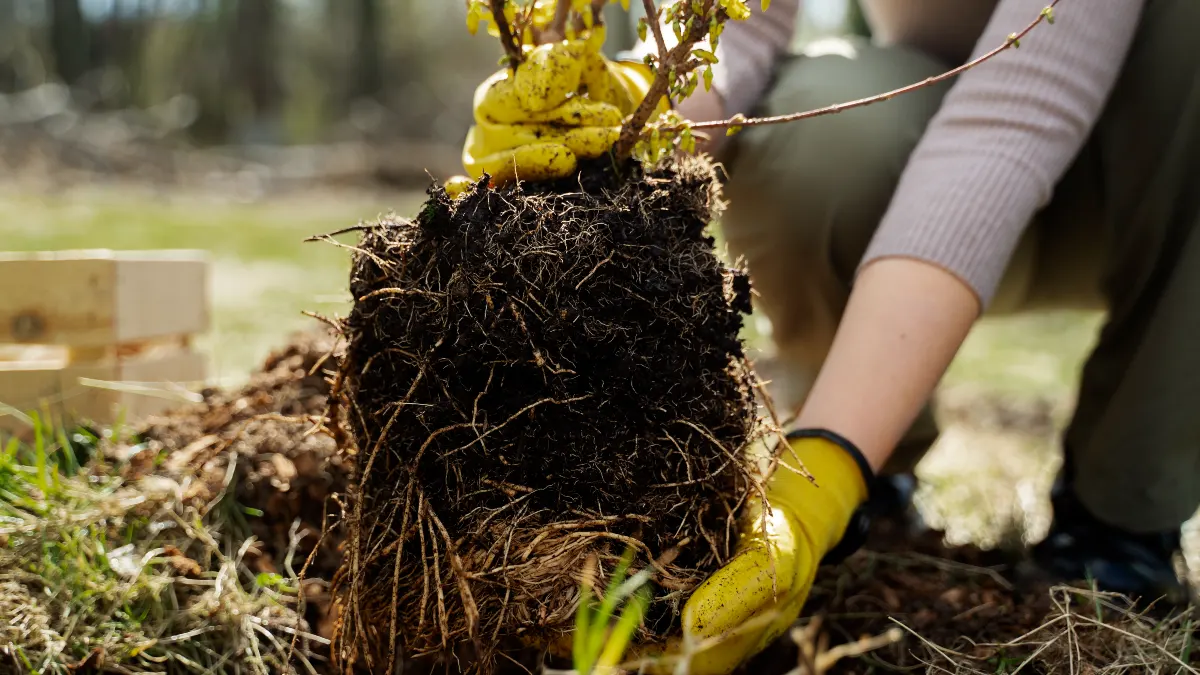
Safer than sketchy soil. University of Minnesota Extension recommends raised beds when native soil is compacted or contaminated; imported soil mixes in contained frames lower exposure risks while you remediate or garden above the problem.
Water savings baked in. As a teaser for the irrigation section: the U.S. EPA reports that micro/drip irrigation typically uses 20–50% less water than conventional sprinklers—especially impactful in raised beds that dry faster.
Plan the Perfect Size & Layout (Get the Math Right)
Start with width you can reach. University of Arizona Cooperative Extension recommends a 4-ft bed if you can access both sides, and ≤3 ft when accessed from one side. That reach rule prevents stepping in the bed (no compaction) and keeps maintenance comfortable.
Proof your paths. For general comfort, keep paths ≥24 in; where wheelbarrows, carts, or wheelchairs need to pass comfortably, ≥36 in clear width is the go-to benchmark drawn from ADA route standards (with local codes and site specifics in mind). If you run long, narrow pinch points, provide periodic wider passing areas.
Pick the right height. UGA CAES (Field Report) suggests ~10–12 in of soil for most crops, with 24 in bed height for wheelchair access and ~36 in to minimize bending. Mix heights across a garden to match different users. If your bed sits on pavement, go deeper so roots have real volume.
Reinforce long or tall frames. Long runs (≥6 ft) and taller walls (≥18 in) bow under wet soil. Add interior battens, cross-ties, or stake the walls every 2–4 ft—guidance echoed in OSU and reinforced explicitly in the 2025 UAF Extension update for Alaska gardeners. It’s cheap insurance against mid-season failure.
Pro example to copy: A 4×8 ft cedar bed, 10–12 in deep, with 36-in hard-surface paths for wheelchair access (and easy cart turns). For seated gardeners, build a 30-in-tall “table bed” with a strong, draining bottom; ensure the knee clearance works for the chair.
Choose Safe, Durable Materials (Wood, Metal, Block)
Wood (what’s safe now). The chromated copper arsenate (CCA) era ended for virtually all residential uses in 2003; that phase-out is on record in the Federal Register and EPA notices. Modern copper-based treatments (e.g., ACQ) replaced arsenic and, according to Cooperative Extension summaries (e.g., UMaine), show low plant uptake with most risk tied to direct soil contact/dust—so many gardeners use treated lumber without measurable crop issues. If you want extra caution, line the interior faces and keep soil pH near neutral. Avoid old CCA timbers and never use creosote or pentachlorophenol.
Metal (galvanized). University of Minnesota Extension notes that galvanized steel is long-lived and generally safe. Zinc leaching becomes a concern primarily in very acidic soils (pH <5). If your soil trends acidic, add a side liner—simple, effective—and test/adjust pH before planting.
Masonry/blocks. Blocks and bricks are durable and neat, but lime-rich materials can nudge pH upward—handy for some crops, not for others—so test and amend accordingly.
Cost/longevity snapshot. Cedar lasts, but costs more. ACQ-treated pine is cheaper and durable; if you’re uneasy, a heavy-duty liner on the sides (not the bottom) reduces contact without trapping water. UMaine and multiple Cooperative Extension programs summarize these trade-offs—and remind you to skip recycled landscape timbers of unknown treatment
Fill It Right: Proven Soil Mixes
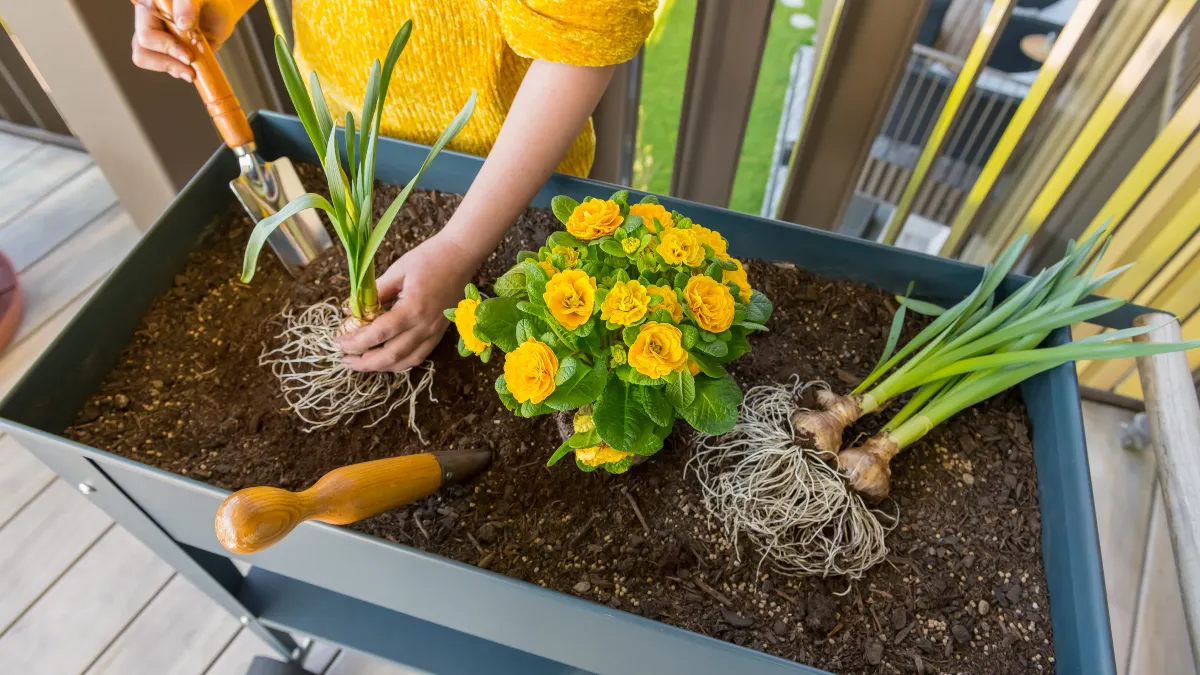
Start with a simple, stable recipe. University of Minnesota Extension recommends filling beds with roughly ½–⅔ quality topsoil + ½–⅓ plant-based compost. That balance gives roots air, structure, and water-holding without the salt and phosphorus spikes that come from overdoing compost. If you’re tempted to “top up” with manure compost—pause. UMN cautions that regular, heavy compost additions can build phosphorus and soluble salts that burn seedlings and lock in nutrient imbalances.
On hardscape or very tall beds, adjust the blend. For beds on patios/driveways or taller than ~24″, University of Maryland Extension suggests a 1:1 mix of compost and soilless medium (think coir/bark-based mixes), with up to 20% topsoil added only when total depth is ≥16″. This keeps the profile light, well-drained, and less prone to compaction than straight “garden dirt” in a deep container.
Go peat-free. UMN flags the environmental concerns of peat and notes that peat and even straight coir can dry out quickly in raised beds. Prioritize plant-based compost + loam topsoil for beds; use coir/composted bark as components (for texture) rather than the base. The aim is a loamy, moisture-steady blend that rewets easily.
Test, then fine-tune. Pull a soil test every 2–3 years and let the lab—your local Extension Soil Testing Laboratory—call the shots on pH and nutrients. That’s how you avoid the slow creep of excess P and salts common in raised beds.
Quick math: Volume (cubic yards) = L × W × H (ft) ÷ 27.
Example: a 4×8 bed filled to 1 ft needs 1.19 yd³ (round to 1¼ yd³). Cross-check your crop choices with the USDA Plant Hardiness Zone Map (2023 update) so you don’t load a cool-soil mix with heat lovers too early.
Watering That Saves 20–50%: Drip & Soaker Setups
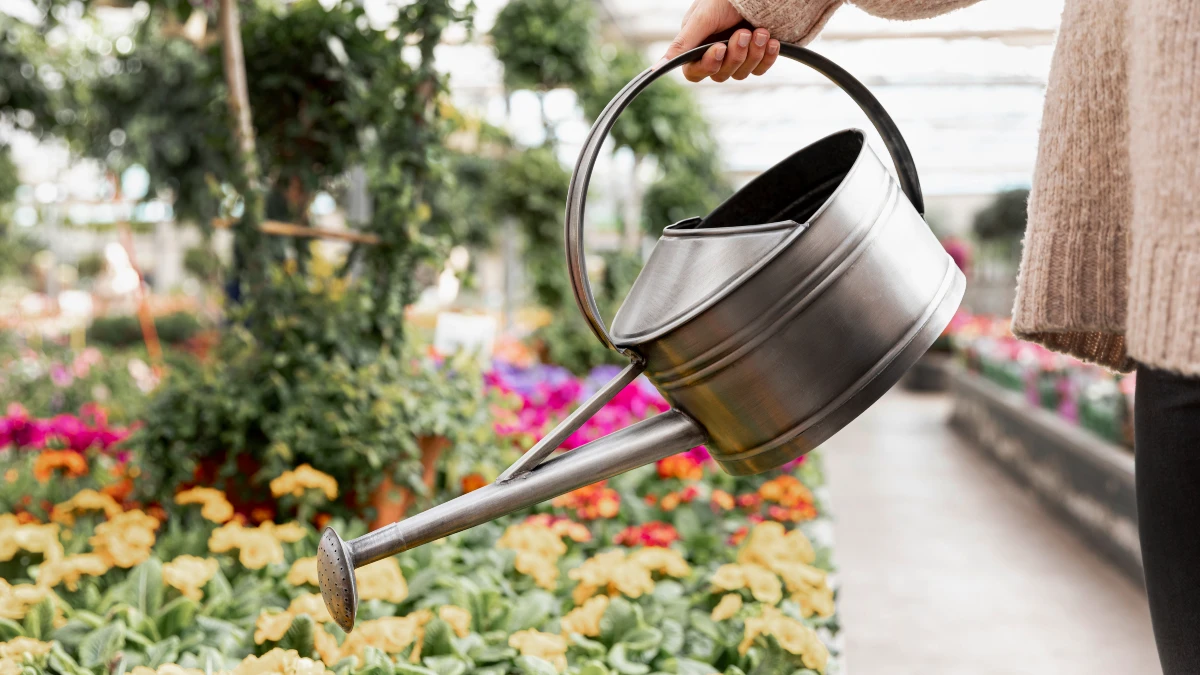
Lead with efficiency. The U.S. EPA WaterSense program states that microirrigation (drip/soaker) typically uses 20–50% less water than sprinklers because water is delivered slowly at the root zone, cutting evaporation and runoff. Illinois Extension adds that drip can hit ~90–95% application efficiency under the right setup—nearly the mirror image of overhead watering on hot, windy days.
How to lay it out in a 4×8. Run two parallel drip lines down the length of the bed, ~12″ emitter spacing (inline tubing) or a soaker hose centered between plant rows. UCANR guidance for vegetable beds supports 9–12″ emitter spacing for even coverage. Bury lines under mulch to stabilize moisture and reduce surface evaporation.
Automate the routine. Pair your manifold or hose-end with a WaterSense-labeled controller or smart hose timer. WaterSense notes these controllers can prevent chronic overwatering by scheduling to weather and soil conditions—and they’re independently certified for performance.
Scheduling basics for raised beds. Beds dry faster than in-ground soil, especially in heat and wind. UMN Extension’s rule of thumb: check ~2″ below the surface; if it’s dry there, it’s time to irrigate. Expect more frequent, shorter runs on sandy mixes and less frequent, deeper runs on loamy beds—always finishing with mulch and plant density in mind.
Pro Tip: Start with 10–20 minutes per zone and adjust by feel: if soil is dry at 2″ within 24 hours, lengthen the run; if it’s still soggy at knuckle-depth, shorten. Recheck after heat waves or when canopy leaf area jumps.
Mulch & Covers: Moisture, Weeds, and Season Extension
Mulch depth that works. UF/IFAS Gardening Solutions recommends 2–3 inches of organic mulch around crops; keep a gap at stems to prevent rot. This layer reduces evaporation, buffers temperature, and suppresses weeds—three wins that make irrigation more forgiving in raised beds.
How much water does mulch really save? University and agency guidance consistently show meaningful water savings with mulch. UCANR estimates irrigation need can drop up to ~50% in some home-landscape scenarios, while recent journal reviews (e.g., Frontiers in Agronomy, 2024) confirm that evaporation reduction varies by material, coverage, and climate—but the direction is reliably positive. Translation: you’ll water less and hold moisture more evenly when beds are mulched.
Covers that earn their keep. For shoulder seasons, floating row covers and low tunnels push planting earlier and harvest later, and they reduce insect pressure by physical exclusion. University of Minnesota Extension highlights tunnels and covers for season extension; recent Frontiers research on “mesotunnels” found lower pest pressure and higher marketable yield vs. uncovered controls (with the caveat that pollination access must be managed).
What to use. Straw, shredded leaves, or partially composted bark at 2–3″; re-top mid-season. For insect exclusion, choose purpose-made insect netting or spun-bond cover; secure edges tight, vent in heat, and remove for pollinator-dependent crops at bloom. (UNH Extension’s IPM guidance stresses the “details”—tight seals and timely uncovering—to actually cut sprays.)
Keep Pests Out: Bed Liners, Fences & Smart Rotation
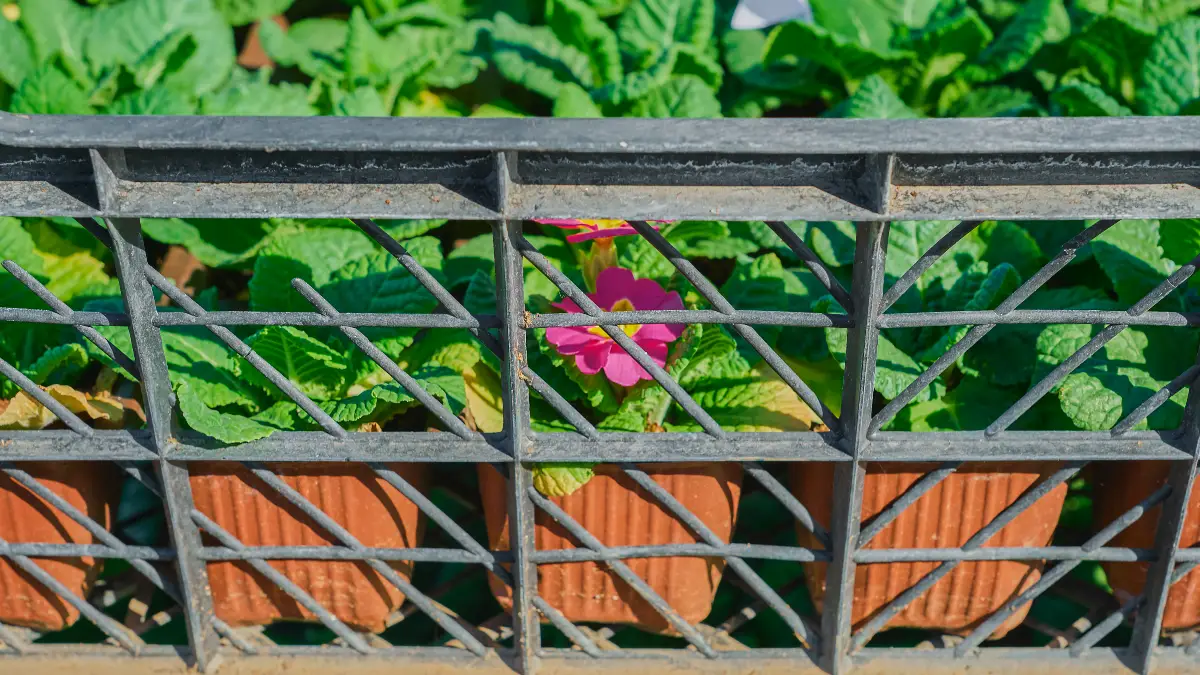
Block burrowers from below. Before you fill, staple ¼″ hardware cloth to the frame bottom. University of Minnesota Extension recommends this barrier to stop voles and mice; it lasts for years and doesn’t impede drainage. Skip plastic sheeting—it blocks water and roots.
Say no to impermeable underlayment. UMN cautions against solid barriers between bed soil and native soil; they can stunt roots and trap water. Only use a permeable fabric under beds set on hard surfaces (purely to keep soil from washing out), and even then ensure drainage is free.
Fence fast, fence smart. A 2–3 ft rabbit fence or tight insect netting around beds thwarts nibblers. Because raised beds are modular, adding a short perimeter is easy—and University Extension teams frequently show that simple physical exclusion prevents most early damage without pesticides.
Rotate by family, not just by crop. UMN recommends keeping crop families (e.g., tomatoes/peppers/eggplant; brassicas; cucurbits) out of the same bed for 3–4 years. This breaks disease cycles and helps manage soil-dwelling pests that overwinter. Keep a simple sketch of beds and rotate clockwise each season.
Quick setup checklist: hardware cloth bottom → fill with the right mix → install drip → mulch 2–3″ → add netting/fence → label the bed’s crop family for next year’s rotation.
Planting Ideas That Max Out Yield (Layouts & Trellises)
Grow “up” and tighten spacing. Virginia Tech’s publications on intensive and vertical gardening show that training crops upright (trellises, stakes, strings, cages) and using equidistant spacing lets you harvest more per square foot without choking airflow. Vining cucumbers, peas, pole beans, and indeterminate tomatoes are prime candidates; support reduces disease, lifts fruit cleanly off soil, and frees ground space for fast crops. Remember that vertical structures cast shade—orient them so they don’t rob sun from shorter plants.
Grid it for speed. UNH Extension recommends a simple square-foot grid (1×1-ft blocks). It’s an easy way to plan density, track rotations by “squares,” and keep aisles clear. Use the crop’s normal in-row spacing as your grid cue: e.g., lettuce ~8–10″ (one per square); carrots ~3″ (16 per square in a 4×4 mini-grid). The method prevents path creep and makes succession planting plug-and-play.
A proven 4×8 layout. Place your tallest, trellised crops on the north side to prevent shading: run a mesh panel or twine trellis for two tomatoes (18–24″ apart) and a 2-ft pea strip. In the middle, grow peppers and basil. Up front (south edge), sow cut-and-come-again lettuces and a carrot band. After peas finish, swap that strip to bush beans; after lettuce, drop in basil or a late zucchini. This keeps every square working while airflow stays strong.
Budget & Accessibility Builds (DIY Plans You Can Trust)
Low-cost, durable frames. For budget builds, use 2× boards (pine/fir) with reinforced corners; they’re inexpensive and quick to assemble. Oregon State University Extension notes that pine/fir are cheaper but decompose sooner than cedar/redwood; that’s fine for a starter bed, especially if you line only the sidewalls (never the bottom) to limit wet-soil contact. For long or tall beds, add interior stakes or cross-ties so wet soil can’t bow the boards.
Make it accessible from day one. UGA’s CAES Field Report gives clear targets: most veggies want ~10–12″ of soil; for wheelchair access, set bed height ~24″; to minimize bending, go ~36″. Keep paths at ≥36″ clear width (CAES suggests up to 4 ft for carts or wheelchairs) on a firm, level surface. These numbers make seeding, pruning, and harvesting dramatically easier.
Kit vs. DIY. Kits (often powder-coated steel or pre-cut cedar) assemble fast, offer rounded edges, and can outlast softwood; DIY wins on price and custom sizes, and lets you reinforce exactly where your soil depth and climate demand. Whichever route you choose, budget a few dollars for proper corner hardware and mid-span bracing—it’s cheap insurance against blowouts.
Example you can copy: A U-shaped, 30-in-high bed with 36-in paths allows roll-in access and full reach from a seated position; mirror CAES height and path guidance, and add one interior brace per 4–6 ft run.
Conclusion
Raised beds deliver what gardeners want: better drainage and earlier spring warmth for a faster start, plus more harvest per area when you tighten spacing and grow vertically. Illinois Extension highlights those core benefits; the rest is execution.
Get the math right (width, height, path), choose safe materials that fit your budget, fill with a peat-free loam-and-compost blend, and lock in efficiency with drip plus 2–3″ mulch. Then keep pests and disease down with simple barriers and a 3–4-year family rotation.
Your next step is easy: download a one-page checklist (dimensions, soil-volume math, drip parts), build one bed this weekend, and plant three crops you love. That’s how you turn raised bed garden ideas into earlier, cleaner, higher-yield harvests this season.
