With the right design and soil, a weekend DIY raised bed can deliver big harvests this season. The most common failures? Beds too wide to reach, soil that’s too shallow, poor fill mixes, and questionable materials that don’t hold up or raise safety worries.
This guide solves those pain points fast. You’ll get precise sizes (how wide and how deep to build for comfort and crop health), a simple “best soil for raised beds” recipe, clear water targets, safe material choices (cedar, modern pressure-treated lumber, and galvanized steel), easy season-extension add-ons, and 7+ DIY raised bed garden ideas you can copy today—each with specific sizes and build notes.
Key proof points you can trust: keep bed width at ≤4 ft if you can access both sides (or ≤2–2.5 ft if the bed sits against a fence), which prevents stepping in and compacting soil (Oregon State University Extension; University of Minnesota Extension; UNH Extension). Most vegetables need ~6–8 hours of direct sun to fruit well (Alabama Cooperative Extension System).
Match bed depth to crops: 8″+ for leafy greens, beans and cucumbers; 12–24″ for peppers, tomatoes and squash—especially if your bed sits on hardscape (University of Maryland Extension). Along the way, you’ll see practical raised garden bed plans, safety guidance for galvanized raised beds, and layout tips you can use in any yard.
Plan the Perfect Size, Sun & Paths
Fit-First Rules for Productive, Walkable Beds
Plan reach, sun and paths with data-backed targets—then lock in your layout in minutes.
Reach Rule (No Step-In Beds)
- Max bed width: 3–4 ft (access both sides).
- Against a wall/fence: 2–2.5 ft max.
- Your arm reach ≈ 2 ft — design to your reach, not the lumber rack.
Path Width Ladder
- 24" minimum: single-file garden access.
- 36" comfortable: tools + easy passing.
- 48" accessible: wheelbarrow & mobility devices.
| Crop | Target Depth |
|---|---|
| Leafy greens | 8–10" |
| Beans/Cucumbers | 10–12" |
| Peppers/Tomatoes | 12–18" |
| Squash | 16–24" |
Reference Layout (scale & proportions)
Quick Math Before You Buy
- Soil volume: L × W × H (ft) = cu ft → ÷27 = cu yd.
- Example: 4×8×1 ft = 32 cu ft ≈ 1.19 cu yd.
- Path area: length × width → chips at 2–4" depth.
Choose a width you can reach. For beds you can access from both sides, the best size for raised beds is 3–4 ft wide; if the bed is against a wall or fence, cap width at 2–2.5 ft so you never have to step in (reduces compaction and keeps soil fluffy). Handy rule: your comfortable reach ≈ 2 ft.
Match depth to your crops. Plan 8–10″ usable soil for shallow-rooted greens/beans/cukes and 12–24″ for deep-rooted fruiting crops like tomatoes, peppers and squash—especially for beds on patios or compacted subsoil.
Site for sun. Fruiting crops (tomatoes, peppers, squash, cukes) perform best with 6–8+ hours of direct sun. If your spot gets less, shift to leafy or root crops that tolerate partial sun. (Alabama Cooperative Extension System; UMN Extension).
Lay out comfortable paths. For an easy-moving DIY raised bed layout, leave ~2–3 ft aisles so two feet can pass and tools fit; go ~4 ft where you’ll push wheelbarrows or want wheelchair access. (UGA Cooperative Extension; Colorado State University).
Example spec inside your raised garden bed plans:
Two 4×8 ft beds (accessible both sides), 10–12″ deep, oriented north–south to minimize self-shade, with 3 ft center path and 2 ft side paths. “Full sun” = 6+ hours—use a phone-camera time-lapse to confirm. (Alabama Cooperative Extension).
Choose Safe, Long-Lasting Materials

Cedar & decay-resistant hardwoods. Cedar, hemlock, black locust, oak, and redwood resist rot naturally and are excellent for edible beds. Thickness and exposure drive lifespan—thicker boards and good drainage last longer. (University of Maryland Extension summarizing USDA Forest Products Lab).
Modern pressure-treated (PT) lumber, clarified. Today’s residential PT lumber uses copper-based preservatives (e.g., MCA/CA). Current extension guidance and multi-year research show only a minor copper increase in soil right at the board edge (~within an inch) and no increase in copper in vegetables grown in those beds. Most extensions consider pressure treated wood raised beds safe for food gardening; if you’re still uneasy, line the inside walls with heavy-duty plastic or use non-wood materials. (University of Maryland Extension; Oregon State University research update).
Galvanized metal beds (corrugated panels, stock tanks). On neutral to slightly alkaline soils, zinc from the galvanization is not expected to leach at meaningful levels; concerns rise mainly in very acidic soils (pH < 5). If your soil is acidic or you prefer extra peace of mind, add a geotextile/landscape-fabric liner, keep soil pH in the 6.0–7.0 range, and avoid corrosive amendments against the sidewalls. This aligns with galvanized raised beds safety guidance from UMN Extension; practical builds and corrosion tips are widely demonstrated by pro growers. (UMN Extension; Epic Gardening).
Plastics & composites. If you use plastics (liners or modular panels), prioritize food-safe HDPE or PP and avoid unknown, off-gassing materials. Many gardeners use rigid recycled plastic “boards” marketed for raised beds or commercial food-grade tubs. (Epic Gardening; UMD building guidance).
Pallet projects (budget builds). Only use pallets stamped “HT” (heat treated); avoid “MB” (methyl bromide). Inspect for spills. Several extension sources reinforce this safety shorthand; PSU notes to avoid MB-stamped pallets for any purpose. (UC ANR; Penn State Extension).
Cedar: warm look, easy to cut, stays cool in sun; needs thicker stock for longevity.
Metal: fast to assemble, very durable, light to move, warms soil earlier; use edge guards and mind pH if you’re in very acidic climates. (UMN Extension).
DIY Raised Bed Garden Ideas
Size: Outer 8×10 ft footprint with 4 ft arms; interior 3–4 ft paths for carts/wheelchairs.
Why it works: Maximum reach, no stepping in, easy trellis access.
Notes: Keep bed width ≤4 ft on both-side access, ≤2–2.5 ft on any single-side run. (OSU; UNH/UGA).
Size: Common tanks are 2×4 ft or 2×6 ft and ~2 ft deep—great for tomatoes/peppers.
Build: Drill multiple ½” holes along the bottom for drainage; add 2–3″ coarse gravel, then soil.
Safety: Generally safe at neutral pH; line if soil is very acidic. (UMN Extension; Epic Gardening).
Size: ≤6 ft diameter with a center compost basket (wire cylinder ~12–18″ diameter).
Why it works: Short reaches, built-in nutrient return; excellent for greens/herbs.
Build tip: Keep paths 2–3 ft around it to wheel in mulch/compost. (Illinois Extension).
Size: 2–2.5 ft wide max when accessed from one side; run length to fit.
Crops: Leafy greens, peas on a slim trellis, bush tomatoes/peppers in cages. (UNH/UMN).
Size: Deck-height frames 28–36″ tall; ensure 8–12″ soil depth minimum (more for tomatoes/roots).
Notes: Reinforce bottom; choose light, well-drained mix and irrigate more frequently.
Build: Logs/branches at bottom, then greens/browns, then soil/compost; top up annually as wood settles.
Benefits: Moisture-holding, uses yard debris; follow current guidance and avoid allelopathic woods.
Build rule: Use only HT-stamped boards; avoid MB. Pre-drill to reduce splitting; seal exterior.
Layout: Keep widths within reach (see Idea #1), and maintain 2–3 ft aisles. (UC ANR; UGA).
Pro tip: Whatever layout you choose, orient long beds north–south and place the tallest crops on the north edge to reduce shading. Leave ~4 ft in any “main” aisle if you plan to use a wheelbarrow. (UGA; Colorado State).
Fill with the Right Soil Mix (best soil for raised beds)
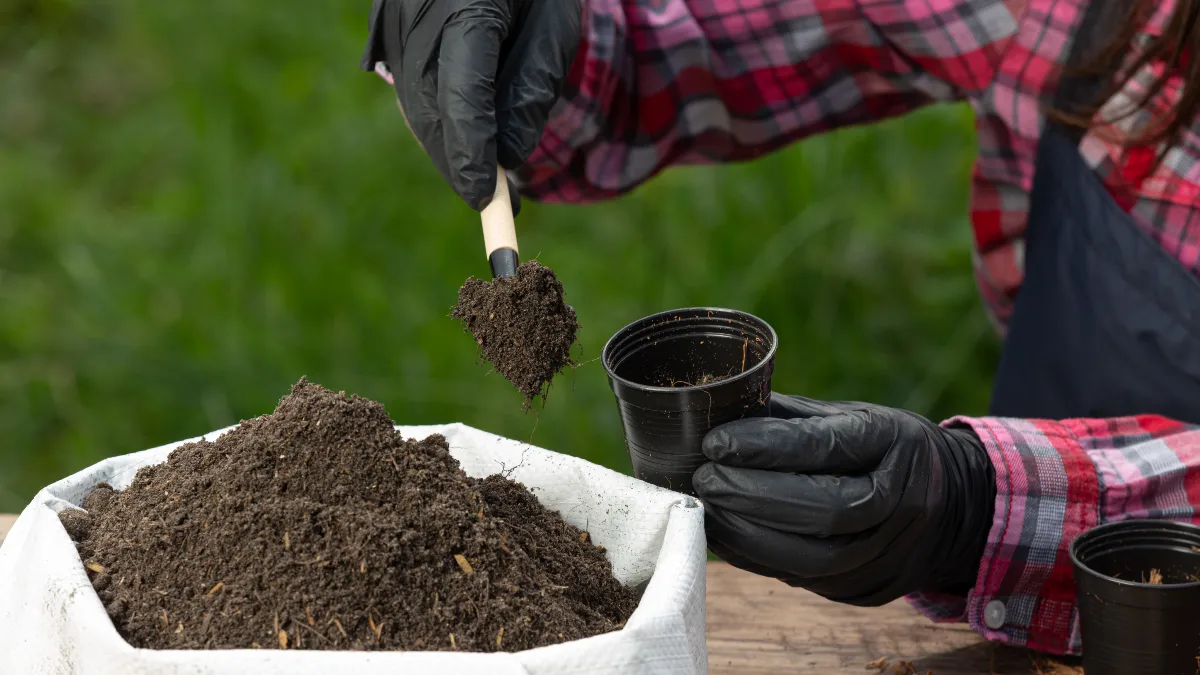
UMD “light & fertile” mix: Fill with 50% finished compost + 50% soilless mix (peat/coir + perlite/vermiculite). If your bed is ≥16 in. deep, you may add up to 20% topsoil to stiffen the mix. This keeps shallow beds loose, drains well, and still holds moisture. (University of Maryland Extension).
UMN “garden soil” blend: For deeper beds or raised ground beds, use about ½–⅔ screened topsoil + ½–⅓ plant-based compost (avoid heavy manure composts that can spike phosphorus and salts). (University of Minnesota Extension).
Depth targets by crop (build to this, then choose a recipe):
8–10 in. usable soil for leafy greens, beans, cucumbers.
12–24 in. for tomatoes, peppers, and squash—especially on patios or compacted subsoil. (University of Maryland Extension).
Volume math (so you don’t under-order):
Formula: L × W × H (in feet) = cubic feet; divide by 27 for cubic yards.
Example: a 4×8×1 ft bed = 32 cu ft ≈ 1.19 cu yd. (Eartheasy has a calculator if you prefer plug-and-play.)
Annual top-ups that keep yields high:
Rake back mulch and add ~1–2 in. compost in fall and again in spring before planting. This replaces what settled and feeds microbes all season. (Southern Living, 2025).
Budget fill (for tall beds) without sacrificing roots:
For beds >16 in. deep, you can layer coarse organics at the bottom—logs/branches/wood chips/straw/leaf mold—and finish with at least 12 in. of rich top layer (your chosen raised bed soil mix). This saves money while improving water-holding as the lower layer decomposes. (The Spruce, 2025; Clemson HGIC on hügelkultur moisture benefits).
Pro tips:
Screen bulk compost before filling; it should smell earthy, not sour or ammonia-like.
If your compost is manure-heavy, pull back on phosphorus-bearing fertilizers the first season (UMN cautions).
Track pH (goal 6.0–7.0) to keep nutrients available and materials (like galvanized steel) happy.
Watering That Saves Time
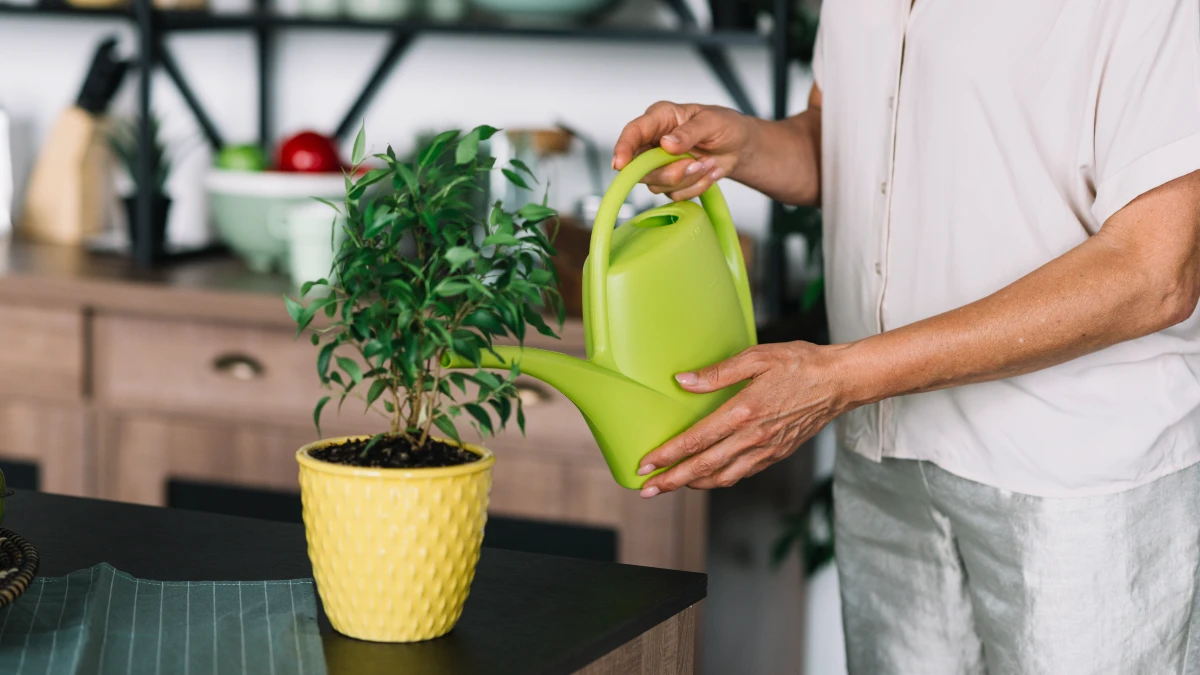
Drip (tape or in-line tubing) puts water at the roots, keeps foliage dry, and pairs perfectly with timers—the best way to water raised beds consistently with less waste (Utah State University Extension).
Design a simple, even layout:
On a 4-ft-wide bed, run 3–4 parallel drip lines (~12–16 in. apart) or one to two runs of drip tape centered and offset for full coverage. Use a pressure regulator, filter, and a battery timer. (Colorado State University; UA Cooperative Extension basics).
Know your weekly target, then translate it to run time:
Most vegetables need ~1 inch of water per week, including rain. 1 inch = ~0.62 gallons per square foot (~62 gal per 100 sq ft). For a 4×8 bed (32 sq ft), that’s about 20 gallons/week. (Purdue Landscape Report; UConn Extension update).
A practical starting schedule (then dial it in):
If you’re using 0.5–1.0 gph emitters or standard drip tape, begin with 2 waterings per week, each 2–4 hours (hot/dry spells may need more). Long, infrequent sessions “soak to depth” and match many extension run-time examples (City of Chandler/UA guidance; Penn State Extension shows that 1 inch via drip tape often takes multi-hour sessions). Always adjust by checking soil moisture.
How to check and adjust:
Morning is best (cooler temps, less evaporation). After a cycle, dig 2–3 in. down—if it’s dry, increase run time; if soggy, reduce frequency. (Arizona Cooperative Extension).
Want a walkthrough?
Utah State University Extension’s step-by-step drip build videos show parts, layout, and timer setup end-to-end.
Season Extension & Pest Covers
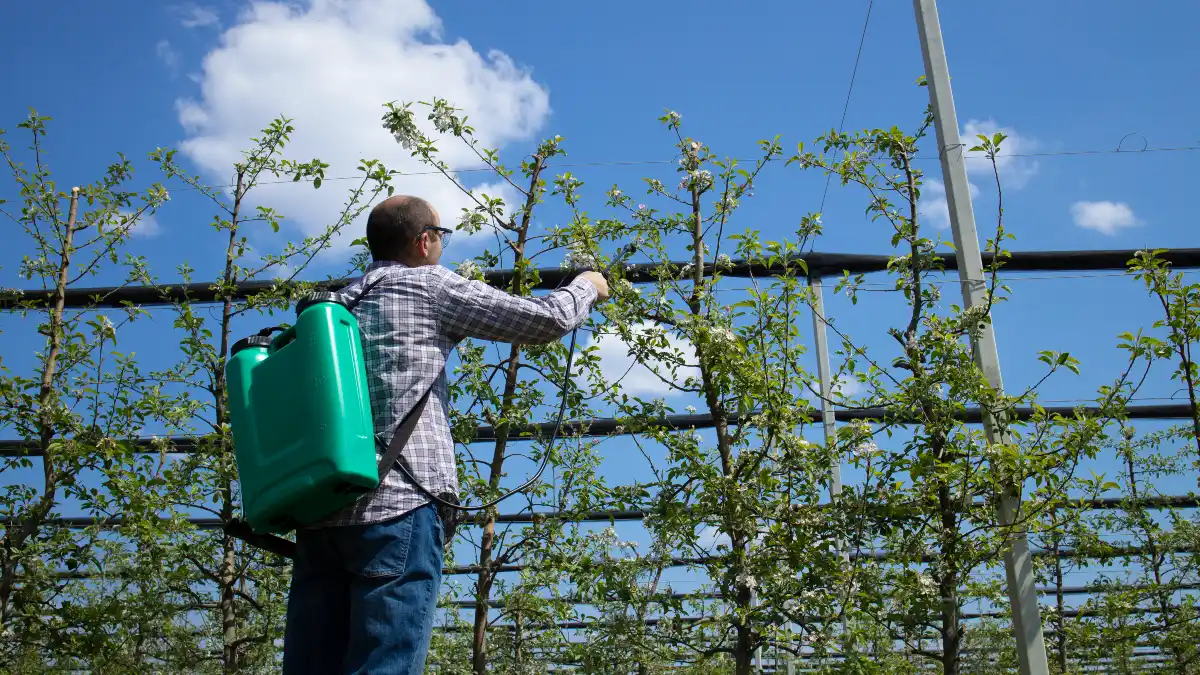
Low tunnels are typically 3–6 ft wide and ~4 ft tall—a sweet spot that neatly matches 3–4 ft raised beds and keeps fabric taut. Build hoops from 9-gauge wire, PVC, or EMT conduit; anchor well in wind. (West Virginia University Extension).
Know your protection levels:
Light row cover = about ~2°F frost protection; heavy row cover = ~6–10°F when sealed well. Choose weight by season and crop. (University of New Hampshire Extension; UMD).
Build options for a raised bed hoop house:
PVC hoops slipped over short rebar pins are fast and inexpensive; EMT conduit bent with a hoop-maker is sturdier and taller for kale, broccoli, and tomatoes on trellis. Both accept row cover, insect netting, or clear greenhouse plastic (swap materials as seasons change).
Pro setup tips:
Space hoops ~4–5 ft apart for strength; seal edges with boards, sandbags, or clips. Vent on sunny days to avoid overheating and allow pollinators in during bloom. (USDA-NRCS low tunnel guidance).
Why it matters:
On raised beds, soil warms earlier; adding a low tunnel raised bed cover pulls planting 2–4 weeks forward, speeds growth, and doubles as a pest cover for raised beds in summer. (WVU Extension).
Planting Plans & Spacing
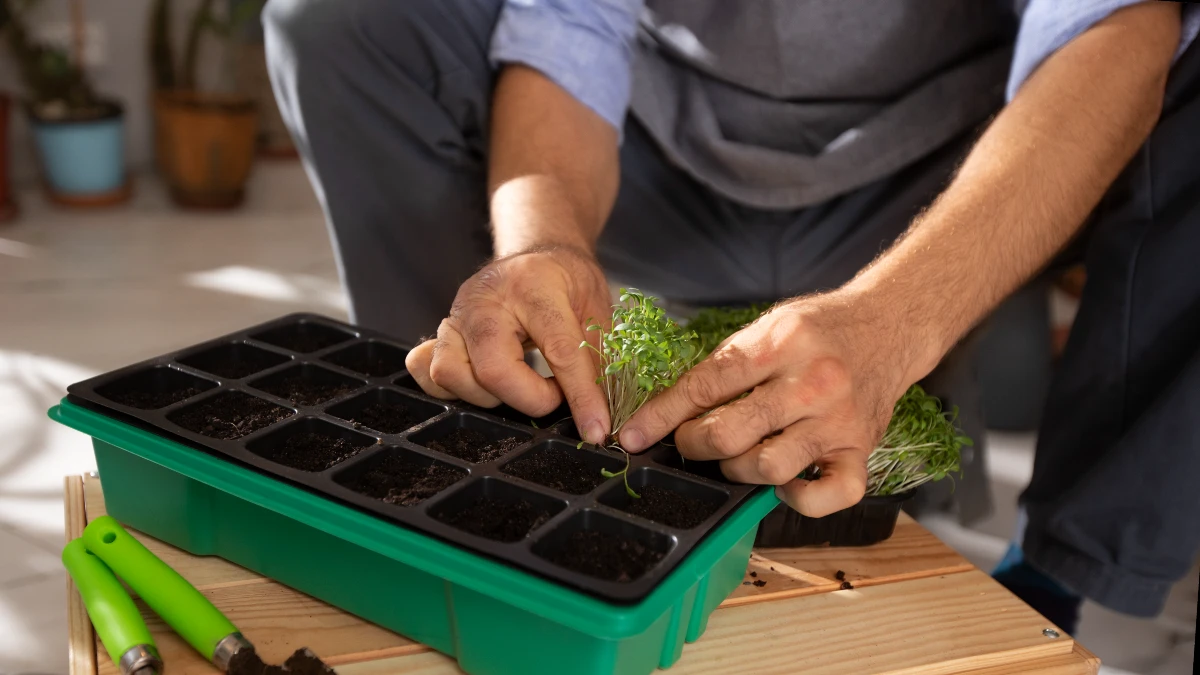
The 1-4-9-16 “cheat code” (fast spacing without math):
Per Square Foot Gardening guidelines:
1 per square for large plants (e.g., broccoli, cabbage).
4 per square for medium plants (e.g., lettuce, chard).
9 per square for smaller plants (e.g., beets, spinach).
16 per square for minis (e.g., radishes, carrots). This is the core of square foot gardening spacing and maximizes yields in tight beds. (Square Foot Gardening Foundation; multiple extension summaries).
A quick 4×8 raised bed planting plan (sun from south):
North edge (trellis side): 2 squares of pole beans (8 plants/2 squares), 2 squares of cucumbers (8 plants on trellis).
Just south of trellis: 4 squares peppers (1/square) interplanted with basil (4/square corners).
Center band: 6 squares of lettuce (4/square) staggered for successive harvests + 2 squares of beets (9/square).
Front (south) edge: 2 squares of bush tomatoes (1/square with cages), 2 squares of scallions (16/square).
Corners: Thyme or marigolds for pest confusion.
This arrangement keeps tall crops on the north, limits shade, and gives you paths to reach every square. (Square Foot Gardening Foundation guidance).
How to customize with a vegetable spacing chart:
Use the official vegetable spacing chart from Square Foot Gardening to swap crops by category (1/4/9/16). If a plant needs 18–24 in., give it a “top hat” (an extra box stacked on one square) or allocate 2–4 squares per plant. (Square Foot Gardening Foundation).
Pro tips:
Stagger plantings every 2–3 weeks for continuous harvests.
Edge the bed with herbs (thyme, chives) for pollinators and fast snips.
Mulch between plants to reduce splash and hold moisture—especially in hot climates.
Weed, Path & Soil Health
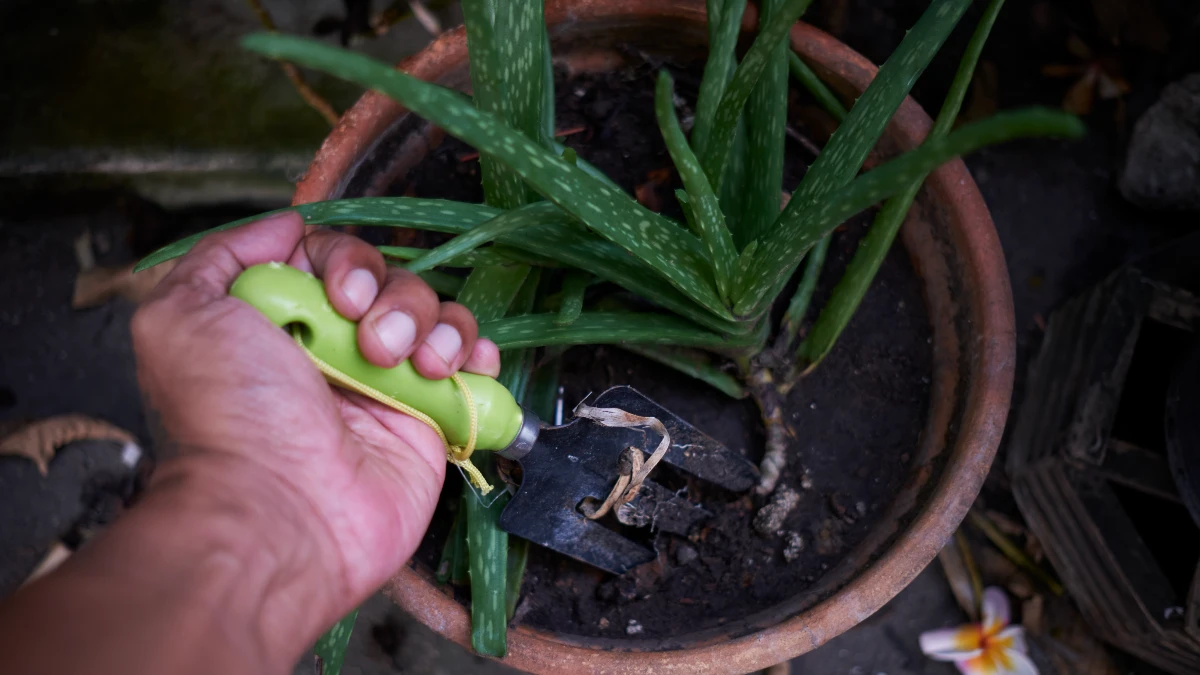
Do this first—mulch your paths, not your problems.
Lay 2–4 inches of wood chips on paths to suppress germination and hold moisture. Oregon State University Extension and Cornell resources both place effective organic mulch depth in the 2–4 inch range; OSU notes wood chips are long-lasting and particularly good for weed suppression on walkways.
Be cautious with landscape fabric under raised beds.
Master Gardener educators (Piedmont Master Gardeners) and university sources point out that landscape fabric clogs over time, restricting water and gas exchange and degrading soil biology—so it’s, at best, a short-term weed tactic and a long-term maintenance headache. The Garden Professors (Linda Chalker-Scott, WSU) document that sheet barriers impede oxygen movement; CSU/NC State extension communications echo similar cautions. Use coarse organic mulch instead.
Cardboard—where experts differ.
Some extension pages (including older how-tos) show cardboard as a smother layer, but current Clemson HGIC guidance highlights hydrophobic behavior if cardboard dries, and Garden Professors warn it reduces air exchange in soils—risking root stress. If you still choose it, remove tape, overlap seams generously, wet thoroughly, and treat it as temporary under a deep chip mulch, not a permanent barrier.
Quick checklist for weed control raised beds:
Paths: 2–4″ wood chip mulch paths; rake to refresh each season.
Beds: keep living soil uncovered by fabric; top with organic mulch after planting.
Edges: hand-weed cracks early before roots anchor.
Maintenance & Troubleshooting (keep beds thriving)
Compost top-up (twice yearly).
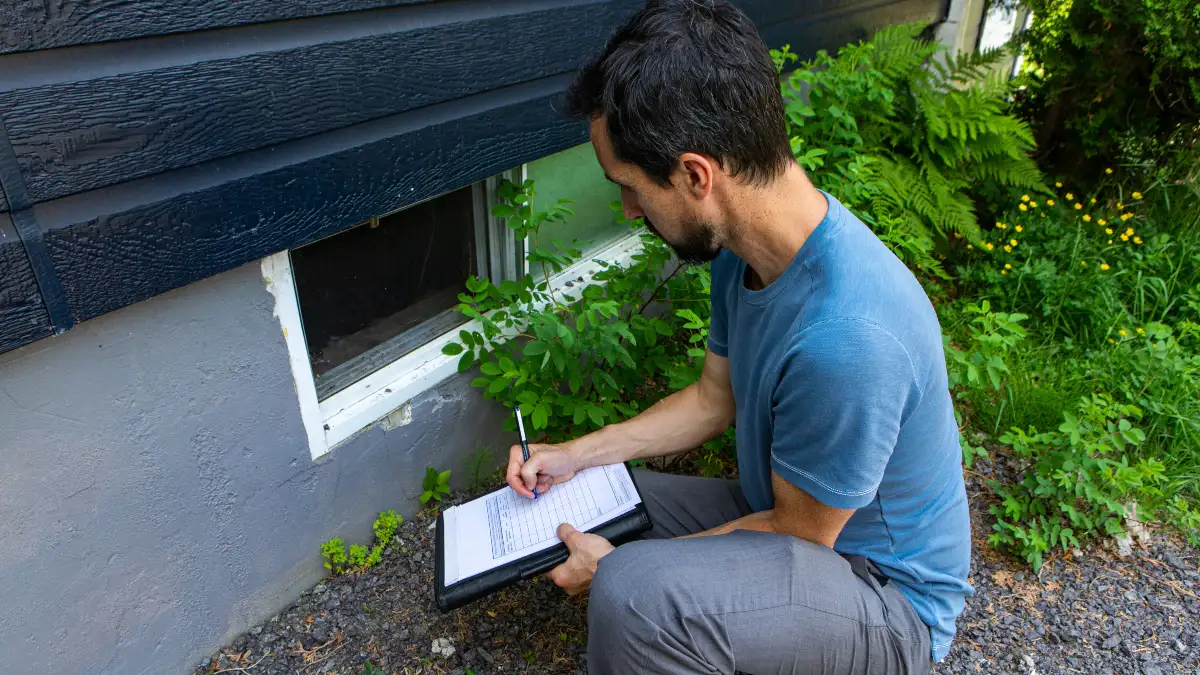
For reliable fertility and structure, rake back mulch and add a compost top-up of ~1–2 inches in fall and again in spring—a current recommendation echoed this season by Southern Living’s garden editors and consistent with extension best practice.
Critters from below (gopher-proof raised beds).
In gopher/vole regions, line the bed bottoms with ¼–½ inch hardware cloth before filling. UC ANR Integrated Pest Management explicitly recommends hardware cloth or mesh beneath raised beds to exclude burrowers. Gardeners widely report on Reddit that ¼ inch mesh outperforms ½ inch against voles.
Sun/air/water checks.
Each season, verify the site still receives 6–8 hours of direct sun (trees leaf out, sheds cast new shade). Prune dense foliage on trellised crops to improve airflow and reduce humidity around leaves, then adjust irrigation to maintain moist—not soggy—soil in the top 2–3 inches. (Sun requirement per Alabama Cooperative Extension System.)
Fast maintenance loop: compost top-up → re-mulch paths → inspect/repair drip → check sun hours → refresh trellis ties → scout for pests weekly.
Conclusion
Right-sized beds (≤4 ft wide), the appropriate depth by crop, a tested soil recipe, and drip irrigation turn good intentions into reliable harvests. For materials, all three common choices—cedar, modern pressure-treated lumber, and galvanized steel—are viable when used correctly and matched to your climate and budget (University of Maryland Extension; OSU Extension; Epic Gardening’s galvanization overview).
Measure your space, confirm sun hours, sketch your layout, and use a soil volume calculator before you buy. Then pick one idea, stage materials, and build. Start simple, keep notes, and improve each season. You’ve got this—use these DIY raised bed garden ideas to harvest more, sooner.

