
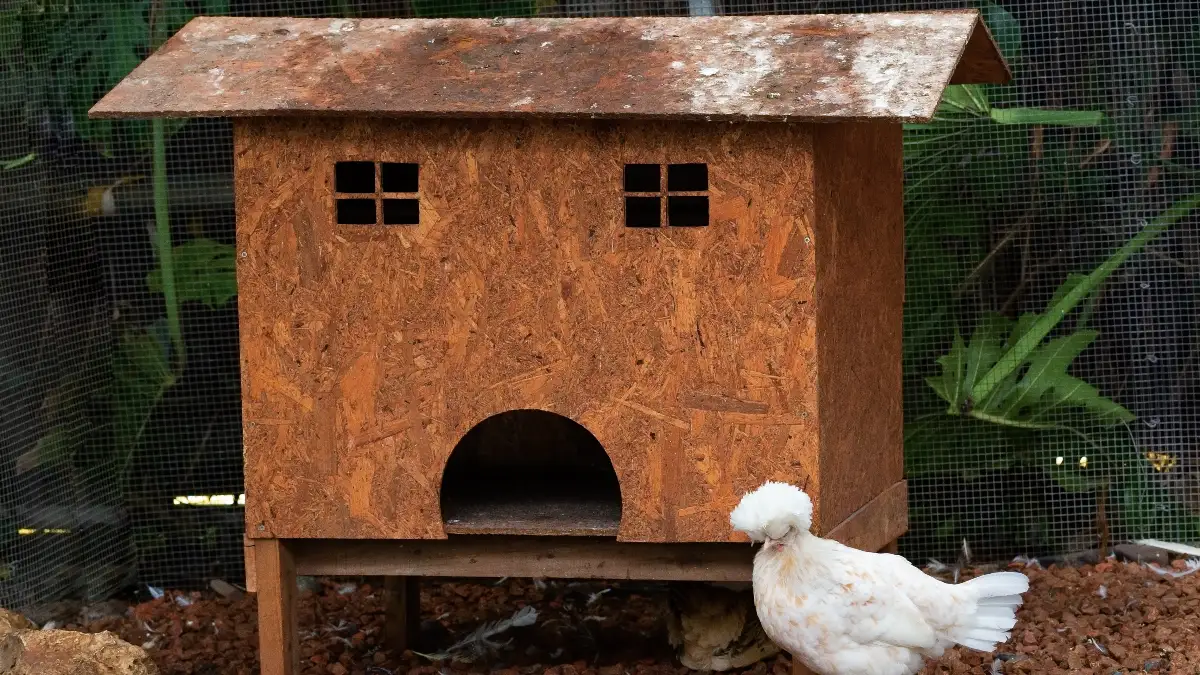
Most coop regrets come from avoidable design misses—undersized space, poor airflow, or flimsy predator defenses. Pretty photos don’t keep hens healthy. Smart chicken coop designs do. New keepers often copy plans that ignore flock size, climate, and local rules, then battle ammonia smells, frostbit combs, and nighttime raids.
Oregon State University Extension emphasizes roomy floor area, roosts that fit the birds, and generous airflow; University of New Hampshire Extension adds winter bedding depth and draft control for cold regions. In cities, ordinances matter as much as lumber—Seattle limits flock size and sets setbacks, while New York City allows hens but bans roosters.
In this guide you’ll learn how to choose the right backyard chicken coop format, size it correctly (with quick math you can reuse), plan roosts and nests that actually work, add chicken coop ventilation without drafts, harden the structure into a truly predator-proof chicken coop, and meet biosecurity, lighting, and code basics. You’ll get specific measurements, mini-checklists, and examples tuned for 4–20 hens—so you build once, right.
Choose the Right Chicken Coop Design (by flock, climate, yard)
Right-Size Your Coop (Quick Math + Layout)
Use these formulas and layout minimums to avoid the #1 regret: building too small.
Simple Sizing Formulas
birds × 3 sq ft = minimum floor areabirds × 8–10 sq ft = minimum floor areabirds ÷ 4 (round up) = number of boxesbirds × 5–10 in total perch spaceGuidance named from Oregon State University Extension (coop planning & space), with roost-length ranges adapted to breed size.
Start with format, not looks. Four proven options cover most backyards:
- Walk-in shed coops (best for year-round access and easy cleaning). You get human-height doors, space for deep litter in cold climates, and room to hang feeders high and dry. OSU Extension stresses designing for people’s access and simple clean-out.
- Elevated coops on legs (great for rain, rodents, and snowbanks). Shade underneath is usable chicken space; the raised floor stays drier. OSU recommends elevating to deter pests.
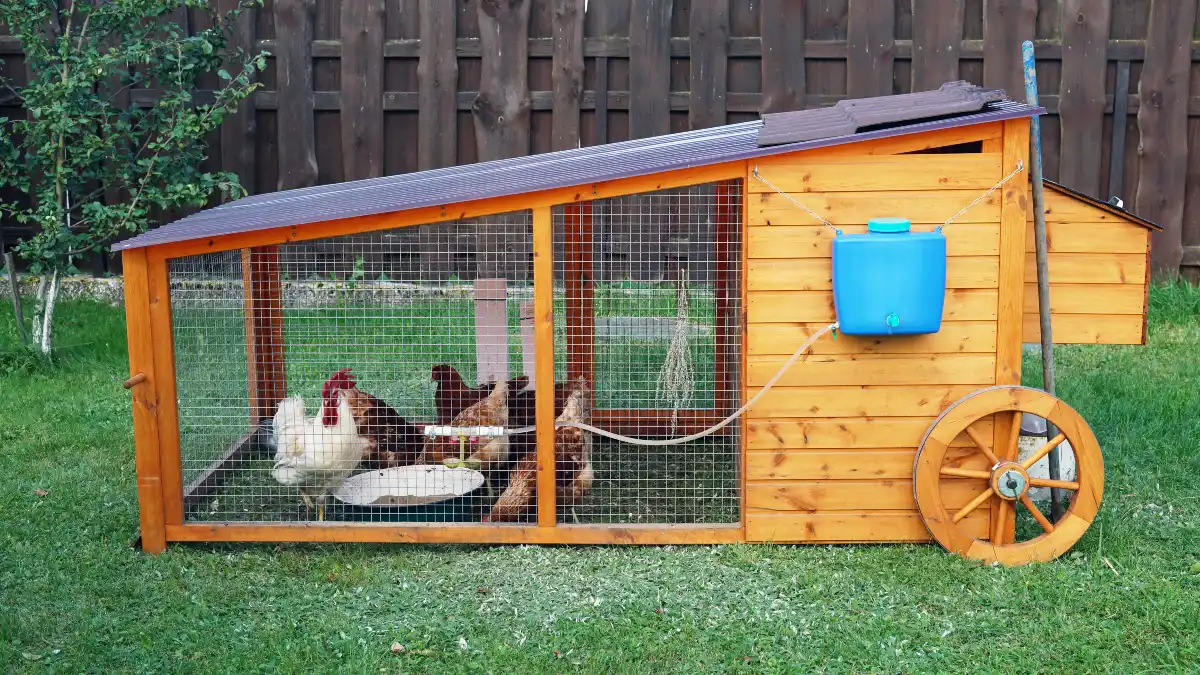
- Hoop/greenhouse-style coops (arched cattle-panel frames with plastic + hardware cloth). They assemble fast and ventilate easily in heat; add shade cloth and open both ends in summer. Meyer Hatchery’s 2024 build notes highlight shading and end-wall openings to prevent overheating.
- Mobile chicken tractors (for pasture rotation, garden cleanup, or parasite break). Extension resources show tractors shine when you move birds regularly; they’re common in OSU orchard systems and Penn State’s pastured setups.
Size it so the birds—not the brochure—decide. Use extension benchmarks: ≥3 sq ft per bird indoors when a run is provided; 8–10 sq ft per bird if there’s no outdoor run. Plan ~1 nest per 4 hens. That means a 6-hen walk-in with a run needs 18+ sq ft inside and 2 nests. (Large/heavy breeds appreciate extra elbow room.) These baselines come straight from OSU Extension.
Design the layout to work daily. Reserve wall space for roosts, give hens a dark corner for nests, and keep feeders/waterers where splashes won’t soak litter. Build a human door wide enough for a wheelbarrow and hinges that open outward; smooth floors that drain make weekly cleaning quicker (again, OSU).
Match climate, then tweak. In heat, prioritize shade trees, big openable panels, and high venting; in cold, block wind at bird level, keep litter dry, and add depth. UNH Extension recommends 4–6 inches of insulating bedding at floor level in winter.
Know your local rules before you build. Examples: Seattle permits up to eight hens (no roosters) and requires 10-ft setbacks from adjacent dwellings; NYC permits hens but bans roosters under the Health Code. Check your own city’s web page for the exact language.
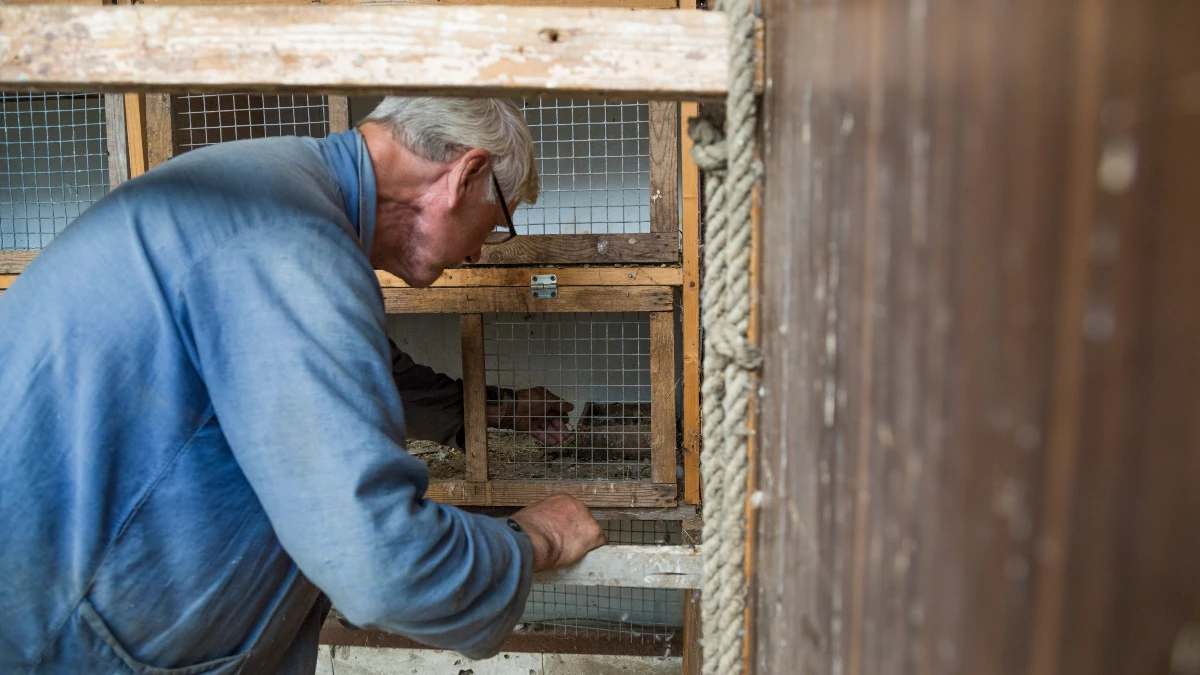
Space & Layout: Roosts, Nests, Doors, & Flow
Roosts — sized for feet and flock. OSU Extension’s coop guide is unusually specific: make roosts from 1–2 inch square wood with rounded edges to protect feet; set them ~2 ft above the floor, space parallel poles ~10 inches apart, and allow 5–10 inches of roost length per bird (light breeds toward 5–8″, heavies toward 8–10″). For Silkies or very heavy breeds, reduce height.
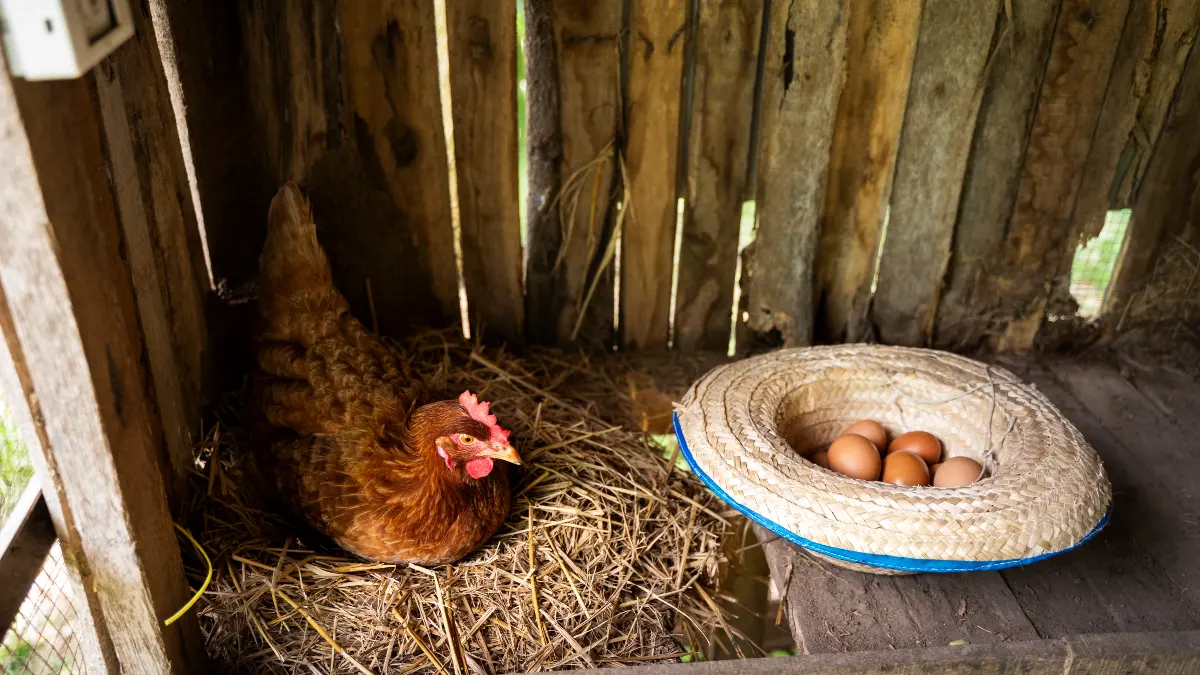
Nests — dark, quiet, reachable. Use 1 nest per ~4 hens. Standard 12″×12″×12″ boxes work for most breeds. Keep them below roost height (prevents night roosting in boxes) and add a hop-rail or short ramp for easy entry.
Doors & daily flow. A human door that opens outward and a straight path to every corner makes cleaning fast; OSU also recommends sloped floors for wash-down coops. For the chicken pop door, common dimensions that fit standard layers are ≈10″ wide × 10–13″ high; mount it high enough to keep litter from clogging the threshold and pair it with a secure latch or an automatic closer.
Feed & water placement. Hang a feeder so the lowest lip is at back height; suspend waterers over a rubber mat or low tray to catch drips—keeping litter dry is half of coop hygiene. (This supports the ventilation and ammonia goals below.) Practical placement guidance aligns with OSU’s “design for easy cleaning” emphasis.
Example for six hens (standard layers).
- Indoor area: 18–24 sq ft (3–4 sq ft per hen).
- Run: 60–80+ sq ft (10–13+ sq ft per hen).
- Roosts: Two 3–4 ft poles (total 72–96″) to exceed the 5–10″/bird rule.
- Nests: 2 boxes at 12″ cubed.
All numbers map cleanly to OSU’s size, roost, and nest guidance.
Ventilation Without Drafts (and Why It Matters)
Ventilation is about moisture and ammonia, not “keeping birds warm.” The goal is constant air exchange that removes moisture and gases while avoiding a breeze on the roost. Oregon State University Extension puts it plainly: provide as much ventilation as possible without creating drafts or predator access—use passive vents high in gables/eaves and switch on fans only for heat/humidity events, never blowing directly on birds.
Place vents above roost height, protect with hardware cloth. With roosts ~2 ft high, site permanent vents higher so rising warm, moist air escapes without washing over perching birds. Cover every opening with ½-inch hardware cloth to keep out raccoons, rats, and weasels while maintaining airflow (this mirrors OSU’s “no predator access” directive).
Measure, don’t guess, your air quality. Penn State Extension notes that human noses often don’t detect ammonia until ~20–30 ppm, while poultry health guidance aims for <25 ppm. Cheap instruments (colorimetric pull tubes or strips) let you confirm you’re staying under that threshold—especially in winter when vents are partially closed.
Seasonal strategy that works.
- Summer: maximize cross-ventilation—big openings (windows or removable panels) plus your high passive vents.
- Winter: keep the high vents open and block wind at bird height; use adjustable flaps/louvers over high vents for storms rather than sealing them—moist, stale air is the real frostbite risk. Practical winter setups use simple hinged flaps or sliders to fine-tune airflow above the roost line.
Quick checks you can do:
- If it smells “stale” in the morning or windows sweat, you need more vent area above the roost.
- Litter should stay dry and friable; damp corners signal either a leak or insufficient air movement.
- Confirm with a low-cost ammonia test monthly through winter, weekly if stocking density is high (PSU’s guidance).
Predator-Proofing That Actually Works
Chicken wire keeps chickens in; it does not keep predators out. For windows, vents, lower run walls, and any gap larger than ¼–½ inch, use galvanized hardware cloth: ½-inch mesh (often 19-gauge) is the backyard standard for raccoons, rats, and weasels. Experienced keepers and educators repeatedly document that chicken wire tears or deforms under predator force; hardware cloth resists cutting and reaching paws.
Build a dig-proof perimeter. Two effective methods:
- Predator apron: lay hardware cloth 12–24 inches horizontally around the outside of the coop/run, pinned flat with landscape staples; grass or mulch hides it.
- Buried skirt: trench 12–18 inches down and run hardware cloth in an “L” facing outward.
Product guides and current how-to articles describe both approaches and when to use each (no-dig apron for roots/rocks; buried skirt where trenching is easy).
Roof and doors matter. Hawks and owls go over, not under—cap open-top runs with netting or welded wire. Fit lockable latches that raccoons can’t flip (avoid simple slide bolts). OSU’s coop guidance also recommends netting over runs and elevating coops a foot off ground to deter pests.
Automate the vulnerable moment. An automatic pop-door that closes at dusk cuts the window when predators are most active; choose a model that can’t be lifted from the outside and test it weekly.
Do a 60-minute hardening pass (checklist):
- Replace any “screen” or chicken wire on openings with ½” hardware cloth secured with screws + washers or wood battens (not just staples).
- Add a 12–24″ apron or a 12–18″ buried skirt all around.
- Cover the run top; add a second latch at human doors.
- Walk the perimeter at dusk with a flashlight to spot gaps >½”.
For visual learners, step-by-step predator-apron videos show layout and fastening details.
Biosecurity & Sanitation (AI & Salmonella: 2025-relevant)

Keep wild birds and outside germs out. USDA’s APHIS “Defend the Flock” program emphasizes a simple idea: make a line of separation around your chicken area and treat it like a clean zone. That means cover feeders and waterers, close the run roof or net it so wild birds don’t drop into the pen, and store feed in sealed containers that don’t attract wildlife. If you bring in new birds—or a hen returns from a show—quarantine them for 30 days before they meet your flock. Post a small “Clean Zone” sign by the entrance and keep a boot brush or disinfectant mat there.
Adopt CDC-level hygiene that fits daily life. The CDC reminds backyard keepers that poultry can carry Salmonella even when they look healthy. Build habits: wash hands with soap after touching birds, bedding, eggs, or the coop; don’t eat or drink in the chicken area; and keep very young kids from handling chicks. For eggs: collect daily, discard cracked eggs, and dry-clean dirt with a cloth or fine sandpaper; avoid washing warm, fresh eggs with cold water because it can draw germs through the shell. Refrigerate promptly and cook eggs until whites and yolks are firm (160°F in dishes).
Clean smarter, not harder. A “clean chicken coop” stays dry. Scrape droppings boards or under-roost trays, replace obviously wet bedding immediately, and ventilate above roost height to purge moisture. Dedicate coop-only boots and a bucket of basic tools (scraper, brush, nitrile gloves) so contaminants never cross into the house or garden. Eliminate standing water near the coop—puddles attract waterfowl that can carry avian influenza.
Reality check (what the data says). CDC investigations continue to link human Salmonella cases to backyard flocks every spring/summer; 2024’s multi-state investigation reported hundreds of cases across 48 states, and CDC has issued 2025 advisories already. The lesson isn’t panic—it’s consistency: hands washed, eggs handled properly, coop kept dry, and new birds quarantined.
Bedding & Litter: Deep Litter vs. Sand
Deep litter method (carbon-first, moisture-low). Start with ~5–6 inches of dry, carbon-rich bedding (pine shavings or hemp). Stir weekly and top up whenever the surface looks damp or smells “chickeny.” Over a season, let it build to 8–12 inches. The birds do much of the aeration with their scratching; you remove wet clumps and add more dry carbon. This creates a stable, compost-like layer that controls odor and insulates in winter—so long as the coop is well-ventilated and dry.
Sand systems (only medium/coarse, in dry coops). Medium- or coarse-grained washed sand drains quickly, dries fast, and is easy to spot-clean with a cat-litter scoop; avoid fine play sand, which compacts, stays damp, and adds dust. Advocates point to poultry-science comparisons showing sand can host lower bacterial and fungal counts than some organics when kept dry. Trade-offs: sand can feel cold in winter, is heavy to install, and it doesn’t compost, so plan disposal.
What to skip or use cautiously. Cedar shavings are widely reported to irritate airways—choose pine or hemp instead, and remember ventilation does more than any bedding choice to prevent ammonia.
Quick chooser:
- Cold climate, draft-free coop? Deep litter (8–12″) insulates well—keep it dry.
- Arid climate, raised floor, zero leaks? Coarse sand can be nearly “scoop and go.”
- Any climate: If you ever smell ammonia or see damp bedding, add dry carbon and improve ventilation immediately.
Lighting & Power: Keep Eggs Coming Safely
How much light? For steady winter egg production, aim for 14–16 hours of light per day. The simplest routine: put a plug-in timer on a cool-running LED bulb and add morning light (e.g., 4–6 a.m.) so dusk remains natural. Penn State Extension’s current guidance is explicit: for mature layers, target ~16 hours and avoid over-lighting, which stresses hens—dark time matters.
What to expect from hens. Under good nutrition and lighting, a small-flock hen typically lays ~200–240 eggs/year depending on breed and age; shorter days reduce output unless you supplement to that 14–16-hour window.
Safety first (electricity + chickens). Use GFCI-protected outlets for any coop power, route cords in protective conduit or along walls (not across floors), and avoid heat-lamps unless you have purpose-built, enclosed fixtures (barn fires start here). In damp or outdoor locations, GFCI protection is the standard recommendation; if you must use an extension temporarily, choose outdoor-rated, grounded cords and keep all connections off the floor and out of splash zones.
Set-and-forget checklist:
- LED bulb on a timer; test it monthly.
- Add morning light to reach 14–16 hours; don’t exceed it.
- GFCI outlet, drip loops on cords, no open splices; keep dust off fixtures.
- Never point fans or heaters directly at birds; ventilation handles moisture, not heat lamps.
Materials That Last (and where to use them)
Framing & ground contact. Modern pressure-treated lumber (ACQ/CA formulations) is widely used anywhere wood meets soil or stays wet. It resists rot far better than plain SPF. Inside peck zones, many builders switch to untreated lumber that’s sealed with exterior-grade, low-VOC paint so surfaces wipe clean.
Fasteners that won’t fail. Copper-based treatments (ACQ/CA) are more corrosive to steel and aluminum than older CCA. Use hot-dip galvanized (G-185) or stainless-steel screws, nails, and hardware in contact with treated wood; avoid aluminum flashing touching treated lumber, or isolate it with a barrier (bituminous membrane). These recommendations mirror university and industry testing as well as building-metal advisories.
Roofing & weathering. Metal panels or standard shingles both work—what matters is overhangs (eaves) that keep wall vents dry, plus a ridge and/or soffit vent path for constant high-level airflow. Place intake openings at the eaves and outlets high on gables or the ridge; that’s straight from extension ventilation basics.
Everything else that pays off:
- Flooring: sealed plywood or concrete mats for fast clean-outs.
- Cladding: exterior-grade plywood or siding; paint edges.
- Hardware cloth: galvanized, ½-inch mesh on all openings—even over vents (predators can’t squeeze through).
- Sealants: choose exterior sealers/paints rated for wet locations; re-coat high-wear areas yearly.
Permits, Setbacks, and Neighbor-Friendly Design

Know the rules before you dig. Examples you can pattern from: Seattle allows up to 8 hens (no roosters) and commonly requires ~10-ft setbacks for chicken structures; New York City specifically permits hens but prohibits roosters under the Health Code (Article 161). Always verify your own city’s codes—zoning pages change, and some HOAs add separate rules.
Be the neighbor everyone likes.
- Odor: keep litter dry, remove wet spots, and ventilate above the roost line.
- Rodents: store feed in sealed metal cans; clean spilled grain; use treadle feeders if you have rat pressure.
- Noise: no roosters where banned; open runs away from bedrooms.
- Aesthetics: paint the coop to match the fence or house, keep weeds trimmed, and use a covered compost bin for old litter.
A small “eggs available” sign and a quarterly carton for the fence-side neighbor do wonders for goodwill.
Conclusion
Build once, right. If you size the indoor area correctly, set roosts and nests where birds naturally use them, ventilate above roost height, and harden every opening with hardware cloth and a predator apron, you’ve solved the big risks. Keep the chicken coop designs you admire honest with daily realities: dry litter, handwashing, and a timer that delivers 14–16 hours of light in winter.
Double-check your city’s rules, then sketch your footprint to scale and mark doors, vents, and clean-out paths. Finally, walk the perimeter after dark and look for any gap you wouldn’t want a raccoon’s paw in. Do these, and your predator-proof chicken coop with solid chicken coop ventilation will protect hens—and eggs—year-round.
