
No yard? No problem—grow up, not out. With the right vertical gardening ideas, even a balcony or tiny patio can become a productive vertical vegetable garden. Small space gardening fails when pots are crammed together, vines tangle on the ground, and water evaporates before roots can use it.
The fix is simple: take plants off the floor, give them a support to climb, and water at the root zone. Micro-irrigation delivers water precisely where it’s needed and typically uses 20–50% less than sprinklers—real savings you’ll notice in dry spells.
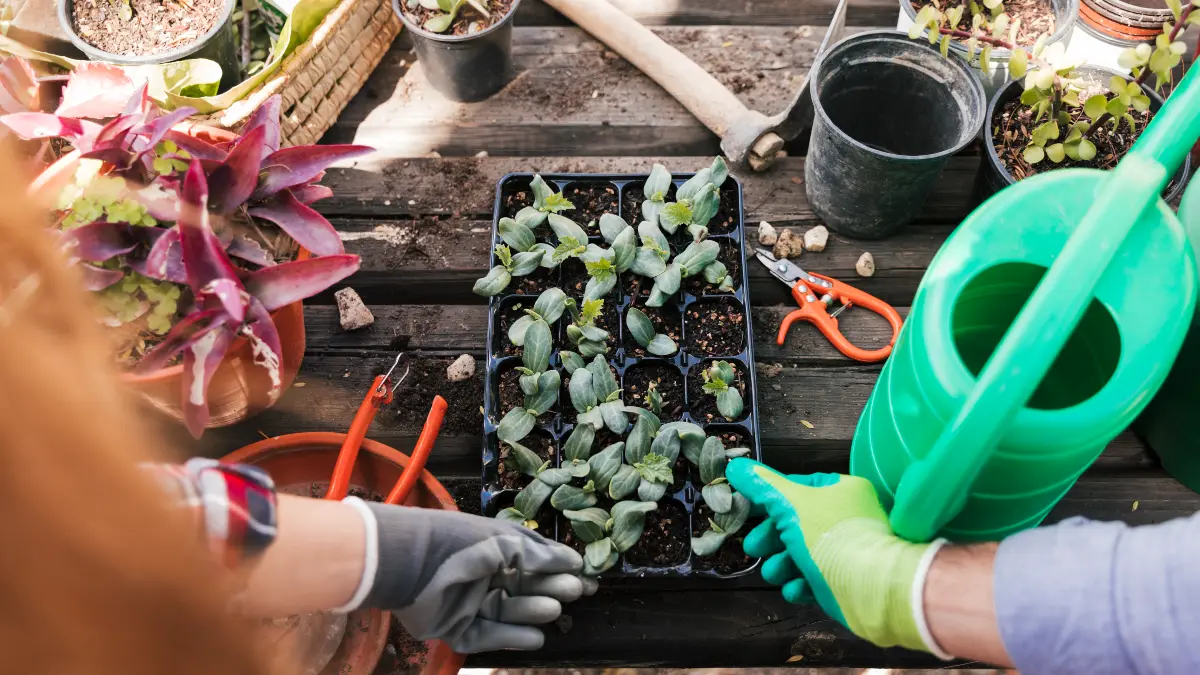
In this guide, you’ll get step-by-step setups you can install in an afternoon (indoors or out), plant pairings that thrive on trellises, and quick wins for irrigation and lighting. You’ll also see why trellising boosts airflow and fruit quality—cucumbers, squash and melons often grow straighter, cleaner fruit when supported, which also makes harvesting easier.
(University of Minnesota Extension.) Expect practical checklists, container sizes that actually work, and DIY builds you can finish this weekend. Let’s turn limited square footage into a tidy, high-yield system—one that’s easy to care for and built for small space gardening.
Quick Wins: Vertical Gardening Ideas You Can Do Today
Tower Tactics: Small Footprint, Big Harvests
Dial in your stackable tower with a planting plan, rotation cue, and feeding rhythm that keeps yields climbing—without crowding your deck.
Tier Planner
| Tier | What Thrives | Reason |
|---|---|---|
| Top (most sun/wind) | Basil, dwarf peppers, thyme | Heat & light lovers |
| Middle | Lettuce, pak choi, parsley | Moderate sun, even moisture |
| Bottom (cooler, humid) | Strawberries, mint, chives | Cool roots, spillover moisture |
Materials & Placement
Checklist for edible-safe hardware and smoother care.
Tip: set one button emitter per tier if you’re on drip—steady moisture, fewer bitter greens.
1) Stackable soil towers for instant production. If you want fast results, a multi-tier vertical planter concentrates 18–30 planting pockets in about 2 sq ft—perfect for strawberries, basil, lettuce, and dwarf peppers. Look for food-grade, UV-resistant, BPA/BPS/PVC-free materials so heat doesn’t degrade plastic near edibles; GreenStalk lists these specs for their towers. Place the tower where it gets the day’s longest sun sweep and spin it weekly for even growth.
2) Clip-on railing planters—with safety first. Always confirm building rules and load limits before attaching anything to railings; many balconies have strict weight limits and some jurisdictions restrict external planters for safety. Keep planters inside the railing and distribute weight evenly. If in doubt, choose lightweight mixes and smaller containers.
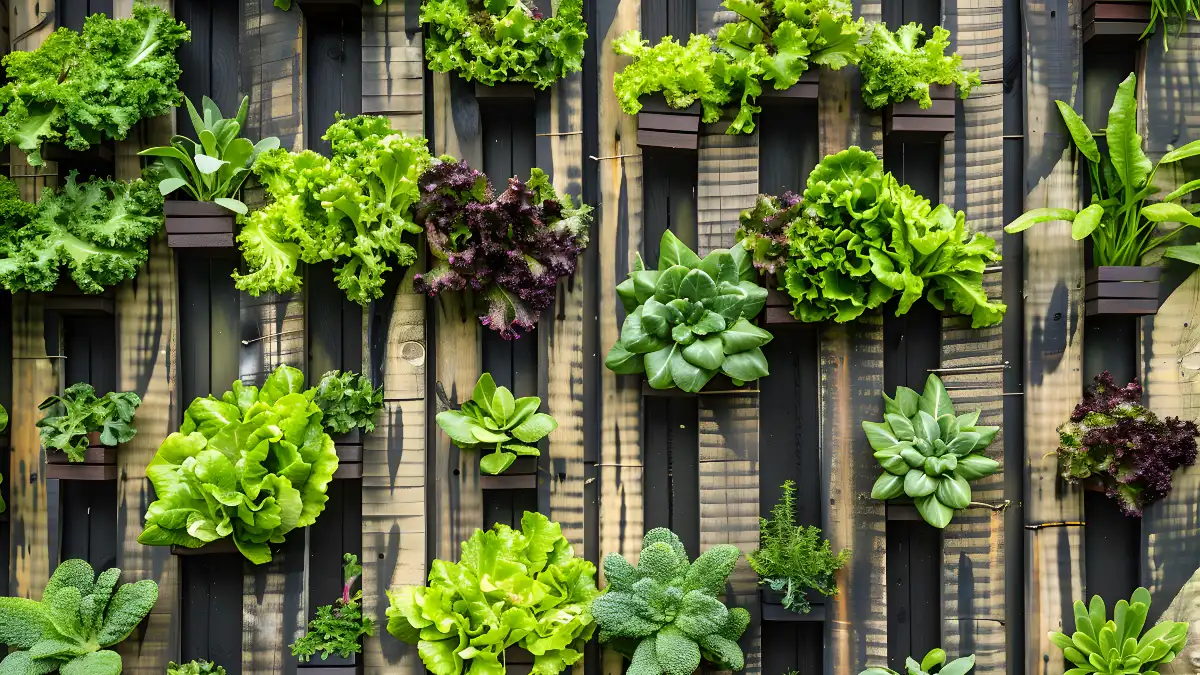
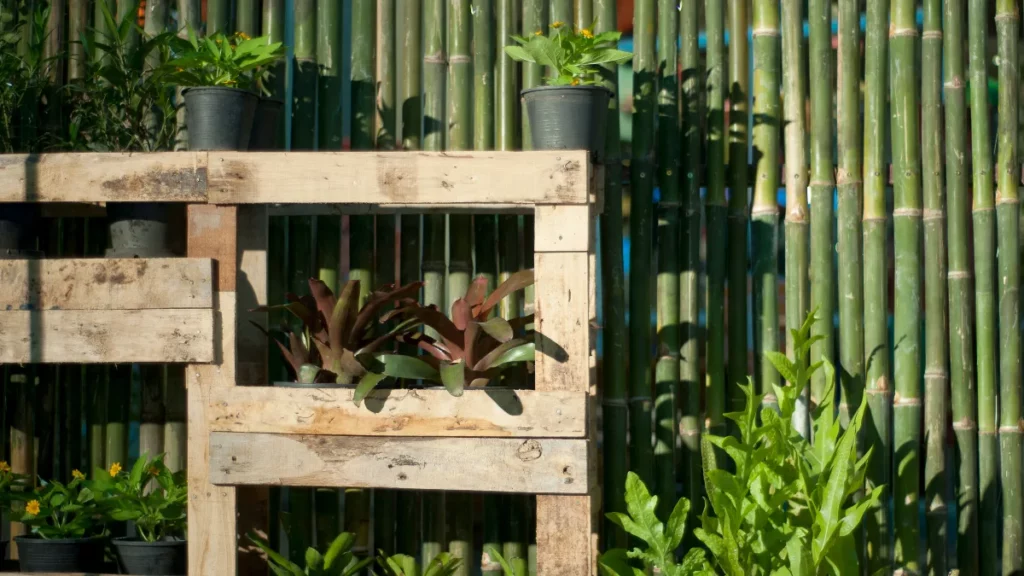
3) Wall grids with pots. A galvanized mesh or living-wall kit turns a bare wall into a productive panel for herbs and compact veg. Ensure the wall and fixings are strong enough to hold containers plus wet compost, and use anchors suited to your wall type. Start with shallow herbs high up and deeper pots low down.
4) Hanging baskets and ladder shelves. Use them to free floor space and trail cherry tomatoes, peas, or tumbling strawberries. In hot, windy weather, check moisture daily; in very hot spells, twice daily may be needed because small containers dry fast. Water slowly until the mix is evenly moist.
Pro tip: If you install a simple micro-drip line to these setups, you’ll maintain steady moisture while using markedly less water than overhead sprinklers.
Best Supports: Trellises, Cages, Arches & A-Frames

Netting or string trellis (6–7 ft) for peas and pole beans—thin stems grab easily and harvest is eye-level.
Sturdy tomato cages or stake-and-weave for indeterminate tomatoes—keep foliage off soil, improve airflow, and make pruning/harvest simple.
Cattle-panel A-frames or arches (16-ft livestock panels) for cucumbers, small melons, squash, gourds—high strength, long life, and you can walk under to harvest.
Why vertical works. Trellising increases air movement through foliage, which helps leaves dry faster after rain or dew—lowering disease pressure and keeping fruit cleaner. It also makes fruit easier to inspect and harvest. Vine crops like cucumbers, squash and melons frequently yield straighter, cleaner fruit when trellised.
Safe placement and anchoring. Leave a small gap between any flat trellis and a wall/fence to prevent trapped moisture and allow airflow. For arches, drive four T-posts (two per side) and secure the panel with wire or heavy ties; set legs roughly 5 ft apart for stability and a comfortable walk-through. (Savvy Gardening build guide.) If you garden in a high-wind area, use metal wire rather than plastic ties for the primary connections.
Set supports before planting. It’s far easier to install cages, stakes, and netting at planting time than to push supports into established roots. For tomatoes, stakes around 6 ft tall, sunk 8–10 inches, are a reliable baseline; tie stems every 8–10 inches as they grow.
Evidence to use in the article: UMN Extension notes that trellised vine crops such as cucumbers, melons, and squash produce straighter, cleaner fruit and are less prone to rot—an easy, visible win that readers can replicate.
What to Grow Up: High-Performing Plants & Container Sizes
Cucumbers (vining types), pole beans, peas, indeterminate tomatoes, and small-fruited melons/squash climb readily and reward trellising. Support developing melons with breathable slings so stems don’t snap. (Home & Garden Information Center/Clemson; University of Maryland Extension.)
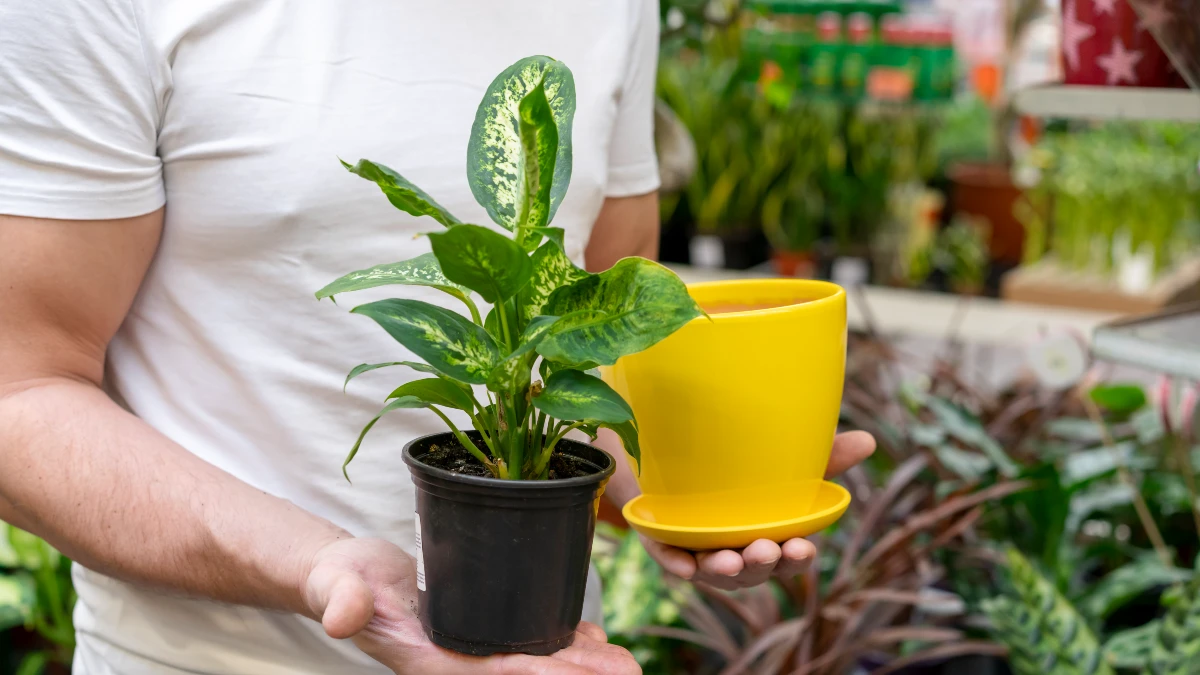
Right-sized containers (don’t skimp). Fruiting vegetables need volume for roots and moisture buffering. A practical rule that holds up in trials:
Large fruiting crops (tomato, eggplant, cucumber, winter squash): 8–10+ gallons and 12–16 inches deep—one plant per container.
Medium crops/flowering herbs: 4–6 gallons, 8–12 inches deep.
Sunlight that matches the crop. Warm-season fruiting crops typically want 6–8+ hours of direct sun. Many leafy greens tolerate partial shade and can ride the shadier side of an arch or tower. (University of Maryland Extension.)
Crop notes that boost success.
Cucumbers: Trellising increases yield per square foot and fruit quality; aim for a 3–4 ft trellis for slicers and guide vines early.
Tomatoes (indeterminate): Use cages or stake-and-weave; prune suckers to one–two main stems for airflow on small footprints.
Melons/small squash: Choose compact cultivars; when fruit reaches fist size, add nylon or mesh slings and tie to the trellis. (UMD Extension.)
Peas/beans: Netting with 6-inch squares lets tendrils grab fast; sow thickly for a living screen. (Wisconsin Horticulture.)
Space smarter. Put leafy greens on the shaded side beneath climbing crops; they’re happy with less sun and cooler roots. Reserve the sunniest face for heavy feeders like tomatoes and cucumbers, and upsize those containers to the 8–10+ gallon range to limit daily wilting. (UMD Extension.)
Water Less, Grow More: Drip & Self-Watering Setups
Why micro/drip wins. Most container failures are watering failures. Drip (a.k.a. micro-irrigation) delivers water right at the root zone, slowly enough that media absorbs it instead of shedding it. Compared with overhead sprinklers, residential micro systems typically use about 20–50% less water—a big deal if you’re building a water-saving garden on a balcony or patio. (U.S. EPA WaterSense.) US EPA+1
Container drip made simple. Start with an off-the-shelf kit: a faucet connector → filter → pressure regulator (often ~25 psi) → 1/2″ main line → 1/4″ “spaghetti” lines to each pot. Pop in button emitters (e.g., 0.5–2 GPH) per container; hanging baskets get a short line run up and over the hook. Kits are designed for pots and baskets and can be automated with a hose-end timer so moisture stays steady while you’re away.
How many emitters? As a rule of thumb, use one 1 GPH emitter for a 10–12″ pot and two for 14–16″ pots or thirsty crops (tomatoes, cucumbers). Space them apart to wet more of the root zone.
Summer routine that prevents stress. In warm, windy weather, check moisture daily; in very hot spells, twice daily is prudent—especially for fruiting veg in small media volumes. Water until media is evenly moist (not just the top inch).
Maintenance to keep drip trouble-free. Flush the filter monthly, run the line briefly to purge debris, and inspect emitters for clogs. Combine drip with light surface mulch in larger containers to slow evaporation. Result: steadier growth, fewer blossom-end issues, and harvests that don’t stall in heat—exactly what you want from practical vertical gardening ideas.
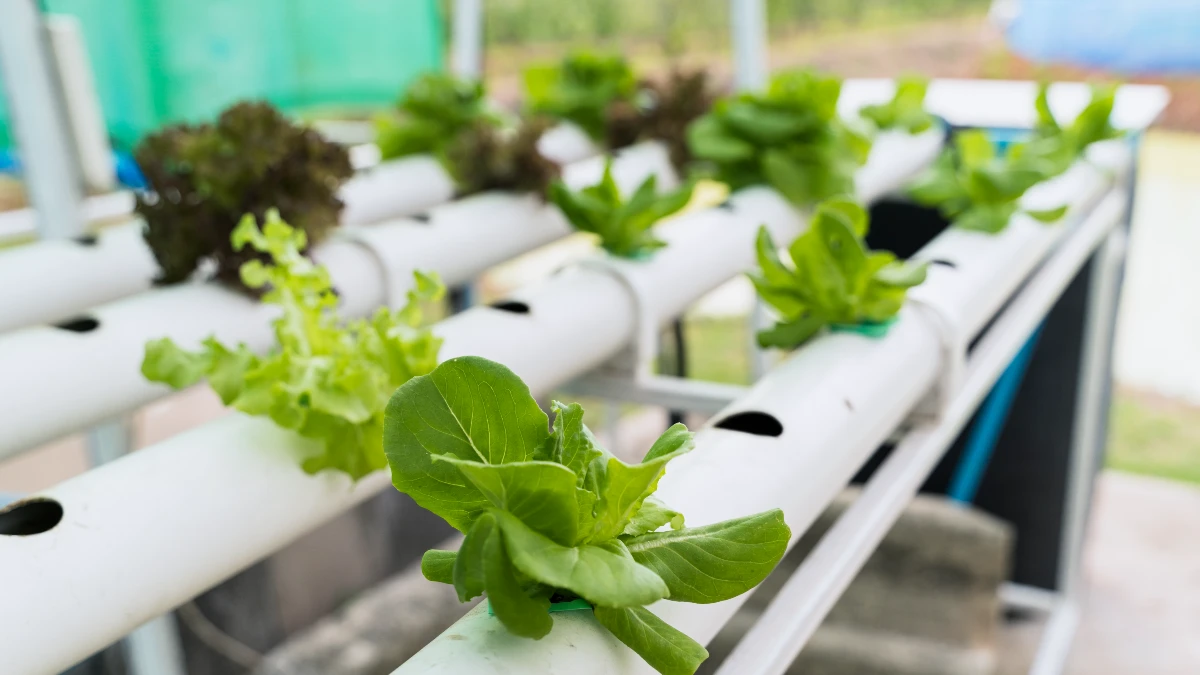
Indoor Vertical Gardening: Lights, Hydroponics & Herbs
Light is your fertilizer indoors. Follow straightforward timing rules from University of Minnesota Extension: seedlings need 16–18 hours/day, while hydroponic lettuce and herbs thrive on 12–14 hours/day under LEDs. Put lights on a timer so plants get consistent days, and adjust height so leaves don’t scorch yet shadows are soft. (UMN Extension.)
Why hydro indoors? Hydroponic systems recirculate nutrient solution and dramatically raise water-use efficiency. Peer-reviewed studies report up to ~90% less water use than conventional soil growing, with consistently lower product water use and higher water-use efficiency in controlled comparisons. That’s ideal for an indoor vertical garden where every liter counts. (Recent reviews and controlled comparisons in PubMed Central.)
Soil towers: lower upfront cost, familiar potting mixes, simpler to troubleshoot; you’ll still need supplemental light in winter.
Hydro towers/rafts: higher setup cost and a learning curve (EC/pH monitoring), plus electricity for pumps and lights—but faster growth and reliable, year-round production when dialed in.
Practical setup notes. Start with cut-and-come-again herbs (basil, mint, chives) and leafy greens (lettuce, pak choi). Keep solution temps cool (room temp works in most homes), change or top up weekly, and sanitize between plantings. UMN’s example shows how modest LEDs can run many months: a 9-W LED ~14 h/day ≈ 46 kWh/year, making operating costs predictable.
Bottom line: For a hydroponic vertical garden focused on greens and herbs, LED + timer + tidy nutrient management gives you smooth, salad-ready harvests regardless of outdoor weather.
Plant Health: Low-Spray IPM for Vertical Setups
IPM basics—prevention first, sprays last. Integrated Pest Management means you monitor and identify first, then use cultural fixes (airflow, sanitation, resistant varieties), then mechanical/biological controls (hand removal, water jets, beneficials), and only then selective chemicals if needed. The goal is management, not blanket eradication. (NC State Extension.) NC State Extension
Aphids & whiteflies: Inspect leaf undersides weekly. For light infestations, rinse with a firm water spray in the morning; follow with insecticidal soap or horticultural oil if populations rebound. Always check for beneficials before spraying, and avoid broad-spectrum products that undo your progress. (University of New Hampshire Extension; NC State.)
Why vertical helps: Trellising increases leaf airflow and drying, which lowers foliar disease pressure and keeps fruit clean—one of the underrated wins of going vertical. (Wisconsin Horticulture.)
Extra insurance for virus-prone crops. If you’ve battled aphid-vectored viruses in cucurbits, reflective silver mulch can reduce early colonization by winged aphids and delay infections—buying you more harvests before vines cover the mulch. (UC ANR/UC IPM; University of Maryland Extension.)
Routine to copy: Scout weekly (magnifier in pocket), prune to keep air moving, clean up plant litter, and keep drip consistent so stressed plants don’t broadcast “eat me” signals to pests. That’s low-spray, high-success plant health for real-world vertical gardening ideas and pest management.
DIY Builds: From Cattle-Panel Arch to Pallet Herb Wall
Materials: One 16-ft livestock/cattle panel, four T-posts, heavy wire/ties, driver/hammer.
Layout: Set the panel to form an arch with the “legs” about 5 ft apart for strength and comfortable walk-through clearance. Position it over a path or between raised beds.
Anchoring: Drive two T-posts per side; wire the panel securely at multiple points. In windy sites, add extra ties and stake the base. Plant cucumbers, pole beans, or small melons at the feet and train early.
Melon slings (save the stems). As fruit sizes up, cradle it with nylon stocking or mesh slings tied to the panel so the **sling—not the stem—**carries the weight. This simple step prevents heartbreaking snap-offs.
Use only pallets stamped “HT.” The ISPM-15 mark certifies the wood was treated; the treatment code tells you how: HT = heat treated; MB = methyl bromide fumigation; DH = dielectric heating. For home garden projects, choose HT and avoid “MB.”
How to read the mark: IPPC wheat-ear logo + country code + facility code + treatment code (e.g., “HT”). (IPPC ISPM-15.)
Prep: Sand rough surfaces; seal backs if mounting against walls; add landscape fabric pockets or attach pot clips.
Wall-mount caution (don’t skip this). Make sure the wall, anchors, and any mesh are strong enough to hold the total load of containers plus wet compost. Use fixings suited to your wall type (masonry vs. timber).
Build order that saves time: Install the arch and pallet hardware before planting; then run your drip lines with in-line or button emitters to each pocket/pot. You’ll get tidy growth, easy harvests, and a statement piece—hall-of-fame DIY trellis ideas that level up your vertical gardening ideas
Care Calendar: Training, Pruning, Feeding & Harvest
Train early, then keep it tidy. Start guiding vines as soon as plants set their first flower clusters so stems don’t harden in the wrong direction. Add support as growth accelerates—on stake-and-weave systems, University of New Hampshire Extension recommends laying new twine every 6–8 inches of growth so stems stay upright and leaf clusters don’t mat. Plan a quick monthly tie check (or align it with your pruning cadence) to tighten slack lines and re-clip heavy fruiting branches so pathways remain clear for airflow and harvesting.
Tomato pruning (indeterminate). University of Wisconsin–Madison Extension advises removing suckers but keeping the single sucker just below the first flower cluster to form a sturdy two-leader plant. Prune on a schedule (Wisconsin suggests every 10–14 days), then stop 1–2 weeks before your first expected harvest. That pause lets the canopy thicken slightly, reducing sunscald on ripening fruit. If plants outgrow their support, top them (trim the growing tip) to keep your vertical vegetable garden manageable in small space gardening setups; UNH explicitly notes topping when vines reach the stake height.
Fertility that actually works in containers. Use a high-quality soilless potting mix (peat/coir + perlite/vermiculite) instead of garden soil—better drainage and fewer pathogens. University of Minnesota Extension recommends a slow-release fertilizer mixed in at planting plus light, regular feeding during the season because frequent watering leaches nutrients; begin regular feeds within 2–6 weeks after planting and adjust by growth rate. Keep irrigation consistent to avoid blossom-end rot and split fruit.
Conclusion
Vertical gardening ideas turn tight spaces into productive, tidy, water-smart gardens. With sturdy supports, crop-appropriate pruning, efficient drip watering, and—indoors—right-sized LED lighting, you’ll harvest cleaner fruit, better airflow, and more yield per square foot while spending less time wrestling vines on the ground.
University of Minnesota Extension and other land-grant programs consistently show how trellising improves fruit quality and container feeding keeps growth steady—principles that scale from balconies to backyard beds. Pick one idea today: trellis cucumbers, set up a drip line, or add a 3-tier tower; then expand as you see results. Build momentum, track what works in your space, and grow vertical gardening ideas into a system that feeds you all season.
