
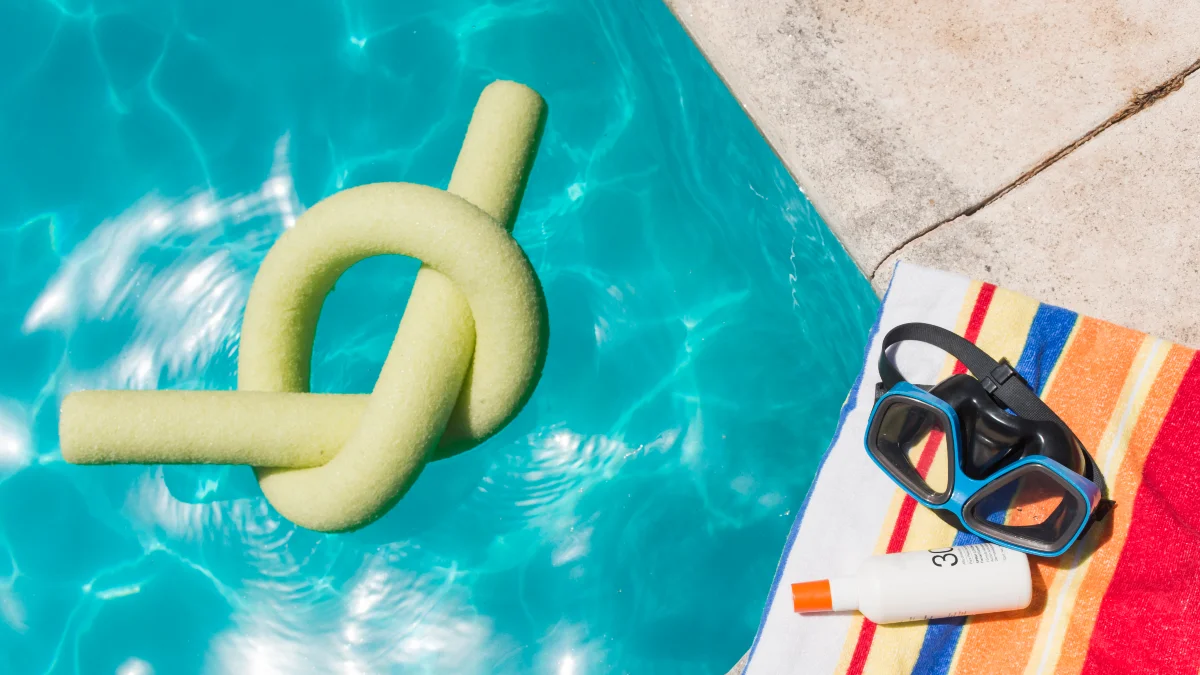
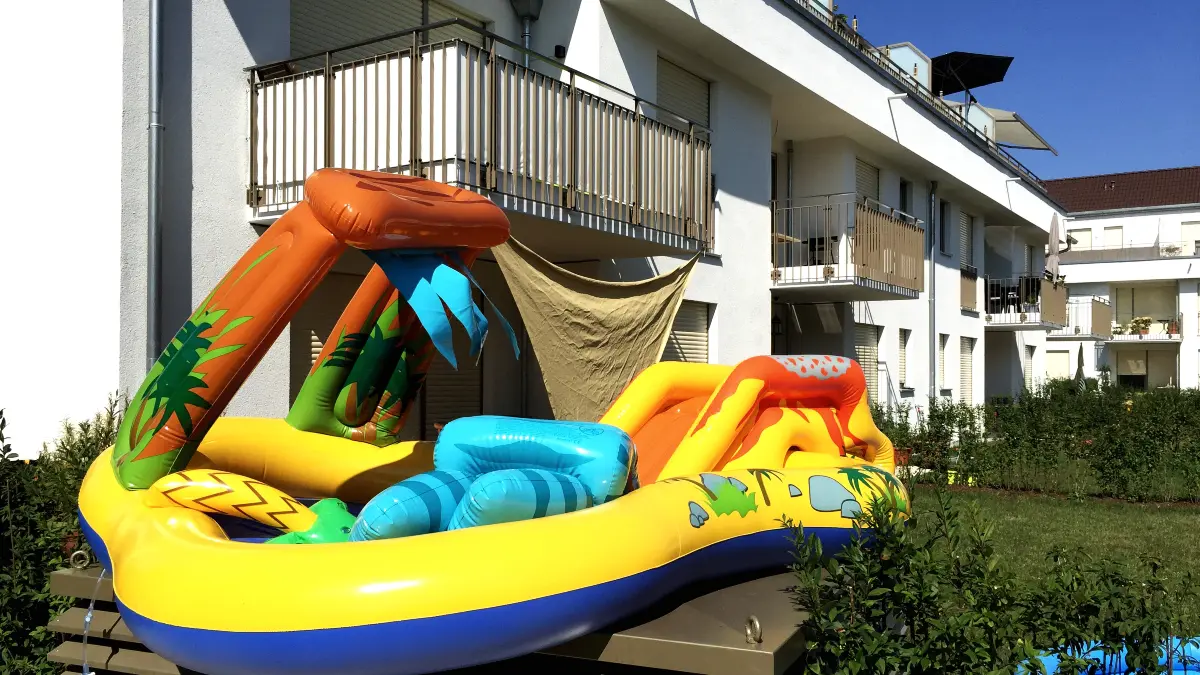
It’s the end of a perfect swim day: wet towels draped over chairs, sun-bleached inflatables slumped by the steps, a noodle wedged like a tripping hazard near the gate. The mess isn’t just annoying—it shortens the life of your gear and quietly raises risk. Damp vinyl grows funk. UV light cracks and fades expensive floats. And when toys are left visible, curious kids can be drawn back to the water. Public-health guidance from the Centers for Disease Control and Prevention is clear: remove toys and floats from the pool area when no one is swimming.
This guide gives you pool float storage ideas that actually work. You’ll get a quick nightly routine, learn what to buy (from a simple outdoor deck box for pool floats to wall hooks and garage hoists), and see a DIY PVC rack you can build in an hour. We’ll also cover off-season storage, humidity targets to prevent mold on pool floats, and small, safety-first habits that take seconds but pay off all season. By the end, you’ll have a tidy deck, longer-lasting gear, and a safer backyard.
Safety-First Pool Float Storage (store out of sight)
“Out of Sight” = Safer Pool Decks
Actionable data and a 3-minute routine you can implement tonight.
Safety FirstWhy clearing toys matters
“Remove all toys from the pool area that might attract children when the pool is not in use.” — Centers for Disease Control and Prevention
| Storage Tactic | Primary Benefit | Risk Impact |
|---|---|---|
| Lockable deck box outside the fence | Removes visual lure & quick access | Reduces unsupervised entry |
| Hooks/nets away from waterline | Keeps gear dry & off the ground | Cuts slip/trip hazards |
| Nightly “toy sweep” checklist | Builds habit with accountability | Breaks incident chain |
The 3-minute sunset sweep
Skimmer, steps, and coping: grab every toy, float, and noodle.
Place items in a lockable box/shed outside the pool fence—lids closed.
Latch gates; confirm alarms/covers as needed. Treat this like seatbelts—non-negotiable.
Aligns with guidance from the U.S. Consumer Product Safety Commission and pediatric safety experts: clear the deck, secure access, and designate a “water watcher.”
Tonight’s micro-goal:
Pick a storage spot you can reach without stepping on wet tiles, add a padlock, and tape this 3-step list inside the lid.
Out of sight really does mean safer. The CDC’s drowning-prevention advice includes a simple, powerful line: “Remove all toys from the pool area that might attract children … when the pool is not in use.” That includes floats, noodles, and dive toys—anything colorful that beckons a child back toward water.
Make it easy to comply every day:
- Create a landing zone just outside the fence or well away from the water—deck box, shed, or wall hooks.
- Use lockable storage so curious hands can’t “borrow” a float after hours.
- Run a 3-minute sweep at sunset: scan water, skimmer, coping, and steps; remove pool toys; close and lock storage.
This isn’t just one agency’s view. The U.S. Consumer Product Safety Commission and pediatric safety experts repeatedly emphasize clearing the pool area and hard-securing access when swimming ends. Their guidance appears alongside data from recalls and incident investigations that show how quickly unsupervised access becomes hazardous. Treat “clean-up” as part of pool safety—not housekeeping.
Action step tonight: choose a storage spot you can reach without crossing wet tiles, add a lock, and post a tiny checklist on the inside lid. That’s the backbone of all your pool float storage ideas going forward.
Stop Mildew—Clean, Dry & Control Humidity

Mildew is predictable—and preventable. It needs moisture, nutrients (skin oils, sunscreen residue), and time. Remove any one of those and your floats stay fresh.
1) Clean fast, gently. After use, rinse with fresh water. For grime, mix mild dish soap in a bucket and use a soft sponge or brush; harsh solvents and stiff brushes can scuff vinyl seams.
2) Dry completely before storage. Sun-dry just until surface water flashes off, then move to shade to avoid UV overexposure. Hang on wide hooks or set in mesh slings so air can circulate. Brands focused on float care (e.g., ABOVE) stress fully drying before putting anything away; even a little trapped moisture invites odor.
3) Ventilate the container. Choose mesh bags or ventilated bins. Avoid airtight totes for damp locations—manufacturers note that sealed containers can trap residual moisture and feed mold.
4) Control ambient humidity. In garages or sheds, keep relative humidity below 60% (ideally 30–50%). Use a $10–$50 hygrometer to monitor, add a dehumidifier or boost airflow if readings creep up. This threshold comes from the U.S. Environmental Protection Agency and is a practical line where mold growth becomes far less likely.
Weather-Proof Outdoor Storage (Deck Boxes & Sheds)
The simplest way to get gear out of sight—fast—is a weatherproof deck box sized for your fleet. Look for UV-resistant resin, piston-assisted hinges, a lockable lid, and either built-in ventilation or a way to prop the lid slightly ajar after wet days. For households with loungers and giant inflatables, prioritize capacity: 100–150+ gallons is a realistic target for families.
Sizing tip: Count big pieces first. Two oversized loungers plus a few noodles typically need ~150 gallons. If your gear skews to small toys, a 100–120-gallon box may do. Measure your longest float and compare to the interior width/height in the spec sheet before you buy.
Placement matters: Position the box in shade so, when the lid is open, UV doesn’t beat down on drying vinyl. Many float-care guides note that extended sun exposure accelerates fading and brittleness; shaded storage slows that aging.
Real-world examples:
- Keter’s lineup lists 101–230-gallon resin boxes with weather-resistant construction and lock compatibility—common choices for backyard storage of floats.
- Big-box retailers carry multiple 150-gallon resin options at accessible price points, with piston lids and drain-friendly designs noted in product descriptions.
Wall & Fence Storage (Hooks, Nets, Racks)

Walls and fences are free storage real estate. Keep gear off the ground by hanging deflated floats and mesh bags on an exterior fence or wall so air can circulate and critters can’t nest. For a durable wall-mounted pool float rack, use hardware that won’t rust out in a splash zone. Around chlorinated water—or anywhere coastal—choose 316 marine-grade stainless steel hooks and fasteners; 316 resists pitting and corrosion better than common 304, which is why marine suppliers and retailers specify it for wet, salty environments. (See product listings from US Stainless and The Home Depot that call out 316 for “marine grade.”)
Give inflated items you use daily a gentle perch: wide-arm hooks, padded utility racks, or a simple two-peg cradle so you don’t crease vinyl seams. Space hooks on studs (or sturdy posts) and mind load limits. For pool noodle storage, stand them upright in a ventilated bin or a wall-mounted tube corral; lifestyle outlets like Better Homes & Gardens show vertical noodle solutions and simple hooks/nets that keep pests out and the deck tidy.
Quick wins today: mount 4–6 stainless steel hooks at 16-inch spacing, add two mesh bags for small toys, and label a rack position for each frequently used float. That puts grab-and-go order into your daily routine—without sacrificing deck space.
Ceiling & Garage Hoists (Clear the Floor Fast)
When floor space is gone, go up. Garage ceiling hoist storage moves bulky seasonal gear overhead and out of harm’s way. Before you buy, confirm joist direction, span, and mounting method; a hoist is only as safe as its anchors. Typical consumer pulley lift systems are rated up to 150 lb, while premium multi-bin platforms can reach 400 lb, enough for totes of off-season floats and pool gear.
On the platform, use mesh bags or vented totes so any surprise moisture can escape. Label each tote (“Inflatables,” “Dive Toys,” “Repair Kit”) and note the max load in big marker right on the platform. For a concrete sense of capacity and hardware, browse 150-lb cargo box ceiling hoists; multiple brands sell rope-and-pulley kits with mechanical advantage and ceiling heights in the 10–14 ft range.
Safety habit: balance loads left-to-right, lock the rope cleat, and keep a small step stool nearby for easy access. For off-season pool storage, a ceiling hoist plus a dehumidified garage gives you volume, airflow, and clear floors for winter.
DIY PVC Pool Float Rack (30–60 minutes)
Want rolling pool storage you can build this afternoon? Make a cuboid rack from 2″ PVC. Cut four uprights and eight rails to your preferred footprint, dry-fit elbows/tees, then glue. Drill small weep holes along the lowest rails so rinse water can escape, and zip-tie mesh to the sides if you want breathable containment. Add locking casters so the rack parks by the back door on swim days and rolls to shade later—good for UV protection and for backyard organization.
Cost depends on size and caster quality, but a family-sized rack typically lands around $60–$120 in parts at big-box prices. For inspiration, several YouTube builders show near-identical PVC float/ball organizers that assemble in 30–60 minutes; note their tip to leave a wide “mouth” at the top for oversized loungers.
Fit guide: make the opening at least as wide as your largest deflated float rolled tube-style, and tall enough to stand pool noodle storage upright. Round over sharp cut edges with sandpaper to protect vinyl. Park the rack in shade when loaded, and if you hose it down, those weep holes keep mildew at bay.
Seasonal Storage & Float Longevity (Deflate & Fold Right)
End-of-season steps are simple and extend lifespan. First, clean and fully dry every surface. Then deflate pool floats and fold along seams—don’t crumple. Most float makers echo the same care line: store in a cool, dry place and avoid direct sunlight. Funboy’s care pages and manuals spell this out plainly, and many brands add the reminder that heat and UV accelerate seam and color failure.
Pick location before you pack. For winter, use basement or interior-garage shelves, away from heaters and sharp objects. Pool equipment blogs and how-to sites (e.g., PoolPad) recommend temperate indoor spots so plastics don’t get brittle in freeze-thaw cycles; stack floats loosely in ventilated bins or mesh bags rather than airtight totes if any residual moisture is possible.
Power tip: use a reversible pump’s deflate mode to pull air out fast; several brand and retailer guides call this the quickest way to prep for winter. If space is tight, roll large loungers instead of tight folding, and slip a silica gel pack into the bag. Keep a small repair kit with vinyl patches in the same bin so spring fixes are immediate.
Labeling & Daily Grab-and-Go System

Organization keeps the whole plan running. Create four labeled lanes: “Inflatables,” “Diving Toys,” “Safety Gear,” “Towels.” For small pieces, use clear-lidded bins so you can see at a glance; lifestyle guides like Better Homes & Gardens showcase simple bin + hook combos that make daily tidying almost automatic.
Build a five-minute reset at sunset. One adult acts as the “water watcher” during swim sessions; when swimming’s over, that same person leads the final sweep—remove toys, stow floats, close and lock storage. The Centers for Disease Control and Prevention emphasize clearing the pool area when not in use as part of a layered safety approach; making it a named role keeps it from being forgotten.
Finish with a small checklist taped inside your deck box lid. After one week of consistency, you’ll spend less time hunting goggles and more time enjoying a tidy, safer poolside.
Conclusion
The formula is straightforward: remove toys and floats when no one is swimming (a CDC-endorsed habit), clean and dry gear to prevent mold on pool floats, then store everything in weather-appropriate solutions—hooks and nets on the fence, a weatherproof deck box, or a ceiling hoist for bulk. Label bins, run a five-minute sunset reset, and you’ll cut clutter, extend gear life, and lower risk.
Your next move: pick one quick win—mesh bag + stainless hooks on the fence, or a 150-gallon deck box—then plan a weekend project like a DIY PVC pool float rack or a ceiling hoist. Small steps today deliver a cleaner deck tomorrow.
