
Is your balcony garden looking more like a plant graveyard than a green oasis? You’re not alone. You’ve spent good money on pots, soil, and beautiful plants, only to watch them turn yellow, wilt, and die. It’s frustrating and makes you feel like you have a “black thumb.”
The truth is, container gardening is a unique skill, and you’re likely making a few common, easy-to-fix errors. This isn’t about luck; it’s about strategy. This guide will walk you through the 15 most common container garden mistakes and give you the exact, actionable steps to fix each one.
You’ll learn how to diagnose your plant problems and, more importantly, how to set up your container garden for success from the start.
The 5 Biggest Container Plant Killers (And How to Stop Them!)
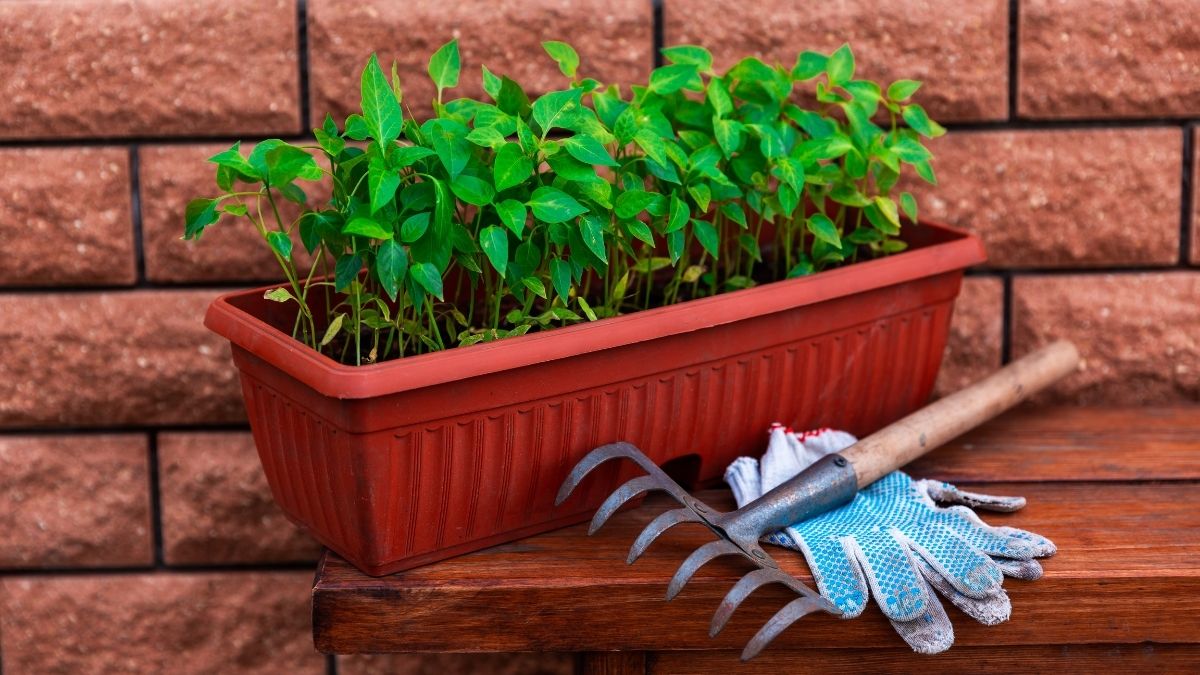
🪴 1. Too Small Pot
Symptom: Plant wilts all the time, even after watering; roots may be circling the pot.
Quick Fix: Repot to a pot at least 2 inches wider and deeper.
Key Tip: For hungry, large plants (like tomatoes), use a pot of at least 5 gallons (approx. 10-12 inches diameter).
🚫💧 2. No Drainage Holes
Symptom: Plant wilts, but the soil is constantly soaking wet; leaves turn yellow or mushy.
Quick Fix: Drill adequate drainage holes, or transfer your plant to a pot that already has them.
Key Tip: Never add rocks or gravel to the bottom of the pot; it actually makes drainage worse, not better!
🧱 3. Bad Soil
Symptom: Water sits on top of the soil or runs straight down the sides; soil feels hard, dense, or muddy.
Quick Fix: Repot using a fresh, fluffy, high-quality potting mix specifically designed for containers.
Key Tip: Your potting mix is your plant’s entire world and nutrient source – invest in good quality!
☀️↔️ 4. Wrong Sun Exposure
Symptom: Too little sun = plant gets leggy, weak, and doesn’t flower. Too much sun = leaves look scorched, brown, or crispy.
Quick Fix: Move the pot to a location that matches your plant’s light requirements.
Key Tip: “Full Sun” means 6-8+ hours of direct sunlight; “Part Shade” means 4-6 hours.
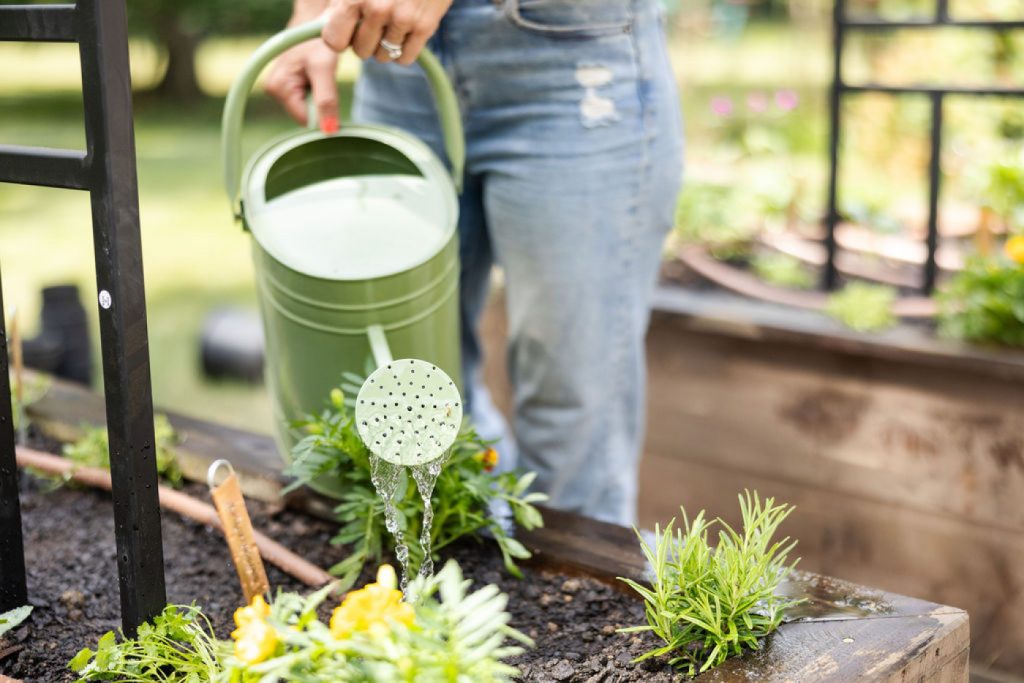
💧⏳ 5. Inconsistent Watering
Symptom: Under-watered = crispy, dry leaves. Over-watered = mushy, yellow leaves; plant wilts despite wet soil.
Quick Fix: Water based on the soil’s feel (finger test), not a strict schedule. Water deeply when needed.
Key Tip: Stick your finger 2 inches into the soil; if it feels dry, it’s time to water thoroughly.
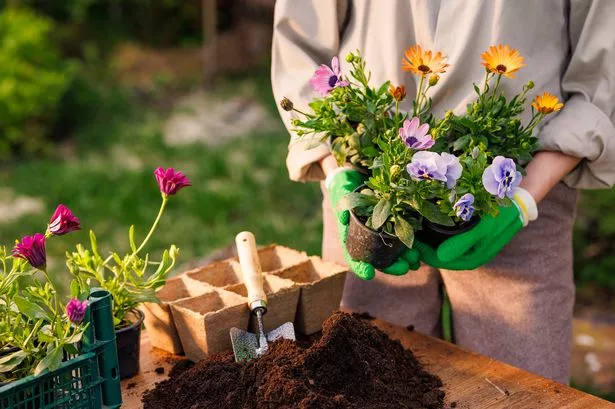
Mistake 1: Choosing a Pot That’s Too Small or Shallow
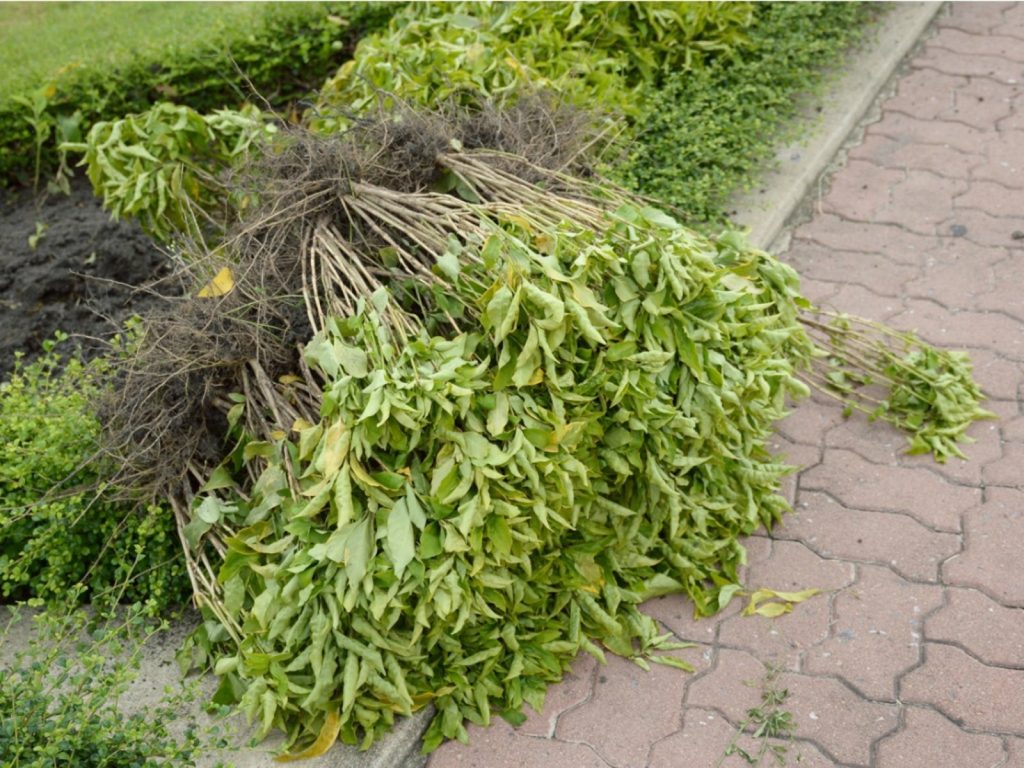
A small pot holds less soil, which means it holds less water and fewer nutrients. Plant roots quickly fill the space and start to circle, creating a “rootbound” mass that can’t absorb moisture.
The plant wilts constantly, even if you water it daily. The soil dries out just hours after watering. The plant’s growth is stunted, and it may look top-heavy.
Gently slide the plant out. If you see more roots than soil, it’s time to repot into a container at least 2 inches wider and deeper. Use fresh potting mix to fill the gap.
Informational Tips (How to Avoid This):
- Always check the plant’s tag for its “mature size.” A plant that’s 1-foot tall will likely need at least a 2-gallon pot (10-inch diameter).
- Rule of Thumb: For heavy feeders like tomatoes or zucchini, a 5-gallon pot is the minimum.
- When in doubt, always go one size bigger than you think you need.
Mistake 2: Forgetting (or Blocking) Drainage Holes
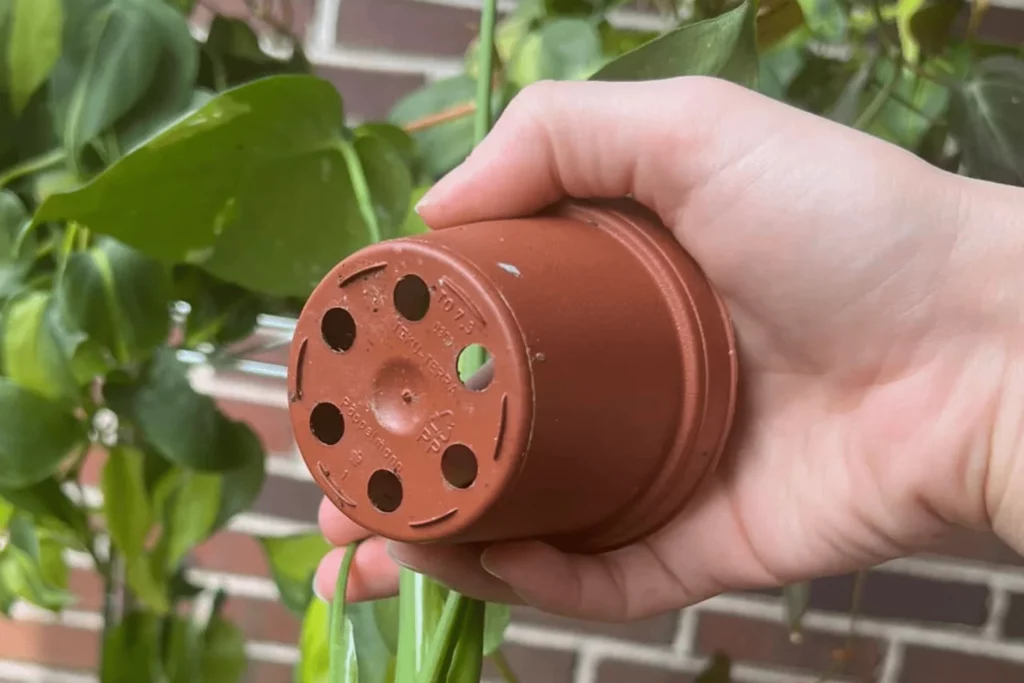
This is the #1 killer of container plants. Without an escape route, water pools at the bottom, suffocating the roots. This starves them of oxygen and creates the perfect environment for fungus and root rot.
The plant looks wilted, but the soil is wet. Leaves turn yellow or brown from the bottom up and feel mushy. You may notice a sour, swampy smell from the soil.
Immediately drill holes if you can. If the pot is ceramic, you may need a special masonry bit. If you can’t, gently tip the pot on its side to let excess water drain. The best long-term fix is to repot into a container with holes.
Informational Tips (How to Avoid This):
Myth-Buster (2025 Info): Do NOT add a layer of gravel, rocks, or pottery shards to the bottom. This is an outdated practice. It does not improve drainage; it actually worsens it by creating a “perched water table” that keeps water closer to the roots.
If you must use a decorative pot with no holes (a “cachepot”), plant your plant in a cheap plastic nursery pot (with holes) first, then place it inside the cachepot. You can lift it out to water and drain.
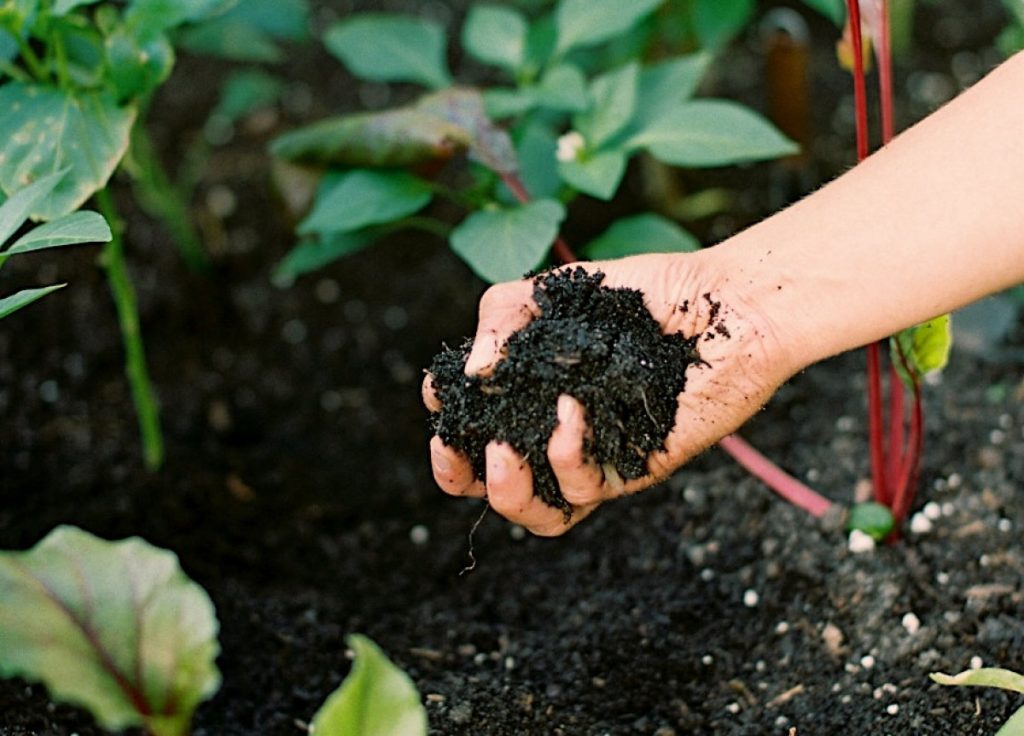
Mistake 3: Using Garden Soil or “Cheap” Potting Soil
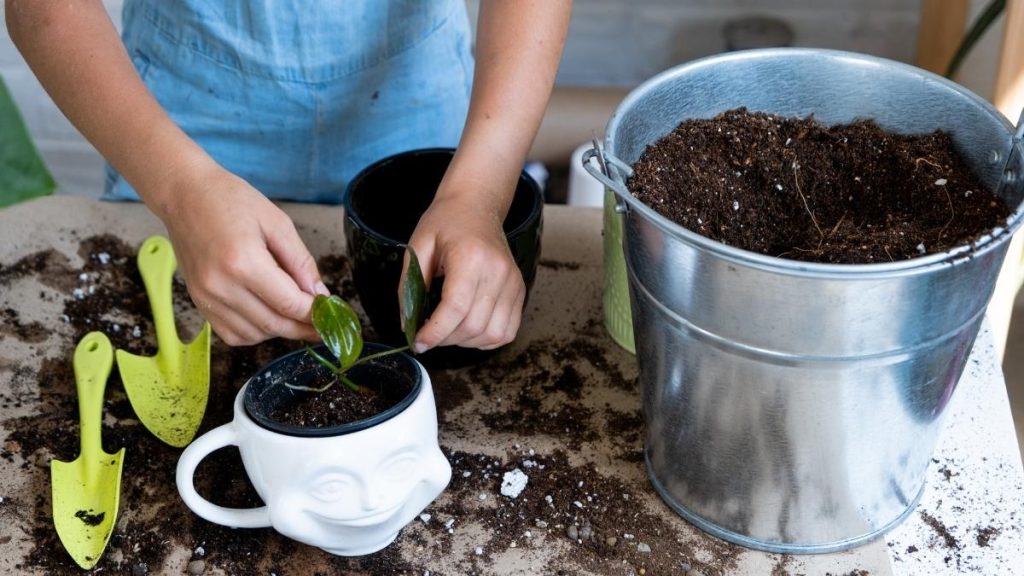
Soil dug up from your yard is too dense and heavy for a container. It compacts with watering, strangling roots and becoming either rock-hard when dry or a muddy bog when wet. Cheap “topsoil” or “potting soil” bags are often no better, lacking nutrients and proper aeration.
Water sits on top of the soil for a long time before soaking in, or it runs right down the sides without wetting the center. The soil pulls away from the edges of the pot when dry. Plants show signs of nutrient deficiency (yellowing leaves, poor growth).
Repot the plant using a high-quality, fluffy potting mix. Look for bags that contain ingredients like peat moss or coco coir (for moisture), perlite or vermiculite (for aeration), and compost or worm castings (for nutrients).
Informational Tips (How to Avoid This):
- In a container, the potting mix is the plant’s entire world. This is the #1 place to invest your money.
- Never reuse old potting soil from a diseased plant.
- You can “recharge” old soil by mixing it 50/50 with new potting mix and fresh compost.
Mistake 4: Ignoring Your Sun Exposure (All-or-Nothing Sun)

Gardeners often misjudge their light. A “full sun” plant (like a tomato) in a spot that only gets 3 hours of direct light will fail to fruit. Conversely (and more common in the source material), a “part shade” plant (like basil or lettuce) on a blazing hot concrete patio gets “cooked.”
Symptom:
- Too little sun: Plant is “leggy” (long, pale, weak stems), leans desperately toward the light, and fails to flower or fruit.
- Too much sun: Leaves have “scorch” spots (crispy, brown, or white patches), and the plant wilts every afternoon, even with wet soil.
Observe your space before you buy plants. Use a sun-tracking app or just check every 2 hours for one day. Move scorched plants to a spot with morning sun and afternoon shade. Move leggy plants to your sunniest location.
Informational Tips (How to Avoid This):
- “Full Sun” = 6-8+ hours of direct sunlight.
- “Part Sun/Shade” = 4-6 hours of sun (morning sun is best).
- “Shade” = Less than 4 hours of direct sun, or bright, indirect light all day.
Mistake 5: Inconsistent Watering (No Plan)
Containers have a limited soil volume and dry out much faster than garden beds. Watering “when you remember” leads to a stressful “boom-and-bust” cycle of drought and flood, which plants hate.
Symptom:
- Under-watering: Crispy brown leaf edges, wilting, soil pulling away from the pot.
- Over-watering: (See Mistake #2) Mushy, yellowing leaves, fungus gnats, a smell of rot.
Don’t water on a schedule (e.g., “every Tuesday”). Water based on need. Stick your finger 2 inches into the soil. If it’s dry, water deeply until it runs out the bottom. If it’s damp, check again tomorrow.
Informational Tips (How to Avoid This):
- Get a tool: A simple $10 soil moisture meter takes all the guesswork out.
- Self-watering planters are a game-changer for thirsty plants like tomatoes.
- Ollas: Unglazed clay pots buried in the soil that slowly release water as the soil dries.
Mistake 6: Over-Fertilizing with Synthetics
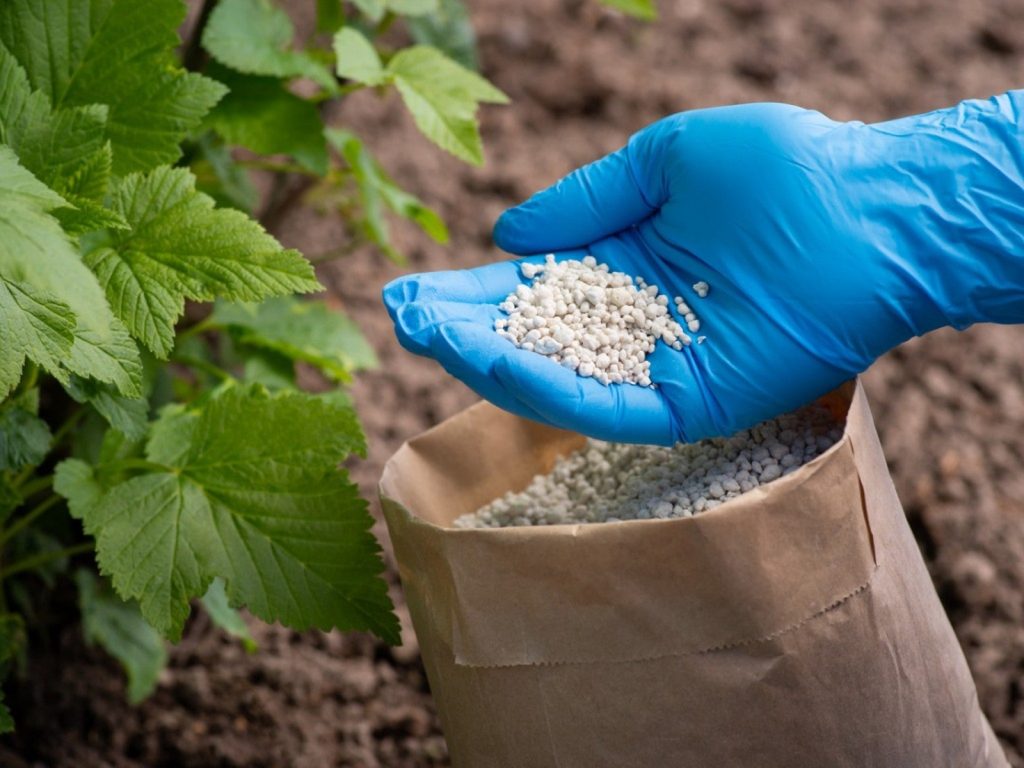
Because nutrients leach out with every watering, beginners try to “help” by adding more fertilizer. Using quick-release blue-crystal synthetics can easily “burn” the plant, delivering a chemical jolt that damages sensitive roots in the confined pot.
You’ll see a white, crusty salt build-up on the soil surface or the pot’s rim. Leaf tips and edges will turn brown and “burnt.” This happens after you fertilize.
“Flush” the pot. Water it deeply, letting it drain completely. Wait 30 minutes and do it again 2-3 more times. This leaches the excess salts. Stop fertilizing for at least a month.
Informational Tips (How to Avoid This):
- Start with good soil (see Mistake #3) that has compost mixed in.
- Use a slow-release organic granular fertilizer at planting time. This feeds the plant slowly for months.
- Supplement with a liquid organic fertilizer (like fish emulsion or liquid kelp) at half-strength every 2-4 weeks.
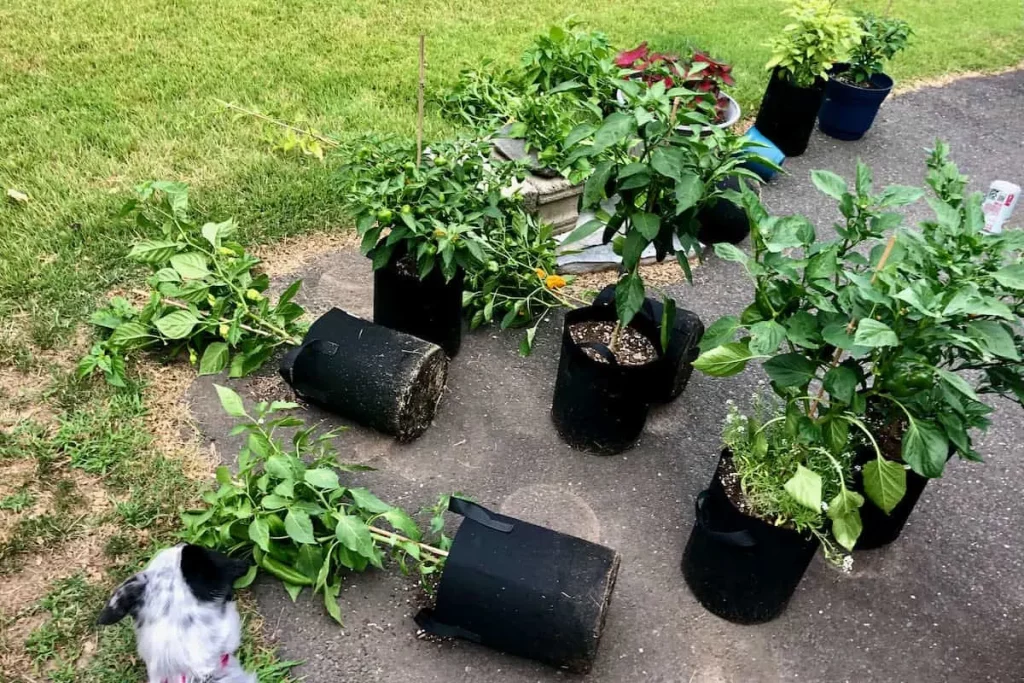
Mistake 7: Forgetting the Plant’s Mature Size
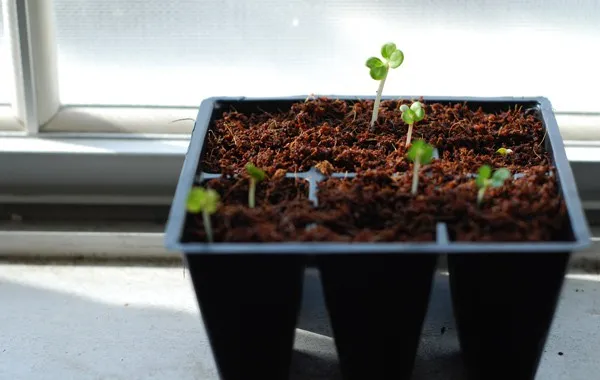
It’s tempting to buy a 6-pack of tiny seedlings and put them all in one 12-inch pot to make it look “full.” But plants grow. Those tiny seedlings are competing for the same small slice of water, nutrients, and light.
A few weeks after planting, the container is an overgrown jungle. Plants are weak and spindly from fighting for light. You see an increase in pests and disease (like powdery mildew) from poor air circulation.
It’s tough, but you must thin the plants. Choose the 1-2 strongest seedlings and snip the rest at the soil line with scissors (don’t pull, as it disturbs the roots).
Informational Tips (How to Avoid This):
- Read the plant tag! It will tell you the “mature spread” or “spacing.”
- One tomato, pepper, or eggplant plant per 5-gallon pot.
- You can get away with 3-4 lettuce plants in a 12-inch pot, or a dense planting of herbs.
Mistake 8: Planting Heavy Feeders in Small Pots
Some plants are “heavy feeders,” meaning they are incredibly greedy for nutrients and water. This list includes tomatoes, squash, zucchini, cucumbers, and corn. Putting them in a small pot is like asking a marathon runner to live on one cracker a day.
The plant grows, but it looks anemic. It produces very few, very small fruits, or it flowers and the blossoms drop off before setting fruit.
This is hard to fix mid-season. Your best bet is to fertilize weekly with a balanced liquid fertilizer and never let the pot dry out. For next year, get a much bigger pot (10-20 gallons).
Informational Tips (How to Avoid This):
- Good for small pots: Herbs (basil, mint, parsley), leafy greens (lettuce, spinach), radishes, bush beans.
- Bad for small pots: Tomatoes, squash, cucumbers, pumpkins, corn.
- If you must grow tomatoes, choose “patio” or “dwarf” varieties.
Mistake 9: Leaving Soil Exposed
Bare soil is an invitation for trouble. The sun bakes it, causing moisture to evaporate rapidly. Water from a can or hose can “splash” soil-borne diseases up onto the plant’s leaves.
The soil is rock-hard and dry on top, even if it’s moist underneath. You have to water constantly. You see black or brown spots (fungal diseases) on the lower leaves.
Add a 1-2 inch layer of mulch. This can be shredded bark, straw, or even “living mulch” (see tips). This insulates the soil, retains moisture, and prevents splash-back.
Informational Tips (How to Avoid This):
- Good Mulch: Shredded hardwood, pine bark fines, or straw.
- Living Mulch: Plant a “spiller” (like creeping thyme, oregano, or sweet alyssum) around the base of your “thriller” (like the tomato). It looks beautiful and protects the soil.
Mistake 10: Planting Only One Crop Per Pot
Planting just one lonely tomato in the center of a big pot is a waste of space. It’s inefficient and leaves lots of soil exposed (see Mistake #9).
Your pot looks bare and unproductive. You’re getting a very small harvest for the amount of space and soil you’re using.
It’s not too late! Add some “fillers” and “spillers.” Tuck a few basil or parsley plants around the base of your tomato. Plant some trailing nasturtiums or thyme around the edge.
Informational Tips (How to Avoid This):
- Use the “Thriller, Filler, Spiller” method for every pot.
- Thriller: The tall, main plant (e.g., Pepper, Tomato, Rosemary).
- Filler: Mid-sized, bushy plants (e.g., Basil, Marigolds, Lettuce).
- Spiller: Trailing plants that cascade over the edge (e.g., Creeping Thyme, Oregano, Strawberries).
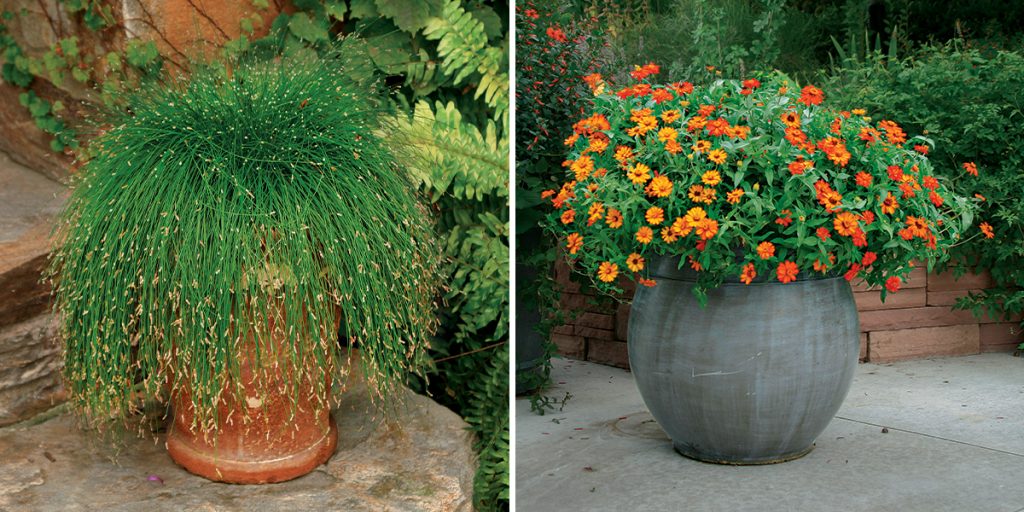
Mistake 11: Forgetting Pot Material Matters
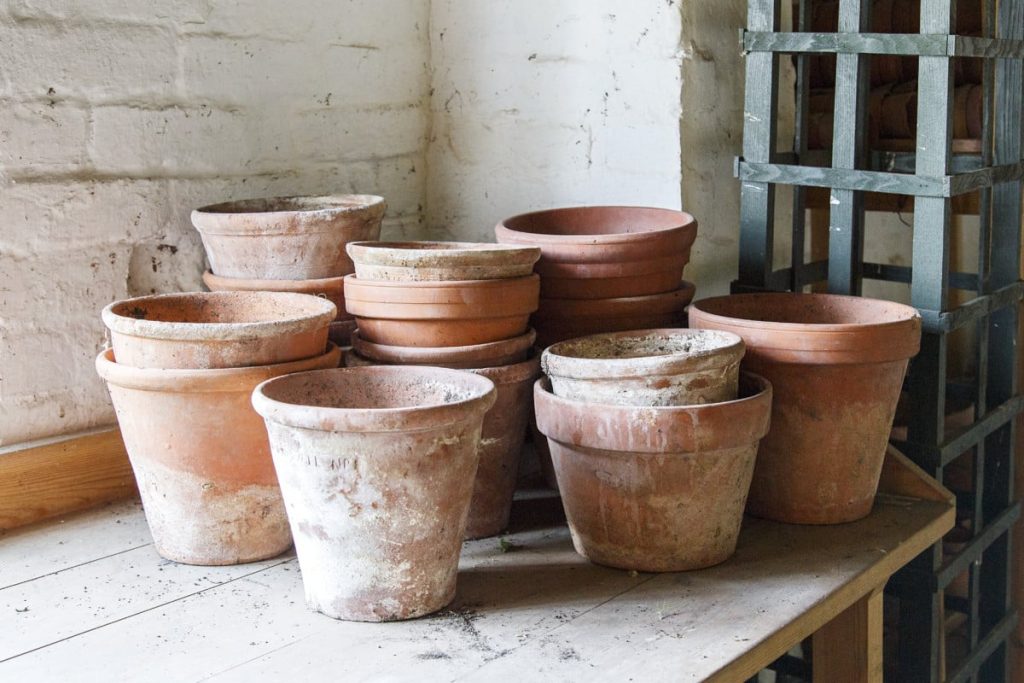
Not all pots are created equal. Dark-colored plastic or metal pots on a sunny patio can get so hot they literally cook the roots. Unglazed terra cotta is porous and “breathes,” which is great for aeration but means it dries out extremely fast.
Symptom:
- Hot Pot: Plant wilts dramatically in the afternoon, even if the soil is moist. The pot is physically hot to the touch.
- Terra Cotta: You have to water 1-2 times per day to keep the plant from wilting.
If your dark pot is cooking roots, try to shade the pot itself by grouping other, taller plants in front of it. For terra cotta, you either have to commit to daily watering or reserve it for drought-tolerant plants like succulents, rosemary, or thyme.
Informational Tips (How to Avoid This):
- Best all-around: Glazed ceramic or light-colored, thick-walled plastic pots offer the best balance of insulation and moisture retention.
- Grow Bags (2025 favorite): Fabric pots are excellent. They “air-prune” roots (preventing rootbound plants) and make over-watering impossible.
Mistake 12: Ignoring Wind and Portability
Balconies and patios, especially on upper floors, can create wind tunnels. A strong gust can topple top-heavy plants (like a staked tomato), snapping stems and drying out leaves.
You come outside after a windy day to find pots knocked over, stems broken, and leaves looking tattered and “burned” from wind.
Group pots together for stability. Place heavy rocks in the bottom of lightweight plastic pots before adding soil. Stake tall plants securely.
Informational Tips (How to Avoid This):
- For large, heavy pots (like half-barrels), place them on a rolling plant caddy before you fill them. This allows you to move them easily to safety during a storm or to chase the sun.
- If you’re on a windy balcony, choose shorter, bushier plants over tall, vining ones.
Mistake 13: Not Checking for Pests Daily
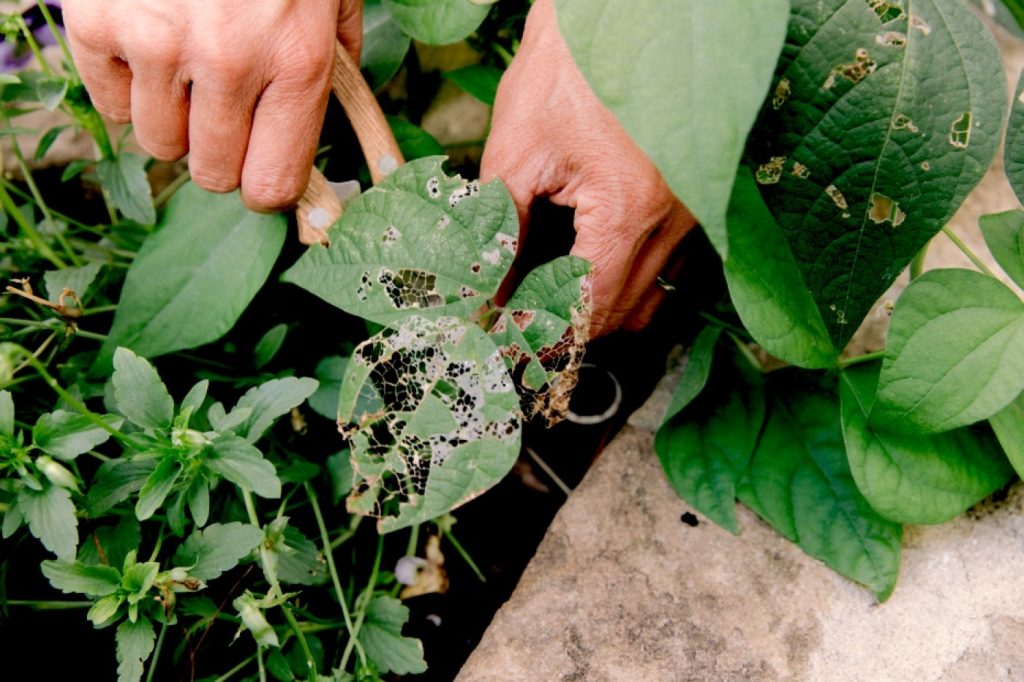
A pest infestation can explode in a container garden because the plants are isolated. A few aphids can become thousands in a week, sucking the life out of your plant before you even notice.
You see tiny webs (spider mites), sticky “honeydew” on leaves (aphids), or holes chewed in leaves (caterpillars). Leaves are stippled, yellow, and deformed.
Check your plants every time you water, especially under the leaves. For most pests, a strong blast of water from the hose is the best first defense. If that fails, spray with an organic insecticidal soap or neem oil (but only in the evening, as it can burn leaves in the sun).
Informational Tips (How to Avoid This):
- The “Inspect What You Expect” rule: Make a 1-minute pest check part of your daily watering routine.
- Attract beneficial insects by planting “spillers” like sweet alyssum or marigolds, which ladybugs and lacewings love.
Mistake 14: Planting Out of Season
Plants are programmed for specific seasons. Trying to grow cool-loving lettuce in the heat of July will cause it to “bolt” (go to seed) and turn bitter. Trying to grow a heat-loving tomato in early spring will just cause it to shiver and sit there.
Lettuce is tall, bitter, and flowering. Spinach is a no-show. Meanwhile, your summer tomatoes are stunted and purple, and your peppers won’t grow.
You can’t fight the season. Pull the bolted lettuce and toss it in the compost. Wait for the nights to be consistently above 50°F (10°C) to plant tomatoes.
Informational Tips (How to Avoid This):
- Spring/Fall (Cool): Plant lettuce, spinach, kale, radishes, peas.
- Summer (Warm): Plant tomatoes, peppers, basil, cucumbers, zucchini.
- Check your local “last frost date” and “first frost date” to know your true growing season.
Mistake 15: Tossing All Your Soil Each Year
This is an expensive, wasteful, and labor-intensive mistake. You don’t need to replace all your soil every single season. The soil structure is likely still good; it’s just depleted of nutrients.
You spend a fortune on new potting mix every spring and have to haul heavy bags of old soil to the dump.
Don’t replace—recharge. In the spring, dump your pot into a wheelbarrow. Pull out any large old root masses. For every 3 parts of old soil, add 1 part fresh compost or worm castings and a handful of organic granular fertilizer. Mix it all up, and your soil is new again.
Informational Tips (How to Avoid This):
- The only time to toss all soil is if the pot had a serious, soil-borne disease (like blight) or a major pest infestation (like root-knot nematodes).
- Topping off with 1-2 inches of fresh compost mid-season can also give plants a boost.
Conclusion
Success in container gardening isn’t about having a “green thumb”—it’s about avoiding these common container garden mistakes. By focusing on the fundamentals—the right pot, the right soil, and the right watering plan—you can stop killing your plants and start enjoying a beautiful, productive harvest.
You’ve learned how to fix container plants, so what’s the #1 mistake from this list that you’ve made? Share your “a-ha” moment in the comments below!
Don’t let these 15 container garden mistakes discourage you. Pick one thing to fix today and get ready to watch your garden thrive.
