
You can enjoy your patio year-round—if your pergola roof is truly waterproof, not just “water-resistant.” Too many covers leak because the wrong materials are used, the roof lacks pitch, or the drainage and flashing were never designed as a system. Modern solutions fix this with sealed seams, interlocking components, and integrated gutters that move water down through the columns instead of dumping it at the edges.
In this guide, you’ll get 12 verified waterproof solutions—from louvered pergola roof systems to polycarbonate, membranes, and insulated panels—each with minimum slope or sealing requirements, drainage tips you can implement, realistic 2024–2025 cost ranges, and warranty notes so you know what’s covered and for how long. You’ll also see when a motivated DIYer can tackle the work (and what to hand off to a pro to avoid leaks and voided warranties).
If you’re comparing pergola roof options or looking for waterproof pergola ideas, use the checklists in each section to pressure-test products before you buy: blade seals and gutter capacity on louvered systems, fire-rated fabrics on retractables, and manufacturer-specified pitches on rigid panels. By the end, you’ll be able to choose, price, and install a waterproof pergola roof with confidence.
1. Motorized Louvered Pergola Roof with Integrated Gutters
A motorized louvered pergola roof gives you open sky when you want it and a sealed, rain-tight canopy when you don’t. The louvers interlock and direct runoff into built-in perimeter gutters that discharge through the posts, keeping the deck below dry and usable. (Renson and Suncoast Enclosures both design column drainage into their frames.)
Smart weather automation is now standard at the top end: brands such as Azenco, Equinox, and StruXure integrate rain, sun, and wind sensors that automatically close (or open) the blades when conditions change—so cushions and flooring stay dry without you lifting a finger.
For performance context, Renson Camargue publishes independent-style specs many buyers use as a benchmark: wind resistance up to 160 km/h (closed roof), drainage ~150 L/m²·h, and load-bearing to 200 kg/m². Use those numbers as a reference point when comparing alternatives and asking dealers for test data.
Buying checklist (copy/paste):
- Confirm the blade seal type and how it locks. Ask for a water-ingress test or demo. (Look for continuous seals across the louver edges.)
- Verify gutter sizing and down-the-post discharge—and where the water exits.
- Ask what’s included: rain sensor, app control, finish warranty, and service network.
- Budget: typical installed pricing in 2024–2025 runs $55–$125+ per sq ft (about $6.5k–$18k+ depending on size and add-ons).
2. Manual Louvered Roof

Prefer the watertight interlocking concept without the motors? A manual louvered roof delivers the same closed-roof rain protection at a lower cost—great for smaller footprints or second spaces (grill zone, spa). You still want tight blade seals and a fully internal gutter path so water moves into the posts rather than dripping at the perimeter; Suncoast Enclosures documents an integrated gutter system, and Renson’s frames route water to the columns.
Warranty signals: powder-coated aluminum frameworks commonly carry multi-year finish coverage; some systems advertise extended warranties up to 15 years—use that as your bar for coating quality on a manually operated frame.
Budget reality: manual systems typically price $45–$110 per sq ft installed (size, local labor, and side-screen options drive variance).
Quick vetting list: check crank robustness, louver end-caps and seals, gutter cross-section, and access for cleaning leaf debris at the down-post outlet.
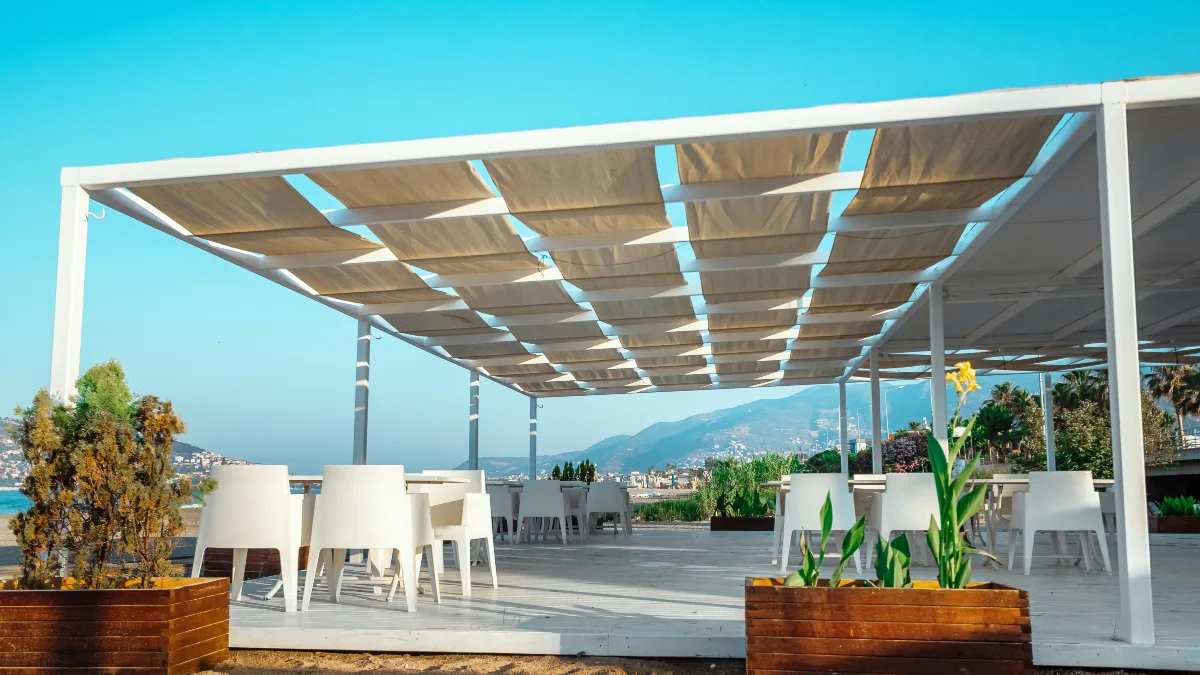
3. Retractable PVC (Tensioned) Roof on Side Rails
If you want an open-sky feel on clear days and a waterproof pergola roof during storms, a retractable PVC membrane on side tracks is the sweet spot. The fabric is PVC-coated and tensioned; when closed, it sheds water into a front gutter and then down through the posts—commercial systems like markilux pergola stretch and specialty fabricators such as Goodwin-Cole show this rail-to-gutter approach.
For fire safety and durability, ask for NFPA 701 flame-retardant fabrics and welded seams; U.S. awning/pergola specialists like Sunair publish that their exterior vinyl membranes meet NFPA 701 / CSFM T19 / ASTM E84 classes used in the trade.
Spec you can quote to vendors: many quality pergola membranes are around ~850 g/m² and ~0.6 mm thickness; that weight and thickness help resist ponding, stretch, and wind flutter. (AlunoTec lists those values across multiple retractable models—use them as a minimum benchmark when you compare.)
Care & setup tips: keep the side-track gaskets clean, maintain proper fabric tension, and verify a slight front pitch so water reaches the gutter under heavy rain. Consider adding wind sensors to auto-retract in severe conditions.
4. Fixed Tensioned PVC/PVDF Canopy
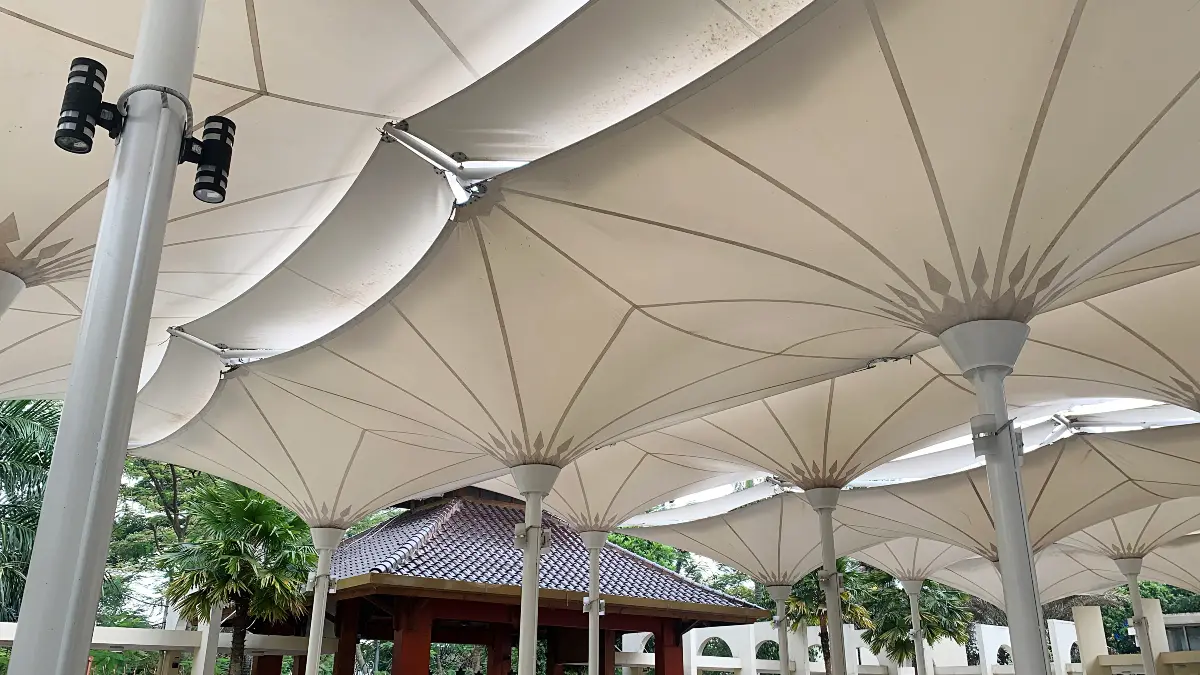
Choose this when you want the clean, architectural “sail” aesthetic without leaks. Unlike porous shade cloth, this is a PVC-coated (often PVDF-topcoated) polyester membrane that’s welded into a single sheet and permanently tensioned across the frame. It stays waterproof by design—provided you give it adequate pitch so water accelerates to the perimeter and into continuous gutters (then down through posts). Always confirm a fire-retardant rating (NFPA 701) and UV stability on the fabric data sheet; reputable awning makers (e.g., Sunair) specify these for their exterior vinyl membranes and highlight weldability for watertight seams. Plan annual washdowns with mild soap to prevent dirt buildup that can abrade coatings and stress welded seams; PVDF topcoats are formulated to resist soiling but still benefit from regular cleaning.
5. Corrugated Polycarbonate Panels

If you want daylight and durability with simple carpentry, a polycarbonate pergola roof using corrugated sheets is hard to beat. Polycarbonate is impact-resistant (often cited as ~20× stronger than fiberglass), blocks ~99.9% of UV, and is sold with limited lifetime and hail warranties from major retailers—great for long, low-maintenance coverage that still feels open.
For waterproofing, pitch and detailing are everything. Follow the manufacturer’s minimum: ≥5° (≈88 mm fall per meter) per Palram’s SUNTUF install guide; many North American retail guides state ≈1.5 in/12 in (~7°) as a conservative minimum—use the higher value if your structure allows. Overlap corrugations correctly (e.g., 1.5 corrugations on SUNTUF), face the UV-protected side out, and terminate open waves with closures. Use EPDM-washered fasteners and polycarbonate-compatible silicone at laps; avoid general-purpose sealants that attack PC. Finally, respect purlin spacing from the sheet tables so panels don’t “oil can” or flutter in wind.
On-site checklist:
- Confirm pitch (≥5°; use ~1.5 in/12 in if following retail guide).
- Predrill oversize holes; fasten on crests with EPDM washers.
- Seal overlaps with PC-safe silicone; install foam closures at eaves/ridge.
6. Multiwall (Twinwall) Polycarbonate Panels
Choose multiwall polycarbonate when you want a brighter space that stays cooler than single-skin sheets. The hollow chambers add thermal performance and help quiet heavy rain, but you’ll only get a dry deck if you follow the manufacturer’s envelope: maintain the minimum pitch, use the correct U-profiles and closure caps to seal flutes, and allow for expansion. Fasten with EPDM-washered screws, and only use sealants compatible with polycarbonate at joints and penetrations. Palram’s SUNLITE guidance calls this out explicitly—unapproved sealants and solvent paints can damage sheets and void warranties.
Spec tips you can quote:
- Keep the UV-protected face outward.
- Seal open-cell ends with breather tape + closure to reduce condensation streaking.
- Choose light transmission (e.g., clear vs. bronze/opal) to match glare control and heat gain for your orientation.
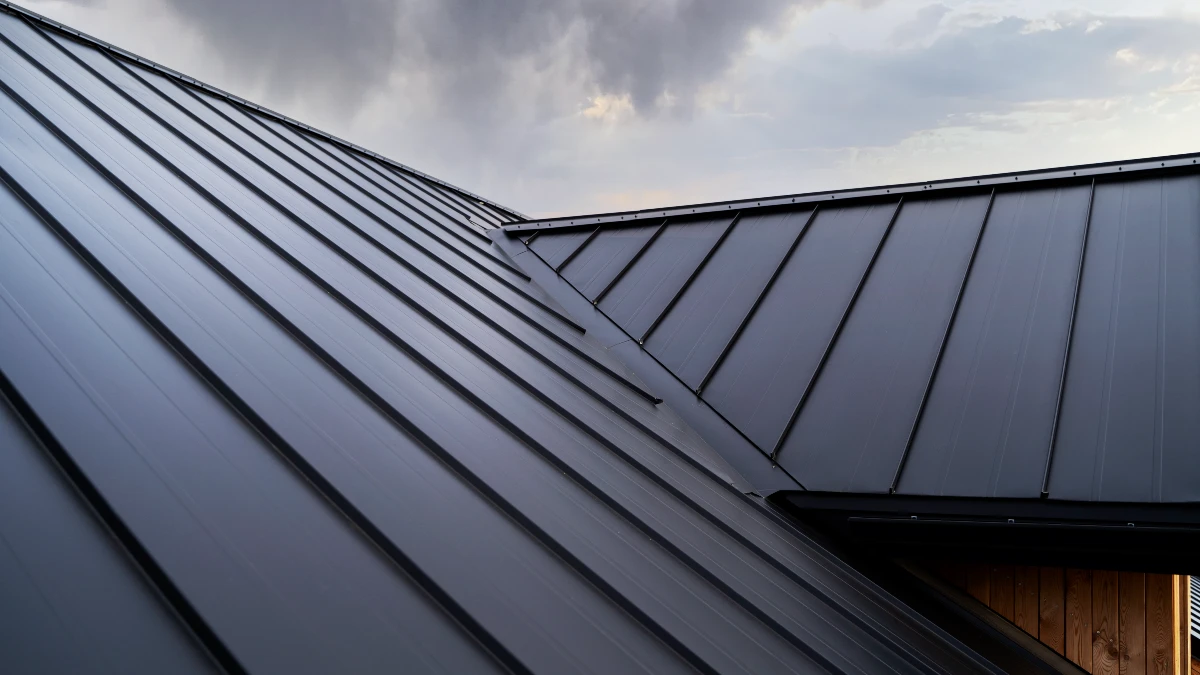
7. Standing-Seam Metal Panels
For a sleek look that shrugs off rain at low slopes, a standing seam pergola roof is the benchmark. The seams are raised above the waterline and either mechanically or snap-locked, so water doesn’t ride into the joint like it can with flat laps. Critically, verify the system’s minimum slope: the International Residential Code sets standing-seam minimum = 1/4:12 (2% slope)—individual manufacturers may match or exceed this depending on panel profile, clip height, and underlayment spec. The NRCA further notes steeper recommendations for other metal panel types (e.g., architectural panels often 3:12+)—use this as context when comparing systems.
Design the water path: continuous gutters with adequate fall, properly sized downspouts, and outlets that won’t splash onto the deck. Confirm clip spacing and gauge for your wind/snow exposure, and use compatible flashings at house ties and posts.
What to budget (2025): real-world installs commonly run ~$8–$16+ per sq ft depending on metal, gauge, and detailing—figures published by cost trackers (Modernize) and metal suppliers (Western States). If you add custom colors, concealed-gutter boxes, or snow retention, expect to land on the higher side.
Buy-smart checklist:
- Confirm minimum slope in writing (shop drawings).
- Ask for clip layout and oil-canning notes.
- Specify concealed fasteners and a high-temp underlayment at low slopes.
- Plan gutter/downspout routing before fabrication.
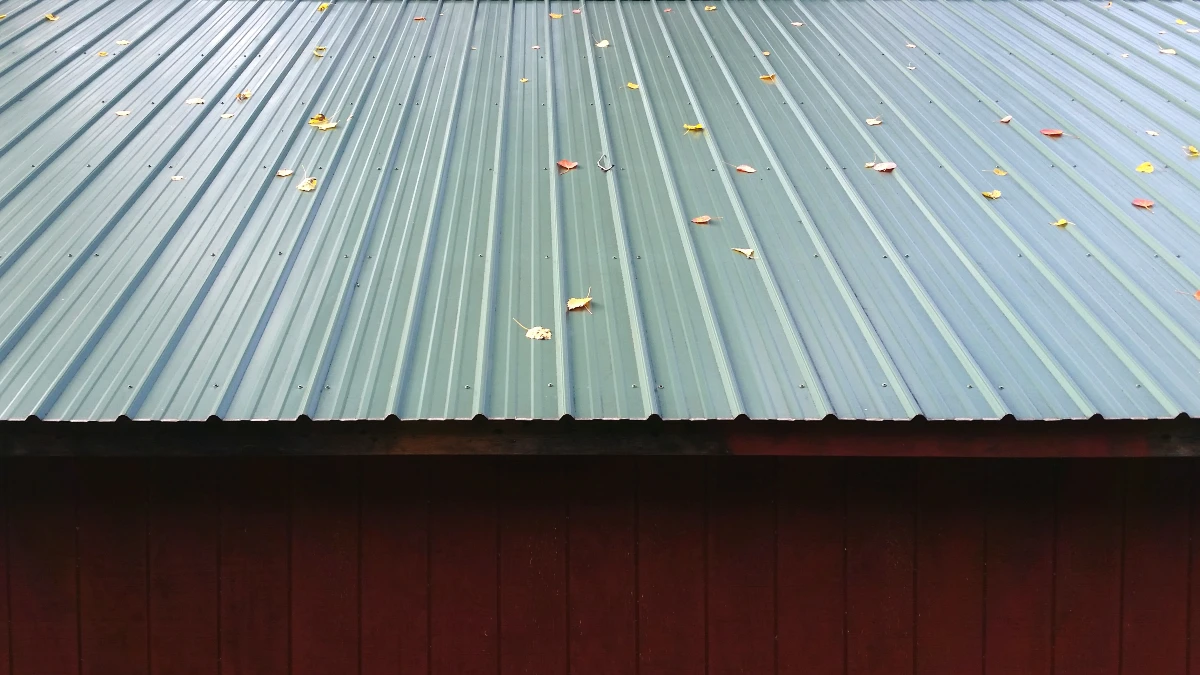
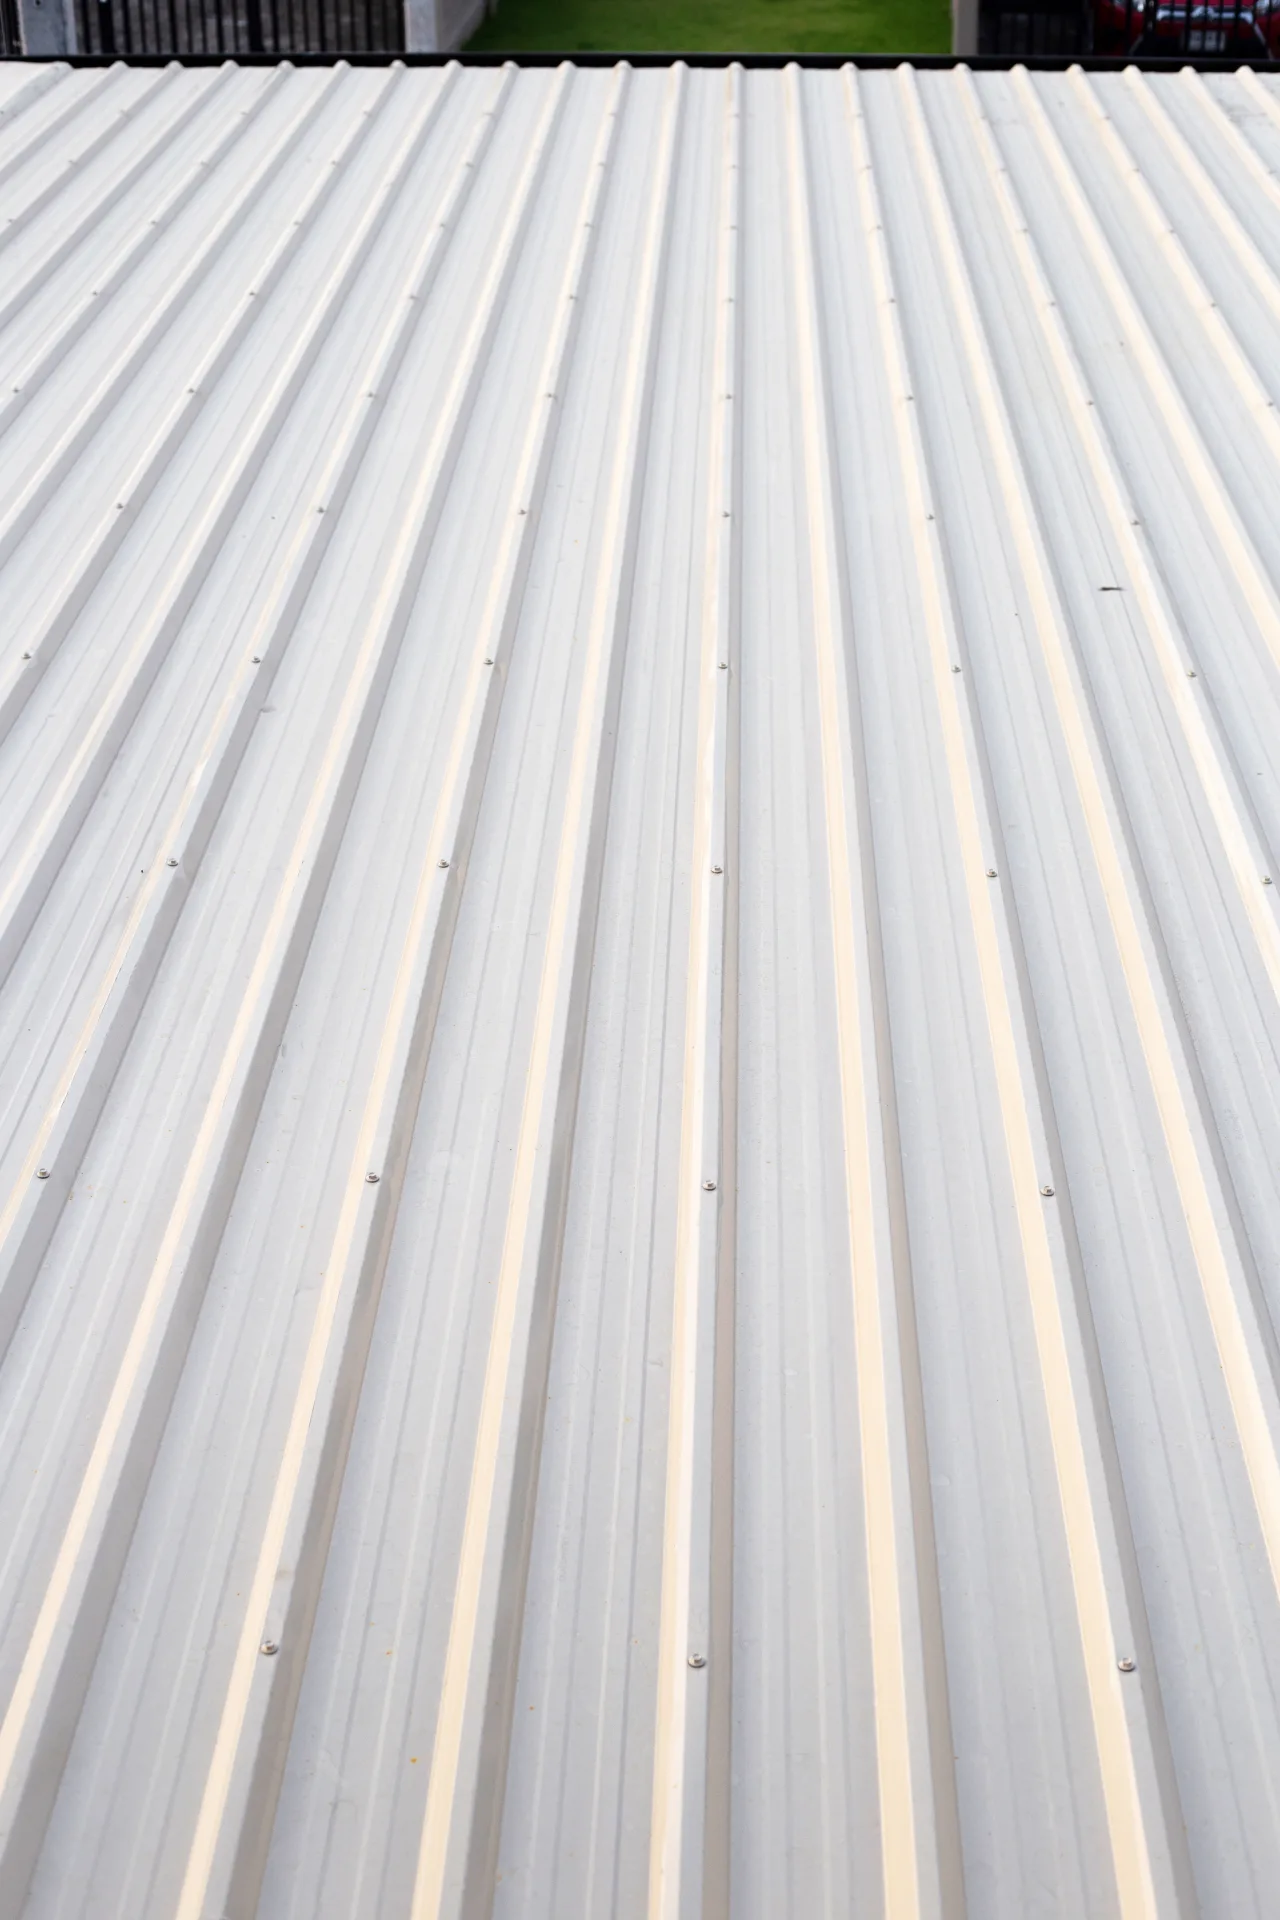
8. Corrugated Metal Roof
If you want the lowest-cost metal option and don’t mind visible fasteners, corrugated panels deliver a durable, watertight cover—if you respect slope and sealing. With lapped seams, codes and industry guidance call for more pitch than standing seam: the International Code Council’s residential provision sets 3:12 minimum without lap sealant and ½:12 with sealant (confirm with your panel’s manual). The National Roofing Contractors Association (NRCA) also points to steeper recommendations for many “architectural” panel types. Plan on butyl sealant in side/end laps, closure strips at eaves/ridges, and continuous gutters and downspouts to keep edges drip-free.
Budget reality: Corrugated roofs often land around $7–$12 per sq ft installed (profile, gauge, labor, and trim complexity drive variance).
Field checklist:
- Confirm minimum slope on the data sheet; exceed it when possible.
- Seal laps with butyl; use foam closures to block wind-driven rain.
- Predrill and fasten with washered screws on the crest, not in the valley.
- Add gutters sized for your rainfall.
9. Insulated Interlocking Aluminum Roof Panels
These foam-core aluminum panels lock together and form a solid, watertight patio cover that tames both heat and rain—ideal when you want a quiet, insulated space with clean ceilings below. Panels click via interlocking joints, and many systems offer integrated gutters and options for lighting/fans. Always check snow-load rating and the allowable span for your panel thickness before you set post spacing.
Budget reality (2025): National cost trackers put insulated patio covers at ~$30–$60 per sq ft installed; some market guides and retailers confirm similar ranges, with kit-only pricing lower and pro upgrades pushing to the top end.
Buy-smart checklist:
- Confirm panel thickness, span tables, and load rating in writing.
- Ask for gutter/downspout details and where water exits.
- Verify finish warranty and matching trim/beam covers for a clean look.
10. Single-Ply Membrane
For an ultra-clean, low-slope (“flat look”) pergola, sheath the frame with plywood/OSB, add an approved cover board/insulation, then install a single-ply membrane. Choose EPDM (excellent longevity, dark surface) or TPO (white, heat-reflective). Follow the manufacturer’s details for substrate prep, adhesives/fasteners, seams, and flashing—that’s how you keep it watertight and eligible for long warranties. Roofing associations and major manufacturers publish 25- and 30-year warranty assemblies that require specific membrane thicknesses and cover boards.
Service life reality: EPDM ≈ 30 years in typical use; TPO ≈ 15–30 years with upkeep (This Old House summarises current ranges).
Cost (2025, roofing context): EPDM ~$4–$10/sq ft, TPO ~$5–$12/sq ft, depending on thickness and detailing (confirmed by current contractor guides).
Warranty note: The EPDM Roofing Association cites 5–30-year options; to qualify for the top tiers, expect requirements on thickness, cover board, edge metal, and detailing—ask your installer for the exact system bill of materials.
Pro tips: Use a high-temp cover board under white membranes in hot zones; flash posts with pre-molded boots or field-wraps per the spec; add overflow scuppers into your gutter plan.
11. Glass Pergola Roof
If you want a premium, light-filled look, a glass pergola roof can be fully waterproof—but it demands structural glazing, adequate pitch, and perimeter drainage. Design to code: the International Building Code’s Chapter 24: Glass and Glazing governs materials, loads, and safety glazing for sloped applications; your engineer and fabricator should reference those provisions and the local amendments. Use laminated safety glass in tested systems, and integrate gutters/downspouts so runoff never pools at edges.
For a hybrid concept, see Brustor B720, which combines a fixed glass bay with a louvered section in one frame—useful when you want daylight by the doors and adjustable shade beyond. The example underscores an important point: with glass, you still need a defined water path—from cap/pressure bars to gutters to down-post discharge.
12. Hybrid & Add-On Waterproofing
The most weather-proof pergolas combine a watertight roof with smart water management and wind-rain control on the sides. Start with a roof that has integrated gutters and down-the-post discharge (many modern louvered systems route water through the columns); then size your downspouts and outlets to local rainfall. Use NOAA Atlas 14 to pull rainfall intensity for your exact location and confirm your gutter/downspout counts.
As a quick rule of thumb from home-improvement pros: a 2×3-inch downspout handles ~600 sq ft of roof area; a 3×4 handles ~1,200 sq ft—but always verify against Atlas 14 data and your gutter profile. For gutter pitch, industry guides recommend ≥ 1/16 in per ft as a baseline; many installers use ~¼ in per 10 ft for better flow on long runs.
To stop wind-blown rain, add side elements: vertical screens (ZIP), sliding glass, or fixed infills that sit inside the gutter line so water still exits properly. Keep screens a few millimeters off the deck and add a drip track to avoid splash-back. Ensure clean-outs at the bottom of posts so leaves or grit don’t clog the internal drains. Modern pergola makers highlight these built-ins as standard—use them.
Conclusion
Your best waterproof pergola roof hinges on slope, drainage, climate, and the vibe you want. Louvers deliver all-weather flexibility with internal gutters; polycarbonate keeps spaces bright; standing seam and insulated panels offer robust, low-maintenance protection; membranes excel for ultra-low slopes; and retractables give you open sky on demand. Size gutters and downspouts to your area’s rainfall—use NOAA Atlas 14—and follow each manufacturer’s pitch and sealing rules to the letter.
Next steps: shortlist 2–3 systems, confirm minimum pitch, gutter/downspout sizing, and warranty requirements with the installer’s written submittals, then decide DIY vs. pro based on your comfort with flashing and drainage. Make those checks up front and you’ll end up with a quiet, dry, long-lasting waterproof pergola roof.
