

“Most garden failures aren’t bad luck — they’re fixable.” New gardeners often stumble for the same reasons: they buy plants that can’t handle their winter cold, water the wrong way, and plant weeks before (or after) their last frost date. This guide tackles the beginner gardening mistakes to avoid with new gardener tips grounded in university Extension research—so your first vegetable garden mistakes don’t repeat all season. You’ll learn how to match plants to your USDA hardiness zone, set sowing and transplanting dates from local frost probabilities, swap wasteful sprinklers for efficient drip, and fix soil problems with a lab test (not guesswork).
One timely note: the USDA updated the Plant Hardiness Zone Map in 2023, using 1991–2020 data and nearly twice as many weather stations as before; about half the country shifted a half-zone warmer. That means “what used to grow here” may have changed—double-check before you buy perennials. We’ll also show quick tools from NOAA/National Weather Service for last frost risk, and practical habits (mulch, spacing, IPM) that stack the odds in your favor this season.
Choose Plants for Your Zone and Frost Dates

Hardiness Zone Reality Check (2023 Update)
Before buying perennials or fruit trees, confirm your zone using the newest data. Small shifts change what survives your coldest night.
Data Coverage
National Shift
“Use the Plant Hardiness Zone Map to select perennials that match your local extreme-cold limits.”— USDA Agricultural Research Service (2023)
If a plant died last winter, it might not be you—it might be your zone. Start by confirming your USDA Plant Hardiness Zone with the 2023 map update. It’s based on 30-year averages of your annual extreme minimum temperature; in the newest release, map accuracy improved (13,412 stations vs. 7,983 in 2012) and about half of U.S. locations shifted to the next warmer half-zone. Action: recheck your zone before buying long-lived plants and fruit trees, and favor varieties rated for your zone (or one colder if you’re risk-averse).
Next, time planting to frost probabilities, not social media trends. NOAA and the National Weather Service publish percentile dates (e.g., 50% vs. 10% risk of a 32°F freeze). Use the 50% date for quick-maturing, replaceable crops; wait until the 10% date for tender, slow crops and expensive transplants. Keep a 1–2 week buffer if you garden in a basin or valley.
Finally, read your microclimates. South-facing walls and paved areas bank heat (warmer pockets); low spots collect cold air (frost pockets). Plant borderline-hardy perennials near thermal mass; keep frost-tender starters off the valley floor. (Colorado Master Gardener discusses south-facing “heat pockets.”)
Stop Overwatering
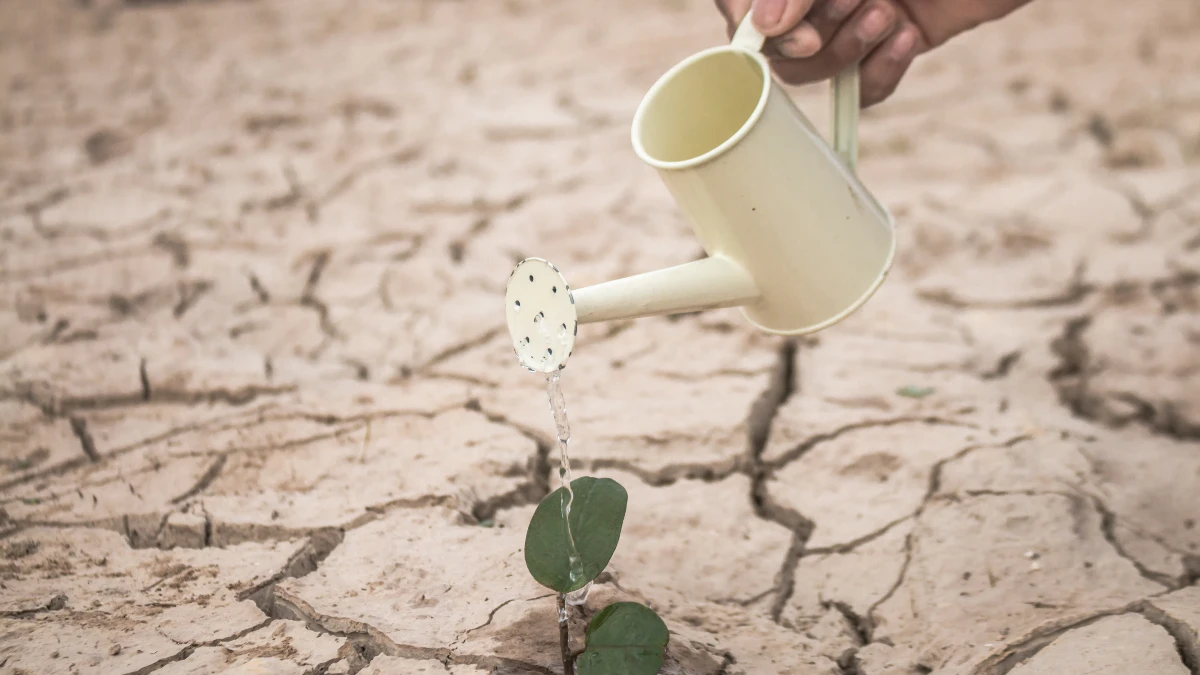
The mistake: Watering by habit (or overhead sprinklers) instead of by soil need. Overhead watering wets leaves, wastes water to wind and evaporation, and encourages foliar disease.
Measure, then water. Use the screwdriver test: push a 4–6″ screwdriver into the soil. If it slides in easily and comes out cool, wait. If it’s hard to penetrate 4–6″, water deeply. Clemson’s Home & Garden Information Center and Colorado State Extension both teach this quick probe method.
Irrigate at the roots. Drip or soaker delivers water to the soil—not the leaves—cutting waste and disease risk (Clemson HGIC).
Choose efficient systems. Multiple Extension programs (Colorado State; University of Florida IFAS; University of Alaska; Oklahoma State) report micro/drip systems can exceed ~90% application efficiency, while sprinklers are typically 50–70%. University of Illinois and Iowa State note 30–50% less water used versus sprinklers in home gardens.
Water at the right time. Morning irrigation reduces evaporative loss and disease pressure compared with midday/late night. Clemson HGIC highlights morning as best; early-to-mid morning after dew dries can also help if disease is active.
Mulch 2–3 inches. Mulch lowers evaporation and evens soil moisture (and keeps drip lines shaded).
Proof point: EPA WaterSense estimates up to ~50% of outdoor water can be lost to wind, evaporation, and runoff from inefficient irrigation; optimizing delivery and timing makes an immediate dent in your bill.
Build the Soil First
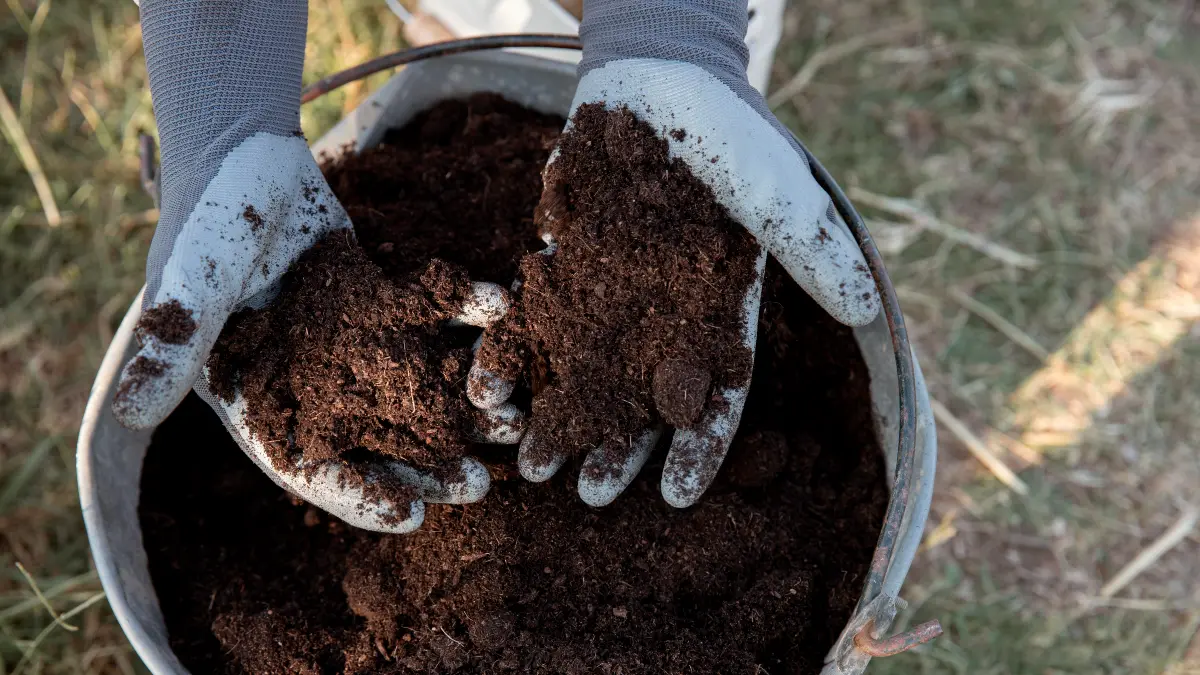
The mistake: Dumping fertilizer or lime “just in case,” or trusting a cheap DIY kit for nutrient decisions.
Start with a lab soil test. Land-grant universities tailor reports to your crops and region. Penn State Extension recommends testing sandy soils every 2–3 years and clay soils every 3–4, or sooner if problems show up. Keep records so you can track pH and nutrients over time.
Hit the pH window for vegetables. Most vegetable crops thrive around pH 6.0–6.5 (University of Georgia Extension; UF/IFAS notes 5.5–7.0 suits most vegetables). Outside that range, plants can’t access key nutrients even if you add them. If pH is low, apply the lab-recommended lime well ahead of planting; if high, follow sulfur/acidity recommendations.
Know the limits of home kits. UNH Extension and South Dakota State Extension report DIY test kits can be inconsistent for nutrients (especially P and K) and provide qualitative ratings that don’t translate into accurate fertilizer rates. Use them only as a rough screen—then confirm with a lab.
Amend precisely. After you have results, add compost for structure and biology, then apply nutrients to the recommendation, not the bag label. Re-test in 24 months for intensively grown beds.
Why it matters: Correct pH and targeted nutrition increase yield and prevent waste/runoff. You’ll save money by avoiding unnecessary amendments and protect local waterways while growing stronger plants.
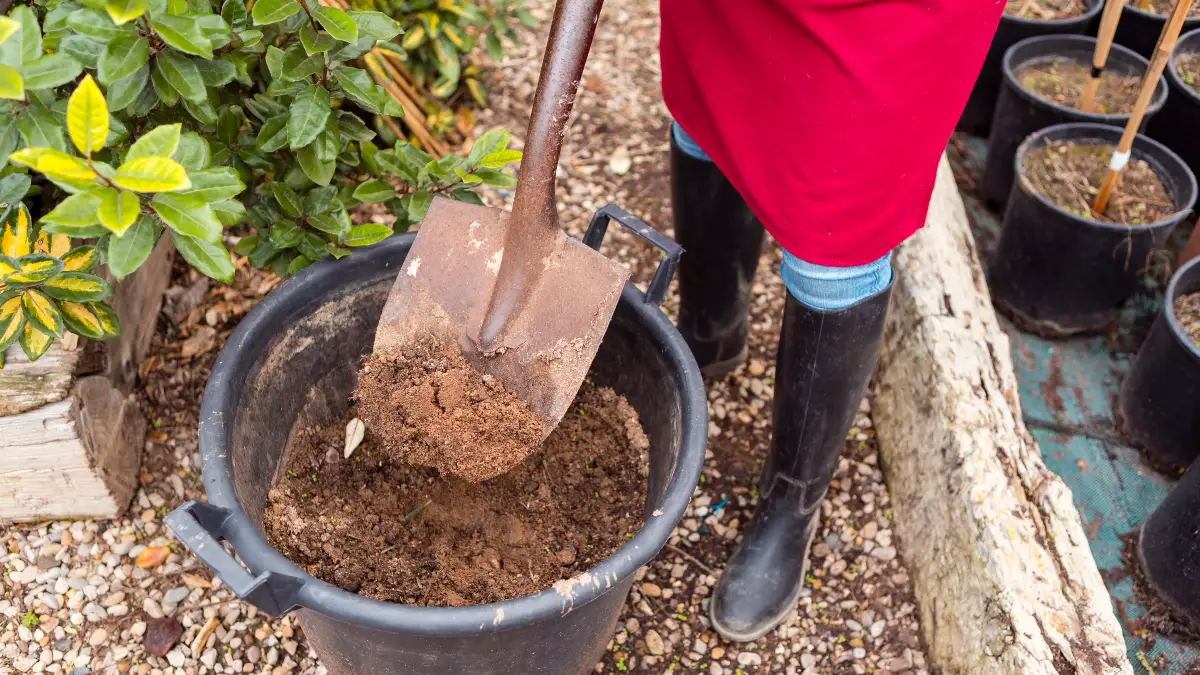
Don’t Work Wet Soil — Avoid Compaction
The mistake: stepping into beds or tilling when soil is wet.
Why it fails: Wet soil compresses easily, crushing pore space that roots need for oxygen and water movement. University of Minnesota Extension defines compaction as particles being pressed together, which reduces infiltration and drainage—exactly the conditions that stunt roots and keep beds soggy after rain.
Moisture check before you dig. Iowa State’s Integrated Crop Management suggests the ribbon/ball test: if a pressed ribbon holds together to several inches, or a squeezed ball stays intact, it’s too wet—wait. When it breaks apart readily, you’re safe to work.
Stay off beds when wet. University of Delaware Extension is blunt: avoid walking or operating tools on moist soil; it compacts fastest then. If a squeezed handful keeps its shape, postpone digging or tilling.
Go lighter on tillage. Frequent rototilling pulverizes structure and invites a compacted “pan.” Nebraska Extension recommends reducing tillage, adding compost, and using raised beds/no-till to rebuild aggregates. Boards or stepping stones help spread your weight when you must enter a bed.
Quick win: After rain, wait at least a day or two—then re-do the ribbon test. Your soil biology (and seedlings) will thank you.
Plant at the Right Depth and Spacing

The mistake: burying seeds too deep and crowding plants, which traps humidity and fuels disease.
Seed depth rule. A practical rule from horticulture educators: sow about 2–3× the seed’s diameter (check packet for exceptions like light-germinating lettuce). Epic Gardening’s 2025 guidance echoes this benchmark for reliable emergence.
Space for airflow. Alabama Cooperative Extension emphasizes that adequate spacing dries foliage faster after rain or irrigation; wet leaves = higher infection risk.
Tomatoes: give them room and support. University of Missouri Extension advises 24–36 inches between plants (rows 4–5 ft) to maintain air movement; Clemson’s Home & Garden Information Center reinforces vertical support (cages/trellis) to keep foliage off the ground and speed drying.
Proof point: Colorado Master Gardener notes crowding does not increase yields and does increase disease pressure; even trellised tomatoes should have ≥2 feet between plants. Use the plant’s mature width—not the transplant size—to set spacing.
How to apply: After sowing at the right depth, thin to the packet’s final spacing. For vining crops, plan vertical supports on day one. For dense beds (basil, greens), stagger plants in a triangle pattern to keep leaves from touching at maturity.
Mulch the Right Way
The mistake: piling mulch against stems (“mulch volcanoes”) and laying landscape fabric under beds.
Depth and placement. For beds, maintain 2–4 inches of organic mulch (wood chips, shredded bark, leaves), and keep it off stems. Clemson Extension and Missouri Extension both recommend ~2–3 inches around ornamentals and beds; more than ~4 inches can restrict oxygen and trap moisture.
Trees: donut, not volcano. Penn State Extension advises exposing the root flare, keeping mulch 3–5 inches away from young trunks, and capping total depth at ≤3–4 inches. This prevents rot, girdling roots, and pest issues.
Skip fabric under organic mulch. The Garden Professors (university horticulturists) and NCSU Extension report landscape fabric impedes water and gas exchange, clogs with debris, heats soil, and becomes a maintenance nightmare in planted beds; reserve it only for under rock or paths if at all.
How to apply: Weed, water, then mulch. Feather mulch away from crowns and trunks. If fabric is already installed, cut and remove in sections, then lay 2–4 inches of fresh organic mulch.
Keywords: mulching mistakes, landscape fabric, beginner gardening mistakes to avoid.
Use Containers Correctly — Potting Mix, Drainage, and Size
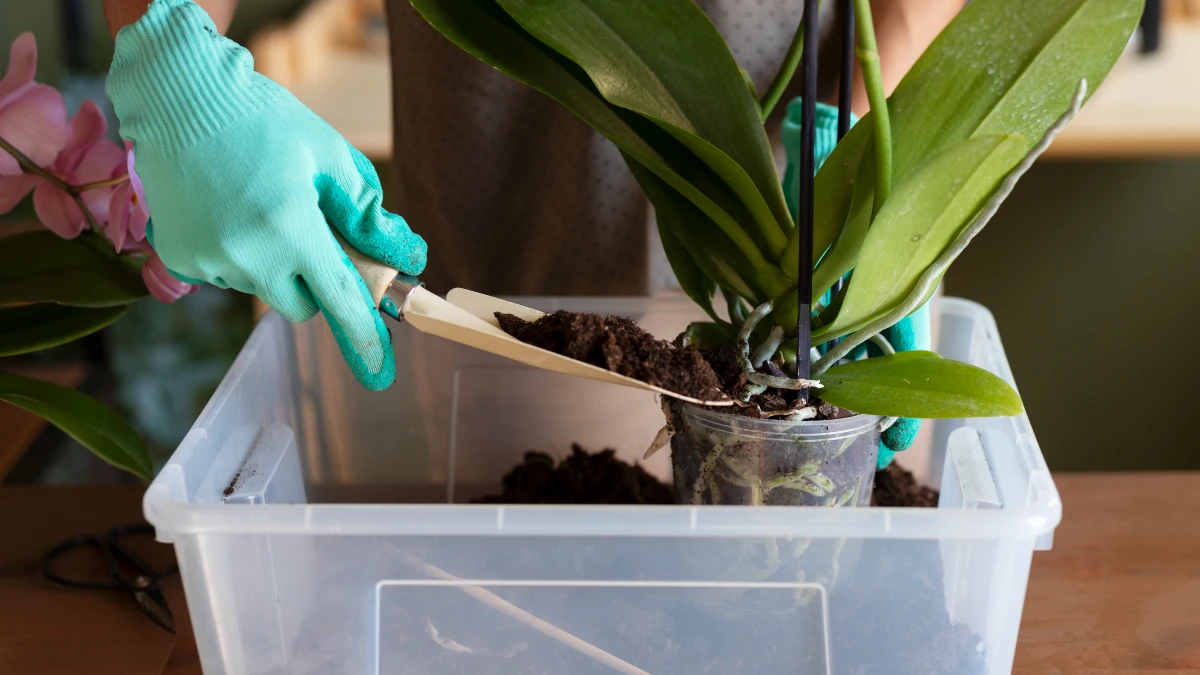
The mistake: filling pots with garden soil, skimping on drainage, and choosing pots that are too small.
Use a soilless potting mix. University of Maryland Extension stresses that garden soil is too dense in containers and drowns roots; potting mixes (peat/coir + perlite/vermiculite, sometimes compost/bark) balance aeration and moisture. University of Minnesota Extension echoes this for both containers and raised beds.
Guarantee drainage. Choose containers with true drainage holes; UMN Extension highlights drainage as essential to prevent root rot and to keep mixes functioning. Elevate pots slightly if water puddles beneath.
Match pot size to the plant. Bigger volumes buffer heat and reduce watering frequency. Penn State Extension recommends at least a 14-inch pot for tomatoes—larger performs better through summer. For peppers/eggplant, 3–5+ gallons is a practical minimum; herbs do well in smaller pots but still need drainage.
Feed lightly, more often. Container mixes hold fewer nutrients; Maryland Extension advises regular, dilute fertilization and close moisture monitoring to avoid swings that stress plants.
Pro tip: Pre-moisten potting mix before filling large containers; this eliminates dry pockets and helps roots establish.
Prune and Plant Trees/Shrubs at Correct Depth
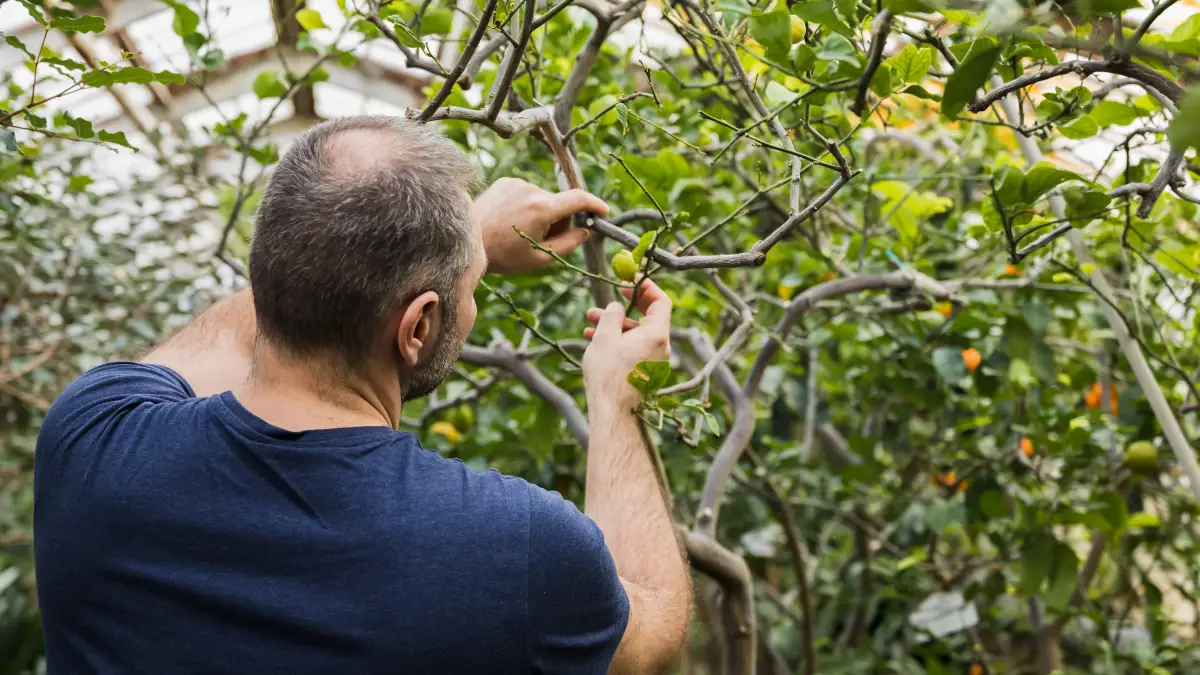
The mistake: Planting trees too deep and piling mulch against the trunk. Both can smother roots, invite rot, and set the stage for girdling roots years later.
Locate the root flare and set it at—or slightly above—grade. The root flare is the slight swelling where trunk becomes roots. University of Minnesota Extension advises digging the hole no deeper than the root ball and 2–3× as wide, so roots can run outward without sinking the flare below soil level. If necessary, brush soil off the top of the root ball to expose the true flare before planting.
Correct circling roots at planting. On container-grown stock, tease out or cut circling/girdling roots so they grow away from the trunk; this is standard UMN Extension guidance to prevent future strangulation.
Mulch like a donut, not a volcano. Pull mulch back from the trunk to keep the flare visible and bark dry; 2–4 inches over the root zone is plenty. Penn State Extension stresses keeping mulch 3–5 inches away from young trunks and never burying the flare.
Pro tip: After planting, water to settle soil, then check a week later—if the flare has sunk, gently lift and re-seat before roots set.
Practice IPM — Don’t
The mistake: Reaching for a pesticide first and asking questions later.
Prevent problems with the right plant in the right place, resistant cultivars, crop rotation, sanitation, and proper spacing.
Monitor weekly. Scout leaves (top and underside), stems, and soil line; note thresholds (e.g., number of aphids per leaf).
Identify before you act. Misidentification = wasted money and injured plants.
Manage using the least-toxic method first (cultural, physical, mechanical, then targeted biopesticides or pesticides only if needed). NC State Extension frames IPM exactly this way: a sustainable, prevention-first system that minimizes risk while staying effective.
Safety and the law: The pesticide label is legally enforceable under FIFRA; using a product in a manner inconsistent with its label is a federal violation. Always follow directions for target pest, site, rate, and PPE (gloves, eye protection, etc.). That’s straight from the U.S. Environmental Protection Agency.
Low-risk practices that work:
- Choose resistant varieties (coded as VFN for tomatoes, etc.).
- Sanitize pruners between plants to limit disease spread.
- Water at soil level (drip or soaker) and in the morning to keep foliage dry and reduce foliar diseases, per university horticulture guidance from Clemson’s Home & Garden Information Center.
Decision rule: If your monitoring shows pests above threshold and nonchemical tactics aren’t enough, select the narrowest-spectrum product labeled for your pest and crop, apply only where needed, and re-check results in 48–72 hours.
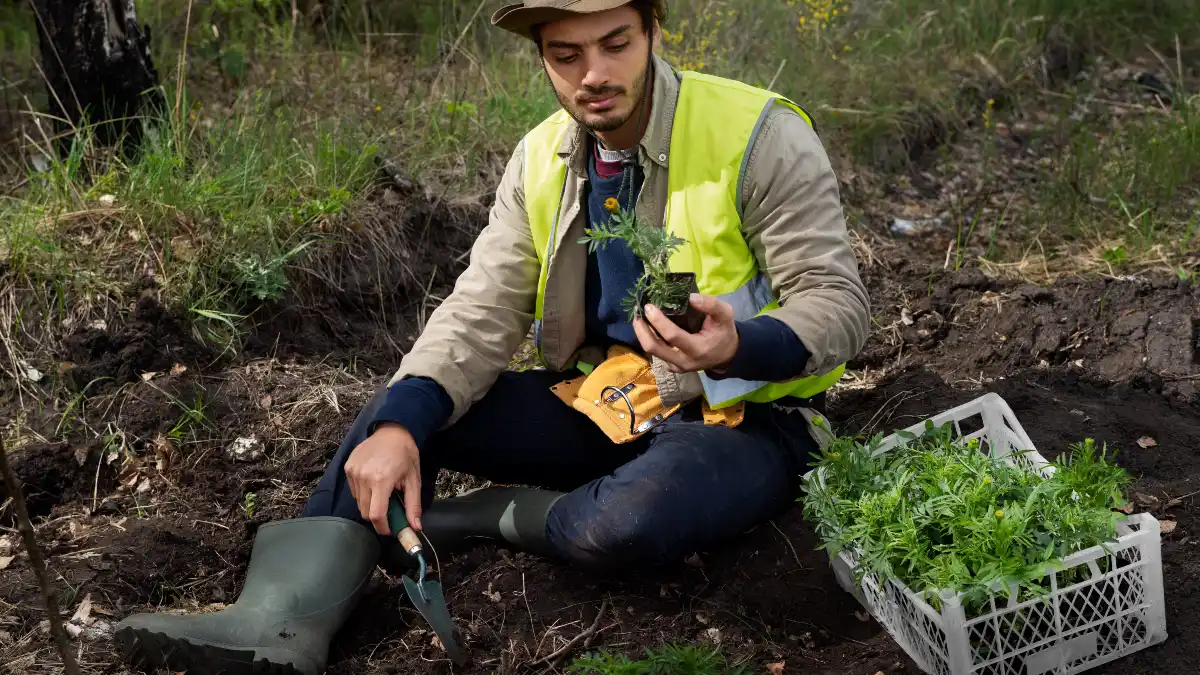
Harden Off and Time Transplants
The mistake: Moving pampered seedlings straight from indoor comfort to full sun and wind—classic transplant shock.
Harden off gradually. University of Arizona Cooperative Extension recommends several days of increasing exposure: start with a few hours in bright shade/shelter, then add time and a bit more sun daily. Bring plants in at night if it’s cold; skip very windy or scorching afternoons early in the process. Most seedlings are ready in about a week; some benefit from 10–14 days depending on weather and species (University of Maryland Extension).
Transplant after frost risk passes. Use your local last frost date (from reliable climatology) as the earliest target; warm-season crops need warm nights and soil as well.
Plant in the cool part of the day and water at the base. Evening or overcast afternoons minimize stress; water in to remove air pockets and settle roots.
Quick checklist: sturdy stems, no leggy stretch; roots holding soil but not root-bound; forecast steady for a week; row cover ready if a cold snap looms.
Conclusion
Great gardens come from a handful of evidence-based habits: match plants to your zone and frost dates, water efficiently at the roots (ideally drip), build soil with lab tests and compost, stay off wet soil to prevent compaction, mulch correctly (flare showing, no volcanoes), give plants room and support for airflow, and practice IPM instead of guesswork. Do these consistently and you’ll avoid the most common beginner gardening mistakes to avoid and get a steadier, bigger harvest.
Next step: grab the one-page checklist (zone, frost date, spacing, watering schedule, mulch depth, IPM scouting notes) and plan this weekend’s fixes. Small changes now compound into healthier plants all season.
Final keywords: beginner gardening mistakes to avoid, new gardener tips.
