

Imagine cooking, dining, and relaxing outside year-round—without worrying about sun or rain. That’s the promise behind the best backyard pavilion ideas: a solid-roof, open-sided structure that feels like an outdoor room. But choosing the right setup isn’t simple. Homeowners get stuck debating pavilion vs pergola, roof pitch, materials, size, and whether a permit is required—then the budget question hits: What will this actually cost?
In this guide you’ll learn the clear differences between a pavilion and a pergola, the true backyard pavilion cost for DIY kits vs. custom builds in 2025, how to match pavilion roof options (shingle, metal, polycarbonate) to your climate and building code, and how to size the structure for dining, a lounge, or a full outdoor kitchen. You’ll also see where utilities (power, gas, data) should go, which add-ons extend your season (fans, heaters, fireplaces), what routine maintenance actually matters, and what the payoff looks like at resale. The goal: give you the confidence to pick a design, set a realistic budget, and build a durable outdoor space you’ll use every week.
Pavilion vs. Pergola: What’s Best for You?
Fast Track: Picking the Right Shade Structure
10-Second ChooserUse this flow, climate fit matrix, and expert notes to decide—then tailor budget and wiring accordingly.
- Need rain proofing / outdoor TV? → Pavilion
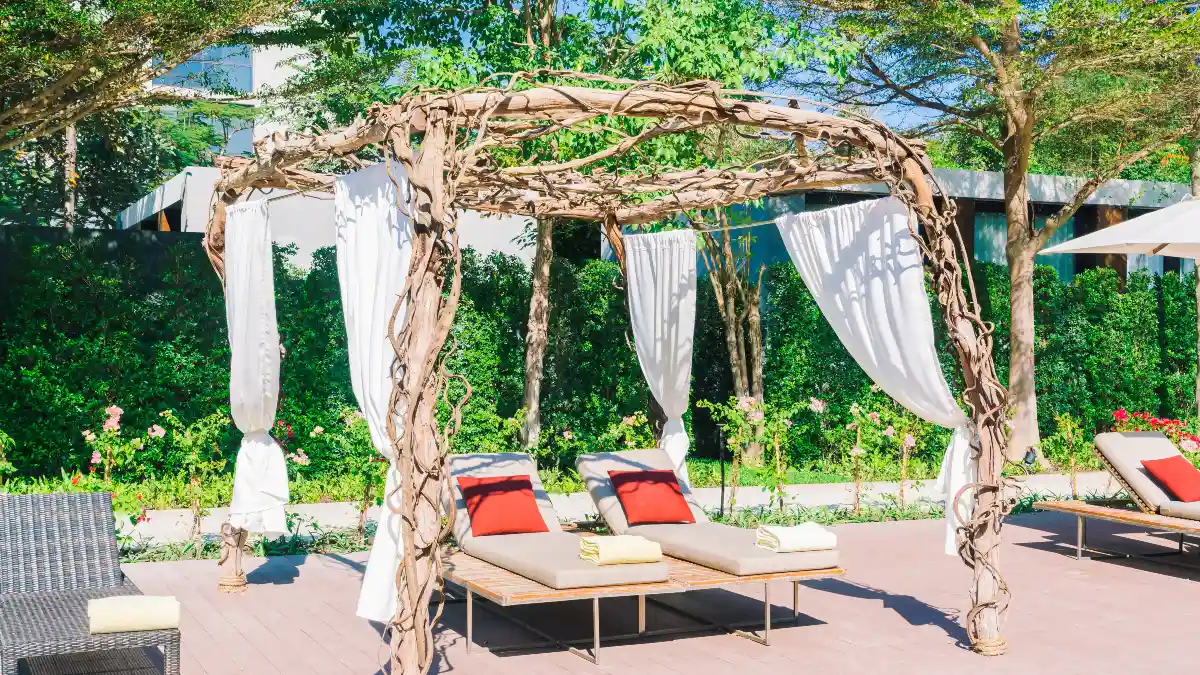
- Love dappled shade & vines? → Pergola
- Wind-driven rain is common? → Pavilion (add 12–24″ overhangs)
- Tight budget / weekend build? → Pergola now, upgrade later
- Hybrid yard? → Pergola by the garden + Pavilion over dining/kitchen
| Condition | Best Fit |
|---|---|
| Heavy rain or snow | Pavilion with shingle ≥ 2:12 (low slope needs double underlayment) or metal roof |
| Hot, bright sun | Pavilion with polycarbonate tint for UV control or ventilated pergola |
| Plant training & airiness | Pergola (slatted/open roof) |
| Pavilion | Pergola | |
|---|---|---|
| Weather protection | Full (solid roof) | Partial (slatted) |
| Typical cost tier* | Higher (roof framing + roofing) | Lower (posts + rafters) |
| Usable days/year | More (shoulder seasons) | Fewer (rain limits use) |
| Wiring & media | Easy: lights, fans, TV under cover | Possible, needs careful weatherproofing |
“Buyers put real weight on outdoor rooms.” NAHB surveys show the vast majority of buyers want a patio—evidence that covered, usable outdoor space aligns with market demand.
“Solid roofs have rules.” Roofing manufacturers like GAF specify a minimum shingle slope of 2:12; below that, pick another roof system. This often nudges TV-and-kitchen pavilions toward metal or correctly detailed shingle assemblies.
- Turn main opening away from prevailing rain to keep furniture dry.
- Target 12–24″ overhangs to reduce blow-in on tabletops and TVs.
- Leave clear electrical paths (conduit in posts) for fans, lights, and future heaters.
Working definition (plain English):
- “Pavilion = solid, weatherproof roof; open sides.” (Terrascape Supply)
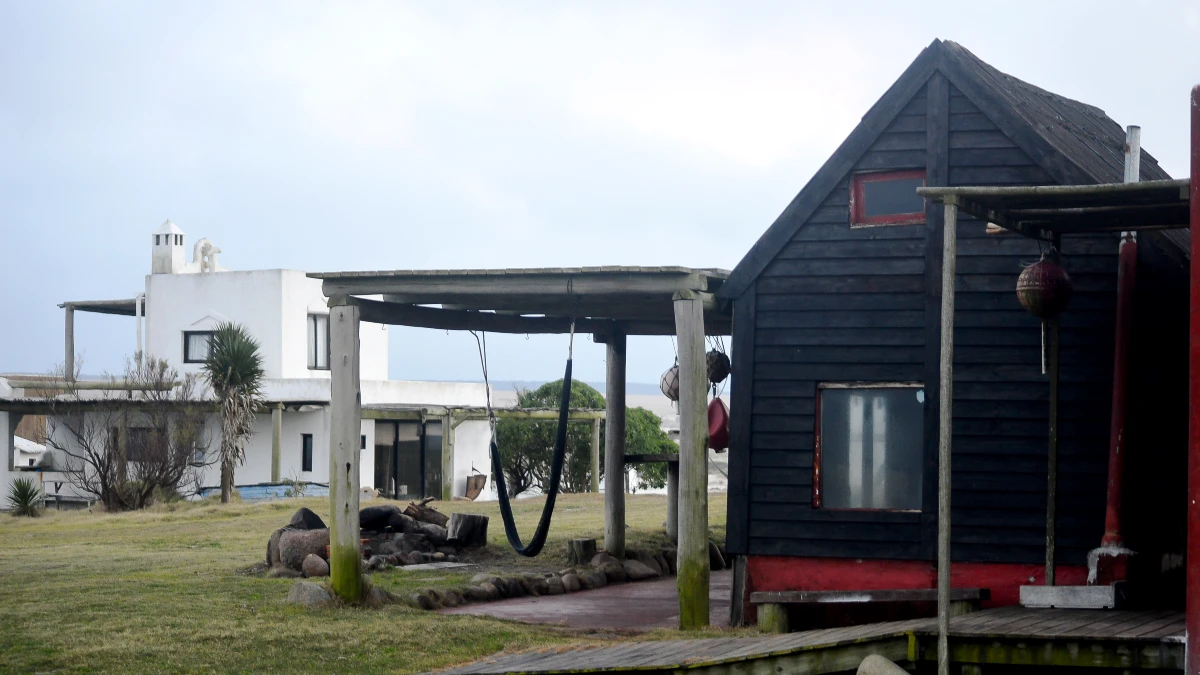
- “Pergola = slatted/open roof for partial shade.” (Penn Dutch Structures)
These two sentences solve 80% of the confusion. Terrascape Supply and Penn Dutch Structures both emphasize that the roof is the key difference—full weather protection versus filtered shade.
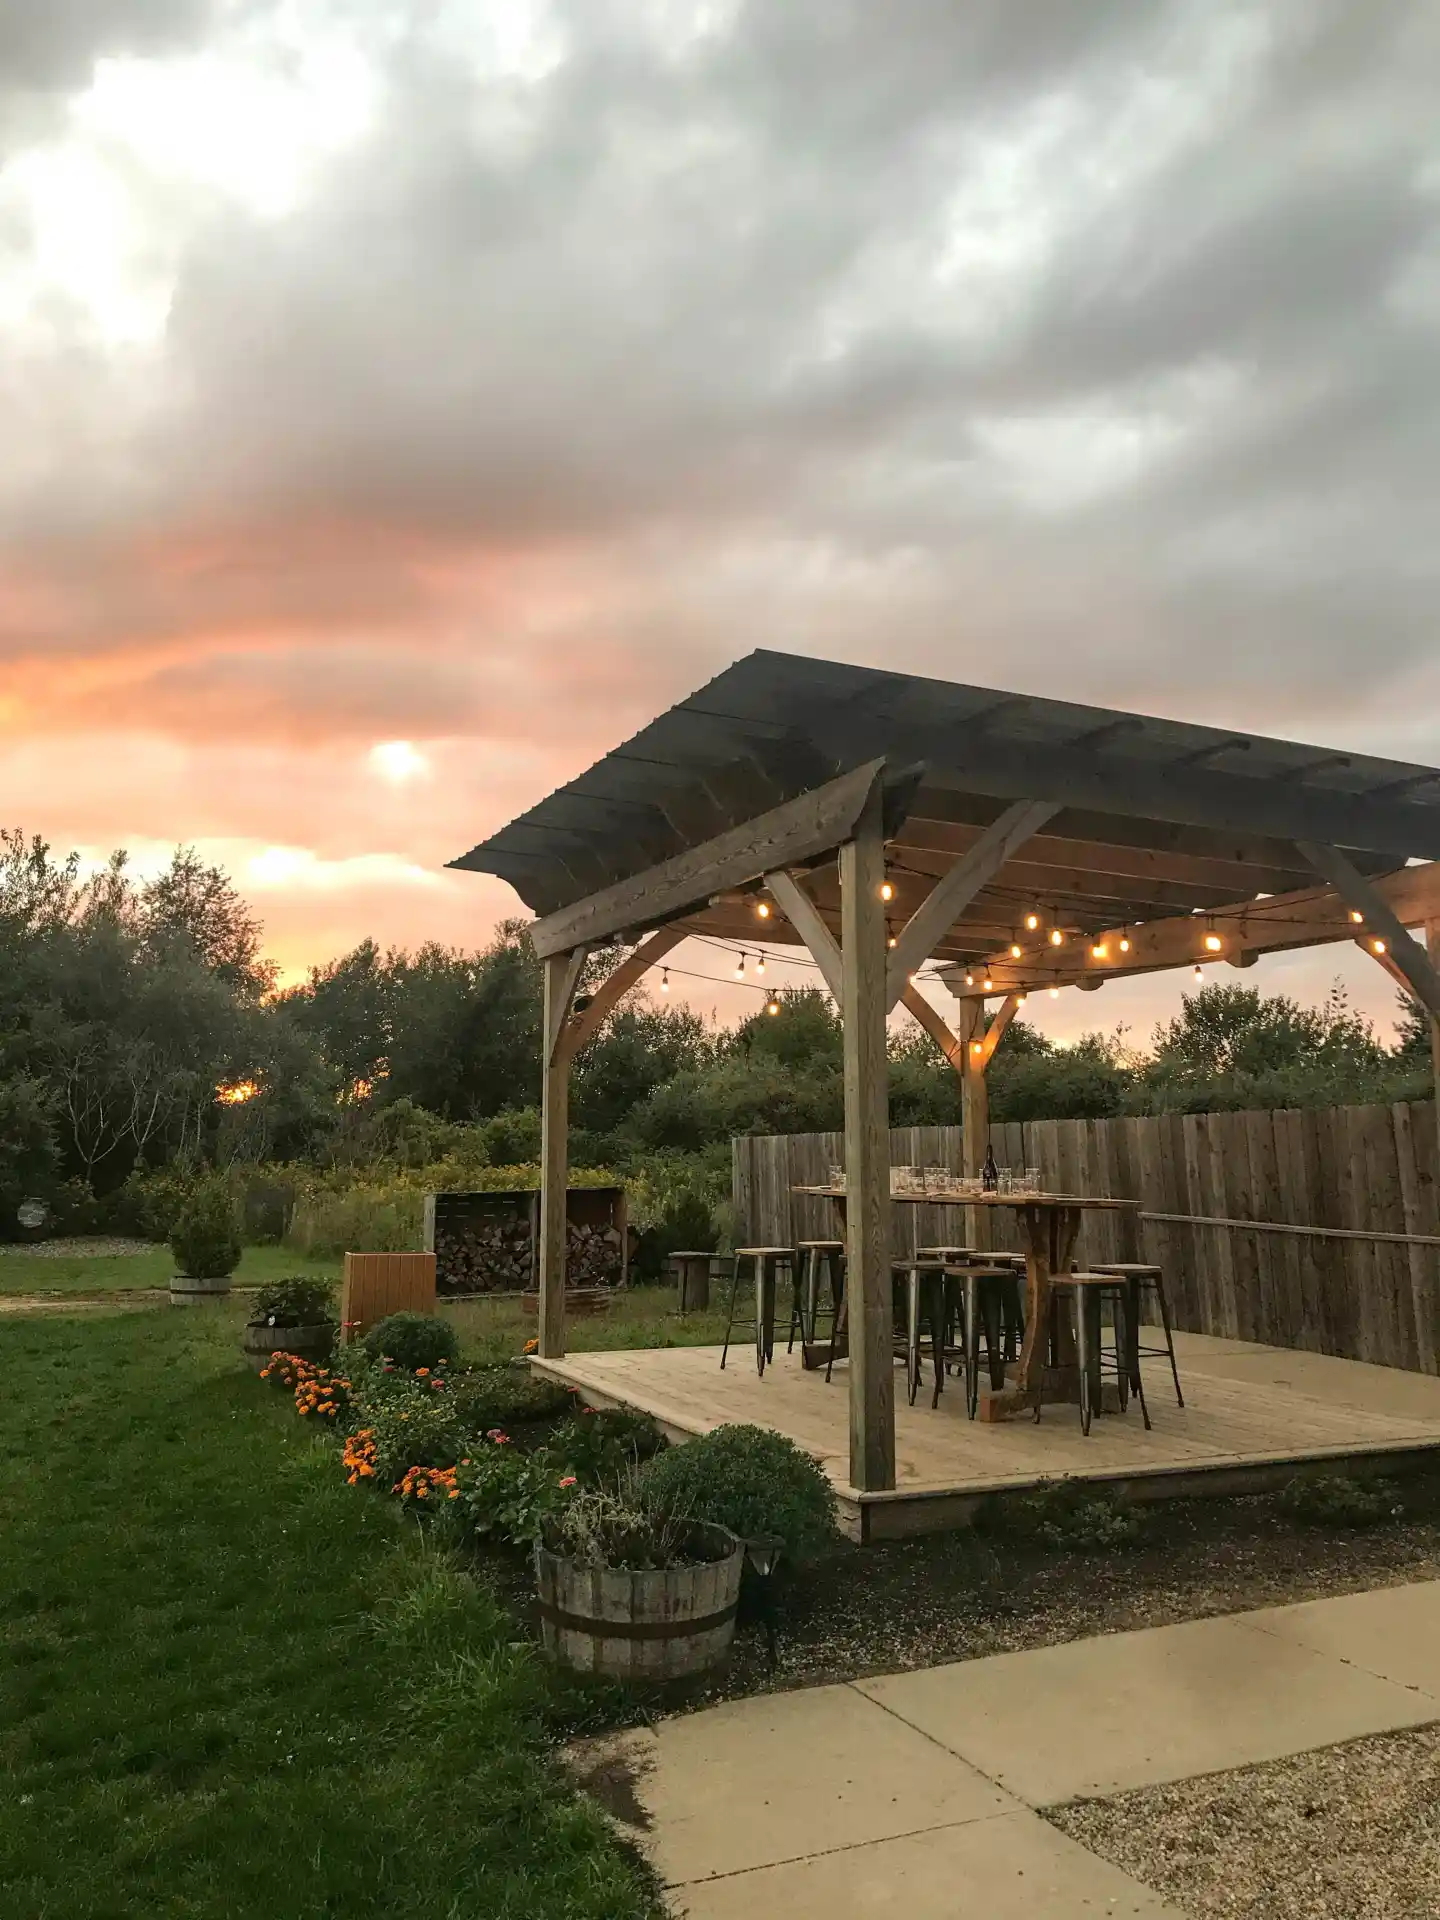
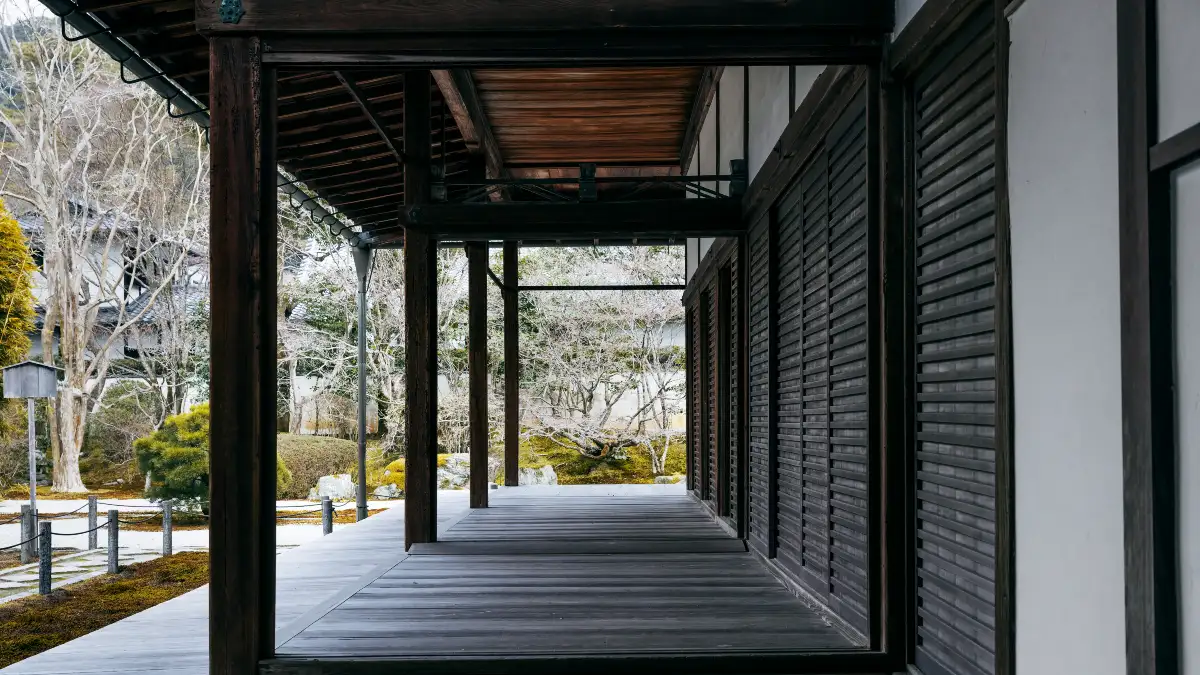
Weather & use: If you want to dine outdoors during shoulder seasons, watch TV without glare, or shield a grill and countertops from rain, a pavilion wins. The solid roof turns a patio into a room, allowing wiring for lights, fans, and heaters.
Budget & complexity: Pergolas are usually lower cost and quicker to set up; pavilions cost more (roof framing, sheathing, roofing, flashing) but dramatically extend usable days per year.
Quick chooser (decide in 10 seconds):
- All-weather dining or outdoor TV? → Pavilion
- Grow vines / dappled shade only? → Pergola
- Wind-driven rain common? → Pavilion (solid roof + overhangs)
- Tight budget / weekend build? → Pergola first; upgrade later
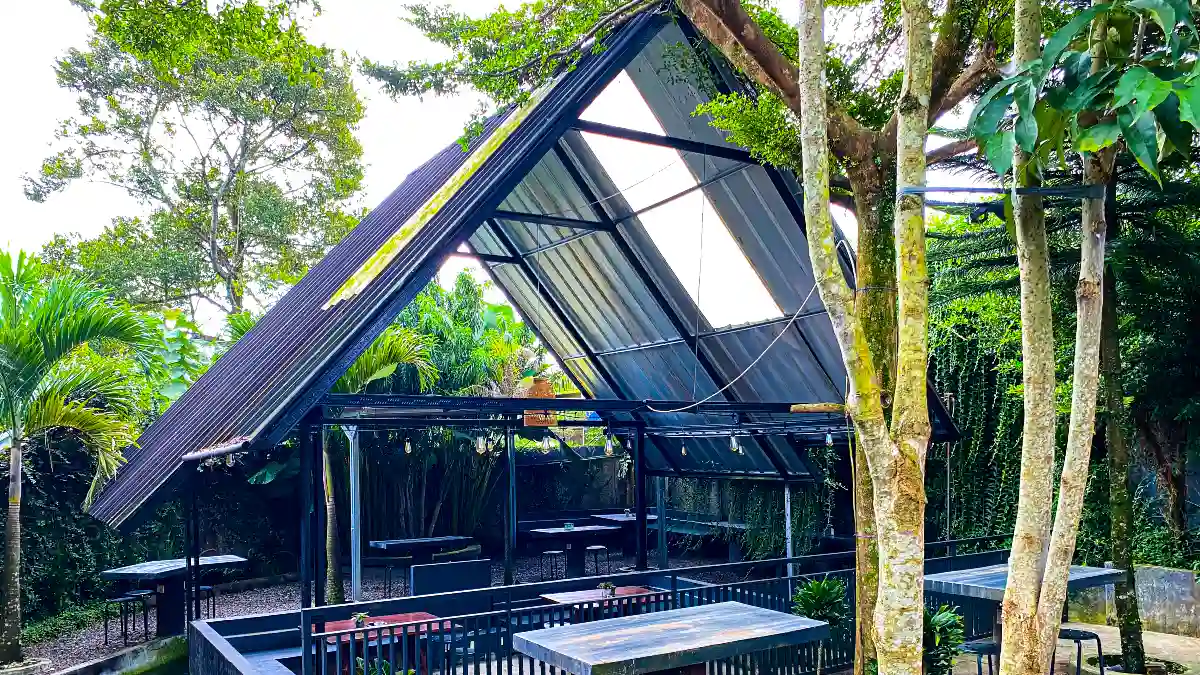
Pro tip: Some families run a hybrid: pergola by the garden for shade plants + pavilion over the dining/kitchen zone. That balances cost and weather protection while keeping sightlines open. Use this section to introduce project photos with captions like “cedar frame pavilion (solid roof) over outdoor kitchen” and “aluminum pergola (slatted) over lounge.”
Backyard Pavilion Cost in 2025 (Kits vs. Custom)
Current ranges (installed): A backyard pavilion typically runs $35–$60 per sq. ft.; a 20×30 project averages $21,000–$36,000. Entry kit prices generally start around $3,000–$5,000 for simpler/smaller models (materials only). These benchmarks are consistent with HomeGuide’s 2024–2025 cost data.
Timber-frame examples (custom feel, heavier structure): Lancaster County Backyard reports a 12×12 timber frame pavilion ~ $19,200 base, with larger builds in the $31,000+ range and high-end designs exceeding $100k when you add premium roofing, kitchens, and fireplaces.
Kit snapshots (2025, product pages):
- Enduria Structures “Vista” timber-frame pavilion kits: ~$6,300–$38,800 depending on size/options.
- Enduria Structures “Coastal/Deluxe” ranges: roughly $6,900–$58,000 across configurations.
- Wildwood timber-frame kit: price window ~$16,900–$57,700 (size/options).
What drives cost:
- Materials: pressure-treated vs cedar vs aluminum/steel frames; tongue-and-groove ceiling; stain/paint.
- Roofing: shingles (economical), metal (long-life), polycarbonate (daylight).
- Foundation/footings: slab vs. piers; site access.
- Utilities: dedicated circuits, conduit in posts, gas line trench.
- Local labor & code: inspections, engineering for snow/wind.
DIY kit vs. pro build: Kits save labor and time in bidding but require accurate layout, post bases, and roof assembly at height; warranty may be parts-only. Pro builds add permitting support, inspections, and workmanship warranties—valuable where code enforcement is strict.
Rule of thumb: Footprint (sq. ft.) × $35–$60 gives a realistic starting budget for a roofed pavilion; then add line items for slab, wiring, and gas as needed.
Permits, Setbacks, and Codes (Don’t Skip This)
Start here: Many U.S. jurisdictions adopt the International Residential Code (IRC). The IRC’s Section R105.2 lists work exempt from permit, and one common line says one-story detached accessory structures ≤200 sq. ft. may be exempt. That does not mean “no rules”—zoning still controls setbacks, height, and easements, and local amendments can change the threshold.
Setbacks & placement: City zoning codes often require 5 ft or more from side/rear property lines, sometimes more as structures get taller. Typical language also requires 6–10 ft separation from other buildings for fire and maintenance access. (Example municipal codes via CodePublishing; Boulder, Durham, Dublin/Independence references show 5–10 ft norms.)
When permits are usually required:
- Attachments to the house (it stops being “detached”).
- Utilities: gas or new electrical circuits.
- Larger footprints or engineered roofs (snow/wind exposure).
Even if the footprint is small, adding gas/electric typically triggers permits/inspections under your adopted IRC.
Action steps: Call your planning department with your site plan, proposed size/height, distances to lot lines/structures, and note any utilities. Ask: “Do I need zoning review, a building permit, or both, for a detached pavilion of ___ sq. ft. with electrical and (optional) gas?” Capture their answers in writing.
Choose the Right Roof: Shingle, Metal, or Polycarbonate
Asphalt shingles (budget-friendly, familiar): Shingle manufacturers (e.g., GAF) state an absolute minimum slope of 2:12; 2:12 to <4:12 is considered low-slope and requires enhanced underlayment (double layer). Below 2:12, shingles aren’t appropriate. Roofing contractors (LOA Construction) echo the same thresholds. If your design wants a “flat” look, consider raising pitch to ≥3:12–4:12 or switching materials.
Metal roofing (durable, long-life): Standing seam or ribbed panels shed rain and snow efficiently on moderate to steep slopes, resist wind uplift when detailed correctly, and pair well with snow guards in cold climates. Expect a higher upfront cost than shingles but excellent service life and recyclability.
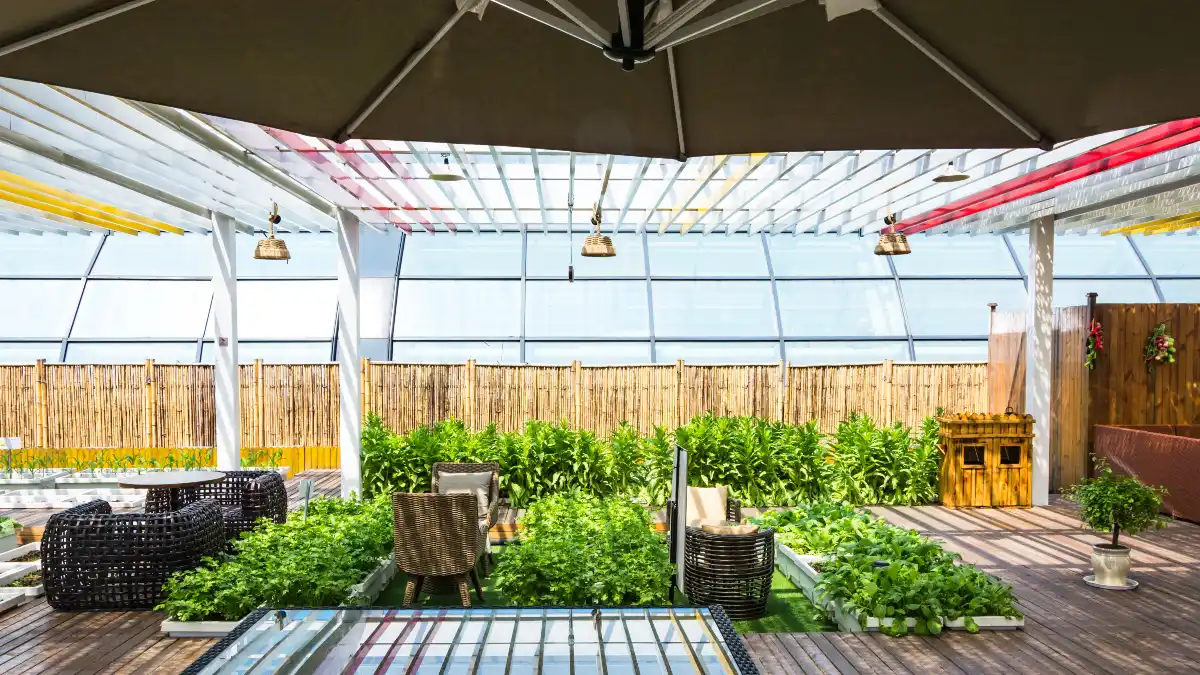
Polycarbonate panels (bright, rain-safe daylight): Modern multiwall and corrugated polycarbonate panels provide impact resistance and UV blocking—manufacturers note “virtually 100% UV protection”—with selectable light-transmission levels by color/tint. This is ideal when you want shelter from rain while keeping the space naturally lit (over dining tables or prep counters).
Climate fit:
- Heavy rain/snow: favor solid roofs with sufficient pitch and robust underlayment or metal; size overhangs (e.g., 12–24 in.) to keep rain off furniture.
- Hot/sunny climates: polycarbonate in bronze/opal tints cuts glare/heat while keeping daylight; add a vented ridge and pre-wire ceiling fans to exhaust heat.
Maintenance reality: Shingles—inspect seal strips and flashings annually. Metal—check fasteners/seams after storms. Polycarbonate—clean gently (lukewarm water + mild soap; soft cloth), avoid abrasives and pressure washers to protect the UV layer.
One-minute decision grid:
- Want lowest initial cost and a traditional look? → Shingles (mind the shingle roof slope rules).
- Want longevity and great rain/snow shedding? → Metal.
- Want daylight under cover with UV protection? → Polycarbonate roof (choose tint for light levels).
Materials That Last: Wood, Composite, Steel & Aluminum
Pressure-treated (PT) lumber: The workhorse for posts and beams where budget matters and ground contact is likely. PT is infused with preservatives that resist insects and moisture, and it generally tolerates contact with footings or soil better than untreated species. Home improvement analysts at Angi note PT’s durability advantage in ground-contact scenarios and its lower upfront cost—ideal for structural members you’ll later wrap in finish material.
Cedar: Warm color, fine grain, and natural rot resistance make cedar a favorite for visible elements—rafters, fascia, and ceiling cladding. But it’s typically pricier and needs regular sealing to keep its tone. Angi’s maintenance guidance underscores that, while cedar can last decades, it still benefits from periodic resealing to maintain appearance and reduce checking. Choose cedar where you’ll actually see and enjoy it; use PT where you need strength against moisture.
Aluminum or steel frames: Metal delivers straight, stable lines with very low maintenance. Powder-coated aluminum resists corrosion and pairs well with integrated LED channels, ceiling fans, and even solar-ready wire chases inside hollow sections. Steel brings higher stiffness for long spans (great for open corners) but should be galvanized or powder-coated to protect welds and fasteners. Either way, metal can read modern and helps future-proof for tech (lighting, speakers, Wi-Fi).
Finishes & fasteners: Use exterior-rated screws/bolts (hot-dip galvanized or stainless) and hardware with compatible coatings to avoid galvanic corrosion. Expect a stain/paint cycle of 2–5 years on exposed wood depending on UV and rainfall; oil-based penetrating stains often outlast film finishes on horizontal soffits and T&G ceilings. If you’re mixing metals, match fastener alloys to the base material whenever possible.
Quick contrasts (from Angi’s guidance):
- PT = cost-effective, better in ground contact, muted aesthetics.
- Cedar = premium look, naturally rot-resistant, higher finish maintenance.
Pick PT for structure, cedar (or faux-cedar composites) where it’s seen.
Plan the Size, Layout & Placement (With Real Dimensions)
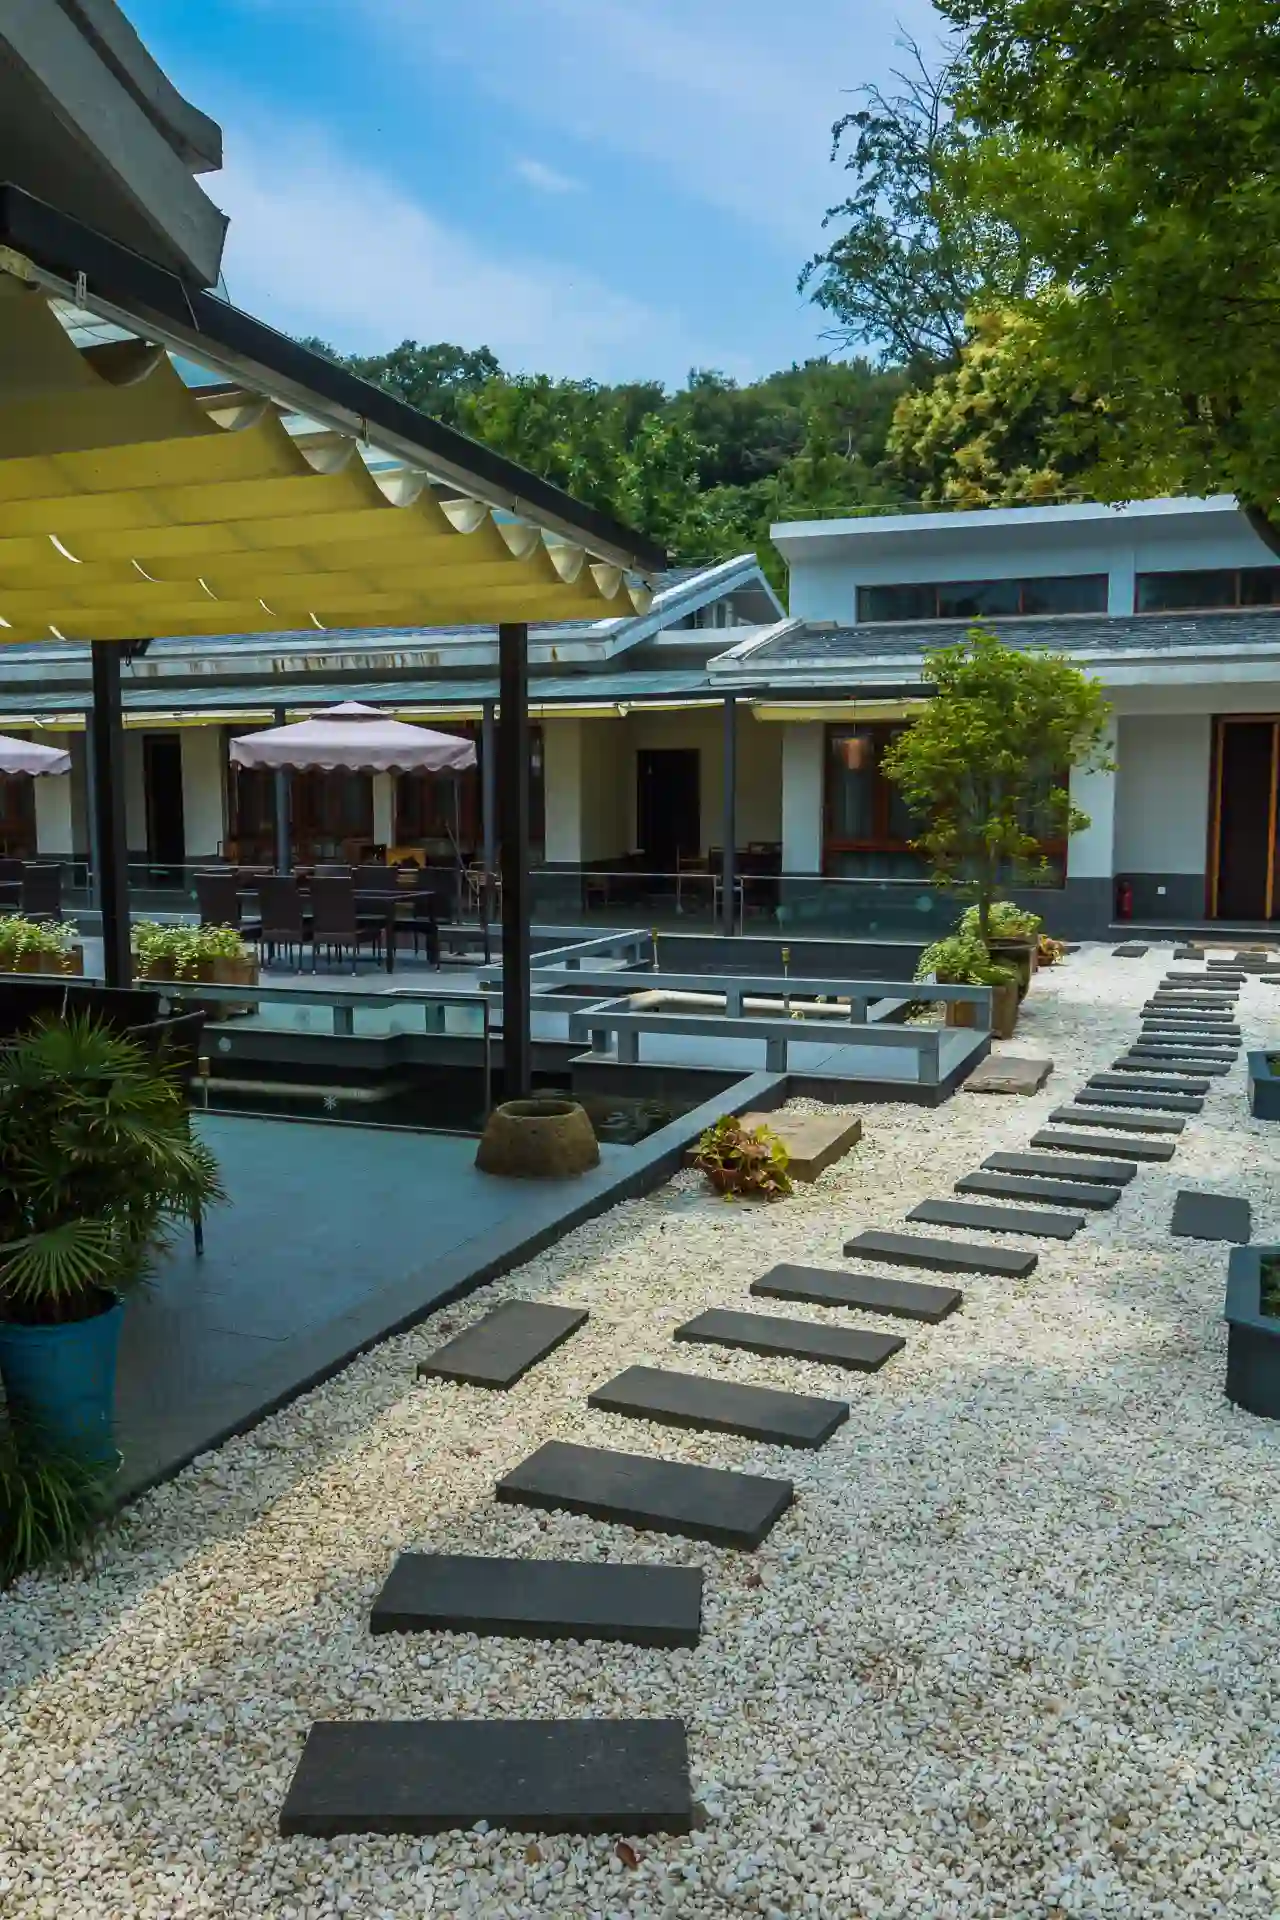
Dining clearances: A 10×14 ft pavilion comfortably fits a 6-person table (≈36×72 in.) with 36–48 in. of circulation on all sides for chairs and passing behind seated guests. For 8–10 diners, move to 12×16–14×18 ft. Keep columns 12–18 in. outside furniture edges to avoid cramped corners and to shelter chair pushback in rain.
Kitchen zone: For an outdoor kitchen pavilion, plan a 7–10 ft straight run minimum (grill + base cabinets), with 36 in. of open prep counter and non-combustible surfaces near heat. Add a vent hood or open gable ends to draft smoke away from seating. If you’ll place a fridge or sink, reserve 24–36 in. landing areas to each side of appliances.
Sun, wind, and rain: Face the main opening away from prevailing rain and situate the longest eave perpendicular to wind to reduce blow-in. 2–3 ft roof overhangs protect table edges and outdoor TVs. For privacy, offset the pavilion 10 ft from lot lines where common; verify your local setback before finalizing.
Utilities (future-proofing): Run conduit in posts for lights, ceiling fans, speakers, and a weather-rated outlet at each corner. Pre-plan a dedicated GFCI/AFCI circuit and a gas line if you’ll add a grill or heater later; stubbing now avoids re-trenching.
Why these choices track 2025 demand: The Qualified Remodeler Outdoor Planning Guide (2025) shows covered dining and outdoor kitchens remaining top client requests, with multipurpose zones (cook, dine, lounge) as the dominant layout pattern—so size for what you’ll do weekly, not just seasonally.
Add-Ons That Boost Use & Value (Kitchens, Fire, TV)
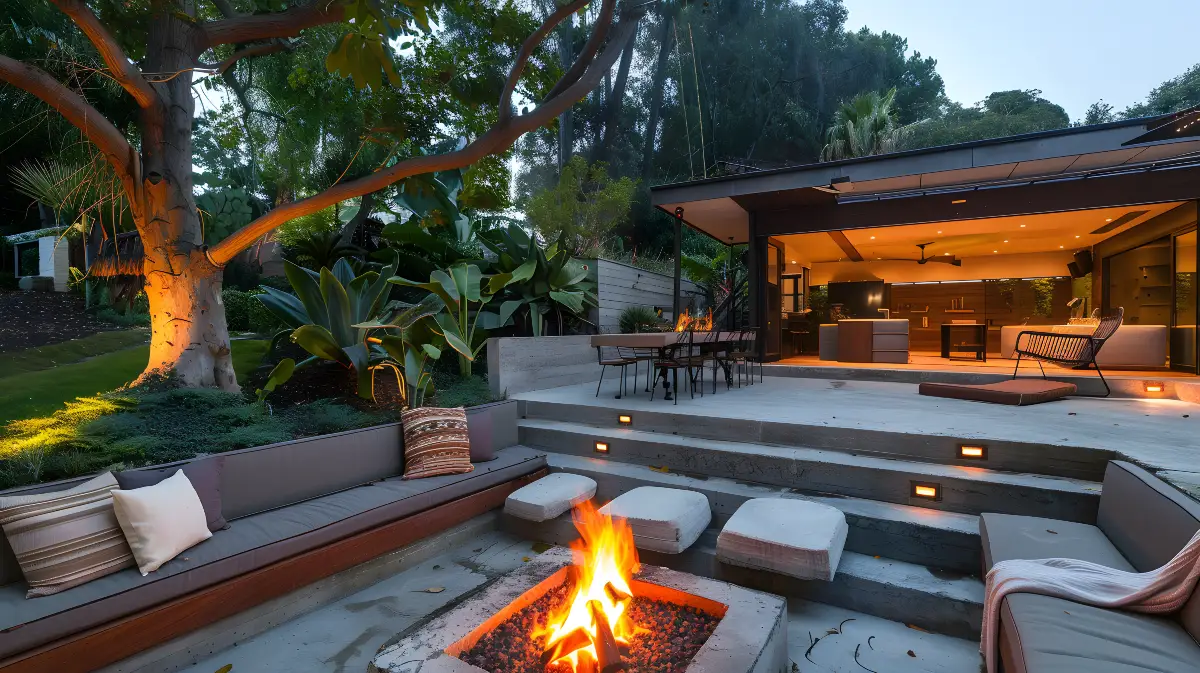
What people ask for most: Remodelers surveyed in Qualified Remodeler’s 2025 Outdoor Planning Guide cite outdoor kitchens, fire features, and covered dining as consistent top-tier upgrades because they extend the usable season and encourage daily use. Design with wiring, gas, and ventilation paths set on day one—even if you phase features over time.
Value signals in 2025: This Old House and market analysts track a robust outdoor-kitchen category, with reports placing the 2024 market around the mid-$20 billions and forecasting steady growth approaching ~9% CAGR through the decade (regional differences apply). The key takeaway: permanent, plumbed cooking zones and comfortable, lit seating see regular use, which supports perceived value.
Buyer demand you can bank on: At the National Association of Real Estate Editors event, NAHB’s Rose Quint highlighted that 86% of homebuyers want a patio and a large share want covered outdoor living—one reason builders keep adding patios, porches, fireplaces, and kitchens to new construction.
Add without over-customizing:
- Lighting: three zones—ambient (ceiling), task (over counters), accent (posts/landscape).
- Fans/heaters: UL-rated damp/wet fans; ceiling or radiant heaters sized to BTUs and clearances.
- Media: Weather-rated TVs under a solid roof; conduit for future audio.
- Storage: Closed cabinets for propane/tools; consider lockable drawers for knives and small appliances.
Pro move: Pre-wire boxes and gas stubs now; install fixtures later as budget allows. That strategy preserves resale flexibility while keeping the pavilion clean and functional from day one.
Going Solar or Smart: Power, Lighting & Panels

Pre-wire the frame: Run home runs to a subpanel or dedicated breaker for LED lighting zones, ceiling fans, and outlets at posts (handy for heaters or countertop appliances). Use in-use, weather-resistant covers, GFCI/AFCI protection, and corrosion-resistant boxes. Add a conduit from the house to a central junction in the ridge for easy future circuits and low-voltage lines (speakers, cameras).
Solar-ready options: If your house roof isn’t ideal, a solar pergola/pavilion can carry PV modules at the right tilt and azimuth. SolarTech’s design guides outline placement benefits when home roofs have shading or poor orientation; their case studies show production and structural approaches that transfer well to residential projects. Plan for dead load of panels and uplift forces; specify racking that integrates with metal or over-sheathing on solid roofs. SolarTech+1
Smart controls: Use Wi-Fi dimmers rated for outdoor enclosures, scene controls (dine / entertain / cleanup), and a weather-proof access point to keep streaming stable for TVs and cameras.
Feasibility examples: Residential projects from Sola Outdoor demonstrate PV-integrated shade structures and motorized aluminum systems—evidence that pairing solar with a pavilion is both aesthetic and functional when detailed carefully.
Maintenance Cheat Sheet (What to Do Annually)
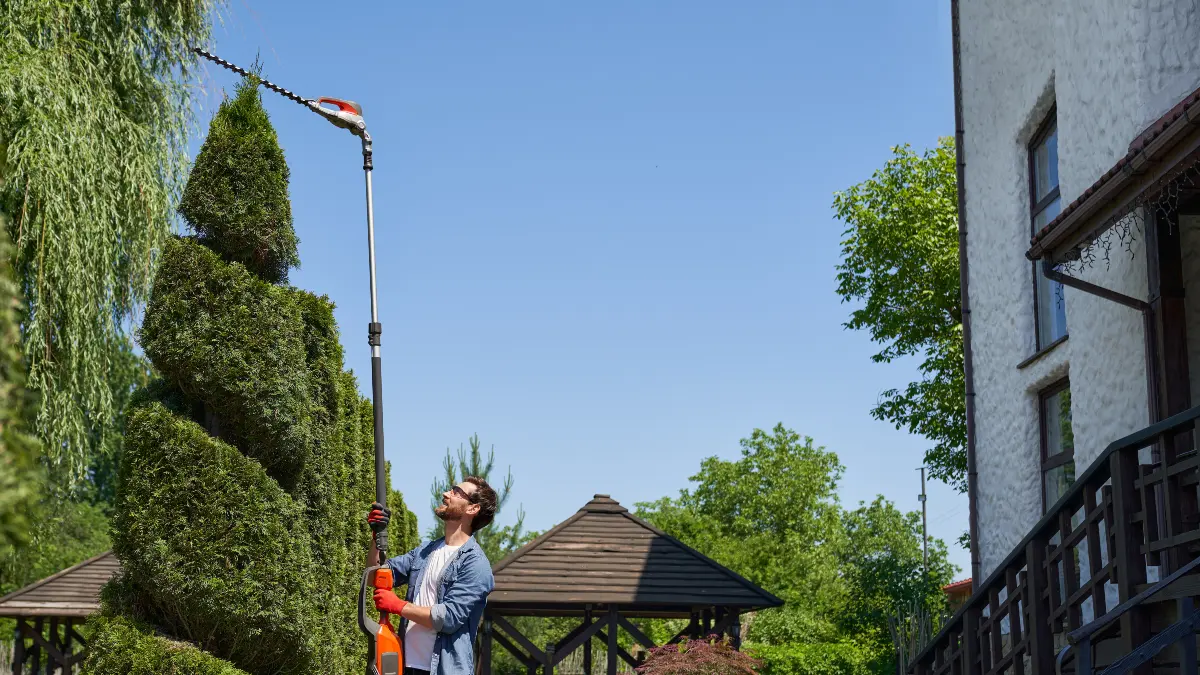
Wood: Spring: wash surfaces with a wood cleaner, inspect post bases for wicking, and reseal/stain exposed cedar on a 2–4 year cadence (sunny, wet sites lean toward 2). Tighten hardware and check for galvanic corrosion where dissimilar metals meet.
Roofing: After major storms, inspect flashings and fasteners; for shingles, look for lifted tabs or granule loss at downspouts; for metal, confirm seam integrity and snow-guard attachments.
Polycarbonate roof care: Manufacturers advise non-abrasive cleaning only—leaf blower for debris, garden-hose pre-rinse, mild soap with a soft applicator, and a squeegee finish. Avoid solvents and no pressure washers; protect the UV-coated face (usually marked during install) to prevent yellowing and haze. A light spring/fall cleaning routine preserves clarity and lifespan.
Electrical/gas: Test GFCI outlets, run a quick fan balance check, verify heater clearances, and soap-test gas unions annually. Document any changes for future owners or inspectors.
Will a Pavilion Add Value? 2025 ROI Snapshot
Outdoor living stays hot: Better Homes & Gardens reports consistently strong homeowner “joy” and ROI signals for outdoor projects, with patios, outdoor kitchens, and landscape lighting scoring high satisfaction and solid cost recovery in the latest NAR/NALP report coverage. Treat ROI as market-specific—but time-use gains (more nights outdoors) are broadly consistent.
Recent ROI mentions: The NAR/NALP breakdown highlights new patios around ~95% ROI and outdoor kitchens near ~100% in certain scenarios, reflecting both usability and buyer appeal. Design durability and low maintenance push perceived value higher.
Buyer demand context: NAHB survey data shows 86% of buyers want a patio; builders continue adding patios, porches, and covered outdoor spaces—even as average home sizes shrink—because buyers see outdoor rooms as essential square footage.
How to use this: If resale matters, prioritize a versatile layout (cook + dine + lounge), durable finishes (powder-coated metal or properly sealed wood), and lighting/heat that extends the season. Keep personalization tasteful; avoid overly niche built-ins that limit buyer imagination.
Conclusion
Choosing between a pergola and pavilion starts with how you’ll use the space weekly. If you want true weather protection and wiring for lights, fans, media, and heat, a pavilion—with the right roof pitch and materials—delivers the most days outside. Size your layout from the furniture inward, match roofing to climate, budget realistically using current kit and custom numbers, and pre-wire for smart controls or future solar.
A simple maintenance routine keeps finishes and roofs looking new, and the payoff shows up in both daily use and buyer interest. Ready to move from idea to plan? Download the one-page checklist (size, pavilion roof options, utilities, permit notes), then circle one “must-have” feature to design around. That’s how the best backyard pavilion ideas become real—without surprises in backyard pavilion cost.
