
You don’t need a contractor—or a huge bill—to make your garden glow. Most big-box displays push pricey “pro” fixtures, while a lot of DIY videos skip what actually matters: safe power, efficient beam aiming, and gear that survives real weather. This guide collects affordable garden lighting hacks you can do in an afternoon—cheap outdoor lighting ideas that look intentional, cut energy waste, and won’t blind the neighbors.
You’ll learn fast wins under $50 (solar stakes and string lights that are placed to actually work), when to step up to a 12-volt low-voltage starter kit, and how to aim lights so surfaces glow while eyes don’t. We’ll cover DIY landscape lighting basics—transformers, voltage drop, and code-safe habits—plus DarkSky-friendly choices (warm color, shielding, and controls) to reduce glare and bills. Expect quick “math boxes” so you can predict monthly cost before you buy, spacing rules that prevent hotspots, and a 15-minute seasonal checklist that keeps everything humming.
If your goals are safety, curb appeal, and a lower power bill, you’re in the right place. Let’s start by planning a layout that saves energy before you spend a dollar.
Plan First: Low-Cost Layouts That Save Energy
Energy-Smart Garden Lighting Planner
Plan once, save nightly. Use this quick planner to convert design choices into lower bills and better visibility.
Target the Light, Not the Yard
Prioritize zones where light solves a job.
- Safety Steps, grade changes, and tight turns.
- Wayfinding House numbers, driveway edges, gate latches.
- Ambience One vertical surface (fence/wall) or a hero plant.
Cheat-Sheet: Brightness & Spacing
| Zone | Typical Lumens | Start Spacing | Test At Night |
|---|---|---|---|
| Paths | 100–200 lm | 6–10 ft | Adjust for glare/shadows |
| Steps | 80–120 lm per step light | 1 per tread/riser | Check uniformity |
| Wall-wash | 150–300 lm (wide beam) | 4–6 ft off the wall | Aim to avoid hotspots |
| Accent shrub | 120–200 lm (narrow) | 1–2 lights, off-axis | Cross-light for texture |
Numbers are starting points—final aim happens after dark.
Know the Cost Before You Buy
Residential LEDs typically use ~75% less energy than incandescents (U.S. Department of Energy).
Why LEDs Win Outdoors
Illustrative example: similar visual effect with a fraction of the wattage.
Control It: Brighter When Needed, Dim When Not
“Keep outdoor light targeted, low-level, and controlled.” — DarkSky International
- Dusk-to-dawn for entry lighting; add motion at gates and side yards.
- Prefer shielded heads and warm color (≤3000K) for comfort and less skyglow.
- Test aim after dark before burying cable; tiny tweaks kill glare.
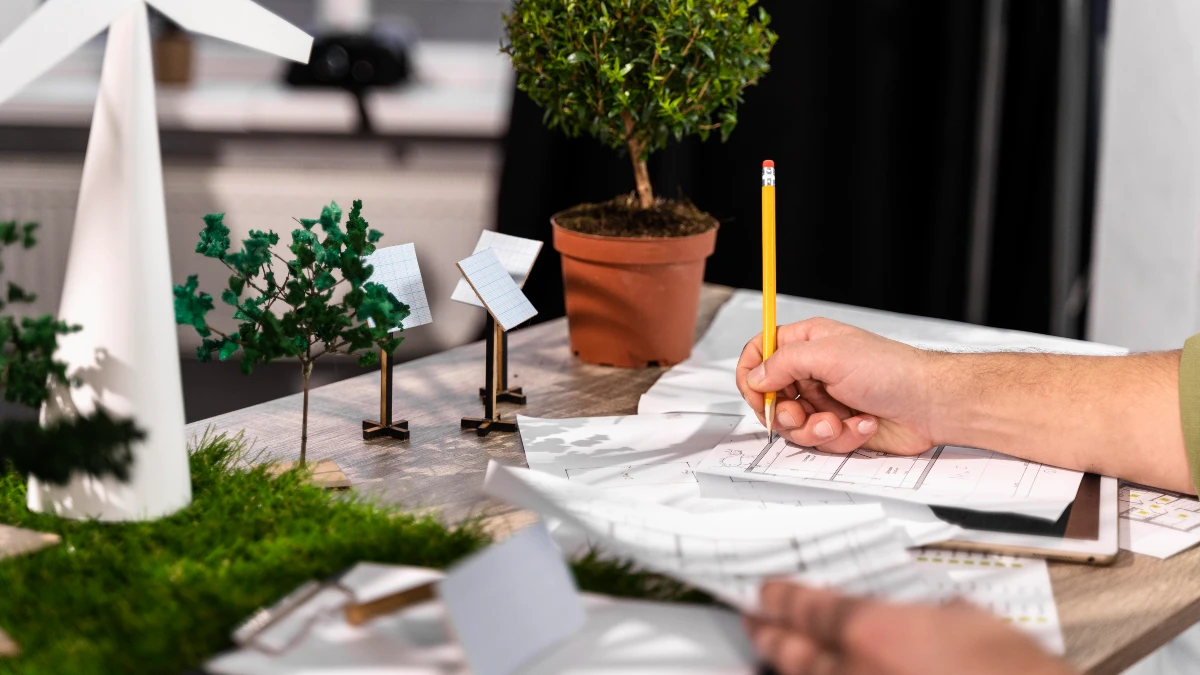
Tonight’s 5-Step Mini Planner
Start with purpose: mark paths/steps (safety), entries (wayfinding), and one or two focal plants or walls (ambience). Then design to minimize light and maximize effect: use warm light (≤3000K) and shielded fixtures aimed downward so light falls only where you need it. Add controls—simple timers or motion—so lights run fewer hours by default. DarkSky International summarizes this as “targeted, low-level, controlled” lighting.
Choose LED for efficiency and lifespan. The U.S. Department of Energy notes residential LEDs use at least ~75% less energy than incandescents and last far longer, which matters outdoors where access is annoying.
Work with practical numbers so your plan translates outside:
- Pathways: aim for ~100–200 lumens per fixture; start with 6–10 ft spacing and adjust after dark.
- Accents: lumen needs vary by beam spread and distance—washing a fence often “reads” brighter than spotlighting a shrub because you’re lighting a larger surface.
Quick math (know your monthly cost):
A 4-pack of 3W path lights = 12W total. At 5 hrs/night, that’s 60 Wh/day → ~1.8 kWh/month. At the 2025 U.S. residential average ~17–17.5¢/kWh, you’re paying about $0.30/month for that run. Plan with watts, not wishes.
Under $50: Solar & String-Light Quick Wins
Solar stakes are the cheapest way to test a layout before trenching wire. To perform, the panels need ~6–8 hours of direct sun; runtime drops in shade or winter. Clean panels at the start of each season to keep charge rates up. If beds are shady, pick models with separate (remote) panels and place the panel in full sun.
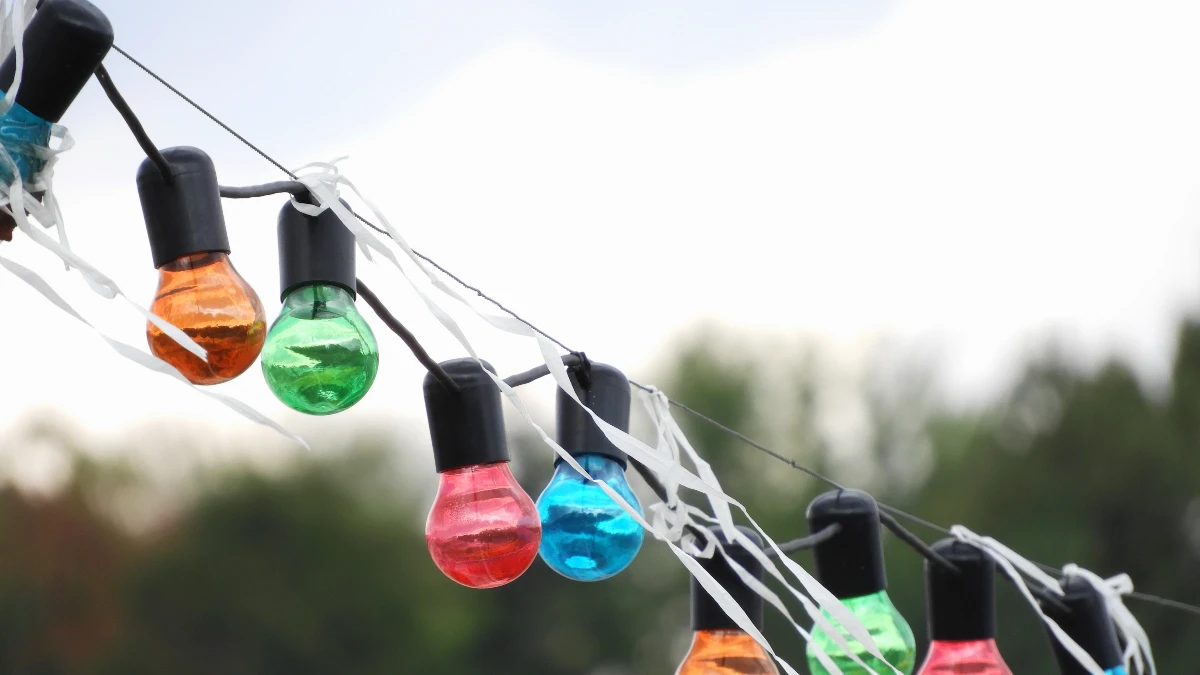
For overhead string lights, designers suggest ~3–4 feet between bulbs to avoid glare blobs and dark gaps. Over walkways, hang strings high and offset from the line of travel; on the ground, keep path stakes ~6–10 ft apart to create an even “breadcrumb” of light rather than a runway.
Buy for the outdoors, not the craft room. Look for IP65 or better for exposed gear (dust-tight and resistant to water jets). Skip “indoor-only” fairy lights outside—moisture kills them fast. The IEC’s IP code is the global standard you’ll see on spec sheets; IP65+ is a safe minimum for rain-exposed devices.
Set expectations: solar lights vary widely in brightness and durability. A current lab-tested roundup lets readers compare lumens, runtime, and build quality before they buy; include one as an optional resource box so you’re not guessing at performance claims.
$100–$250: Starter Low-Voltage Kit That Looks Pro

When you’re ready for consistent brightness and flexible aiming, step up to a 12-volt low-voltage system. It’s the DIY sweet spot: safer than 120V, efficient with LED fixtures, and easy to expand. Pair a small kit (a few path lights + a couple of spots) with a smart transformer that offers dusk-to-dawn and app schedules. These are widely available from lighting brands and retailers.
Code-safe basics (do these every time):
- Plug the transformer into a GFCI-protected outdoor receptacle.
- Use an extra-duty in-use (while-in-use) cover so the plug stays protected in wet locations.
- Run direct-burial, sunlight-resistant cable and bury it about 6 inches (deeper where local code requires).
These requirements track National Electrical Code sections on wet-location receptacles and burial depth; reliable code educators and manufacturers summarize them clearly.
To keep lights even along the run, account for voltage drop. Use a voltage-drop calculator to select wire gauge (often 14/2 or 12/2 for longer runs). With LED landscape fixtures, a common practical target is ~10.5–11.5V at the last fixture (many accept 10–15V). Do the math before you trench.
What it costs (typical ranges today):
- Compact kits with a handful of LED fixtures and a basic transformer: roughly $90–$220 depending on finish and build.
- Smart transformers with app control: commonly around $100 and up.
Use current retailer pages so readers can check live pricing.
Aim & Angle: Designer Tricks on a Budget

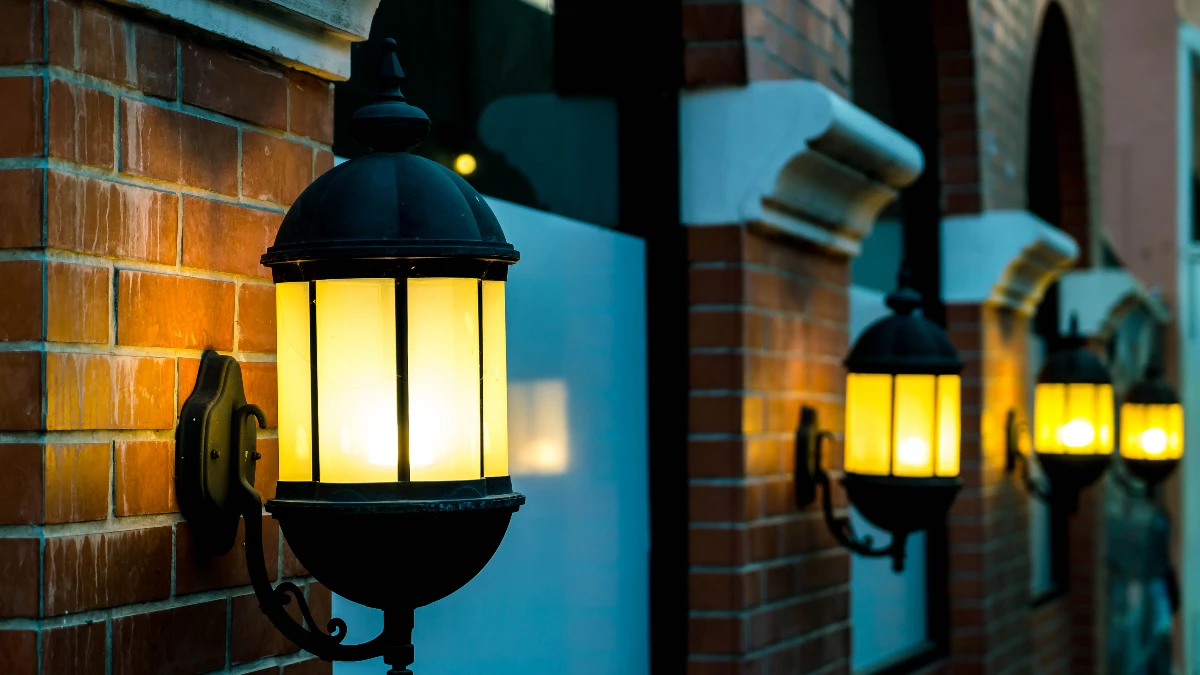
Light surfaces, not eyeballs. If you can make a vertical surface glow, the whole yard feels brighter. Use a wide-beam to wall-wash a fence or facade; the reflected light “multiplies” perceived brightness, so you can run fewer watts. Cross-light shrubs from two lower-lumen spots (set slightly off-axis) to reveal texture without glare.
For magic on summer nights, try downlighting (“moonlighting”)—mount a small, shielded fixture higher in a tree and aim it down through the branches. You’ll get soft, dappled shadows that look natural and keep brightness on the ground, not in your neighbor’s windows. Designers regularly recommend this approach because it blends ambience with low glare.
Glare is more than annoyance—aging eyes are especially sensitive. DarkSky’s guidance and allied medical groups favor fully shielded fixtures and warmer color temperatures (≤3000K) to reduce disability and discomfort glare while preserving visibility. Mention this explicitly when you recommend gear.
Pro tip: Aim, test, then bury. Set all fixtures, test at night, and tweak angles/locations before you commit to any trenches or permanent mounts. A ten-minute walk-through after dark saves hours later.
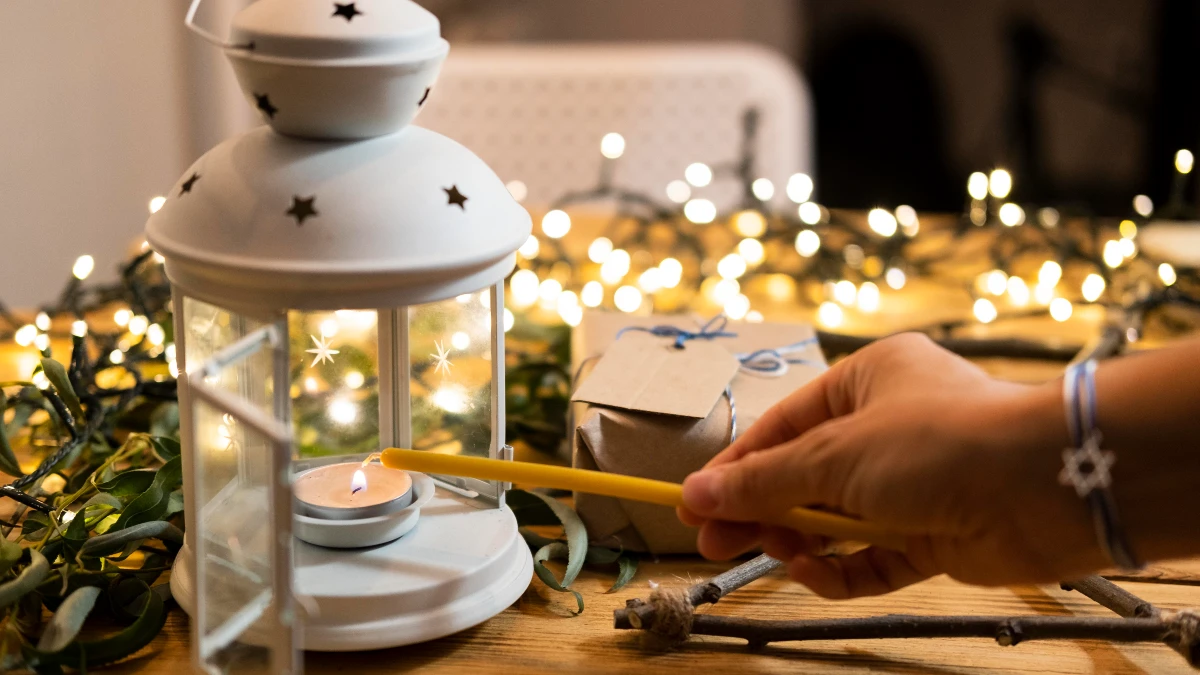
Controls That Cut Bills: Timers, Sensors & Smart Plugs

The cheapest watt is the one you don’t burn. Use dusk-to-dawn for baseline safety, then add motion on task areas (gates, side yards) so lights brighten only when needed. DarkSky explicitly endorses dimmers, timers, and sensors as best practice because they reduce skyglow and energy use.
If your lights plug in, add an outdoor smart plug (Wi-Fi). Modern models let you schedule per-outlet, set sunrise/sunset automations, and voice-control scenes. Current 2025 picks highlight TP-Link Tapo P400M and similar IP-rated units reviewed by mainstream tech outlets—reliable, inexpensive, and Matter-friendly. For string-light ambiance, look for outdoor dimmer plugs to set brightness at 40–60% for gatherings.
Cost reality check: One 9W LED running 5 hrs/night uses about 1.35 kWh/month. At the 2025 U.S. residential average ~17–17.5¢/kWh, that’s roughly $0.23/month. Switching that light to motion-only or cutting runtime in half slices cost accordingly; dimming also saves power (always confirm the plug/driver supports dimming).
Set it and revisit: create a “week 1” program (shorter runtimes than you think), walk the yard after dark, then nudge schedules and dim levels. Most yards look better—and bills look smaller—when lights run fewer hours at lower levels.
Know your ratings. For fixtures exposed to weather, look for IP65 (dust-tight; resists water jets) or IP67 (withstands temporary immersion). These are defined by the IEC 60529 standard and appear on spec sheets as “IPxx.” For U.S. products, also check that fixtures are “Suitable for Wet Locations” (UL/NEC language) so rain can’t enter wiring compartments.
Cables matter. Use low-voltage direct-burial, sunlight/UV-resistant landscape cable. It’s designed for soil contact and sun exposure, dramatically reducing cracks and shorts over time. Packaging and jacket print should literally say “direct burial” and “sunlight resistant.”
Choose warm & shielded. Pick ≤3000K LEDs and fully shielded heads so light goes down and out—not up into your eyes or the night sky. That’s straight from DarkSky International guidance and will make the same lumen output feel more comfortable and “brighter” where you need it.
Quick checklist (copy/paste to phone):
• Fixtures: IP65/67 + “Wet Location.”
• Cable: 12/2 or 14/2 direct-burial, sunlight-resistant.
• Joints: Use listed outdoor connectors; no indoor wire nuts.
• Color: 2700–3000K warm; frosted lenses/hoods reduce glare.
Make Solar Work: Placement, Cleaning, Battery Tips

Charge window: Put panels where they receive 6–8 hours of direct sun daily—front yard in winter sun beats a shaded side bed. If the planting bed is shady, move the panel, not the light: choose fixtures with separate panels or remount the panel on a fence/wall and run the lead to the head. Manufacturer manuals (e.g., Nanoleaf) explicitly show this option. Clean panels seasonally with a damp cloth.
Expect winter variability: Short days and low sun angles mean fewer hours of output. Use “dusk-to-dim” or motion-boost modes to conserve charge; DarkSky International recommends controls that provide light only when needed.
Batteries are consumables: Many garden solar lights dim after ~18–24 months as rechargeable cells age. Most use AA/AAA NiMH or 18650/14500 lithium cells you can replace—swapping them often restores runtime at low cost. Typical lifespans: NiMH ~1.5–3 years; lithium-ion ~2–5 years, depending on climate and cycles.
Reader tip box — “Move the panel, not the light.” If your spotlight looks great but dies early, relocate the panel to a sunnier spot and keep the head aimed where you want it. Plenty of DIY guides and product manuals show remote-panel setups; it’s the fastest way to fix poor charging without redoing your layout.
Safety First: Simple Code Habits for DIYers

Protect the plug: Any receptacle feeding outdoor lights should be GFCI-protected and covered by an extra-duty in-use (while-in-use) cover so it stays weather-tight even with a plug inserted. This aligns with NEC 406.9(B)(1) guidance summarized by Leviton’s Captain Code.
Bury the cable right: Low-voltage direct-burial landscape wire should be buried ~6 in. (150 mm) minimum; deeper where vehicles cross or local amendments require. That depth comes from NEC references frequently cited by trade installers.
Keep systems separate: Don’t mix 120V line-voltage conductors with 12V landscape runs in the same box or conduit; keep them physically separate and follow all labeling/listing on components. Use listed, weather-rated connectors for underground splices—avoid indoor twist-on nuts.
Transformer basics: Mount the low-voltage transformer per instructions, keep it off the ground, and route cable through proper strain relief. If it’s a plug-in unit, it must plug into that GFCI with the in-use cover; if it’s hard-wired or any 120V work is needed, hire a licensed electrician.
Mini Case Studies: Three Budgets, Real Results

Under $50 — One path, instant upgrade
Drop in 6–8 solar stakes along a single front walk. Aim for 6–8 ft spacing, and choose a run that gets 6–8 hours of direct sun. Expect warm, comfortable glow (not stadium brightness), perfect for wayfinding. Tip: multi-packs and sales often bring 6–8 stakes under $50.
$150 — Add schedules and polish
Keep the solar path, then layer a 4-pack low-voltage path kit on the main entry and control it via an outdoor smart plug or smart transformer with dusk-to-dawn + timed shutoff after 3–4 hours. Typical pricing: low-voltage 4-packs around $70; Wi-Fi transformers commonly $95–$140 depending on features. Your yard reads “professionally lit,” but the runtime stays lean.
$300 — The “big light” feel
Combine 2 warm (2700–3000K) uplights on a tree or feature with 4 path lights along the approach. Wall-wash a short fence panel to visually “expand” brightness without high wattage. Budget kits with mixed heads commonly fall in the $150–$300 range; step up the transformer if you plan to expand.
Security note (evidence-based): Well-placed exterior lighting helps deter opportunistic crime. A randomized NYC public-housing experiment by researchers affiliated with the University of Chicago Crime Lab found about 36% fewer nighttime outdoor index crimes after additional lighting was installed. For homes, concentrate brighter, motion-activated pools near gates/alleys instead of leaving everything on all night.
Maintain the Glow: 15-Minute Seasonal Checklist
Every season (set a phone reminder):
• Wipe lenses and solar panels with a damp cloth; dust can cut output fast.
• Re-aim heads after storms or mowing; small nudges fix big glare.
• Trim plants blocking beams or panels.
• Re-stake tilted fixtures; confirm path spacing still looks even in full dark.
• Re-test schedules after time changes; shorten runtimes in summer when nights are short.
• Bury any exposed cable and re-seal suspect connections.
If solar runtime fades, clean the panel first, then test/replace the rechargeable battery—most consumer solar lights revive with a $5–$15 battery swap. For smart/plug-in strings, give the timer/automation a quick check so lights aren’t burning past midnight by accident. These tiny habits keep garden light maintenance to minutes, not hours—and save real money over a season.
Conclusion
Elegant results don’t require luxury fixtures—just warm LEDs, good aiming, simple controls, and a few code-aware habits. Start with one zone (your entry path) this weekend. Use the spacing and wattage math above to set expectations, keep beams shielded and ≤3000K, and schedule lights to shut off after the first few evening hours.
Snap before/after photos to see the difference—and to guide your next zone. With these affordable garden lighting hacks and step-by-step DIY landscape lighting moves, you’ll get durable, low-glare illumination that looks thoughtfully designed and costs pennies to run.
